Friday 28 October 2011

Caramel Popcorn


While I was making this popcorn, I had a documentary playing on my laptop: Origins of Us - Guts, a BBC program about the evolution of humans. This episode focused on how our diet shaped our evolution. I won't go into the details (and I'm sure some of you don't agree with some of the theories) but a few of the ideas they pulled out of the science were interesting in a wider sense.

One of their conclusions: it was cooking that made us human.

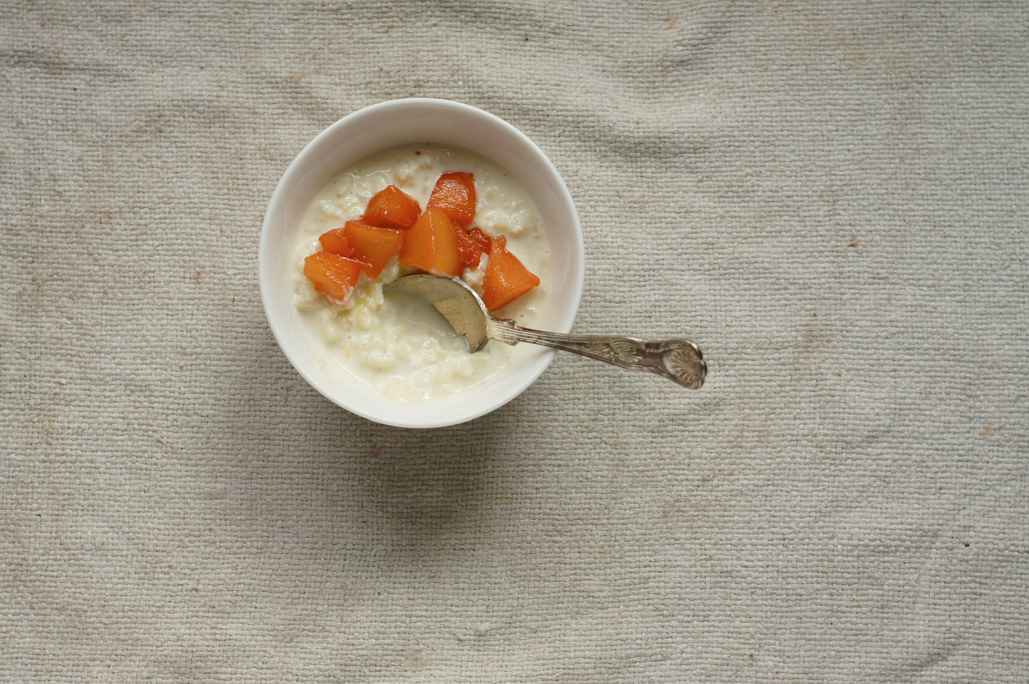
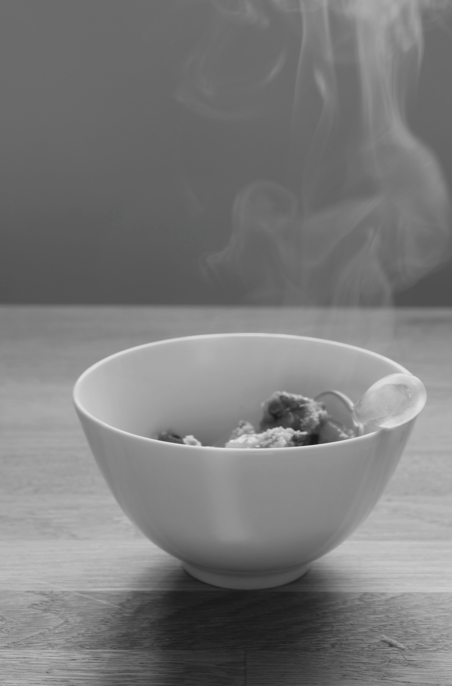
There is something so elemental about preparing food to eat and nourishing yourself, day after day. The pleasure from eating a hot meal when you're hungry runs very deep.

As someone interested in preparing food, the idea that cooking and not just eating is fundamental to our existence is attractive and makes sense - but I suspect to others it might not. Making food by hand is no longer a key element of many lives and that is a choice we are all free to make - after all, they say it made us human, not that it makes us human. I find joy and satisfaction in the kitchen and in preparing three simple meals a day, but that is me. It's not my place to say if it is right or wrong that as a culture we've shifted away from preparing food ourselves, but I can say that I feel that it is an important part of my life and I am lucky enough to have the resources and time to do so.


The program also touched on the importance of sharing food in forming and sustaining relationships. Now I cook mainly for myself (I share out my baking as much as I can, but I cook alone - I need to get some dinner parties going), I miss the feeling of sharing out something I have made and feeding friends.

So once my popcorn had cooled, I split it up, put it in plastic bags, wrapped them in brown paper and posted them to the people I miss being sat around the dinner table with. I'm hoping they won't receive a packet of dust & that this post won't have ruined the surprise. I wish I could have sent something savoury and hearty, like a big lasagne, but sadly it doesn't post well.


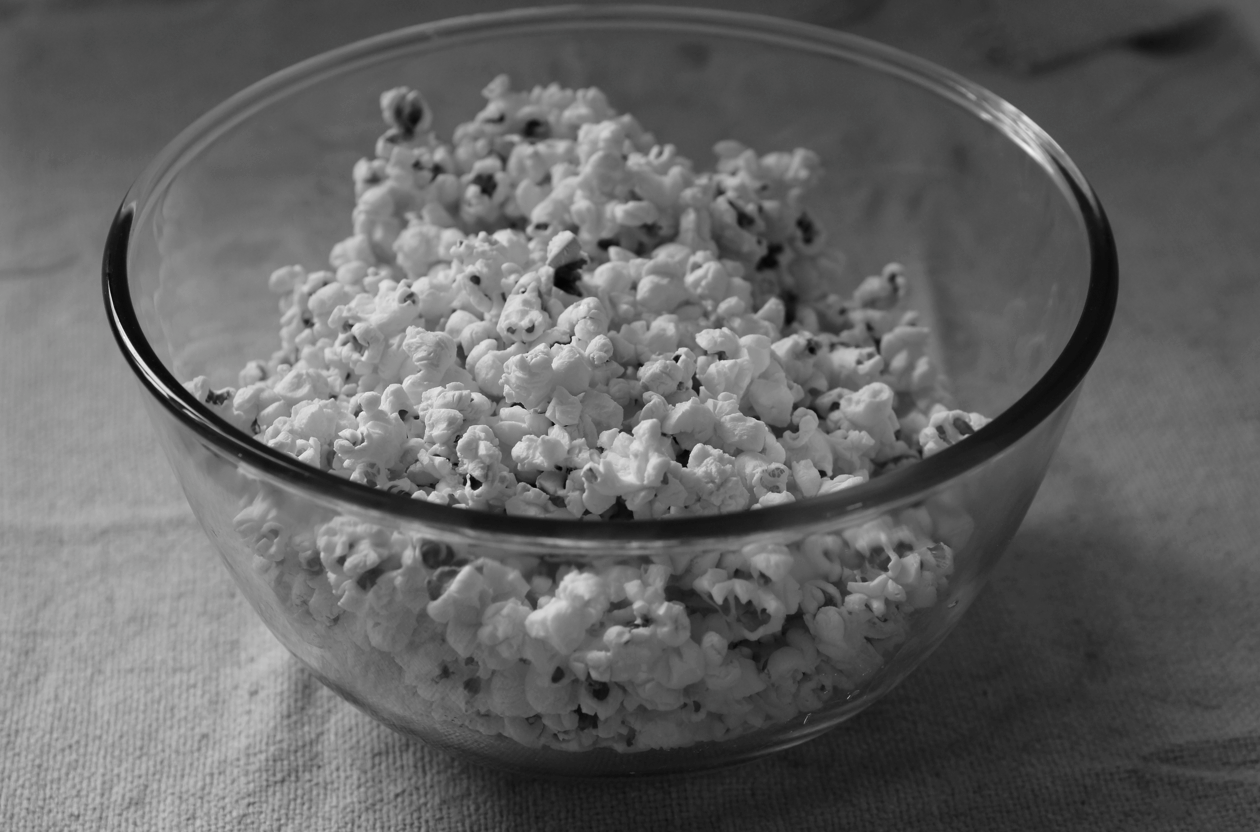
Popping popcorn is incredibly satisfying, especially in a pan instead of a microwave - I really recommend it. I can see myself making lots of simpler batches of buttered popcorn when the mood strikes.

My pan didn't have a lid so I suspended a frying pan over the top. I had to essentially hug the pan to keep things in place. The suspense as I stood there waiting for the kernels to start popping was hilarious - I had no idea if they would get through the gap, or what force they would have when they hit the lid.

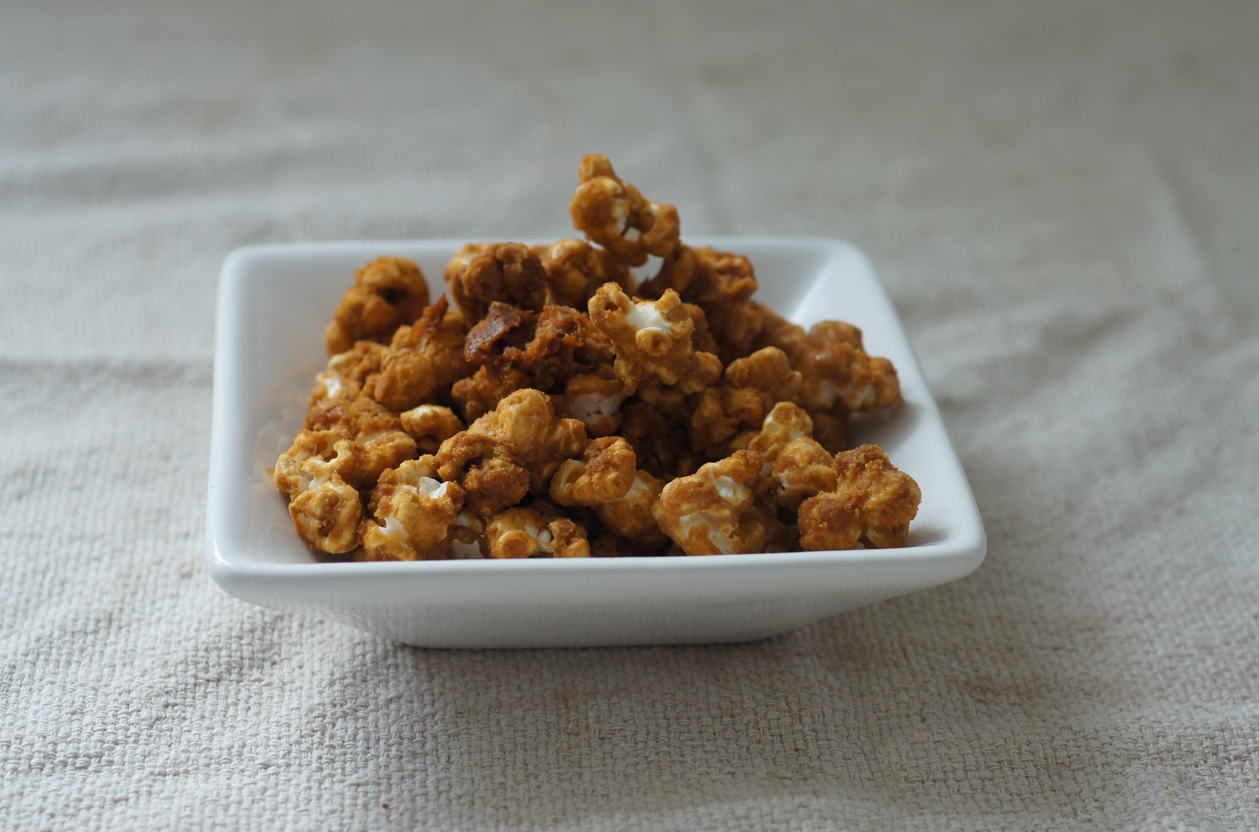
I looked at quite a few recipes for the caramel part but Molly's interested me most. I changed the corn syrup for golden syrup. The baking dries everything out and gives a great crunch. Don't skip the salt, though you could reduce it if you like.

The best part is that this popcorn truly tastes of deep caramel, not just sugar. It's rich, slightly smoky, a bit salty and quite addictive.


Caramel Popcorn
(Adapted from Orangette and Simply Recipes)

For the corn:
3 tbsp peanut/canola/sunflower oil
75g popping corn

For the caramel:
180g brown sugar
70ml golden syrup
90g unsalted butter
2 tbsp water
2 tsp vanilla
1/2 tsp bicarbonate of soda
1/2 tsp fleur de sel

Grease a big mixing bowl lightly. Place the oil into a big pan (it needs to have a lid, or something you can use as a lid). Heat over medium high heat. When it's warmed, add 3-4 kernels into the oil and cover. Once they pop, sprinkle the remaining kernels into the pan in an even layer and cover again. Take off the heat and count 30 seconds. Return to the heat. Once they start to pop, shake gently side to side. Keep the lid down but try to leave a little gap/hole so that some steam is let out. Once the popping has died down to less than once a second, take the lid off and tip all the popped kernels into the big bowl.

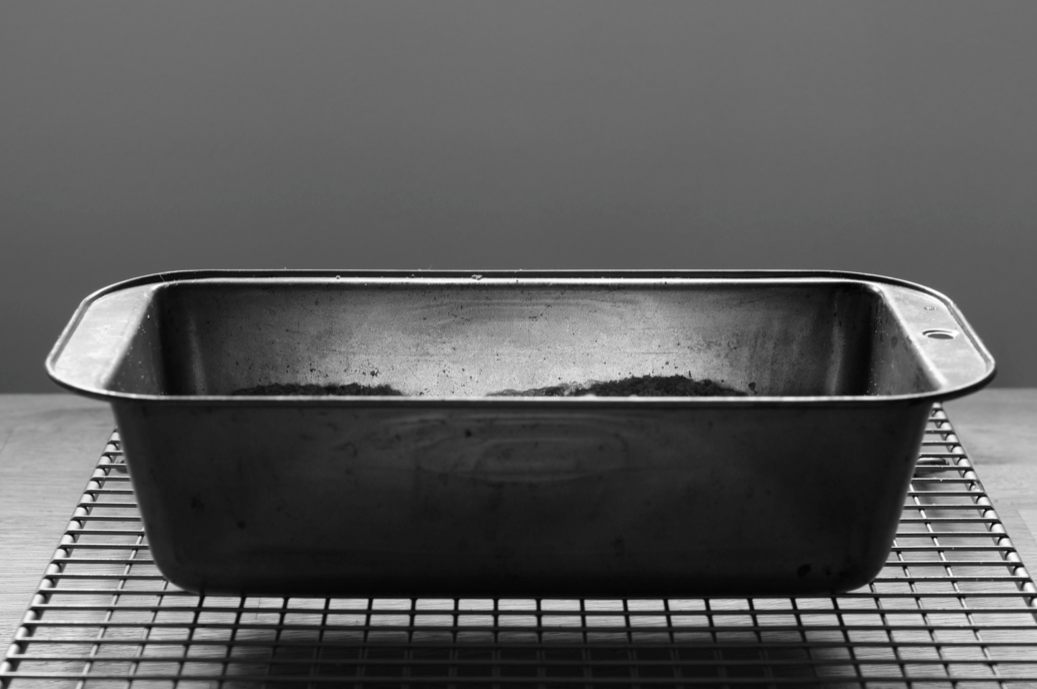
Preheat the oven to 120C/250F. Line a tin with some parchment paper. Put the sugar, syrup, butter and water together in a medium saucepan. Place over medium-high heat. Once the butter is melted, whisk together. Keep heating until it reaches 120C/250F then remove from the heat and quickly whisk in the vanilla. Finally add the bicarbonate and whisk in again - it will foam up a little and look dull instead of shiny. Pour over the popcorn in the greased bowl and use a spatula to fold it all in and combine.

Tip out onto the baking sheet. Sprinkle with the fleur de sel and fold lightly through. Bake in the oven for 40 minutes, turning at 20 minutes. Cool.

(Makes a big bowlful - I couldn't possibly say how many people it serves!)

Sunday 23 October 2011

Apple & Quince Pie


When I bought a few quinces at the market two weeks ago, I spent some time reading up on how to use them. For my first taste I chose buttered quince.


Yet I kept on coming across the idea of using quince in an apple pie. I found Jane Grigson claiming that quince adds more to the flavour than anything else, Nigel Slater raving about the "extraordinary perfume" it adds, The Flavour Thesaurus explaining how it couldn't be beaten as a combination.

I had to try.


Pie was already on my 'to do' list. I've made plenty of tarts, galettes and other combinations of pastry and fruit, but never a traditional pie. This seemed like the perfect time.

I bought a pie dish on an crisp early morning walk then came home to make this pie.


I can see where my books were coming from. Underneath the crisp pastry crust lay the most delicious filling, creamy gold and flecked with the rose of the quince. The steam that rose from the pie had the most intoxicating smell.


The scent of a quince is possibly its most distinctive feature. I was finding it very hard to describe until I came across this description in The Flavour Thesaurus: "apple, pear, rose and honey with a musky, tropical depth". The taste echoes the smell.


Make sure you eat this warm with plenty of chilled double cream. It's glorious. I had to go back for seconds.

Sometimes the best desserts are not complex Michelin-starred creations but simple classics.


Apple & Quince Pie
(Pie adapted from Jane Grigson's English Food and pastry adapted from Michel Roux's Pastry)

For the pastry:
250g plain flour
1 tsp sea salt, finely ground
1 tsp caster sugar
1 egg
1 tbsp cold milk
1/2 tsp vanilla extract
150g unsalted butter, cold and cubed
a little extra caster sugar

For the filling:
300ml water
few drops lemon juice
4 cooking apples (roughly 550g)
1 quince (roughly 200g) *
3 tbsp brown sugar

Sieve the flour, salt and sugar into a bowl. In another bowl, whisk the egg, milk and vanilla together. Place the cubed butter into the flour bowl and rub the butter into the flour until it resembles wet sand. Add the egg mix in one go and mix with a knife. Pull together with your hands. Tip onto a surface and squish with the palm of your hand a few times to combine. Wrap in cling film and chill for at least 30 minutes.

Preheat the oven to 220C**. Pour the water into a bowl and add the lemon juice. Peel, core and chop the apples into small chunks and place them into the water. Peel the quince, then chop into 4, cut the core out and immerse three pieces. Grate the 1/4 back into the bowl and then repeat with the other three, mixing as you go. Place a sieve over a bowl and drain the fruit, making sure you keep the water. Arrange 1/3 of the fruit into a 9" pie dish then sprinkle a tablespoon of the sugar over the top. Add another 1/3 and tablespoon, then repeat again. Pour 250ml of the water into the dish at the side, trying not to wash the sugar out of place.

Roll out the pastry into a circle roughly 12". Cut strips off from around the edge and press along the edge of the pie dish. Brush with a little of the extra water. Roll the pastry over the pin and place over the top of the pie. Press down over the top and then trim the edges. Crimp the edges to seal them and then use a knife to cut a steam hole in the top. Brush the top with some of the extra water and then sprinkle with caster sugar.

Place into the oven and bake for 15 minutes. Turn down to 190C** and bake for another 30 minutes. Leave to cool on a rack. Eat hot or warm with plenty of cold cream.

*If you can't find a quince, you can use roughly the same weight of a sweet apple such as a cox - you won't get the quince perfume but it will still be a lovely apple pie.

(Serves 8)


**Edit 22/11/15: I've just made this again and the baking temperatures seem a bit off, but I sadly haven't had time to re-test them. I think I'd go for 200C put down to 170C another time. I also had a bit too much quince as mine was quite large - I think I might go for half next time, as it was quite overwhelming.

Tuesday 18 October 2011

Rice Pudding with Buttered Quince


The quince encapsulates autumn.

As the season dawns, the fruit upon the tree begin to glow a vibrant yellow, ripening from their fuzzy green beginnings.

The flesh of the fruit is crisp and feels almost frozen under the knife. Warmth transforms the quince.


At first, you don't quite know how to dress a quince. Tights, leggings, boots, butter, poaching, roasting?

Once you take the coat off a quince, it must be quickly submerged into a new home without being left out in the damaging air.


Once placed in the pan, the creamy flesh slowly changes colour. By the end, chunks of quince are the colour of a crisp autumnal sunset.


I'm slowly getting used to an urban sunset, a city autumn - litter mixing with the mounds of crisp brown leaves, the tube-heat-coat troubles.

I found these quinces at a little market. Having never seen them for sale before, I grabbed a few. My grandmother used to make quince jelly but I didn't have enough. Simplicity won in the end - I wanted to really be able to taste this new fruit.


Finally, the rice pudding. As a child, I never really liked rice pudding. I fell in love with it this summer, when I ate a lot of it in France. It was served cold for breakfast, thick and creamy and topped with fresh fruit coulis. This pan barely lasted long enough to be photographed. Sometimes the simple pleasures are the best.

I thought it would meld well with the rosy quince. Each mouthful morphs from creamy to fragrant and fruity as you eat.


Rice Pudding with Buttered Quince
(Pudding adapted from Raymond Blanc's Kitchen Secrets, quince from Nigel Slater's Tender Vol II)

For the pudding:
75g short grain rice (I used risotto rice)
850ml whole milk
50g caster sugar
pinch of sea salt
1 vanilla pod

For the quince:
1 quince (about 250g)
1/2 lemon
10g butter
15g caster sugar

Place the rice, milk, caster sugar and sea salt into a medium saucepan. Split the vanilla pod and scrape the seeds out. Place the seeds and pod into the milk. Set over medium heat and bring to the boil then bring down the heat to a gentle simmer. Keep heating, stirring occasionally and scraping the bottom with a spatula.

It will slowly thicken and the rice will cook. This can take at least an hour. (You can cook on the stovetop for 30 minutes then bake in the oven for 30 minutes at 150C too). By the end you still want it to be fairly loose as it will thicken - the rice will be visible on the top and the sauce should be about the thickness of custard. When it's ready pour it into a dish and cool to room temperature. Chill in the fridge overnight, or for at least 2-3 hours.

To start the buttered quince, prepare a bowl of cold water with a slice of the lemon, squeezing it to release the juice. Rub a little lemon over your peeler and peel the quice, dipping the exposed areas into the water. Cut into quarters and place three into the water. I found it easiest to then cut these in half lengthways, place on their triangular bottoms and slice the core out. Chop into chunks and place back into the lemon water. Repeat for the other pieces.

When they're done, place the butter and sugar into a medium pan and melt together. Juice the rest of the lemon into the pan and stir. Finally drain and add the quince chunks. Stir together and heat over a low-medium heat until the quince is very soft - it should be pinky orange instead of cream and easy to squish. This takes about 45 minutes, depending on the ripeness of the fruit.

To serve, spoon some of the cold rice pudding into a bowl and then top with some of the buttered fruit.

(Serves 3-4)


Tuesday 11 October 2011

200: Pear and Chocolate Crumble


This is my 200th post.

I had a pear, chocolate and hazelnut tart recipe stashed away for the occasion (well, actually, for the 2 year marker I totally missed in March) but when I actually tried it on Sunday it wasn't anything special. So instead of sharing that, I decided to delve back into my old notebooks and pull out an early recipe for pear and chocolate crumble. Maybe I should have gone for a showstopper (like the Butterfly Fleur de Sel Caramel Cake I made for my 100th), but this humble crumble (heh) is what I felt like eating.

Poires au Chocolat is named after a few recipes I created back in 2009 that gave me my first feelings of satisfaction while recipe testing. Though the cake was the real eureka moment, I love this crumble too. I have a necklace with a little gold pear pendant to remind me of that feeling and of where this whole dream came from.


The post I wrote for my first blog birthday was special. It was in that post that I first revealed to the world that I wanted to train as a pastry chef. 21 months later and here I stand as a student. I still can't quite believe that my dreams are coming true all around me.

I want to share my experience at culinary school with you all in some way. I can't share the recipes or go through explaining all the techniques so instead I've decided to keep a photo diary of everything I make on Instagram, the photo app. At the end of each practical session I'll snap a photo and upload it - my account is poiresauchocolat if you're on Instagram or I will be tweeting a link every time. The photos for my first two practicals and a few other shots are on there already. In this way I hope I can share my highs and lows with you all.


I like the progression of these photographs (to ruin the surprise) and the idea that a grayscale world turns colour after some rejuvenating pudding. Pudding has incredible powers of restoration. Tired? A steaming bowl of crumble will put you back on your feet. I ate mine with greek yogurt this time but proper custard is perfection.

Here's to 200 posts, my 186th recipe and following your heart! (Imagine you have a glass of champagne at this point. Chink!)


Pear and Chocolate Crumble
(crumble recipe adapted from Delia's Complete Cookery Course)

For the crumble:
75g plain flour
40g unsalted butter
30g soft brown sugar
1/8 tsp ground cinnamon
1/8 tsp ground ginger
1/8 tsp ground nutmeg

For the filling:
3 medium pears, slightly unripe and firm to touch
1 tsp maple syrup
sprinkle of cinnamon and nutmeg
30g dark chocolate.

Preheat the oven to 180C. Sieve the flour into a bowl. Add the butter and rub in until you have fairly uniform crumbs. Stir in the sugar, cinnamon, ginger and nutmeg.

Peel the pears and chop them into medium chunks. Place into a medium saucepan and just cover with cold water. Add the maple syrup and a dusting of the spices. Put over a medium heat and cook until the pears are just turning soft. Remove the pears to a small baking dish or tin (I used a loaf tin this time as I didn't have a dish). Keep the remaining water over the heat till it reduces to about 2/3 of its original depth.

Pour the syrup over the pears in the dish. Roughly chop the chocolate and stud the pears with the chunks. Stir any little pieces of chocolate into the crumble mix, then top the pears with it. Bake for 30 minutes or until browned and bubbling.

(Serves 3-4)

Wednesday 5 October 2011

Toasted Coconut and Dark Chocolate Blondies


This recipe is essentially a list of things I love. Toasted coconut? Check. Brown butter? Check. Brown sugar? Check. Dark Chocolate? Check. Vanilla? Salt? Egg? Flour? Check.

I first made blondies during my finals. They're perfect for that sort of thing: special, sweet, and easy to put together. They also freeze really well (just like brownies) so they're great if you're living alone. You can just pick one out as and when, rather than worrying about something going stale. I have a strange fondness for them straight out of the freezer when they're crunchy and cold.

I'll leave you with the tweet I sent when I tasted my first blondie, back in May: 'Blondies = YUM.'


Toasted Coconut and Dark Chocolate Blondies
(Adapted from Smitten Kitchen)

20g shredded dessicated coconut
20g strips of dessicated coconut
120g unsalted butter
180g light brown sugar
1 egg
1 tsp vanilla
big pinch of salt
115g plain flour
100g dark chocolate

Preheat the oven to 180C/350F. Line an 8" square tin with greaseproof paper. Place the shredded coconut into a dry medium frying pan and toast until golden, then remove to a plate to cool. Repeat for the strips. Put the butter into the pan and melt. Keep cooking until the foam subsides and the pan is full of brown speckles and your kitchen smells heavenly. Leave to cool for a minute while you chop the chocolate into chunks.

Place the sugar into a medium mixing bowl and pour in the brown butter. Beat until smooth. Add the egg and vanilla and beat again. Sieve the flour and salt over the top and mix until uniform. Remove a few strips of coconut, then toss the rest of it into the mixture, followed by the chocolate. Scrape into the pan and spread into the corners. Top with the reserved strips of coconut and place into the oven.

Bake for 20-25 minutes - you want the insides to still be a bit gooey. Leave to cool on a rack before slicing into 16 squares.

(Makes about 16 small squares)


Sunday 2 October 2011

Lemon Posset


As you may have heard on twitter or facebook, I started my pâtisserie diploma at Le Cordon Bleu in London on Friday!

I'm really excited about starting my training and all the things I'm going to learn (though I'm less enthused about the amount of washing and ironing I'm going to have to do to keep my whites clean and crisp for every session - we lose marks if they're not!). I'm also frankly terrified of my knife set, having been told it's razor sharp and that I will cut myself. Eek.


Lemon posset seems to be having a bit of a moment, particularly on gastropub menus. I don't blame them - it's quick, delicious, prepared ahead and uses only 3 ingredients.

Despite the claims that often get thrown around about it being a historical pudding, I can't find any mention of this form of posset (not the curdled milk and ale drink) in my older cookery books (in any of my books, actually - the recipes I altered are all online). It's thick, rich and creamy but lightened by the lemon. Almost like a subtle, extra creamy lemon curd.

I'm going to try 120g of sugar instead of 140g another time for a bit more zing - hopefully it won't upset the chemistry. I've left the recipe at 140g below but feel free to experiment with less sugar, though I can't guarantee it will work!


Lemon Posset
(Adapted from a combination of Food 52, James Martin and Nigel Slater)

300ml double cream
140g caster sugar
juice of 1 lemon

Place the cream and sugar in a large saucepan. Put over a medium heat and stir until the sugar has dissolved. Turn the heat up slightly and bring to a boil. Once the mixture is bubbling, keep it going for 3 minutes then remove from the heat. Leave to cool for a minute, then stir in the lemon juice. Leave to cool in the pan for 15 minutes, then pour into ramekins or glasses - 4 bigger portions or 6 smaller. Chill in the fridge for at least 3 hours before serving. Serve alone, with a few summer fruits, a fruity coulis and/or a crisp biscuit such as shortbread.

(Serves 4-6)


ShareThis