Thursday, 10 February 2011

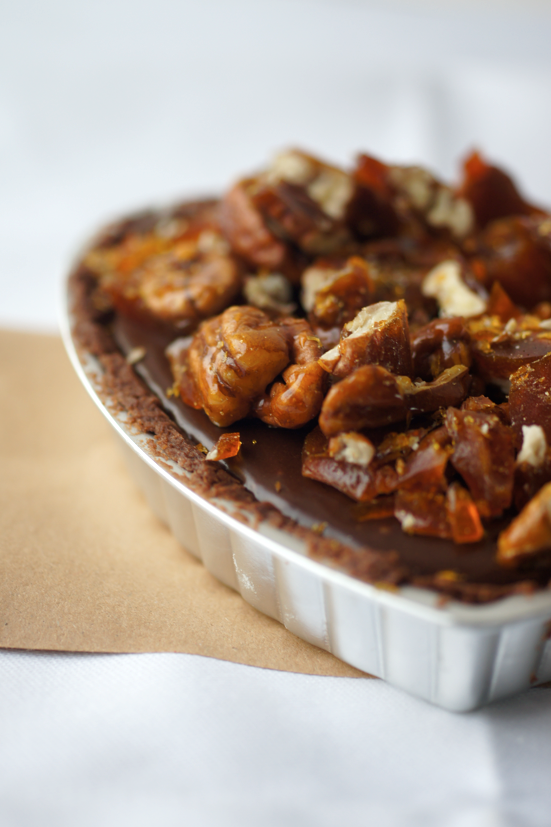
Sea-Salted Chocolate and Pecan Praline Heart Tarts


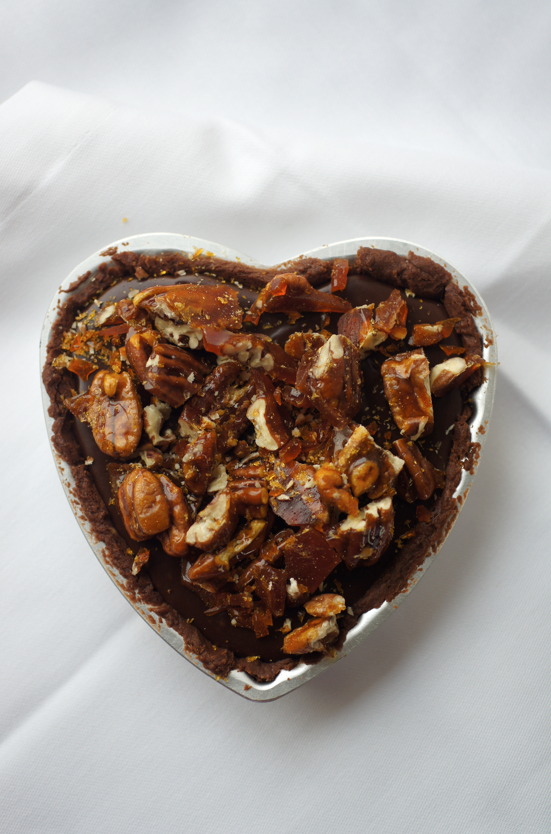
I gave in. I made heart shaped baked goods. 

I got these little heart shaped tart tins from my housemate Sarah for Christmas and this seemed like the perfect time to whip them out. I halved the original recipe but if you don't happen to have two smaller tins (or a tin about 15 cm diameter) then double the recipe and use a 24 cm one. 
I don't celebrate Valentines with my boyfriend (who, incidentally, doesn't ever really get mentioned on here despite having been with me nearly as long as this blog has. I suppose I'm quite a private person about such things.) and so I wasn't intending to post anything about it. But somehow those tins came out of the cupboard and here I am. 
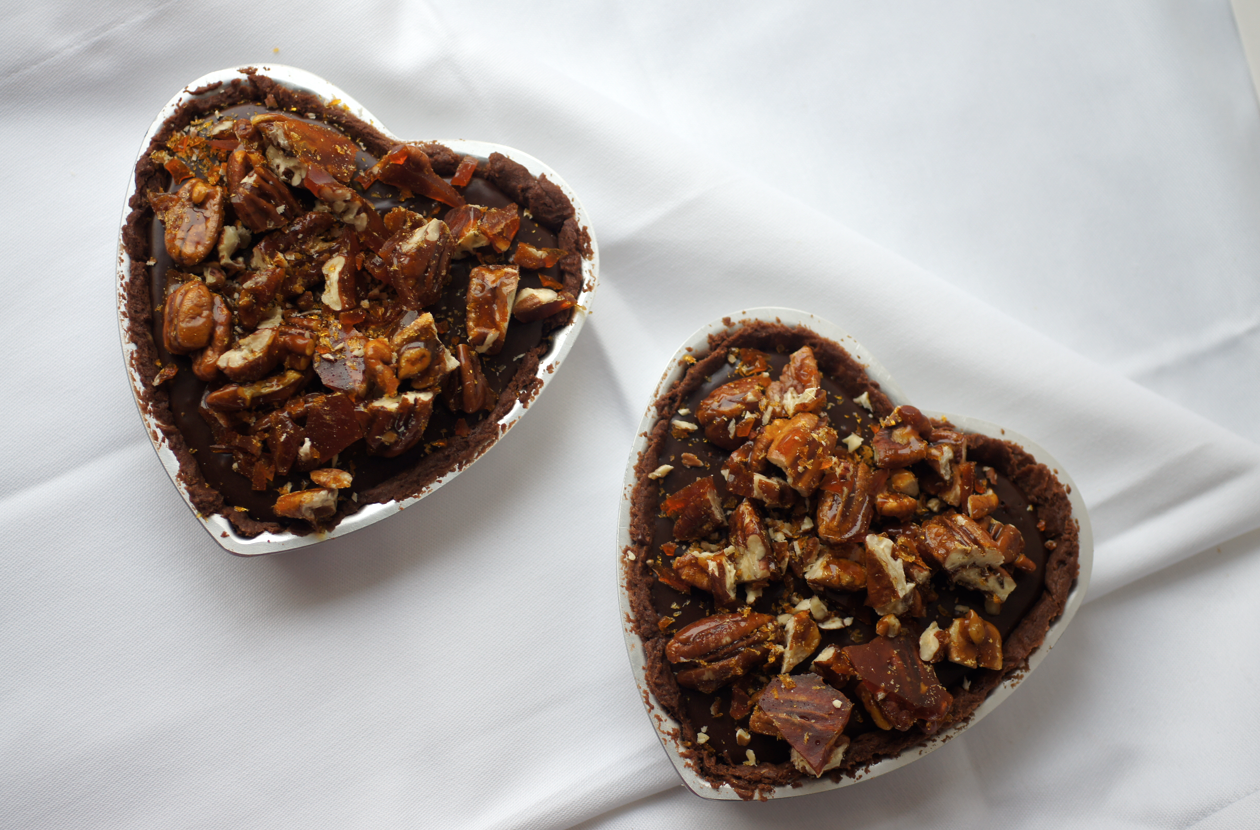
So instead of celebrating Valentines as a massive romantic couple-only event I'm going to think of it as just a day to reflect on all the people you love. Friends and family as well as partners. To this end I took these tarts to a dinner with a group of friends last night. I showed my mum on skype and made her really quite jealous. I saved a piece for a certain someone too. 
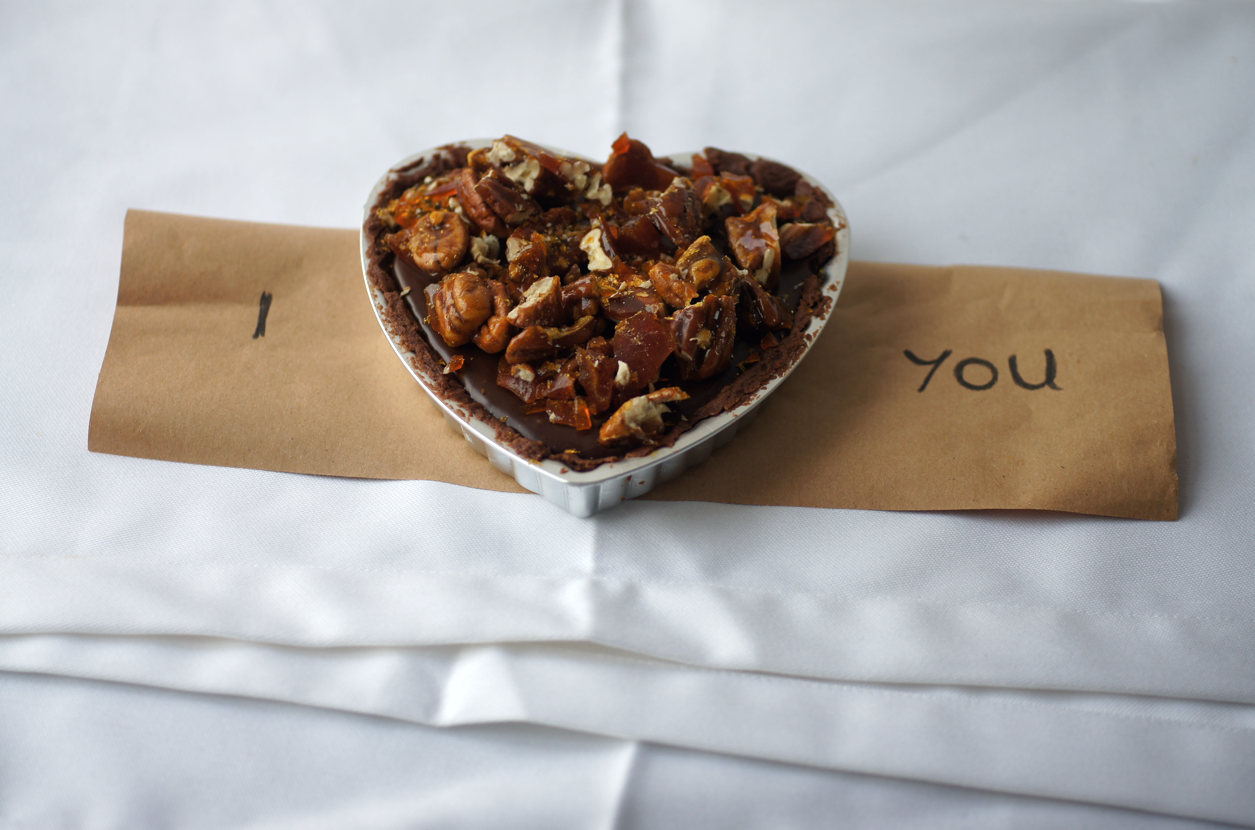
But also, dear reader, these tarts are for you. (Don't get me wrong, not in a creepy way. No stalkers please - except if you are Rachel or Rosie of Dream Team fame, of course). 

Seriously, though. Every sweet comment or wish for my future warms my heart. I'm not always the most confident of people and your support has made it so much easier to come out with something so delicate as a dream for the future. My nerves don't jangle when I now tell someone I'm heading to pastry school. I just get a buzz of excitement. 
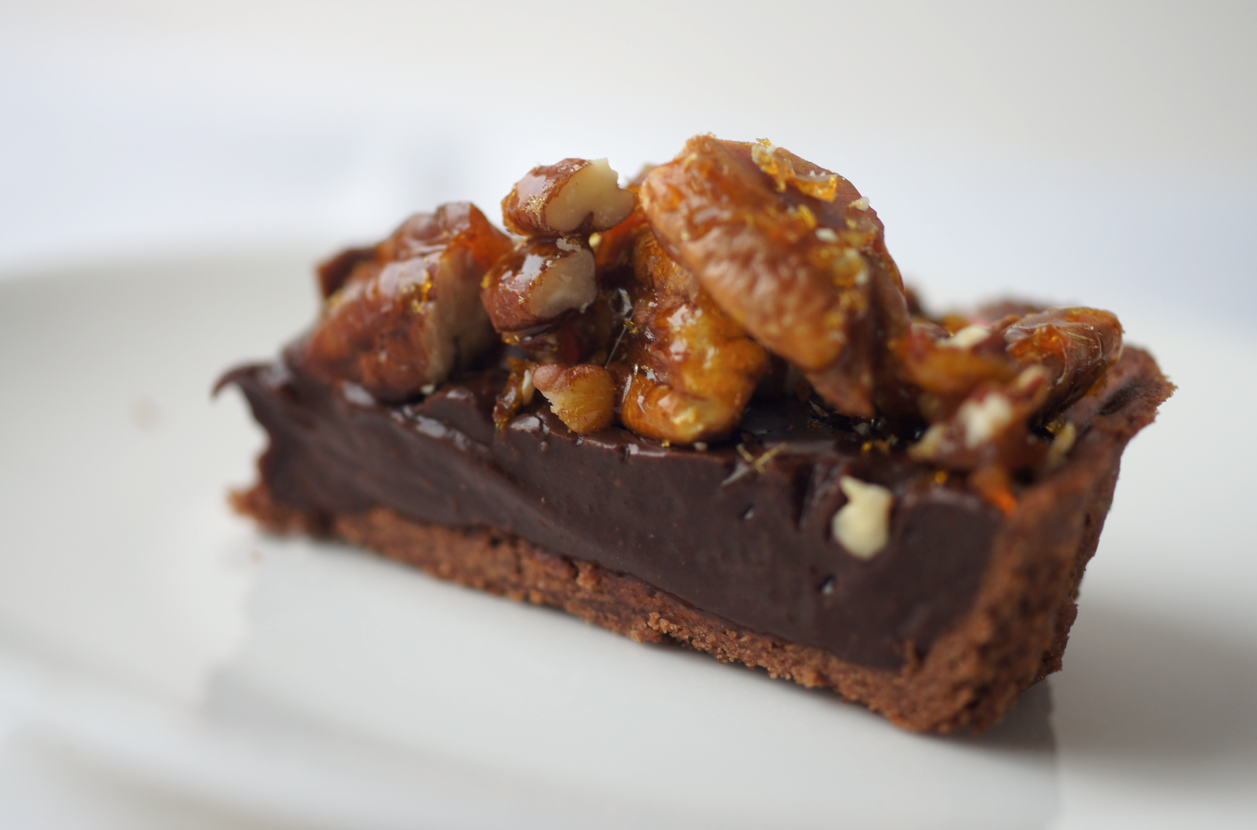
This recipe comes from my favourite chocolate book, 'Adventures with Chocolate' by Paul A. Young. Another time I'll reduce the salt as it's a bit overpowering for my taste. Otherwise, these are gorgeous. The praline is addictive and so much fun to make. The filling is silky smooth and intense. The pastry is a bit of a pain to deal with but the way it crumbles works in contrast to the creamy insides. 
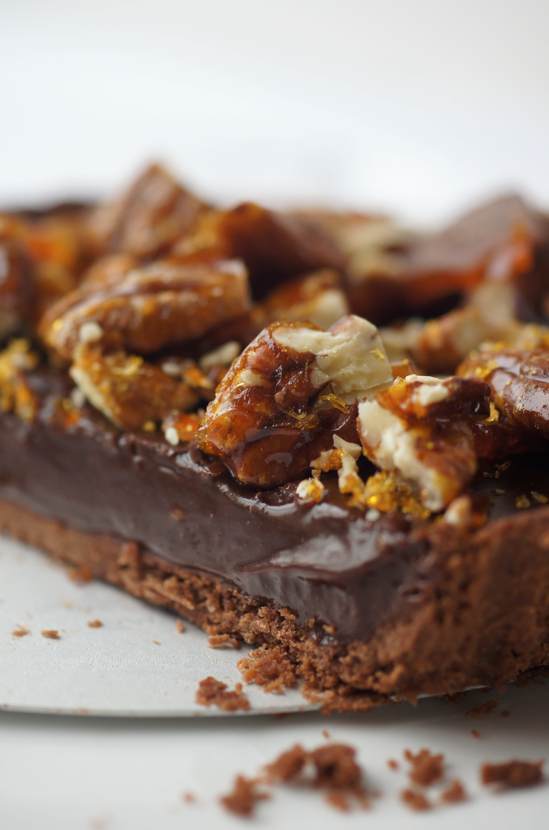

Sea-Salted Chocolate and Pecan Praline Heart Tarts
(barely adapted from Paul A. Young's Adventures with Chocolate)

For the pastry:
88g butter
38g caster sugar
1 egg yolk
125g plain flour
10g cocoa
17 ml cold water

Cream the butter and sugar together with a wooden spoon or in a food processor. Add the egg yolk and water and mix until all the liquid is incorporated. Add the flour and cocoa powder a tbsp at a time until it forms a thick uniform paste.  Wrap in cling film and chill for at least 1 hour (I chilled mine overnight).

Sprinkle a work surface with flour and start rolling the pastry out as one if you're doing one big tart or in halves for two smaller ones. Roll it out until it's bigger than your tin then transfer and press into the tin. Slice off any excess bits and put in the fridge to firm up for about 15 minutes. Preheat the oven to 180C/350F. Scrunch up pieces of parchment and use them to line each tin then fill with baking beans. Bake for 8 minutes (12 for one tin, 20 for the doubled recipe) then remove the parchment and beans and bake for a further 5. Leave to cool. 

For the filling:
100g best quality dark chocolate (Paul recommends 65% Madagascan)
100 ml double or whipping cream
100g light brown sugar
2.5g Maldon sea salt (I'm going to use 1g next time)

Put all the ingredients into a mixing bowl then set over a pan of boiling water. Turn the heat down as low as it will go and then stir until smooth and melted. Pour into the cold baked tart cases and put into the fridge to set for 2 hours.

For the topping:
50g white caster or granulated sugar
1/2 tsp Maldon sea salt
50g pecan halves

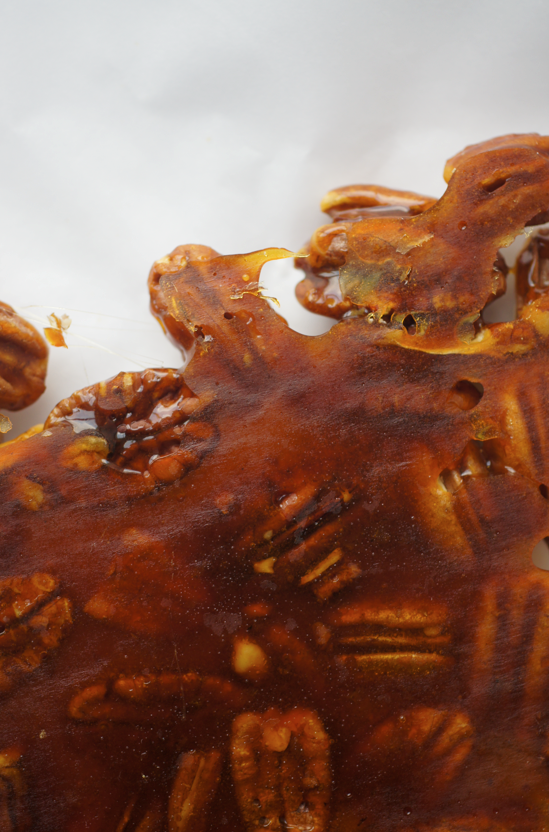
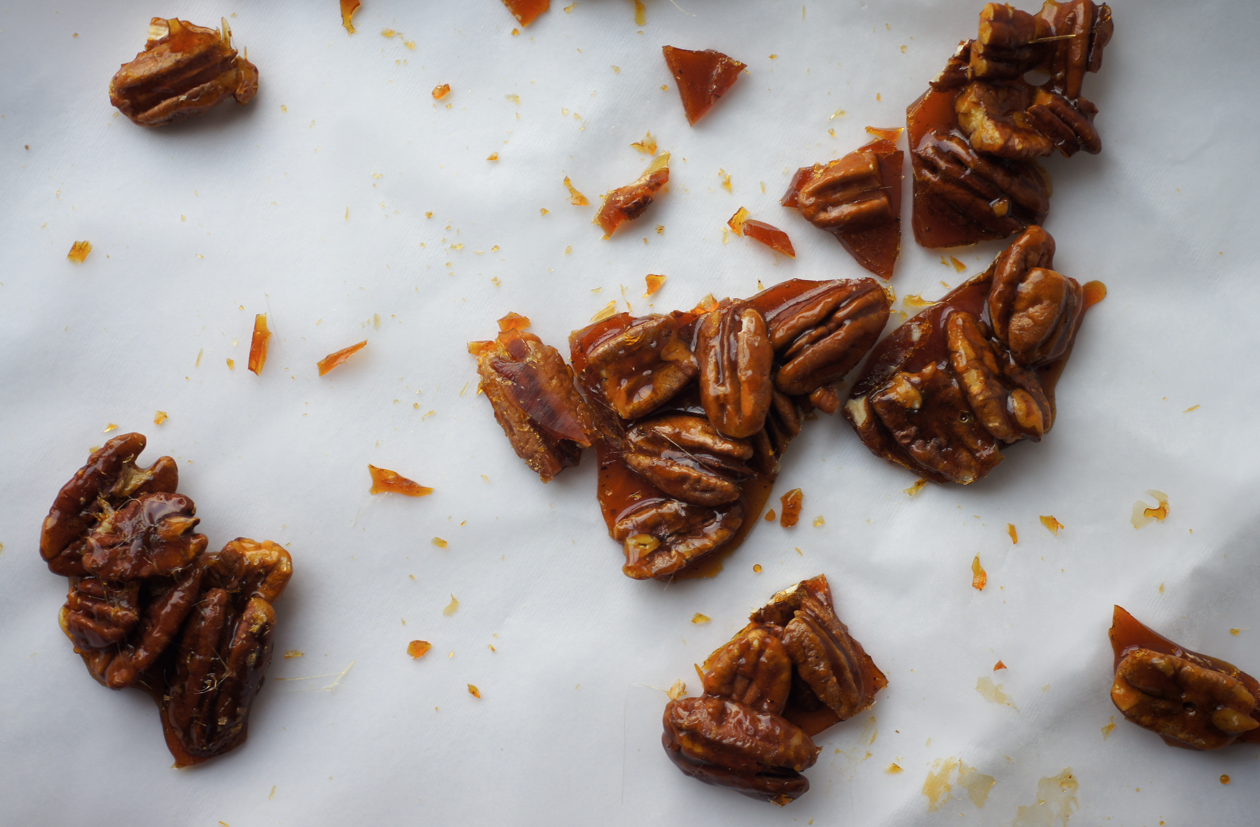
Cut a square of parchment and put it near your hobs on a safe surface. Heat the sugar in a small saucepan until it melts and caramelises (have a look at this if you're unsure about making caramel). When it gets to a deep gold, add the salt and stir well. Pour in the pecans and stir quickly making sure they're evenly coated. Pour onto the parchment and spread out. Leave to cool totally then break or chop into shards and top the tarts with it. 

(Makes two 12cm tarts - serves about 6)
Tuesday, 8 February 2011

Chocolate Swiss Roll with Peanut Butter Mousse

This is the other cake I took to my friend Sam's birthday party last friday, along with the Raspberry and Pistachio Baked Cheesecake. 

Sam said I could let my imagination run wild and to go for more dessert than cake. So I chose an exciting idea I had thought up at 1:45am and then tweeted about a few weeks ago - partly because I thought it would be suitable and partly because just the thought of having the whole thing in my house made my thighs expand. 

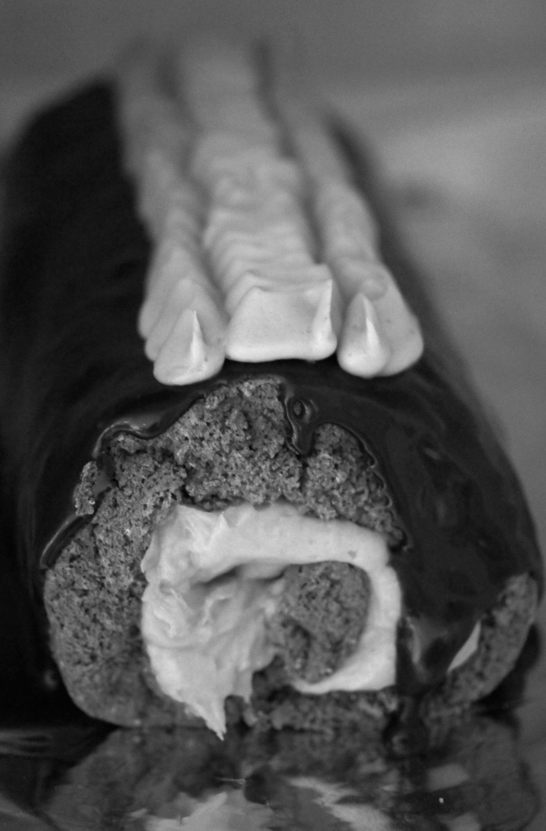
I adapted a recipe from David Lebovitz's Ready for Dessert for the cake (partly because the recipe intrigued me with the water addition), adapted a recipe from Whisk Kid for the mousse and used some leftover hot fudge sauce to pour over it. It turned out really well and everybody seemed to enjoy it - soft light sponge, creamy peanut butter mousse and then the dark contrast of the outside. I was particularly pleased with the sponge as it didn't crack or dry out. Another time I'll just use ganache for simplicity, so that's what I've put below. Another time I might smooth the ganache over the ends too, as it looked a bit uneven.


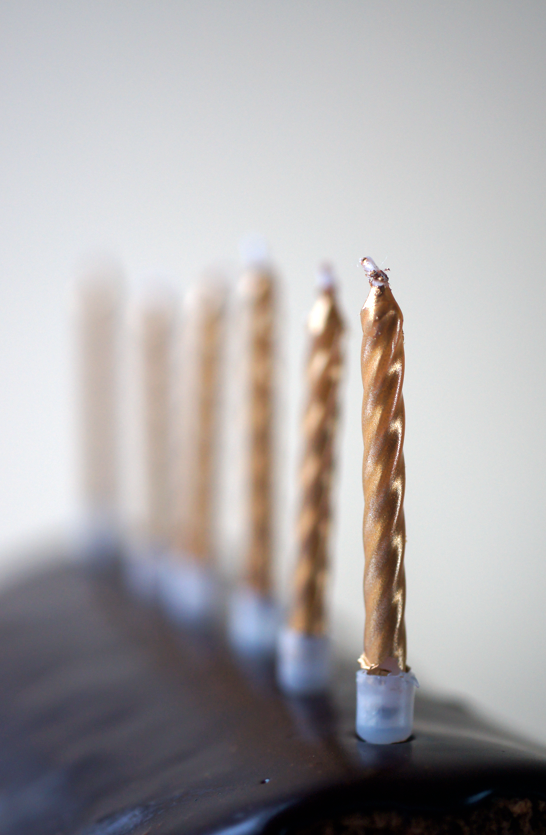
I had both cakes happily sitting in the fridge waiting to leave while we got into our costumes. Then, about half an hour before we needed to leave, I got a text from Sam's girlfriend asking if I had any candles for the cake she was making him. Whoops. No idea why I didn't think to ask - I was so glad I hadn't made a traditional cake at that point. So I whipped the candles out of the top and piped some remaining mousse down the middle to hide the craters in the sauce. Sorted. 

Only remaining problem - all photos included candles, especially because I thought they were pretty. So no hiding from my faux pas. I got a shot of the final version in my fridge to show you but the colours were so off I had to make it black and white...


Chocolate Swiss Roll with Peanut Butter Mousse
(cake adapted from David Lebovitz's Ready for Dessert and mousse from Whisk Kid, here)

For the cake:
60g plain flour
30g cornflour
20g cocoa powder
1/2 tsp baking powder
pinch of salt
3 eggs, separated
35ml cold water
120g golden caster sugar

Preheat the oven to 175C/350F and line the bottom of a 12" by 8" (or slightly bigger) swiss roll tin. Butter the sides. Sift the flour, cornflour, baking powder, cocoa powder and salt together three times. In the bowl of a stand mixer with the whip attached, whisk the egg yolks and water together on high speed for 1 minute. Turn down and add the caster sugar, then whip on high until the mixture is pale and thick and leaves a trail when the whisk is lifted - about 5 mins. Put to one side. In another clean, dry bowl (I transferred the first mix to another bowl then washed my KA bowl as I only have one) whisk the eggs whites until stiff peaks. 

Place the yolk mix bowl on a damp cloth to stop it moving. With your non-dominant hand, slowly start sifting the flour mixture into the bowl while your dominant hand folds in with a whisk. When the flour is totally incorporated, add 1/3 of the whites and fold in with a rubber spatula to lighten the mix. Finally add the rest of the whites and fold in until uniform. Pour into the baking sheet, spread evenly and place into the oven. Bake for 12-15 minutes or until springy to touch in the center but not too brown, especially at the edges. 

While the cake is baking, cut two large rectangles of parchment paper bigger than your pan. Lay one on a work surface then sprinkle with a few tsps of caster sugar and have the other handy. When you take the cake from the oven, leave it to rest for one minute, then slide a knife around the edge of the pan and flip onto the sugary parchment. Peel off the parchments on the bottom of the cake. Score a line gently about 1" from one end. Place the new parchment over the top and start rolling from the scored edge, keeping it tight. When you finish, wrap the whole roll in a tea towel and leave to cool. 

For the mousse:
100g cream cheese
175g peanut butter
100g icing sugar
200ml double cream

In a medium bowl beat the cream cheese until smooth. Add the peanut butter and icing sugar and beat again until smooth and uniform. In a separate bowl, whip the cream until fairly stiff. Add 1/3 of the cream and fold in to lighten, then add the remaining cream and fold in until uniform. Put in the fridge to chill for 1 hour. 

To assemble:
50g dark chocolate
75ml double cream
20g soft brown sugar

Carefully unwrap then unroll the cake then spread over the peanut butter mousse thickly, leaving an inch around the sides. Re-roll and then place on your serving plate. Chop the chocolate and place it in a small bowl. Heat the cream and sugar until the sugar is dissolved and it's nearly boiling, then pour over the chocolate. Leave for a minute then stir until smooth and glossy. Spoon over the swiss roll until evenly coated (you could do this on a rack to stop there being drips on the plate). Chill for 1 hour before serving. 

(Makes about 10-12 slices)

ShareThis