Monday 31 May 2010

A Nutella Dégustation


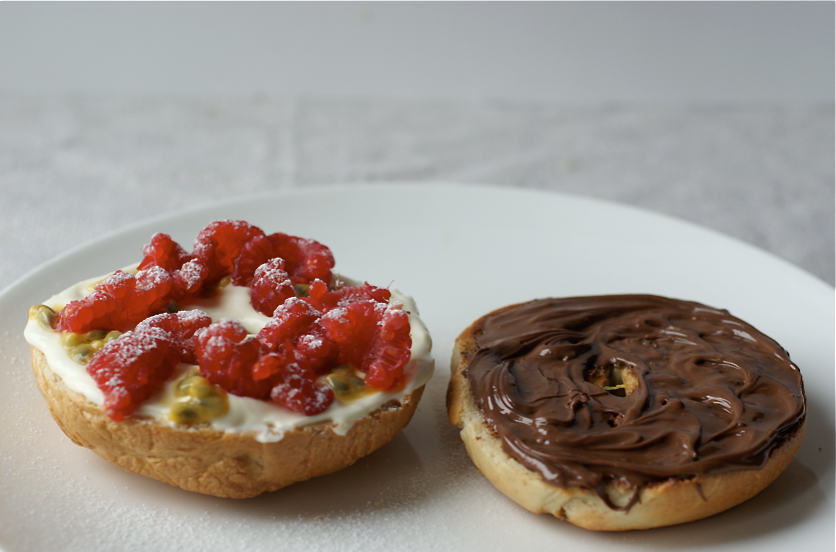
Oh Nutella. How much we love thee. My flat consumes an abnormal amount of nutella.

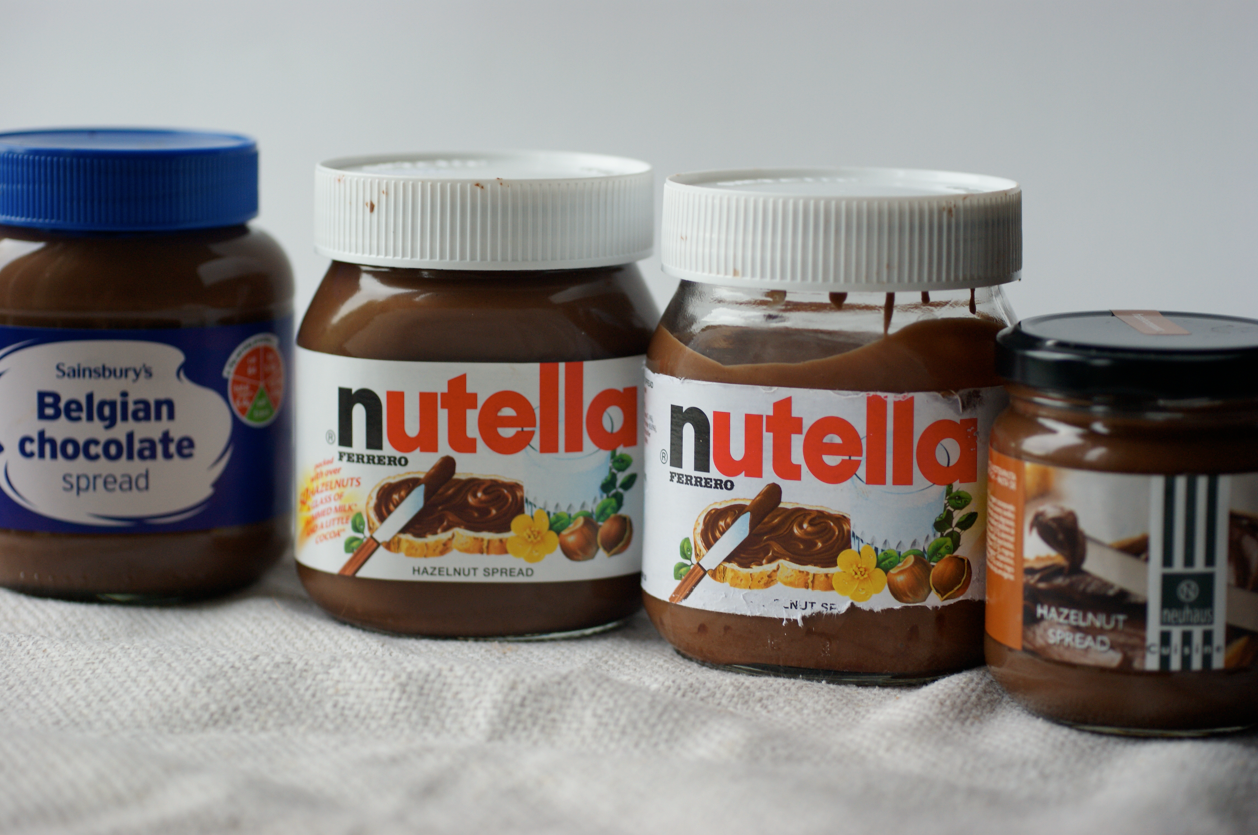
As a tribute to this, when flatmate one was at a chocolate factory near her home in Belgium she bought us a jar of their chocolate spread. We didn't dare open the little jar of 'posh tella' and had a few jars of regular nutella instead. Then flatmate two bought a jar of sainsbury's own to see if the cheaper option was acceptable.

It seemed quite obvious to me - I needed to try out one of the lovely recipes for homemade nutella, and then we needed to have a taste test. A dégustation.


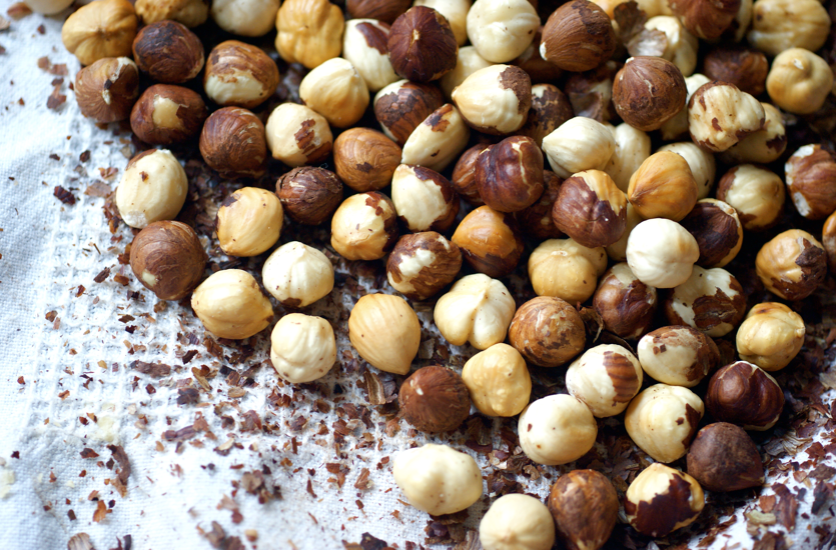
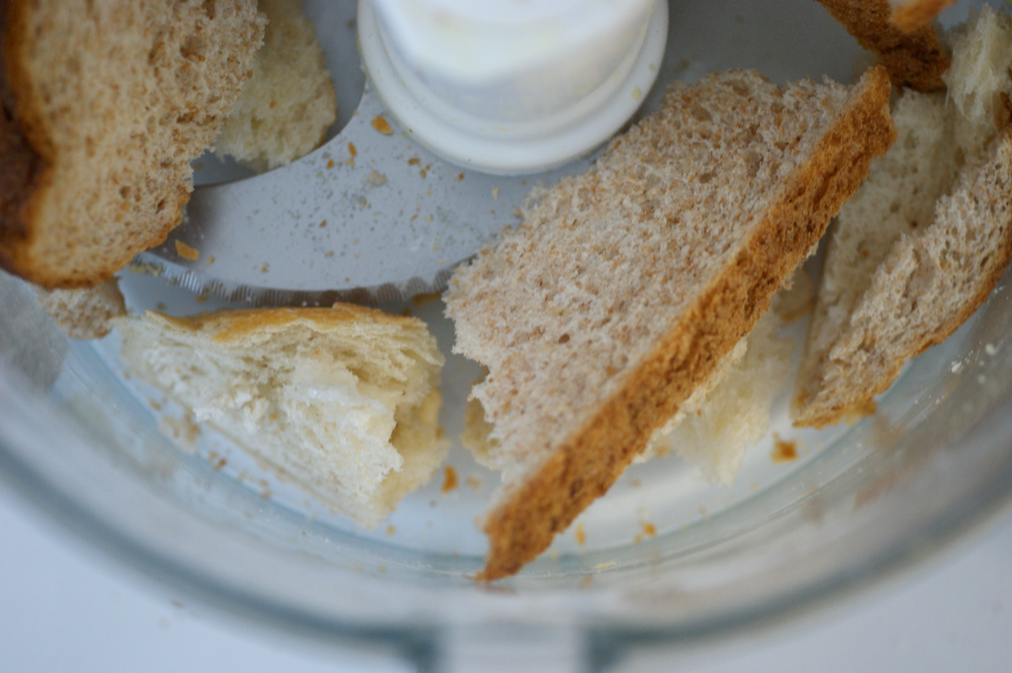
 Homemade nutella is ridiculously easy to make. Just a matter of roasting nuts, de-skinning them and then a lot of pressing the 'on' button on your food processor. You could even buy the hazelnuts ready to go. It's like magic!

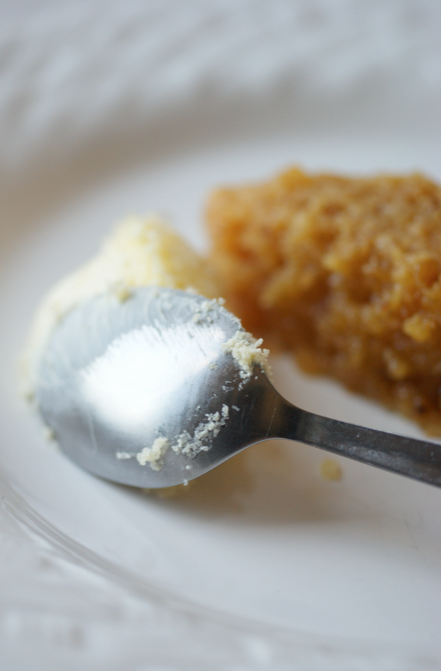
I blasted and re-blasted mine but it never lost that slightly grainy texture. I actually think I might prefer it slightly grainy, particularly on toast. It seems pretty difficult to get that smooth spread feel with homemade.


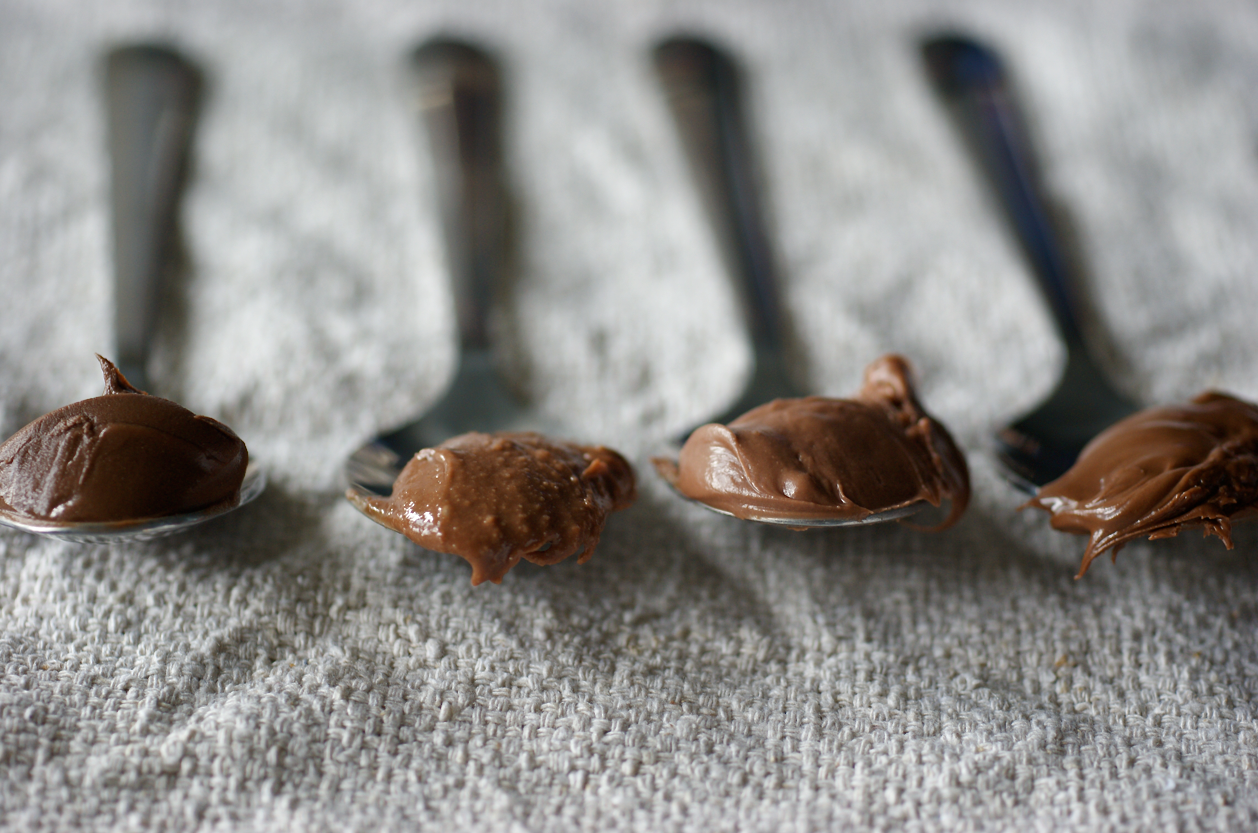
To set up our little dégustation, we invited two friends over (better statistics...), then I put a two tablespoons of each type in a ramekin, with a number below. Each tester had a sheet of paper with each number, a mark out of ten and a space for a comment. At the end they were asked to identify each one.  Each person tested each spread both on a spoon and with a small square of bread. They had some tea and sparkling water to refresh between each tasting. (Yes, I am a food geek.)

Number One was flatmate one's belgian spread. It scored 5.5/10 on average.
Number Two was the classic Nutella. It got 7/10.
Number Three was my homemade version. It also got 7/10.
Number Four was sainsbury's Belgian Chocolate Spread. It was given 6.25/10.

The homemade had the highest single score, with 9/10.  All of the comments about mine noted a slightly grainier texture and a more pronounced hazelnut flavour. Apparently it's also 'more eatable'.  Everybody correctly identified Nutella and the homemade version, though the other two were consistently mixed up - which is pretty interesting considering the supposed quality and price difference. As they all correctly identified my spread, I sense a little bias towards not upsetting me in the marking process...

All in all, it was a lovely evening. I've been told that we should have a second edition with something different. Jam was a suggestion - any ideas?

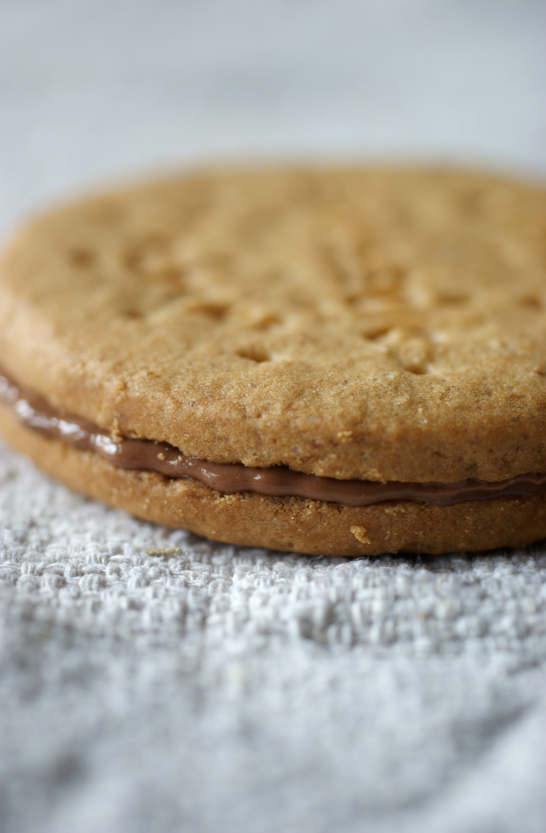
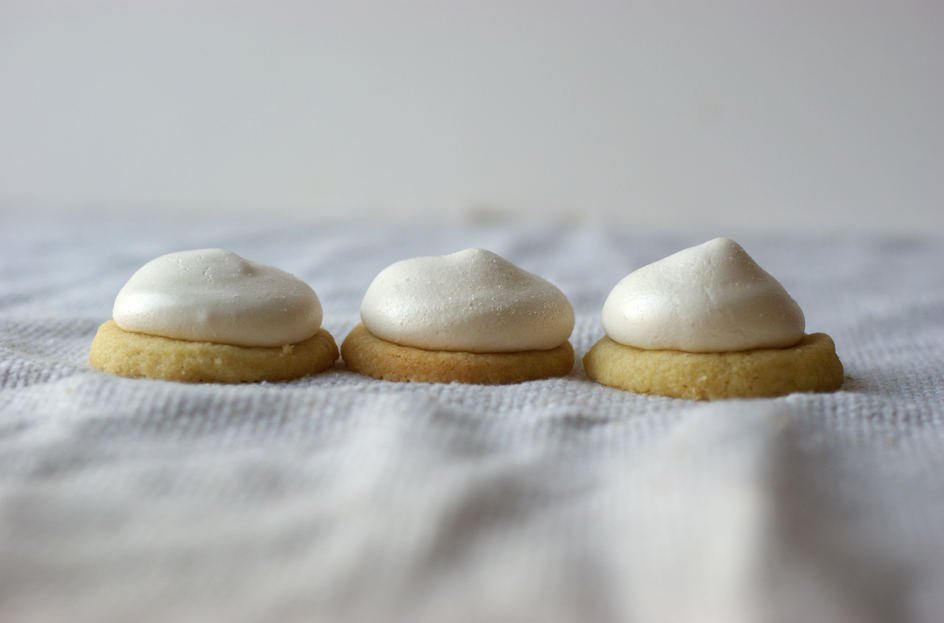
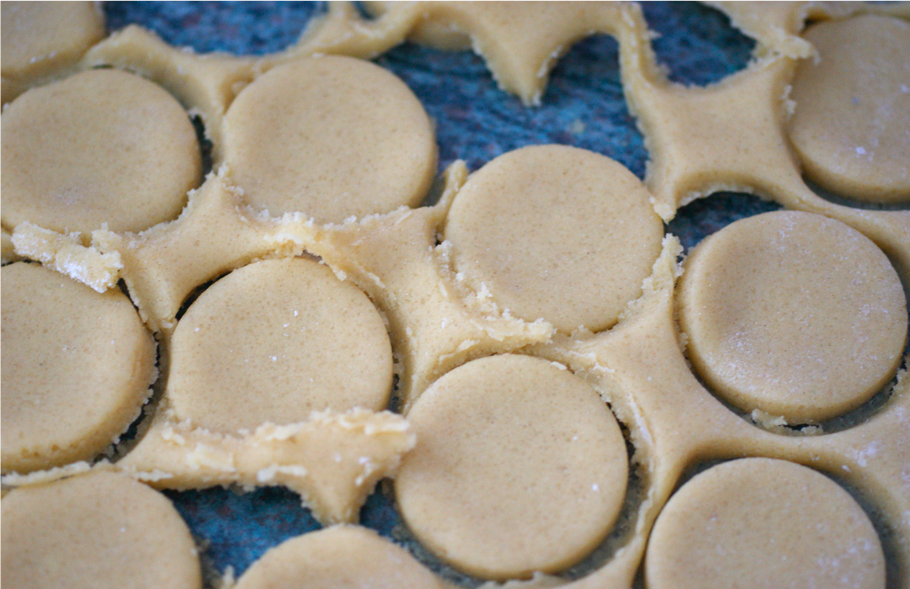
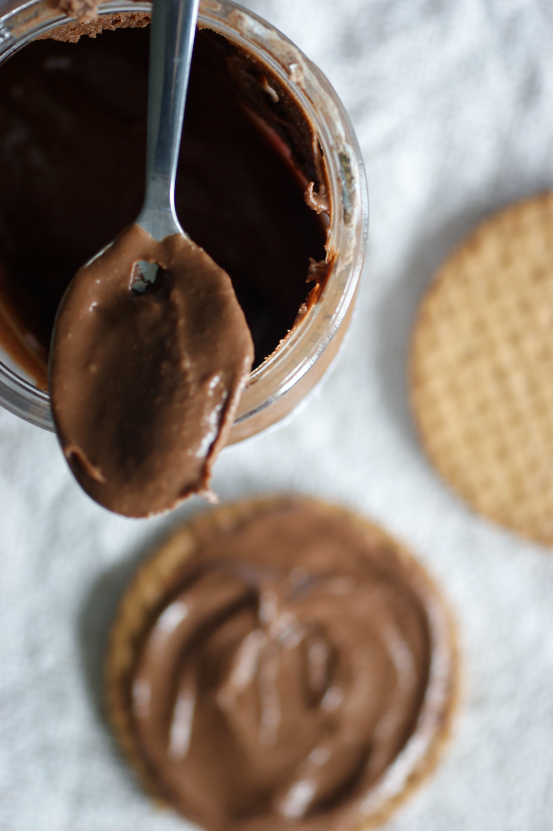
My favourite way to eat my homemade version so far (others include crumpets, toast, a spoon...) is squished between two digestive biscuits. I'm not entirely sure why it works, and why it works better than traditional nutella, but it does. Something in the nutty flavour and texture with the crunch and taste of digestives just comes together perfectly. It can be a little dry - I recommend a cup of tea. Essay break perfection. 


Chocolate Hazelnut Spread a.k.a. Nutella
(Recipe from The Mini Sam Tan Kitchen)

150g whole hazelnuts
100g good quality milk chocolate
2 tbsp cocoa powder
65g icing sugar
1/2 tsp vanilla extract
a few drops vegetable oil

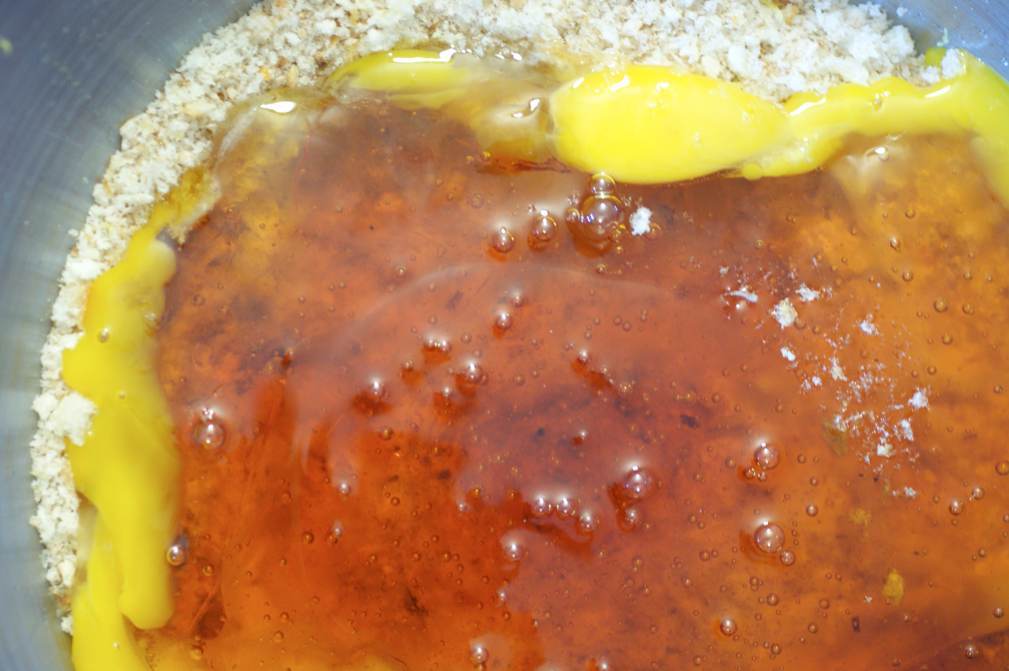
Preheat the oven to 180C and roast the hazelnuts for about 5-10 minutes, until fragrant and browned. Take out and leave to cool slightly before putting in a tea towel and rubbing vigorously to remove the skins. When they have cooled slightly place in a food processor and blend well until they become a thick paste. Add all the rest of the ingredients and keep blending until very smooth - this takes 10 minutes or so.

Thursday 27 May 2010

A Present of Profiteroles: Piece Montée


I was incredibly excited when I found out about this Daring Bakers challenge - I've always wanted to make a croquembouche. I've enjoyed working with choux pastry before and this time was no exception.

I realise that I haven't exactly made a croquembouche in the traditional sense - another time - but I reckon the old pastry masters such as Carême would see this as an acceptable piece montée. I've been watching some wonderful programmes on 4oD on Carême called Glamour Puds - if you're in the UK I recommend them. The unusual and often architectural centerpieces he made with pastry inspired me to try and do something a little different with my piece montée.


One of my flatmates informed me that if my rather heavy-handed description of croquembouche as 'sort of a mountain of profiteroles'  was incorrect in any way, she might cry... so, really, I didn't have a choice - this had to be traditional profiteroles. I also felt anyway that pastry cream would be a bit too heavy for this summer weather, so I was very happy to use softly whipped cream. This was also why I went in for chocolate glazes and decoration rather than the caramel.

As I was going for a traditional combination I've made before and not risking burns with spun sugar, I decided to get daring with the shape and chocolate decoration. The natural shift from a cone seemed to me to be to a cube. A cube that needs dressing up just made me think of a present... and so my present of profiteroles was born.


I made a cube mould from a few squares of cardboard cut from an amazon box, some greaseproof paper and liberal amounts of both sellotape and masking tape. It worked wonderfully - I just slid a palette knife around the edge after the completed stack had been in the fridge for half an hour or so and it just pulled easily off the top.


Since making my Beautiful and Damned cake, I feel a lot more confident working with delicate chocolate decorations. The no-need-to-temper chocolate I used for that came in handy again with this.  I decided to make 3D chocolate ribbons. I've seen people using thin plastic to make sheets and rings before so I decided to work with that idea to make these.

I made a paper pattern of how I wanted my bow to look, then I bought some laminated plastic and cut it in the shape of my paper pattern. The melted chocolate was then spread over the sheets, pinned in place and then left to cool.  The bow loops I made by attaching the two ends with a paper clip. The middle loop was kept in shape by a rubber band then just peeled off. The two loose ends I actually just held in shape with my hand in the freezer until they set, then put in the fridge.  


The flat sheets for the top and sides curled slightly as they set, which was annoying and meant that I had the spread, not shiny, side facing out. There were a few other problems and I managed to shatter one bow loop by mistake. There were also a few loose ends on the finished product and bits that weren't perfect, but for a first try it I was quite pleased.

To complement the dark chocolate of the ribbon, I used white chocolate to glue the four outside 'walls' and the top. I also didn't egg wash the buns as I wanted a lighter look for them too. The core was stuck together with liberal amounts of dark chocolate.


In the end I think the present comprised of about 100 profiteroles - I made three batches of the choux pastry. I used about a litre of cream to fill them. There was about 200g each of white and dark chocolate. In the end it fed 14 people, including some twice as we had more the next day. All in all, pretty epic. A wonderful challenge!

The May 2010 Daring Bakers’ challenge was hosted by Cat of Little Miss Cupcake. Cat challenged everyone to make a piece montée, or croquembouche, based on recipes from Peter Kump’s Baking School in Manhattan and Nick Malgieri.

Tuesday 25 May 2010

Bagels


People often joke that I'm like a mother to my flatmates. I suppose I am a bit of a mother figure when it comes to to food - I do most of the cooking. I get distressed if somebody skips a meal and try to make sure we eat a healthy diet (balanced with plenty of baked goods, of course).


This morning, just I was about to start making bagels, one of my flatmates came home from an early lecture feeling ill. After a quick chat she went for a nap. Her door was propped open and a breeze was flowing into the corridor. Every time I popped back to my own room from the kitchen I tiptoed past, checking she was still curled up under the covers, sleeping sweetly. I felt a bit like a mother then, with the flat smelling of yeast, making bagels while she slept.


Perhaps the family theme comes from the source of this recipe, 17 and Baking. The post is about Elissa making them with her Dad, and has a wonderful series of photos of his hands as he works the bagels.

I realise being a parent isn't all yeast and sleeping, but it was a lovely moment.


The process of making bagels is pretty wonderful. I've written before about how much I love kneading, but the firm bagel dough was a joy to deal with. I found them fairly hard to shape into smooth balls - it kept on creasing - but it was fun nonetheless. Boiling the bagels was a novel experience, especially as I wasn't exactly sure what I was looking for. From Elissa's recipe I thought they should sink then rise, but mine resolutely floated.


While this blog is generally limited to the sweet side of things, I decided that bagels count. After all,  we're just as likely to smear them with nutella as cream cheese in this flat.

As I wrote the last sentence a few hours ago, I realised that you could make sweet cream cheese version (cheesecake anyone?). So I mixed some cream cheese up with a little double cream, icing sugar and vanilla extract. Then I topped it with passionfruit and raspberries.


The sweet version was lovely. About half way through eating it I realised that a drizzle of honey on top would complete the picture - it did. I reckon greek yogurt, fruit and honey on a bagel would be fantastic.

I halved Elissa's recipe to make four bagels rather than eight, as they don't keep particularly well. I have put the half version below - just double it if you want more.

Plain Bagels
(Recipe from 17 and Baking)

1 tsp quick yeast
3/4 tbsp sugar
150 ml warm water
250g strong bread flour, plus extra for kneading
1/2 tsp salt

As I used mix-in quick yeast, I simply combined all the ingredients in a bowl. If you are using normal dry yeast,  sprinkle the yeast and sugar into half the water and leave for five minutes before stirring and then adding to the rest.  Pull all the ingredients together with a wooden spoon into a firm dough. 

Tip out onto a floured surface and knead until smooth and springy - about 10 minutes. Start to work in extra flour, adding as much as you can while still retaining a firm and smooth dough. Put the dough into a lightly oiled bowl, cover with a slightly damp tea towel and let rise for about an hour or until doubled in size. Punch down and leave to rest for 10 minutes. 

Divide the dough into four equal pieces. Shape the pieces into a ball using your hands and rolling it along a surface, pressing down to get rid of air bubbles. Use a floured finger to make a hole in the middle of the ball, then use your fingers to widen it out to about 1/3 of the diameter of the whole bagel.  Place on a lightly oiled baking sheet to rest for ten minutes under a damp tea towel. 

Preheat the oven to 220C/425F. Fill a large pan with water and bring to the boil. Turn down to keep it at a strong simmer. Use a slatted spoon or similar to lower 1-2 bagels into the water. Boil for about a minute, turning halfway through. Remove, draining any excess water, to the baking sheet. When you have boiled them all, put them into the oven for about 20 minutes.  They should be gorgeously golden. Cool on a wire rack.

Makes 4. 

Sunday 23 May 2010

Eton Mess


Finally the weather has taken a turn to the utterly beautiful. Oxford is never better than on a warm summer day - lazing up and down the river on a punt, lounging with a picnic in the botanical gardens...

Eton Mess is a simply gorgeous summer dessert. It just is. I decided to make it to celebrate the lovely weather (that, and it's on the list and I had leftover meringue from my Meringue Gems).


I like to mix strawberries and raspberries in Eton Mess - they add a slightly tart taste (especially as they're not in season now!). It's such a simple dessert but so lovely - the fresh, sweet berries with the crunchy, slightly chewy meringue against the smooth, soft whipped cream.

In a way, it's almost like Strawberry Meringue Cake minus the cake part.


A lot of store bought meringues distress me. So often they just turn into dust and taste of absolutely nothing. For this I wanted more than white chunks of glued together dust so I made my own. I like my meringue - especially in Eton Mess - to be crisp golden chunks with a bit of soft marshmallow in the middle and a fair amount of sugary chew. I find chucking the bits post-chunking up back in the oven before serving helps this goal.

A few additions/changes can easily be made - a little bit of balsamic tossed with the strawberries could be nice. I think Delia purees some of the fruit to marble through the cream. You don't really need a recipe for this - it's just a good amount of lightly whipped cream, a load of berries and a bowl of meringue chunks.


Eton Mess

2 egg whites
105g caster sugar
punnet of raspberries
punnet of strawberries
200ml double cream

Follow this guide to make a batch of meringue nests and leave them to cool.

Just before serving, crush the meringues up into bits and if desired, pop back in the oven at 150C for ten minutes or until they're a bit crunchier and golden on the outside.

Chop the fruit up a little so that the juices are let out - I quartered my strawberries and halved the raspberries. Softly whip the double cream. Mix it all together with 2/3 of the fruit ad all but a few pieces of meringue, then serve and top with the remaining fruit and crumble a little bit of meringue on top.

(Serves 4 or 5)

(Recipe edited 2014)

Friday 21 May 2010

Old Fashioned Sponge Cake


I adore this cake. It's an old family favourite and has so many memories attached to it. It was my 18th birthday cake, for example. Served with softly whipped cream and fresh fruit, it's truly divine.


When my mum came to visit me she brought a present with her: a box of duck eggs. She bought them from a farm stall near home to give me something exciting to bake with. Bless her.

I decided that this was the perfect recipe - the quality of the eggs really shines through, and it was easy to scale to the different size.


Having never used duck eggs before, I was surprised to see how massive the yolks are - at least double the size of chicken yolks. The egg whites seemed clearer too.

To scale the recipe so it wasn't an enormous cake with 5 duck eggs, I used the ratio to work out how much I would need of flour for 3 eggs - it's 1.6 recurring. Therefore as my three eggs weighed 267g, I had 167g of flour. Just for interest, I weighed 5 chicken eggs - they came out as 335g.


I think the bigger yolk:white ratio gave a slightly different texture to the cake (although this could also be because I mildly overcooked this one) and the general agreement was that chicken eggs are preferable. Which is useful - you don't need to be searching out duck eggs to make the perfect version!


It has quite an unusual texture in the cake itself - I can't quite describe it - and the outside is all crusty and crisp with sugar. The crust really is so yummy.

I'd quite like to see how this worked out as a loaf. My mum used to sometimes sprinkle the top with a little extra caster sugar to give extra crispy crunchiness. I wouldn't bother adding any other flavouring like vanilla - the flavour is quite wonderful on its own.  We used to always split it in half and sandwich with the cream and berries/jam but unless you know you're going to be eating it that day, it's much nicer with fresh cream. I also really love it plain and this means you can have a nice slice without fancy bits.


Old Fashioned Sponge Cake
(Family recipe - I think it may be Mrs Beeton in origin I've recently discovered it's actually from Constance Spry, p.820, where it has plain flour and a tablespoon of orange flower water)

5 eggs
their weight in caster sugar
3 eggs weight of self raising flour

Preheat the oven to 180C. Fully line a 20cm/8" tin. If you have a balance scale, just use the eggs as weights for the other ingredients. If not, then weigh the eggs and divide the weight by five and then times by three for the flour. Beat the egg yolks together with the sugar until pale and thick and a ribbon of mixture from the whisk stays on the surface for the count of five. Whisk the egg whites in a clean bowl into stiff peaks. Carefully fold a quarter of the flour into the fluffy egg yolks, followed by a spoonful of whites, then repeat until the flour is folded in. Finish by folding in the remaining egg whites. Transfer to the tin. Bake for about 45-50 minutes - it should be crisp on top and a toothpick should come out cleanly. Remove to a wire rack to cool.

(Makes one 8" cake)

Tuesday 18 May 2010

Meringue Gems


The other day, I was thinking about iced gems - those tiny little biscuits with hard pointy swirls of icing on top in candy colours that you got given at parties as a child. I never really liked them that much - the biscuit tasted dusty and the icing was hard enough to make indents in the roof of your mouth. Their only saving grace was their good looks. 

I decided that what would actually be really nice would be little biscuits with a pointy swirl of meringue on top. Why not? I've never seen these before, but they may well exist elsewhere. 


For my first test run I decided to keep it simple - plain little biscuits with vanilla meringue. I made up a batch of Good Food's basic biscuit dough with some almond flour added, and then used about half of it to make little circles, as above. Instead of potentially wasting it all on one batch, I stirred a load of chocolate chunks into the rest and made slice and bake cookies. I also only used half the meringue this time, but another time I'll make a full batch of the recipe below.

I baked them for a shorter time than normal and then set about piping meringue on top. I used a very basic meringue recipe and just added some vanilla extract for flavour.


I did a bit of an experiment and left half of the biscuits in the oven when I turned the oven off to see if they worked best crisp or marshmallowy. The unanimous decision was for marshmallowy, though the crisp ones were still really good.

This idea came out really well - I was so pleased. They're little buttery discs with a cloud of meringue on top, slightly crisp and squidgy in the middle with a little bit of chew.  They disappeared very quickly - I definitely could have got away with a whole batch!


I think the most exciting thing about these is the millions of variations that you could make - think about all the things you could change in the biscuit base, in the meringue - even put a tiny bit of jam or curd in between the two. I can't wait to start testing new ideas!

Meringue Gems
(Biscuit recipe based on this Good Food one)

For the biscuits:
250g butter
140g caster sugar
1 egg yolk
50g ground almonds
250g plain flour
1 tsp vanilla extract

Preheat the oven 180C. Beat the butter and sugar together then add the egg yolk and vanilla. Sift the flour over the bowl and add the almonds. Beat together into a dough. Roll out to about half an inch thick. Cut out with a small circle cutter (mine was a little bit bigger than a 2p coin) and place on a baking sheet with a little space between each. Bake for 8 minutes or so until pale gold but not fully done.  Leave on the baking sheet to cool while you make the meringue.

For the meringue:
3 egg whites
170g caster sugar
1/2 tsp vanilla extract

Turn the oven down to 140C. Put the egg whites into a mixer and beat until you have stiff peaks. Slowly add the caster sugar until thick and glossy. Fold in the vanilla then transfer to a piping bag with a medium tip. Pipe small swirls of meringue onto each biscuit. Put in the oven for about 15-20 minutes or until golden brown and stiff.  Remove from the oven to a cooling rack. 

Makes about 50.


Sunday 16 May 2010

Simple Baked Cheesecake


Despite my abiding love for making cheesecakes of various types (see chocolate, cherry and the ravishing raspberry and caramel) I've never actually made a baked cheesecake. You see, once you love the chilled version, why make a baked? I want a cheesecake I know will be yummy.

My mum was passing through a few nights ago and so I wanted to make her a nice dessert. In the interest of experimentation, I forced myself to make a baked cheesecake rather than a chilled one (by 'forced' I mean that I ran about getting awfully excited...).


I chose to make a fairly plain version with a simple digestive base, a baked vanilla middle and then a slick of sour cream on top. I bought some hideously overpriced but utterly gorgeous strawberries to pile on top. My 20cm tin wasn't deep enough so I had some mixture left over and that layer wasn't as deep.

I really enjoyed the cheesecake, especially with the strawberries. I have to say that I found the texture a little bit grainy but that could well be my fault. My flatmate - a bit of a cheesecake aficionado - decided that she still prefers the chilled version because on a scale, the baked version is nearer dessert. Make of that what you will!


Simple Baked Cheesecake
(barely adapted from the recipe for 'London Cheesecake' from Nigella's Domestic Goddess)

For the base:
150g digestive biscuits
75g butter

Bash the biscuits with a rolling pin until they are crumbs (or process). Melt the butter and stir it in (or process again) then press into a 20cm springform tin. Place into the fridge to set.
For the middle:
600g cream cheese
150g caster sugar
3 eggs plus 3 egg yolks
1 tbsp vanilla extract
1 tbsp lemon juice

Preheat the oven to 180C. Beat the cream cheese until it is smooth, then beat in the sugar. Beat the eggs and egg yolks together lightly and then pour into the cheese mix and blend in. Finally add in the vanilla and lemon juice. Put the kettle on. Tear two big squares of strong tin foil and place the chilled tin in the middle then fold them up over so water won't be able to get in. Place in a roasting tray. Pour the cheesecake mixture into the tin. Pour the hot water around the tin until it reaches about half way up the sides. Put it in the oven and cook for about 45 minutes or until it feels set but not solid. Remove the tin to a rack and unwrap.

For the topping:
100ml sour cream
1 tbsp caster sugar
1/2 tsp vanilla extract

Beat the three ingredients together then pour over the top of the cheesecake in the tin. Leave to cool and set, then remove from the tin to a plate and pop in the fridge. 30 minutes or so before serving, remove from the fridge. I then piled a punnet on strawberries on top.

(Serves about 10)

Friday 14 May 2010

'Emma' Biscuits


These are more traditionally know as Fork Biscuits in my family. My flatmates re-christened them 'Emma' Biscuits as apparently that is a more appropriate name as I make them (this could get confusing - Emma Cake, Emma Cheesecake...)


The other day I was having lunch with three friends, including my two flatmates. They decided to write a 'To do' list for me with all the baked goods they desire on a napkin. They're so cute.

There were two capitalised entries - Treacle Tart and these biscuits.

Several of the things on the list have already been made - see Chocolate Cheesecake, Cinnamon Rolls - but the others are all things you can expect to see fairly soon. Any other requests?


And so here they are - Emma Biscuits. I've tried to make them for this blog several times but never got the photographs right - and I usually only make one flavour. This time I went a bit mental and did all three variations I use. There's the dark brooding cocoa one, the mellow and unusual hot chocolate one, and then the plain - but still quite stunning in its simplicity - vanilla.

This is a family recipe, scribbled in my 7 yr old hand in the notes section of my mum's copy of Delia's Book of Cakes. It also has a big cat sticker stuck on the back, dating from the same period. They're definitely one of the things I clearly remember making throughout my childhood. I also remember eating the majority of a half-dough mix multiple times - it just tastes so good. Oops.

I've noticed that it bears a lot of resemblance to Nigella's recipe for Granny Boyd's Biscuits in Domestic Goddess. Perhaps Granny Boyd and my Granny got together to create them!


Fork 'Emma' Biscuits

250g butter
120g golden caster sugar
315g self raising flour
15g dark cocoa powder
15g hot chocolate powder
1 tsp vanilla extract

Preheat the oven to 170C. Cream the butter and sugar together. Split into three. Whizz one third with 100g of the flour and the dark cocoa until it comes together - it won't seem like it will, but don't worry. Form into small balls with your hands and place on a greased baking sheet with a bit of space. Use a fork to squish each ball. Put into the oven for about 10-15 minutes - the cocoa ones won't really change colour, but should be slightly firm to the touch. Remove to a wire rack to cool. Repeat with the next third with the hot chocolate powder and another 100g of flour, then with the final third and the remaining flour and vanilla.

Makes about 50 or so.

{Edit} For the smaller version I usually make:

85g butter
40g caster sugar
and
115g plain flour
1 tsp vanilla
or
100g plain flour
15g dark cocoa or hot chocolate powder

Tuesday 11 May 2010

Treacle Tart


After the quite overwhelming response to my last post about my whisky and dark chocolate Beautiful and the Damned cake, I didn't know what to post about next. After a big project, what can follow?

In the end, I reached back to a classic. It's a classic English pudding, but also a classic to me, a childhood staple.


This is the Treacle Tart I mentioned in my post about Eccles Cakes. It's another treat from that special bakery, another childhood memory. It wasn't our house in Cornwall without at least one Treacle Tart sitting on the top of the counter.

As children the most exciting part of the day was pudding after lunch, when the tart(s) would be slipped in the Aga for a few minutes to warm and then served with big dollops of clotted cream.  Later on, as teenagers, we used to come home from beach parties and tipsily sneak slices of the tart before heading to bed.

Apart from the vast amounts of golden syrup, this is actually a very useful store cupboard-and-leftovers type of pudding. The bread in particular can be whatever you have lying around, as long as it's not too seeded or flavoured. I used some old bits of wholemeal, a chunk of white bloomer that had somehow ended up frozen and a white roll. 


It's also incredibly easy. All you have to do is make a pastry case and then a simple mix-and-pour filling. I added a bit of ground ginger and some double cream to loosen the set but other than that the recipe didn't need fiddling with. 

I couldn't possibly serve Treacle Tart without clotted cream. It would just be wrong. (Though I did allow certain people a small amount of vanilla ice cream...). They even have matching tops - look how similar the crust of the cream is to the top of the tart!


All in all, I was very pleased with this. It's not really the tart of my childhood, but I doubt I could ever replicate that. This version is yummy and so unbelievably addictive - we demolished the whole thing in one sitting.  

Do try it - I know the concept is a bit odd if you haven't heard of it before, but it's so good!


Edit: My new and improved treacle tart recipe is here.

ShareThis