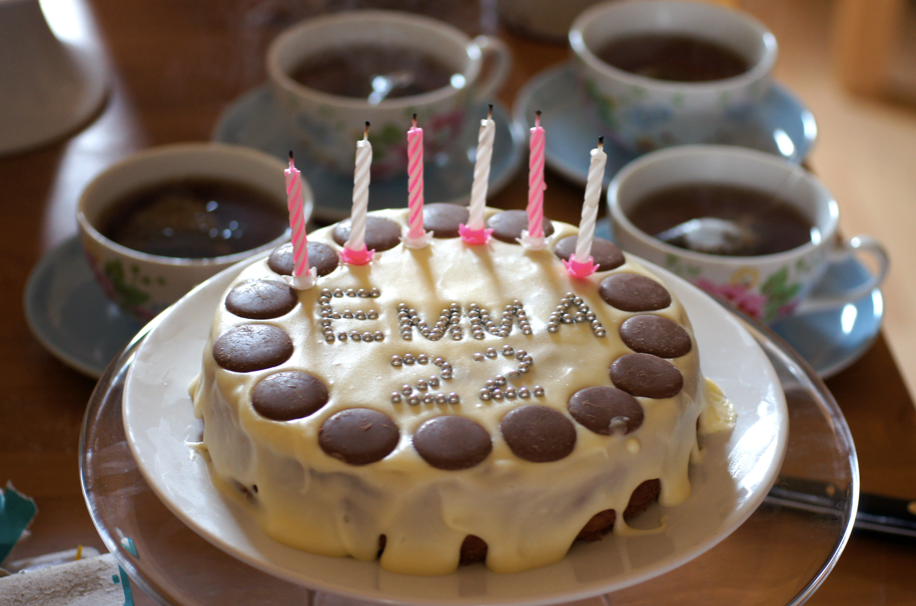
As I mentioned a few posts ago, I made a cake on my birthday. It wasn't really my birthday cake (I am assured that my friends will be making me one for my birthday BBQ tomorrow, thereby breaking the current
baker's curse situation) but it was the cake I ate on my birthday
My mum's friend Mary (of
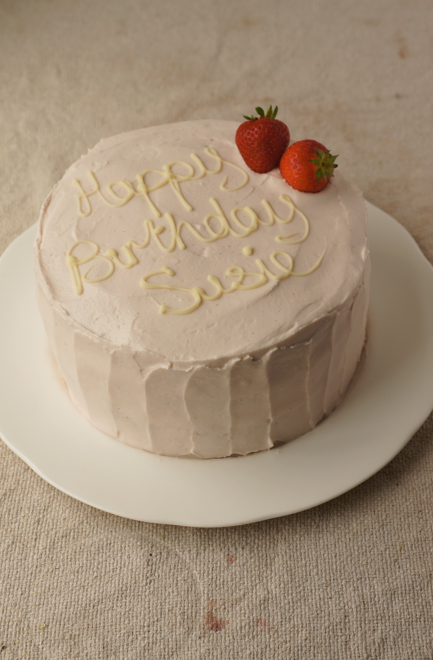
blueberry loaf cake with mint and lemon fame) also had some on the day and as a result decided to ask me to make one for her friend Susie's birthday. So I made it again this weekend and this time it really was a birthday cake.
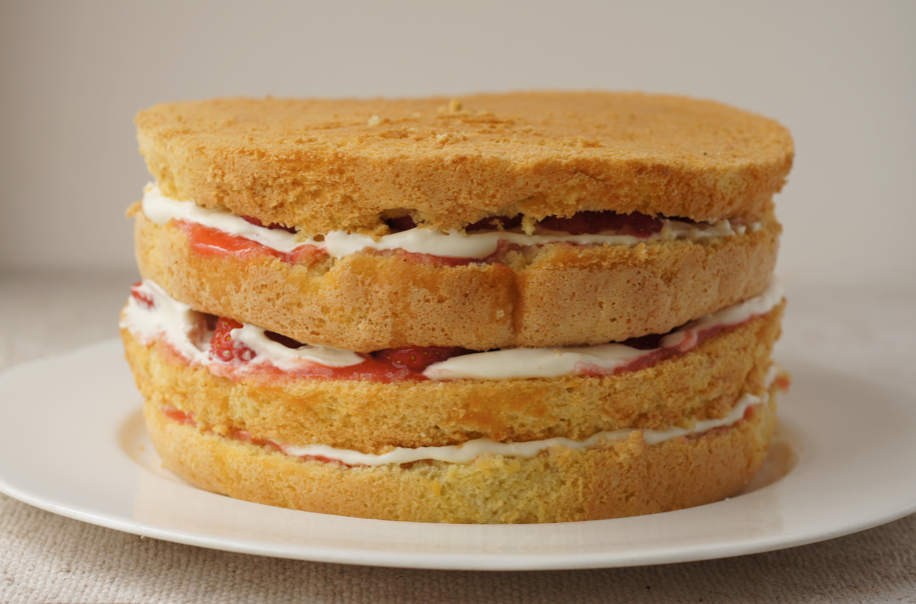
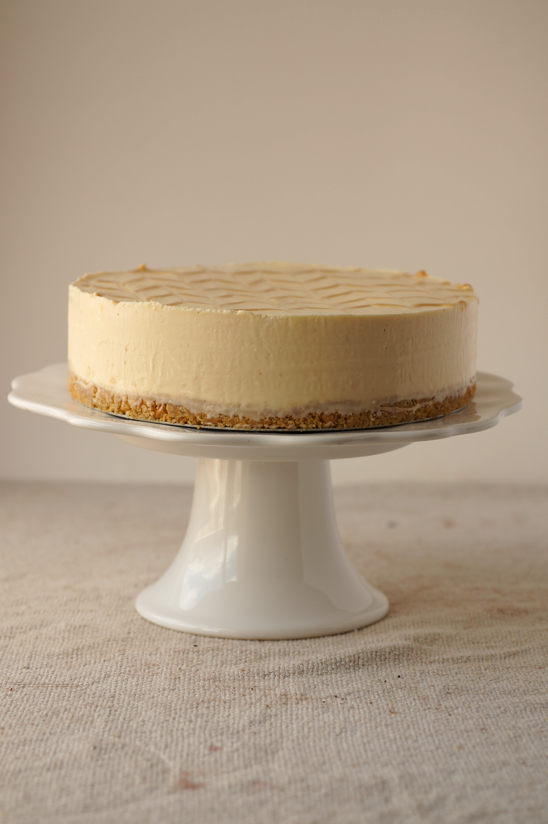
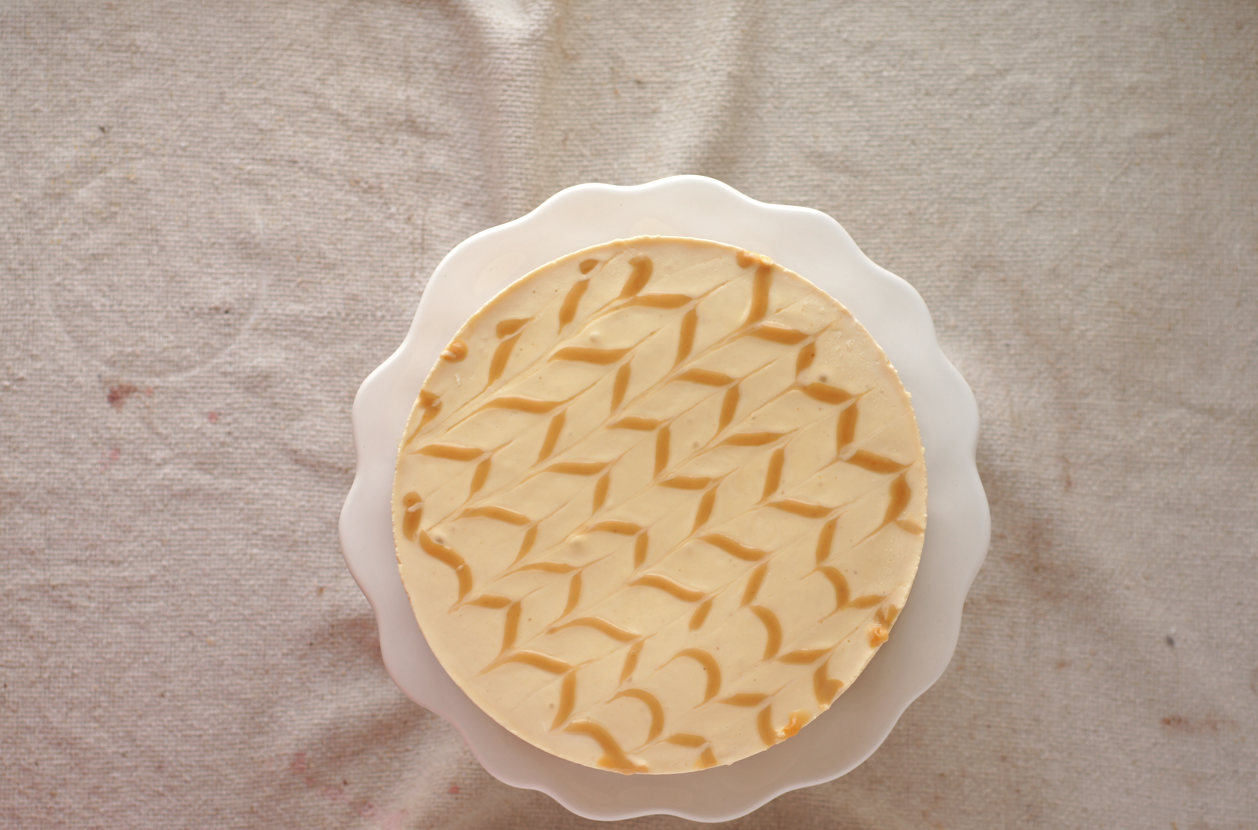
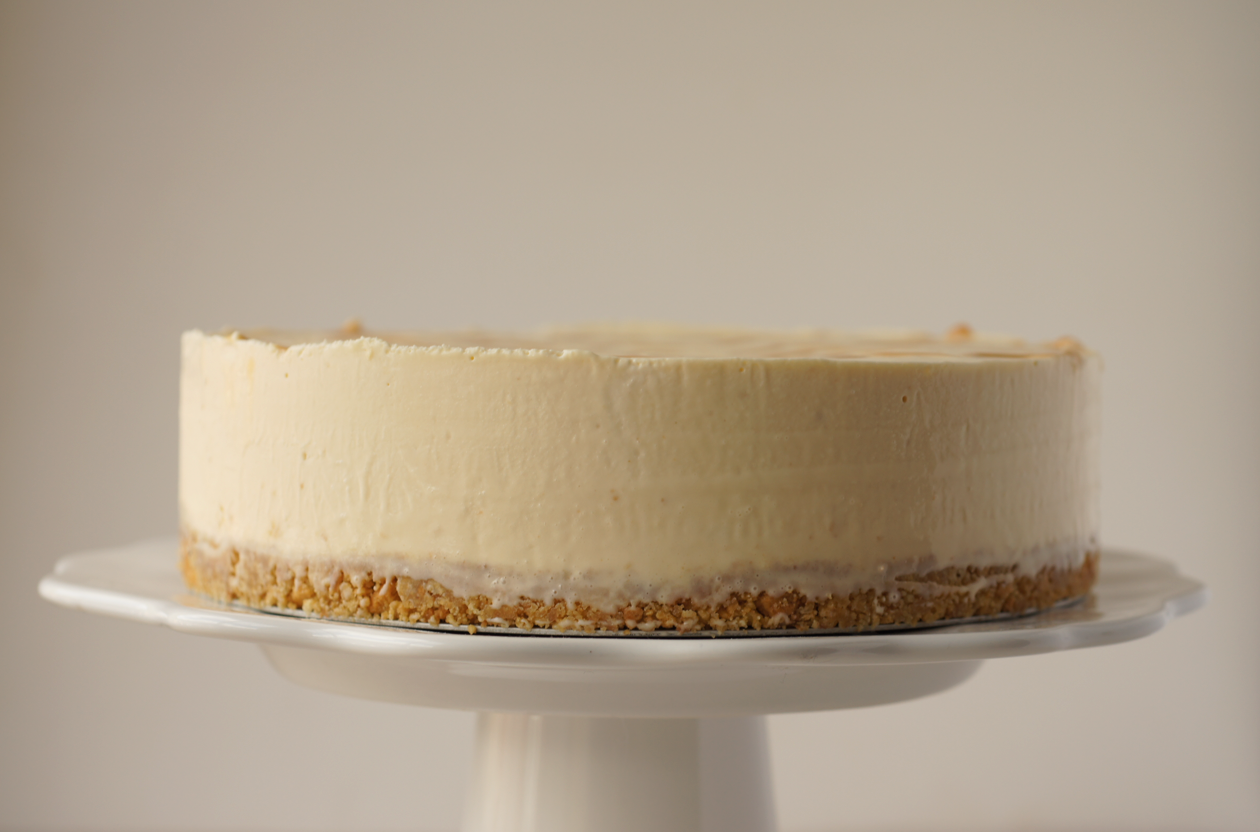
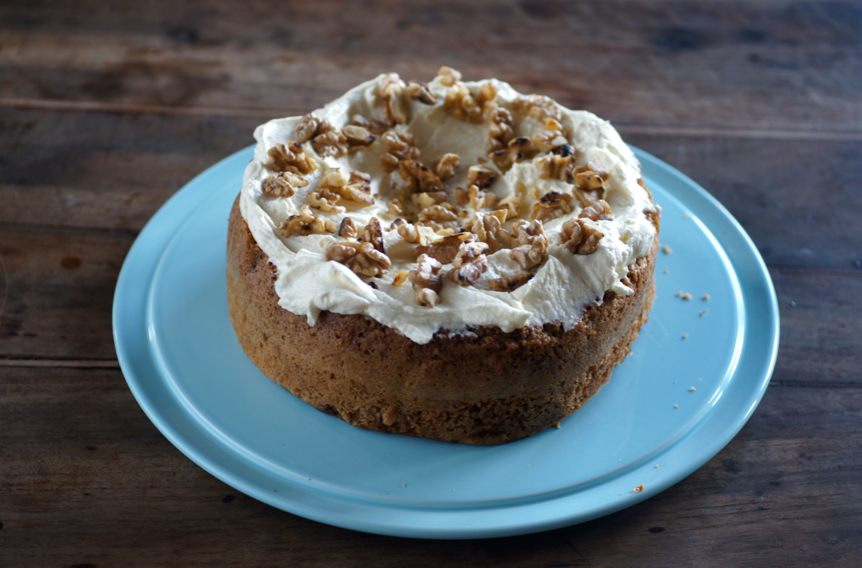
Incoherant birthday rambling aside, this is a great summer cake. The featherlight sponges are split, brushed with vanilla syrup, soaked with some strawberry puree, smeared with softly whipped cream and finally topped with thinly sliced fresh strawberries. The icing on top is amazing (if I do say so myself) - marscarpone, a bit of icing sugar and some more lovely strawberry puree. The first time around I folded in some extra whipped cream but, as you can see from the photo above, it made it a bit too thin. Either way it's pale pink and utterly addictive.
So, birthday or not, I think you should make this cake soon.
 Strawberry Cream Layer Cake
(sponge adapted from David Lebovitz's Ready for Dessert, rest my own)
For the strawberry puree:
350g fresh ripe strawberries
Wash and dry the berries. Remove the stems and place into a food processor or blender. Blend until it is as smooth as possible. Strain through a fine mesh sieve into a bowl to remove the seeds.
For the icing:
250g marscarpone
50g icing sugar
80g strawberry puree
Beat the marscarpone with a spoon in a medium sized bowl until smooth. Add the icing sugar and beat until combined. Add the strawberry puree in four batches, beating to combine between each addition. Put into the fridge to chill and set a bit while you make the sponges etc.
For the sponges:
105g plain flour
40g cornflour
3/4 tsp baking powder
pinch salt
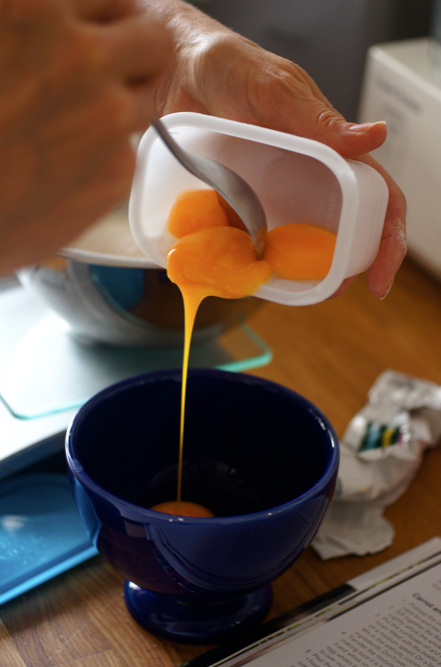
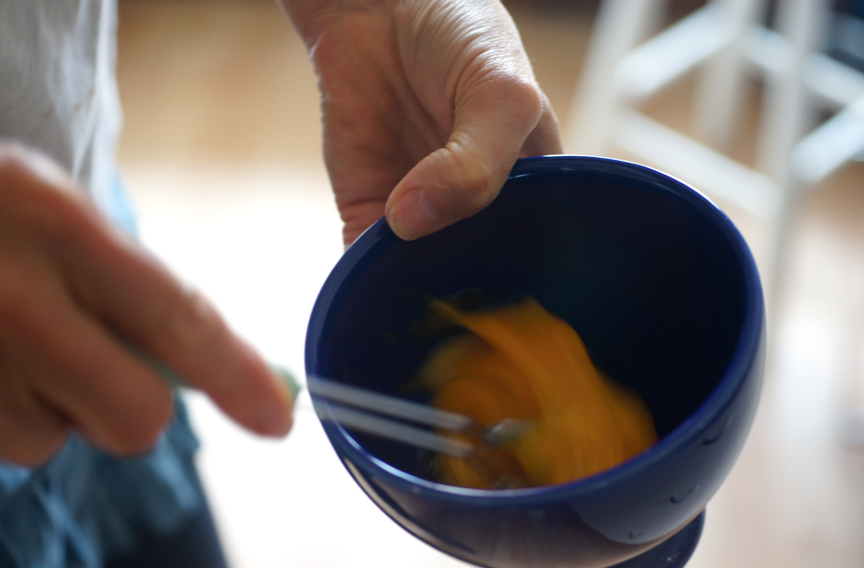
4 eggs, separated
45ml cold water
160g caster sugar
1 tsp vanilla extract
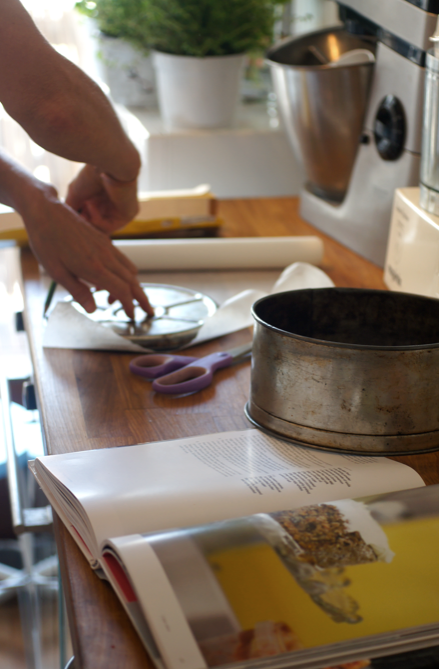
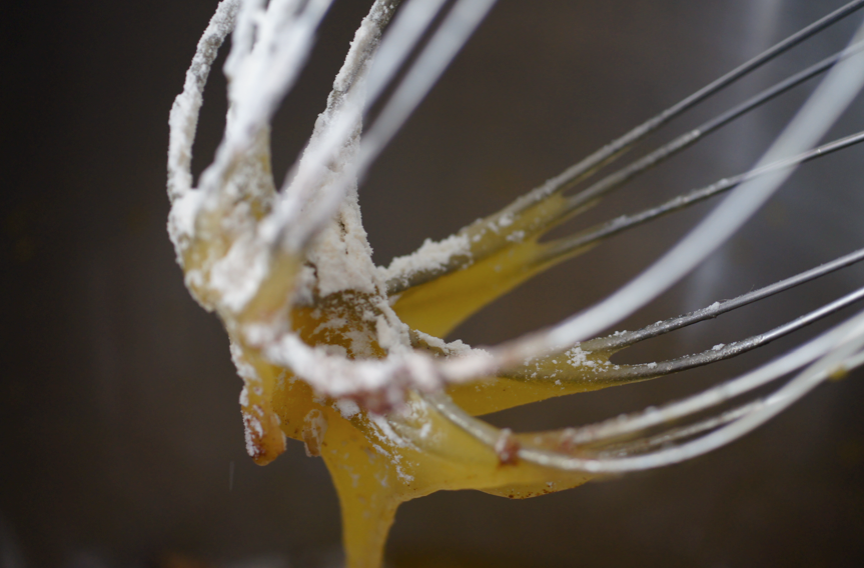
Preheat the oven to 180C/350F. Grease and line two 7" tins (or 6" - I used these the first time). Sift the flour, cornflour, baking powder and salt together three times. Place the yolks and water in bowl of a stand mixer and whip on high for 1 minute. Add the sugar and whip for 5 minutes - by then the mixture should be pale, fluffy and leave a trail when the whisk is lifted out that is visible for at least 5 seconds. Add the vanilla and whip for a few seconds to combine. Transfer the mixture to another bowl (unless you have two stand mixer bowls) and wash the bowl up, drying it carefully. Whip the egg whites in the mixer to stiff peaks.
Place the yolk mix bowl on a damp cloth to stop it moving. Sift 1/3 of the flour over the yolk mix, then fold it in carefully (see
here for technique). Add and then fold in 1/3 of the egg whites. Repeat, folding 1/3 flour, 1/3 whites, 1/3 flour, 1/3 whites until they are all combined. Quickly and gently transfer the mixture to the two tins, level out and put in the oven. Bake for about 20-25 minutes - a skewer should come out clean from the middle of the cake and it should spring back from a touch. Immediately slide a knife around the edge of each cake so that it shrinks evenly. Leave to cool in the tin for 5 minutes then remove to the rack and peel off the paper.
For the vanilla syrup:
75ml water
60g caster sugar
1/2 vanilla pod
While the sponges are baking, place the water and sugar into a small saucepan. Scrape the seeds out of the pod and add both the seeds and pod to the pan. Heat over a medium heat until the sugar has fully dissolved. Leave to steep until needed.
To assemble:
100ml double cream
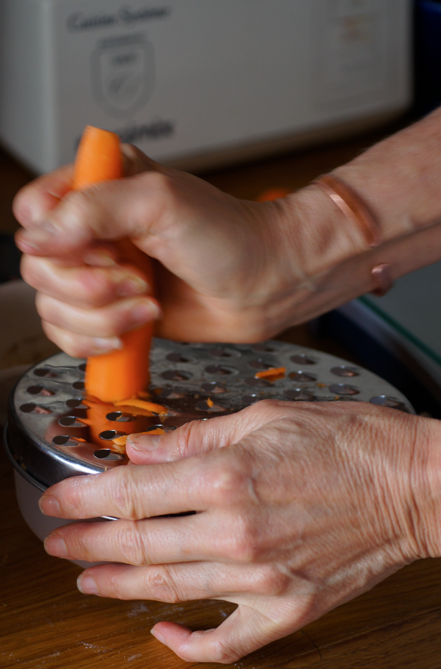
150g fresh strawberries
remaining strawberry puree
Whip the double cream until it holds soft peaks. Split the cool sponges into two with a serrated knife. Cut the strawberries into thin slices of about 1/2 cm. Cover the serving plate with four strips of baking parchment and then set one sponge circle on top. Brush 1/4 of the syrup over the sponge. Spoon over about 2-3 tbsp of strawberry puree, spreading it out as you go. Spread a 1/3 of the whipped cream over the top, leaving a small space around the edge. Arrange 1/3 of the strawberry slices over the cream in a single layer. Add the next sponge circle and press it down lightly. Repeat the syrup, puree, cream and strawberries for this circle and the next. Finally add the last layer and brush over the last 1/4 of the syrup. If you like, cut a wooden skewer to size and use as a dowel to keep everything in place. Use about 1/3 of the icing to create a crumb coat, concentrating on filling any gaps on the sides between layers. Chill for 30 minutes. Finally smooth over the rest of the icing and add any decoration - I piped whipped cream dots on the first, then wrote on the second with white chocolate.
This cake doesn't keep very well, as the strawberries and fresh whipped cream don't hold well (or the cake next to all that moisture) - so it's best to prepare it as near to the time you want to eat it as possible.
(Serves 10-12)