
I promise this is a one-off – I’m not returning properly – but it felt important to acknowledge my new website on my original website. To give Poires, the blog I grew up with, who taught me so much, the proper respect.
After I retired from blogging and didn’t get a regular creative rush from photography or developing recipes or writing about life, I tried various other creative pursuits. Nothing gave me the same fire until I sat down at a potter’s wheel and starting working with clay. I returned home from my weekly lessons beaming from ear-to-ear.
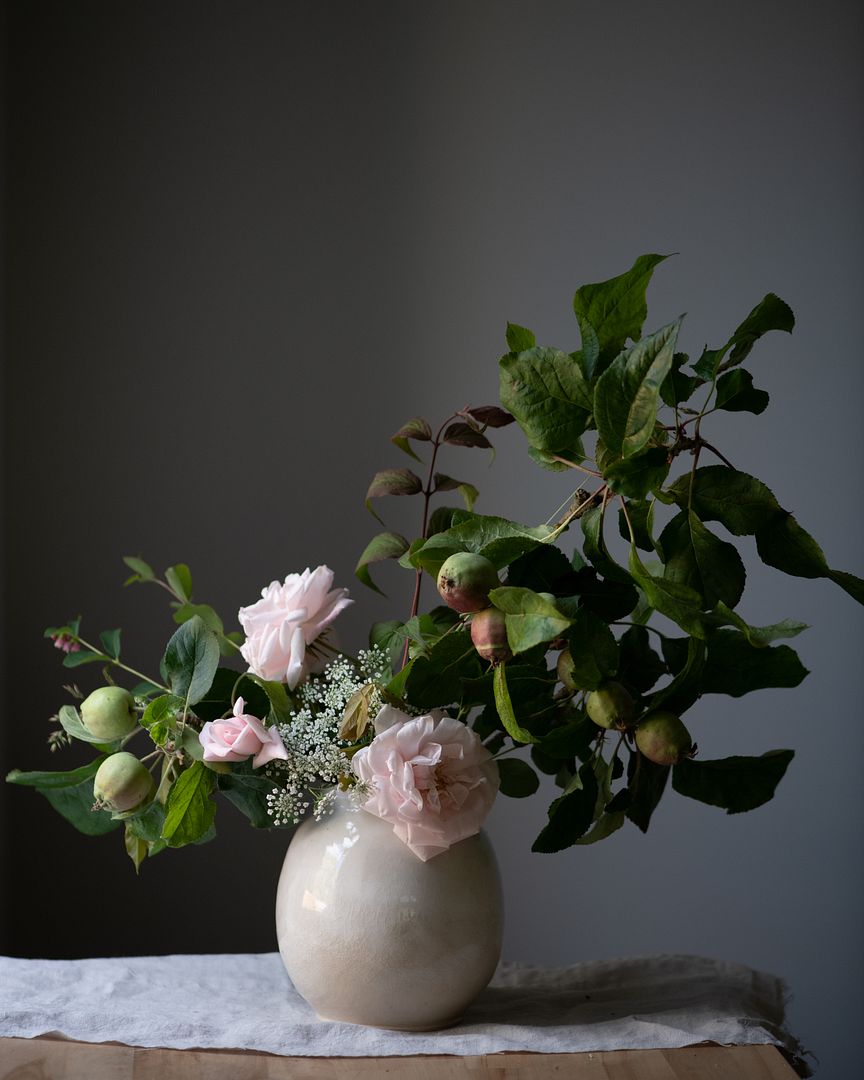
Around the same time, I discovered the joys of growing flowers. The whole process is magic, from sowing the seeds to seeing them bloom. One day – I can still remember exactly where I was - I had an idea. I wanted to combine the two and sell handmade vases inspired by growing flowers and bringing them inside. I have been working hard ever since to make that idea a reality.
I have just pressed the button to open my website shop for the first time. I am so, so nervous. I can’t quite believe that each carefully planned element is coming to life, but here it is.

You can find the website and shop here: emmahiltonceramics.co.uk. I chose to change my name when I got married, hence Hilton. I also use Instagram a lot: @emmahiltonceramics.
My vases are thrown on the wheel and each one is unique and sold individually. My plan is to update my shop once each month - you can sign up to get an early preview and reminder when it goes live here.
I really hope you like it!
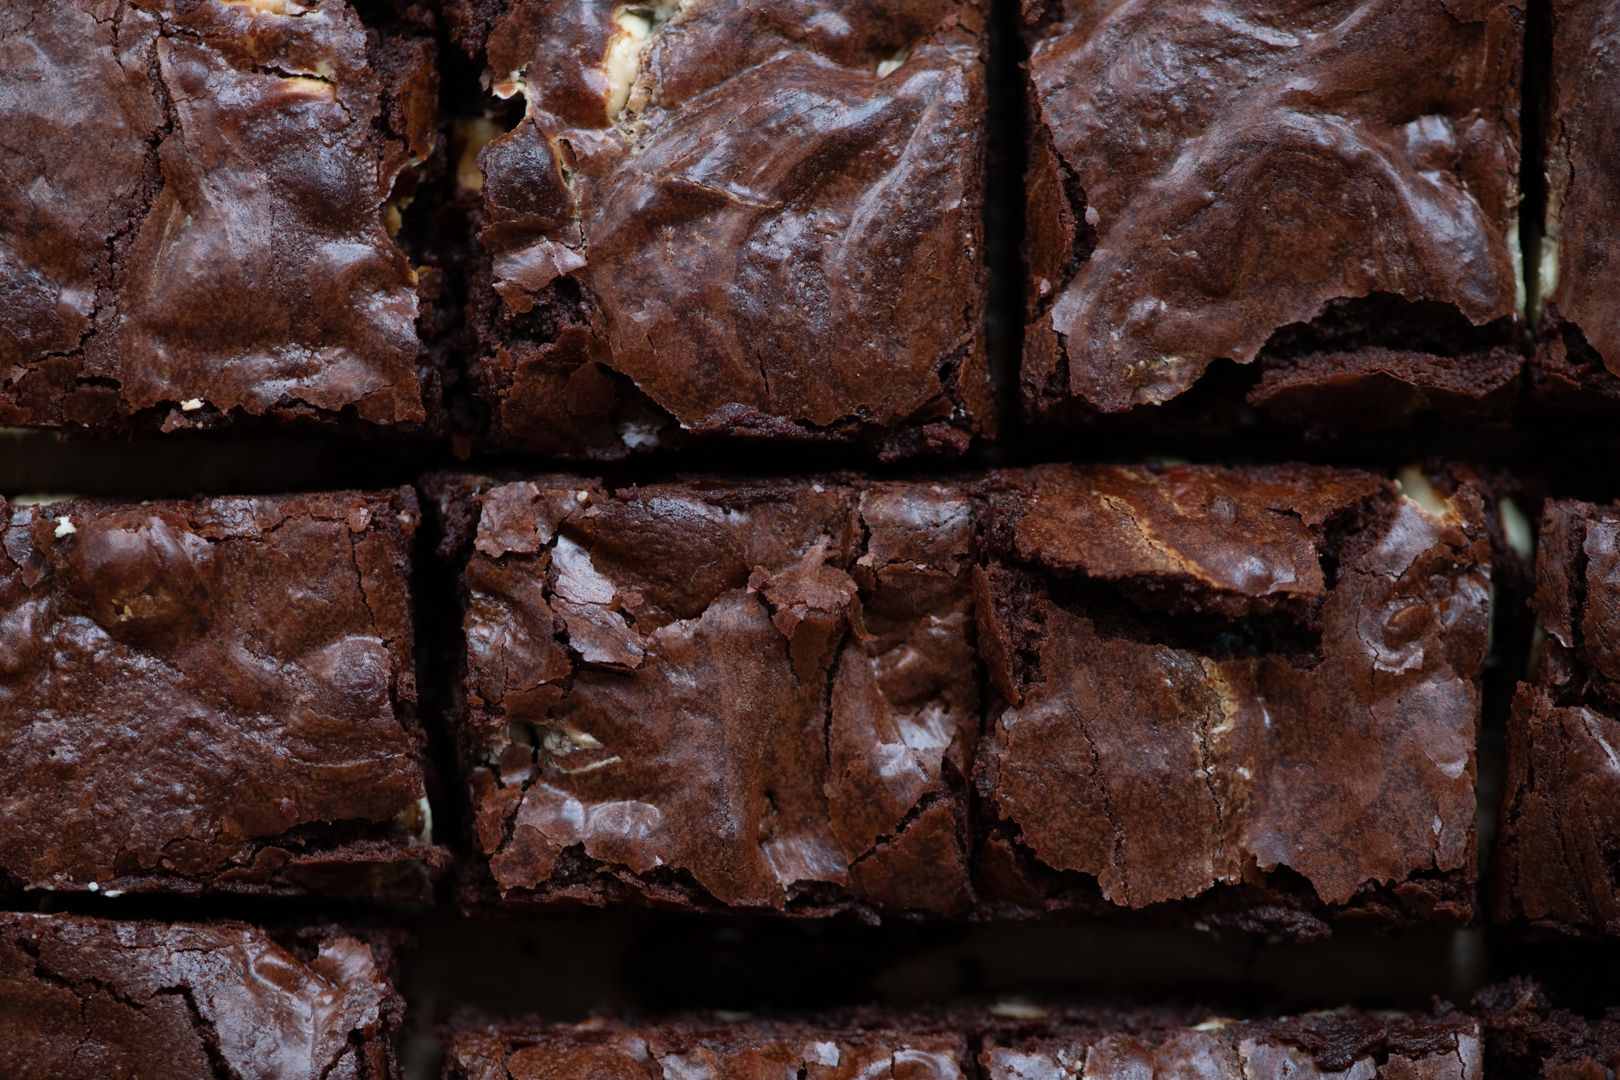
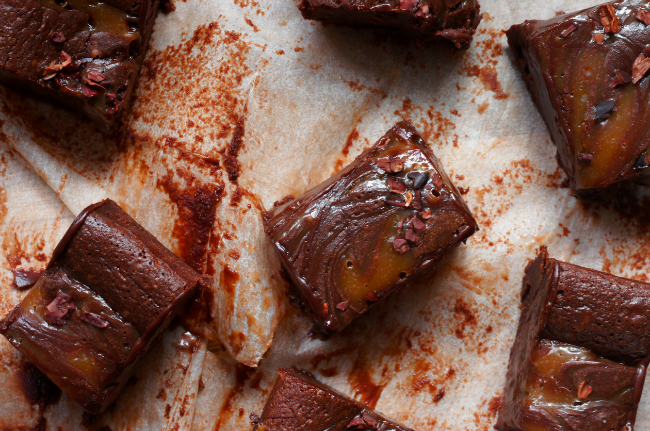
To celebrate my new website, I thought I would share one of my most beloved recipes from the eight (!) years since I retired from blogging: my best brownies. They're not ground-breaking, but they're one of my favourite things to make and to eat and I haven't been tempted by any other brownie recipes since.
The first Christmas after I retired from Poires, I made a wedding cake for two of my friends, E and A. We decided to go for a three tier ombré of brownies and blondies. I developed this recipe for the bottom layer, the darkest and most chocolately. I have vivid memories of the drive down to Wales with all the layers wrapped up in the back, trying not to brake too hard. It was still dark when we arrived to set the cake up and the car park was slick with ice as Sarah and I carried each layer inside. It was worth the nerve-racking moments to celebrate E and A. Being around them in the months up to their wedding taught me to believe that a loving, equal partnership could happen outside of books, and to hope.
I gave some of the leftover testing brownies from the wedding to a friend, Bryn, who took them home to his family over the holidays. He is now my husband, and they are now my family. They met my brownies before they met me.
These brownies have been a regular feature over the years. I've taken them into work, frozen them to make them last longer, and made them just because. I change what I mix in according to my mood and what I can find in the cupboards. A few memorable batches were made with some halva a friend brought as a gift from Israel when they came to stay. I broke up the halva and dotted it over swirls of tahini.
More recently, they were the first baking I took into the community pottery studio that I am a member of. Nowadays Poires doesn't tend to come up in conversation, so most people don't know about my baking past. It came out quickly, though, with the 'where did you get this recipe from?' question.
So that's my update: I made lots of brownies, I became a doctor, I married the loveliest person, I am a gardener instead of being called Gardner, and I make ceramic flower vases.
With the distance of time, I also want to say thank you again for all your support 2009-2014. It genuinely meant the world to me and made all sorts of dreams come true.
My Favourite Brownies
(This recipe, particularly the beating technique, has roots in David Lebovitz's recipe in Ready for Dessert, where David credits Robert Steinberg for the technique)
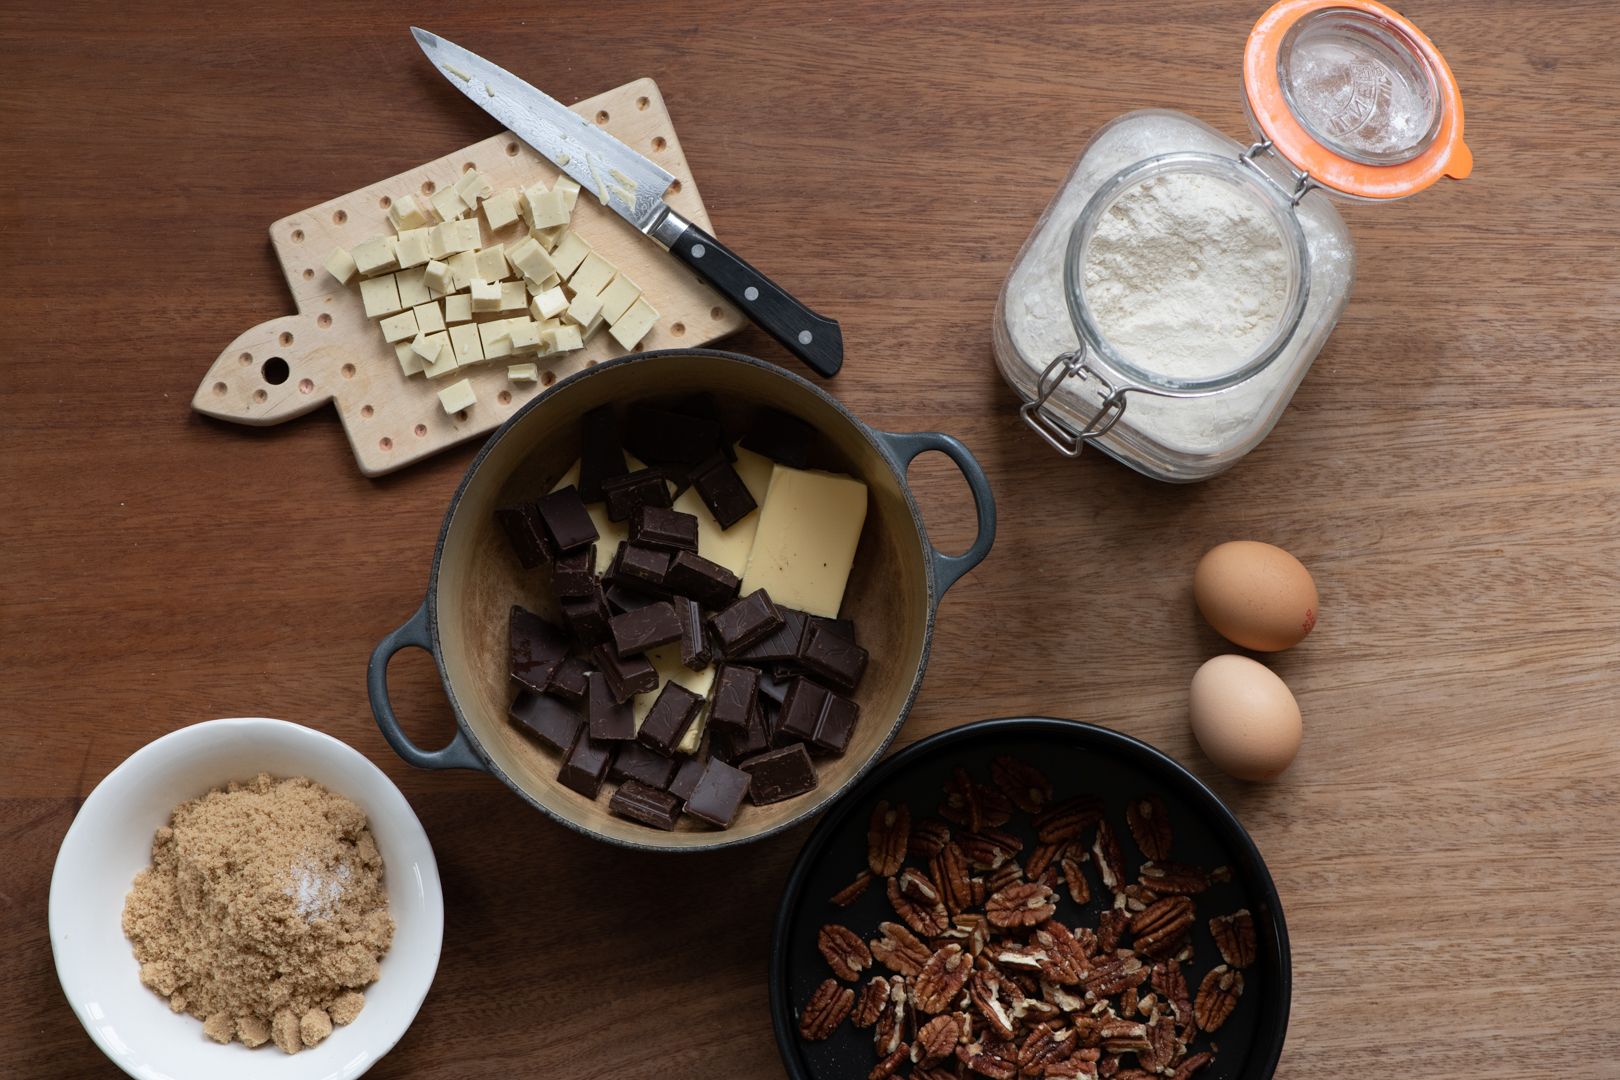
100g unsalted butter
200g dark chocolate (quality makes a difference here, I tend to go for eating chocolate)
150g soft brown sugar
pinch of salt
2 large eggs
35g plain flour
Mix-ins (this has been my favourite combination recently, but feel free to experiment):
100g pecan halves, toasted in the preheated oven for 5 minutes then roughly chopped
75g white chocolate, roughly chopped
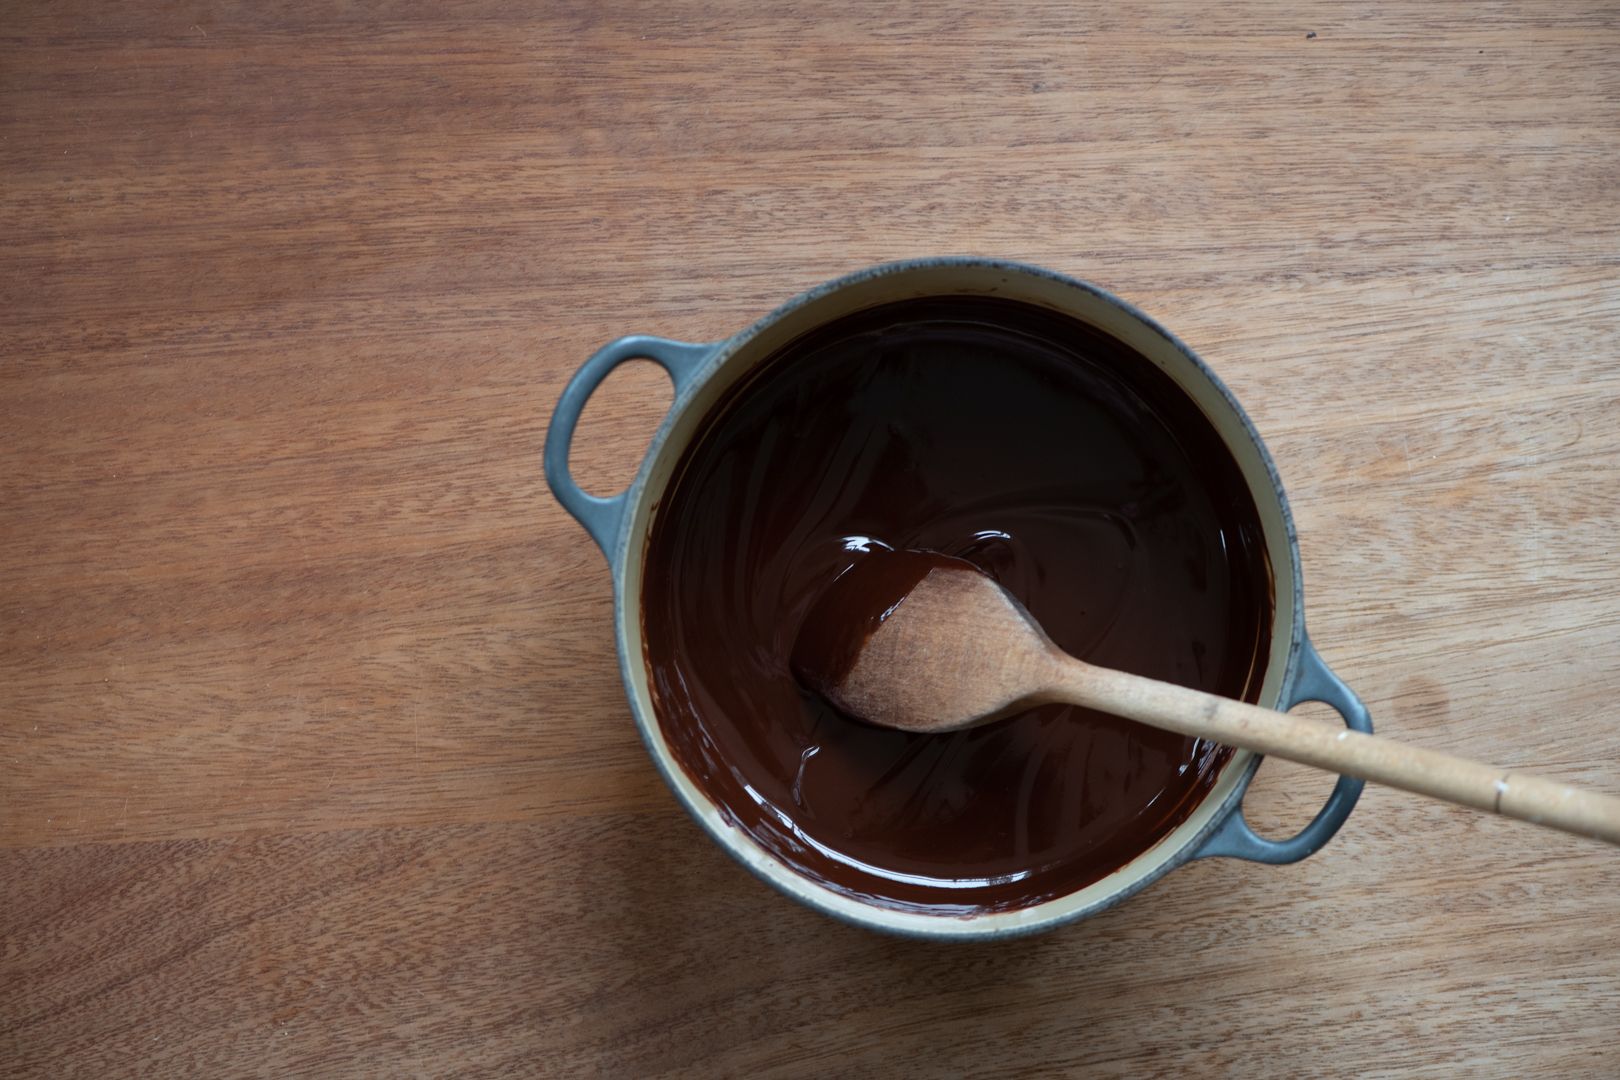
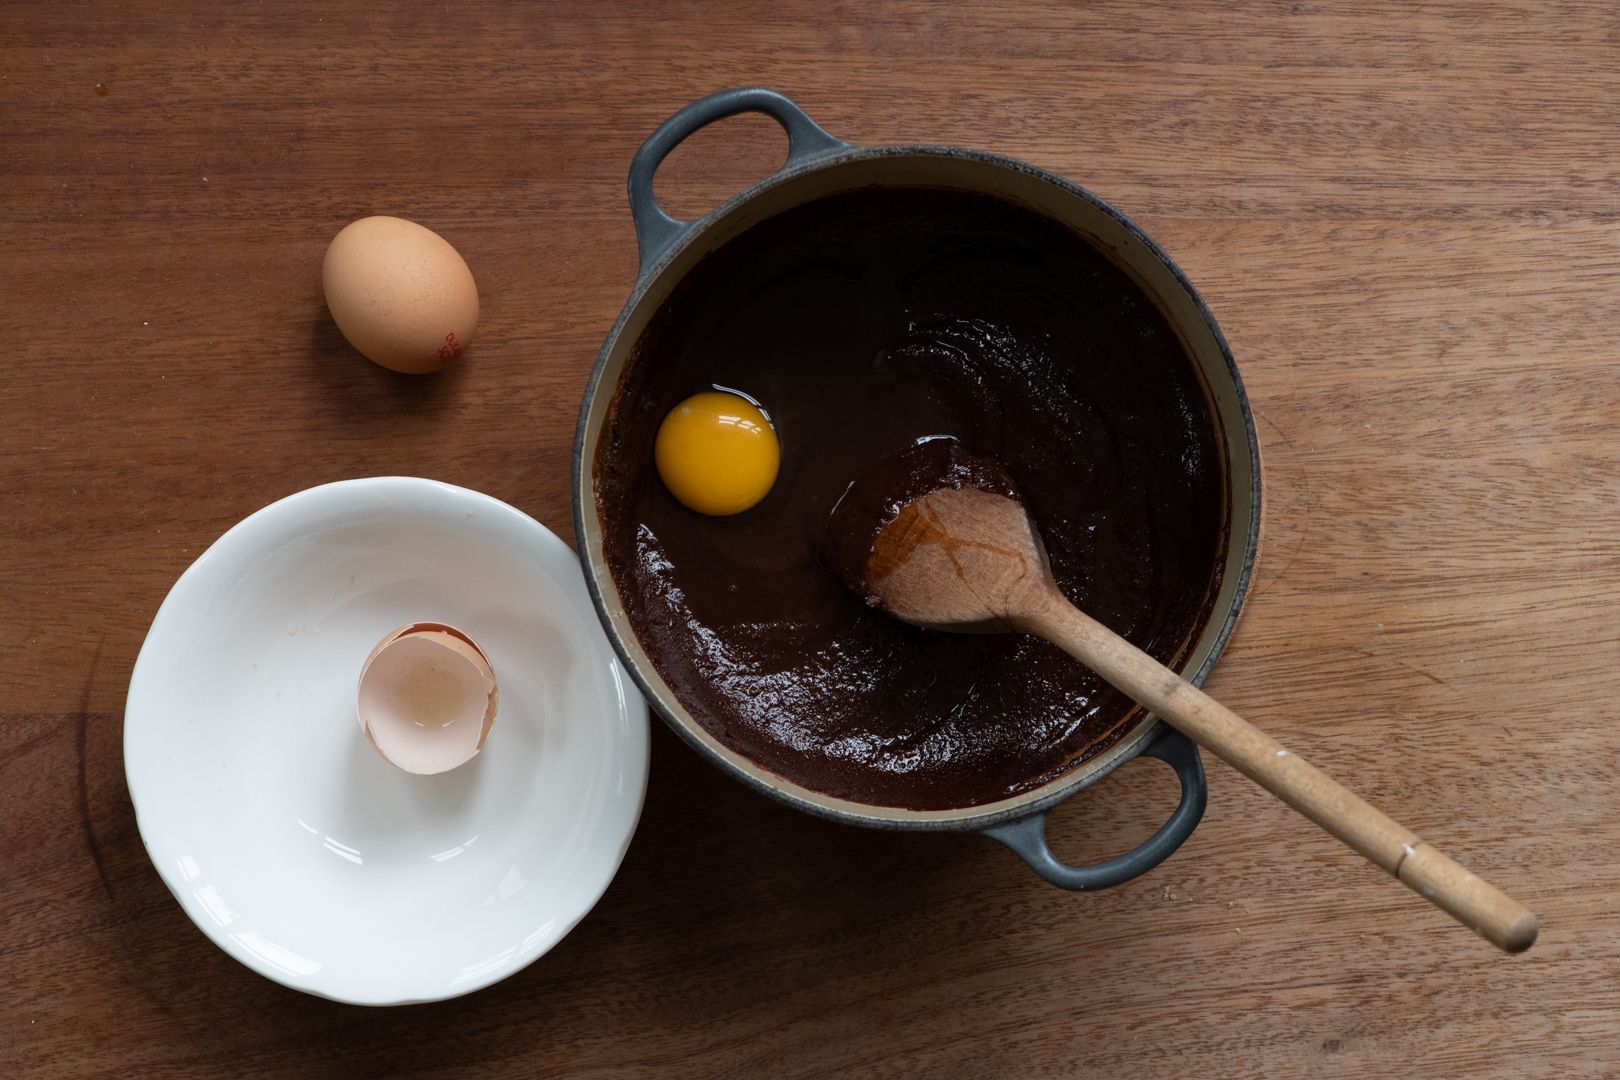
Preheat the oven to 180C/350F. Line a 9"/23cm round tin (or similar) with greaseproof baking parchment - I just squish a big square in, no need for carefully measuring/cutting. Place the butter and chopped dark chocolate into a medium-sized saucepan and put over a low heat. Keep an eye on the mixture as it melts and stir regularly. When you have a smooth liquid take off the heat. Stir in the brown sugar and leave to cool for a few minutes. I use this time to organise and chop my mix-ins.
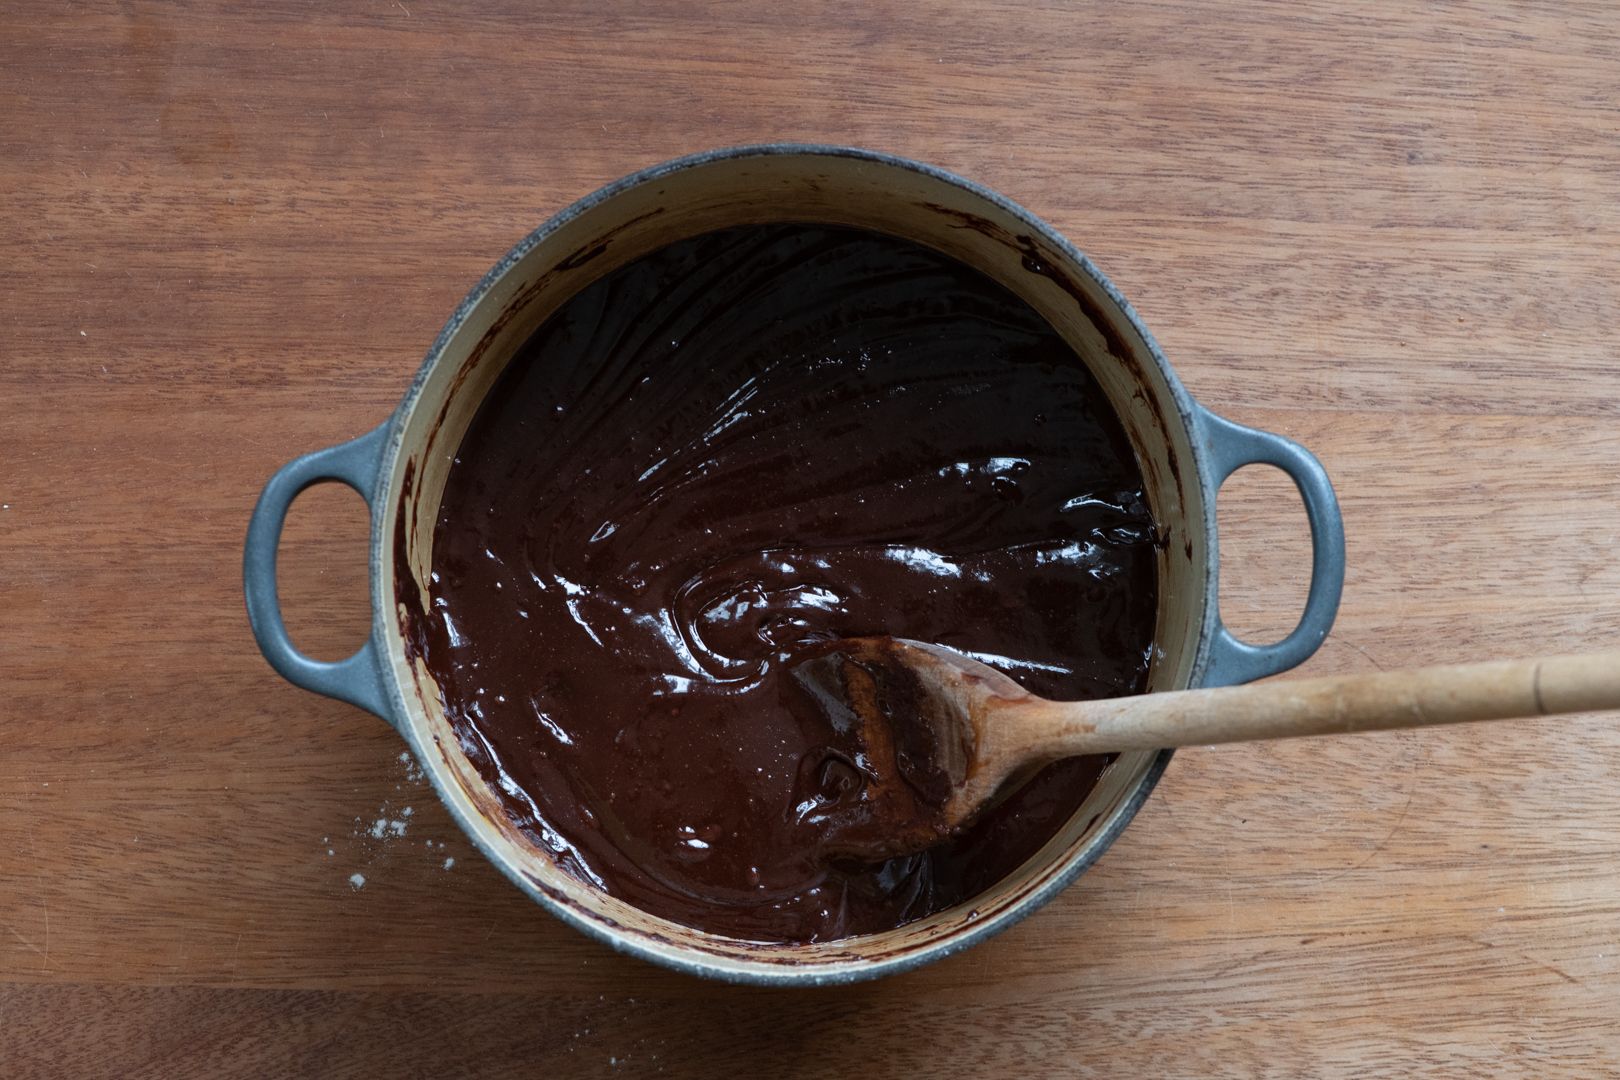
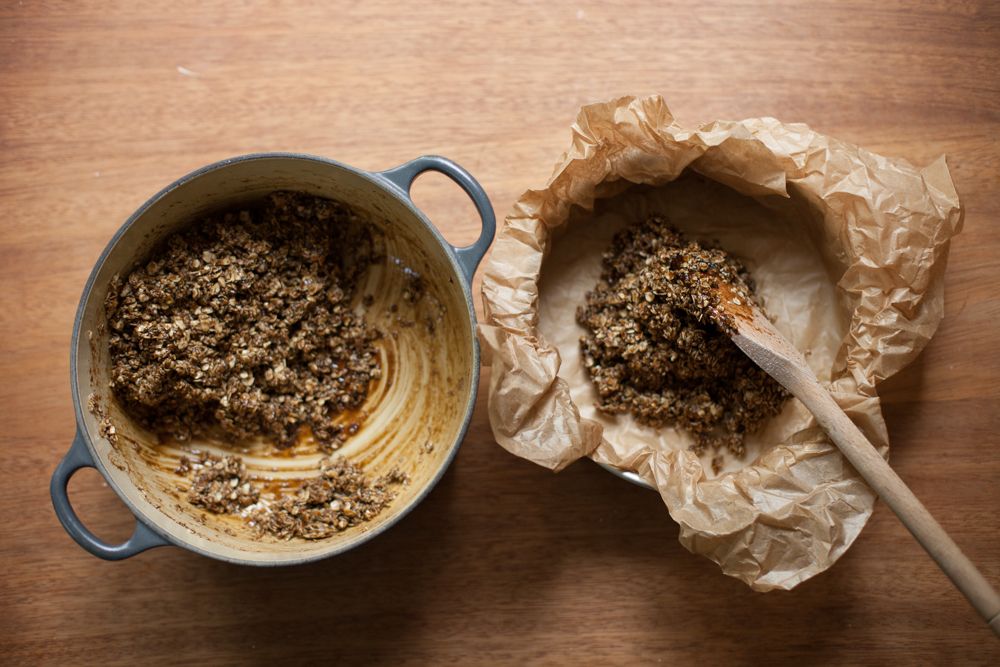
Add one egg to the chocolate saucepan and stir until combined, then add the other egg and stir again. Stir in the flour. Now for the really important bit: stir the mixture vigorously for one minute (time it if possible) - I find a wooden spoon easier than a spatula for this step. The mixture will look grainy and rough at the beginning but by the end it should be silky and smooth and coming away from the sides of the saucepan (see the photo directly above the recipe). Stir in the chopped white chocolate and pecans (or other mix-ins). Scrape into the prepared tin and spread evenly.
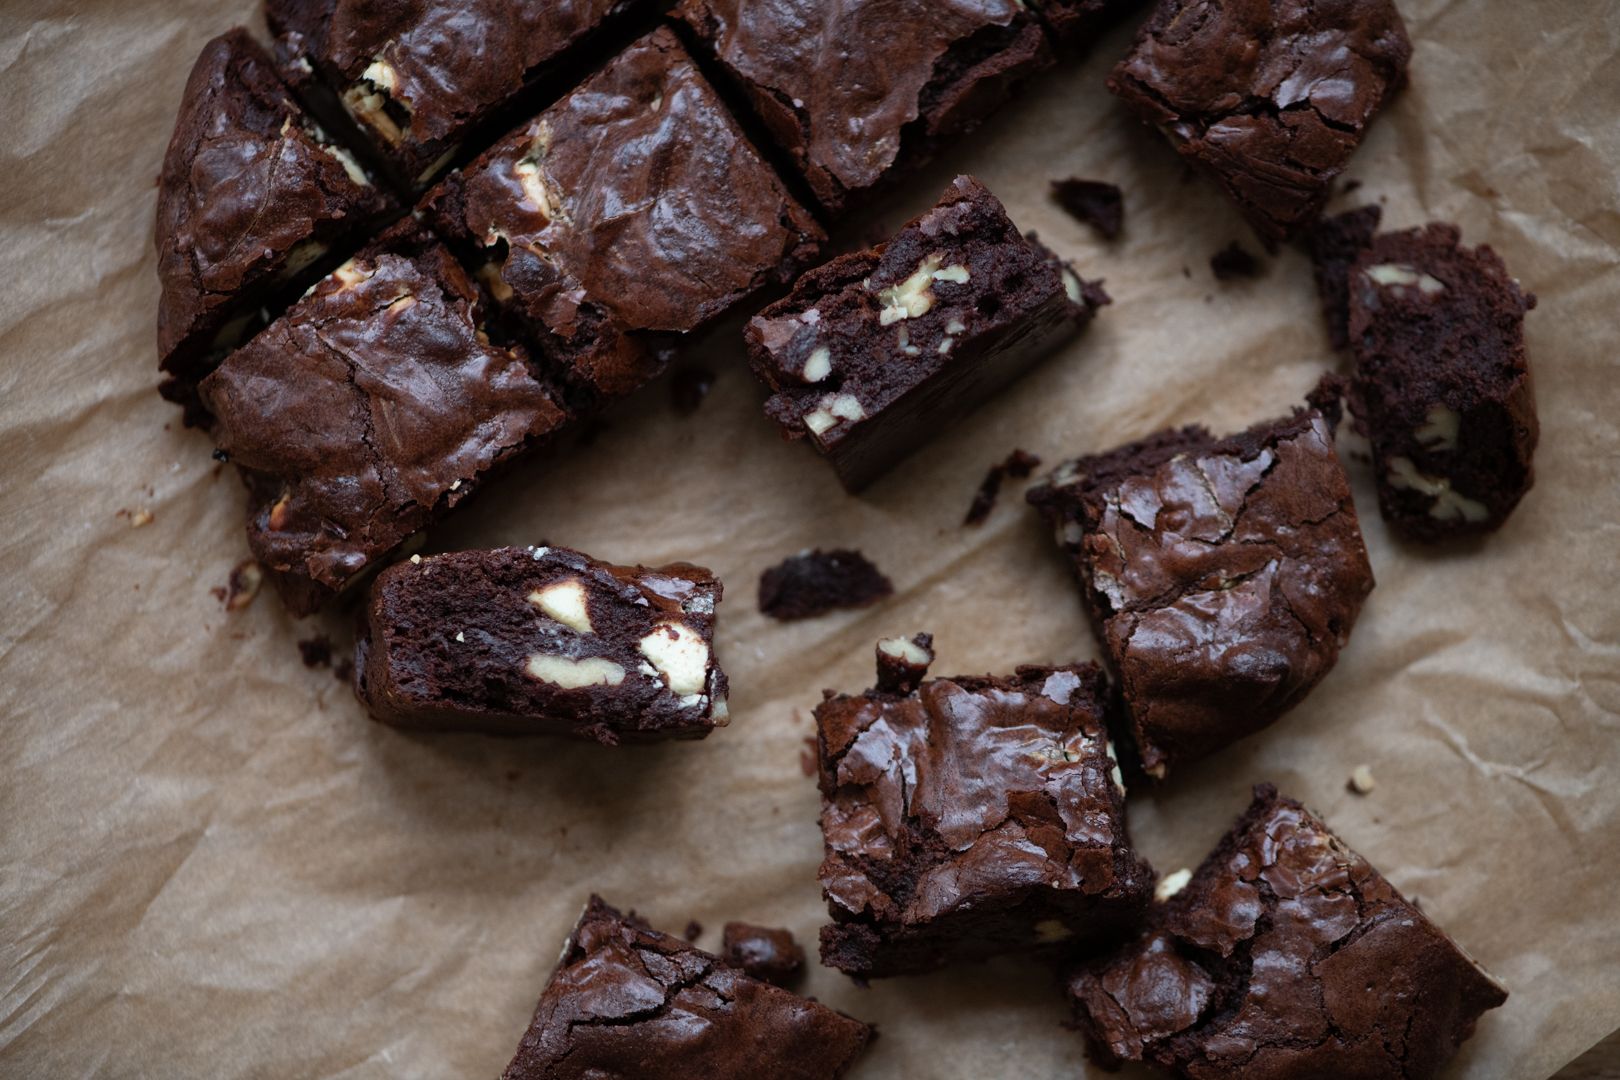
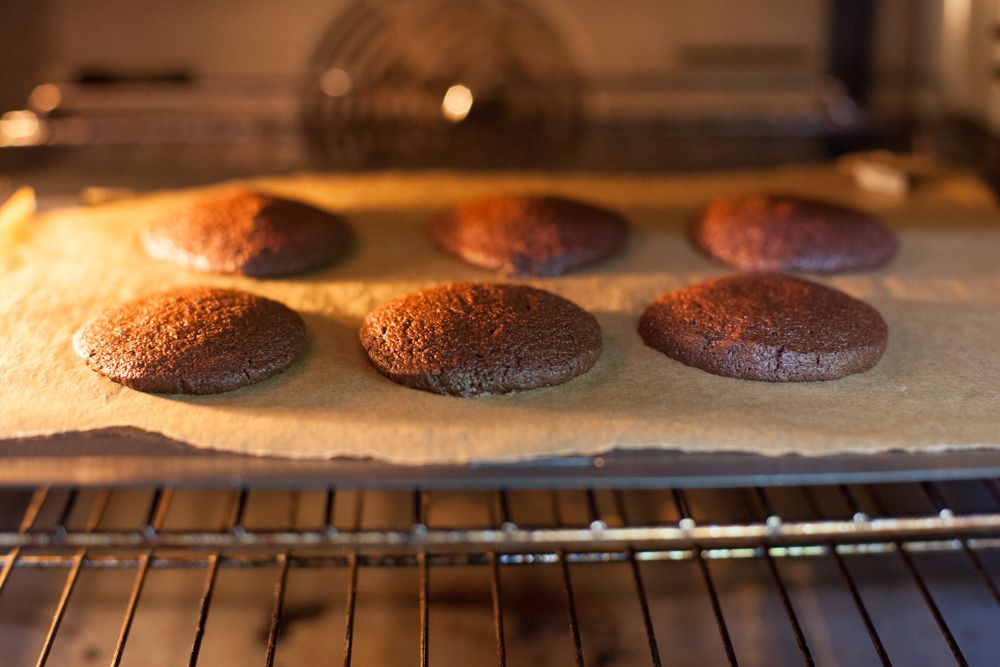
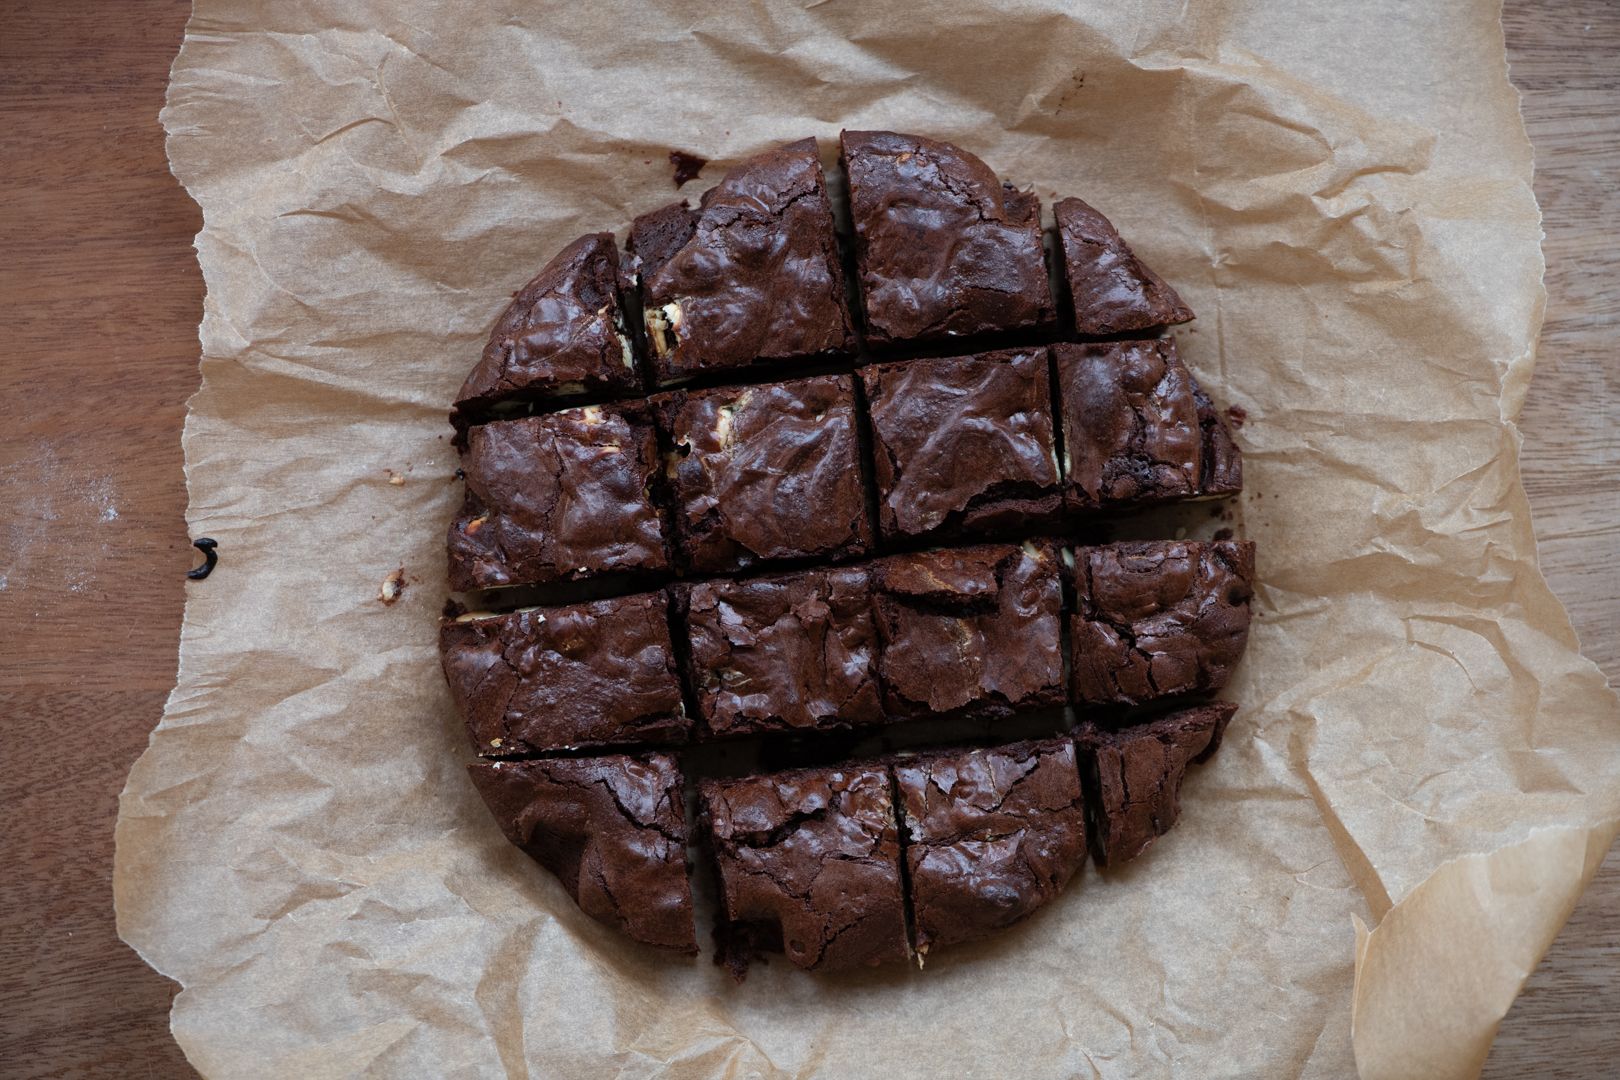
Bake for 25 minutes until the top is set in the middle. Cool in the tin on a wire rack for 10 minutes then remove the tin and allow to cool before slicing.
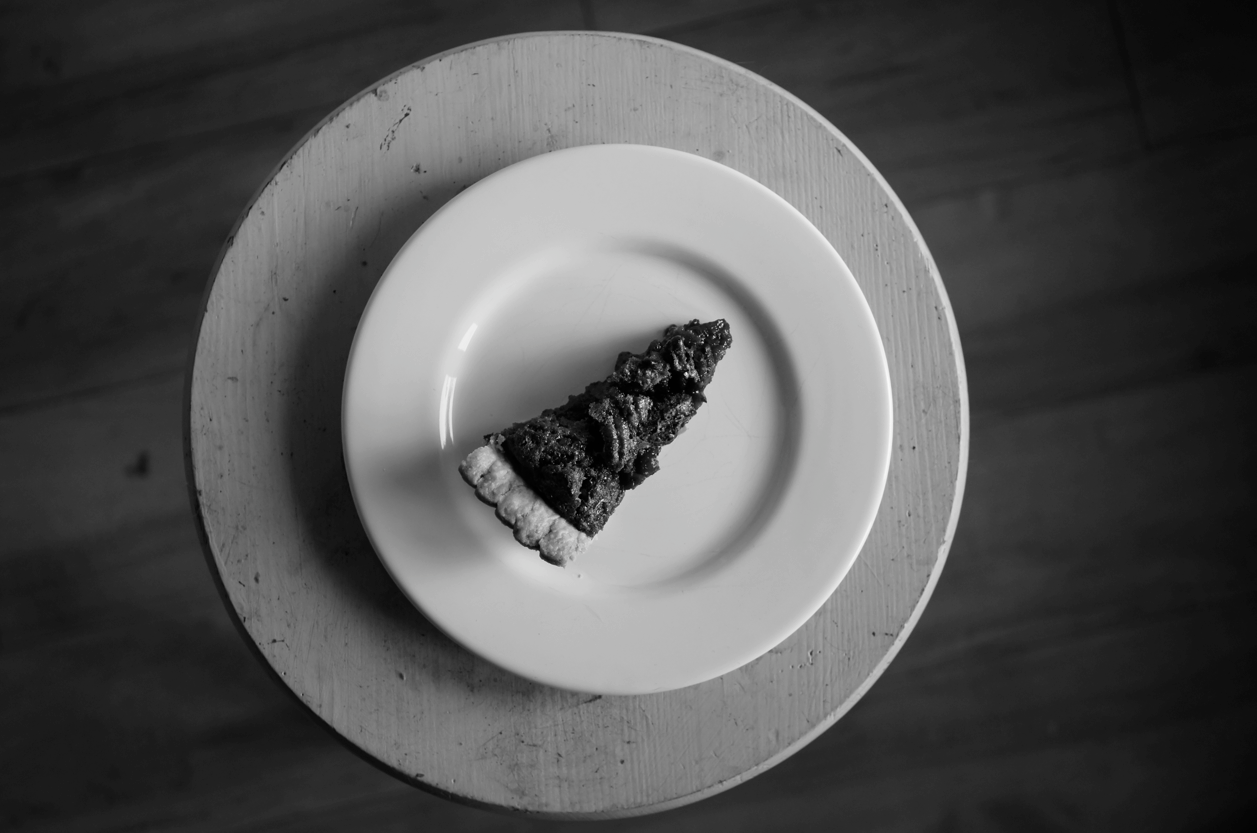
(I cut a 9" round tin into 16, 12 small brownies and 4 smaller edge bits, like this)


