Wednesday, 11 August 2010

Decorative Ice Bowl


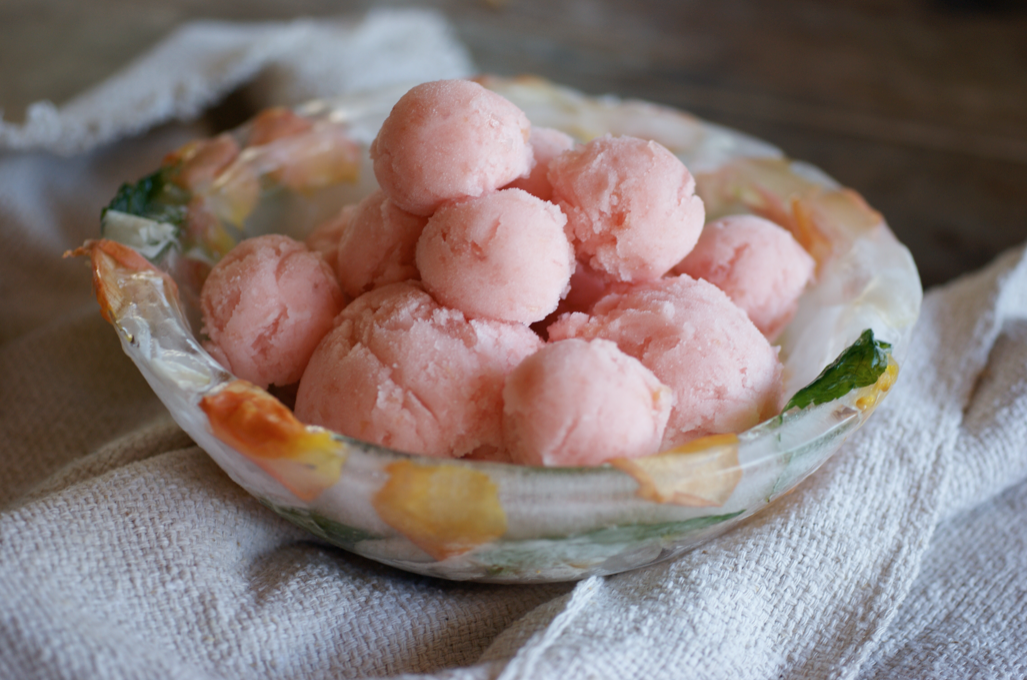
While this is not really a recipe, I wanted to share this unique presentation idea with you. I found it in a book an old friend gave to me for my birthday, The Ice Cream Book. It's a bowl made of ice set with petals and edible leaves which becomes the perfect setting for any iced dessert - ice cream, sorbet, sherbet etc. 
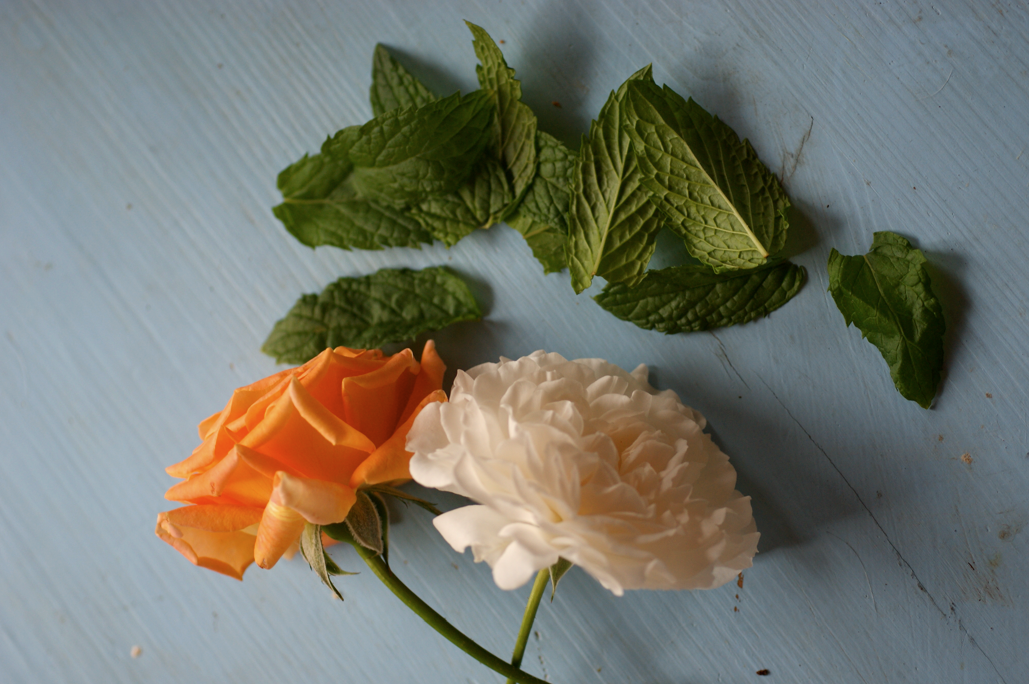
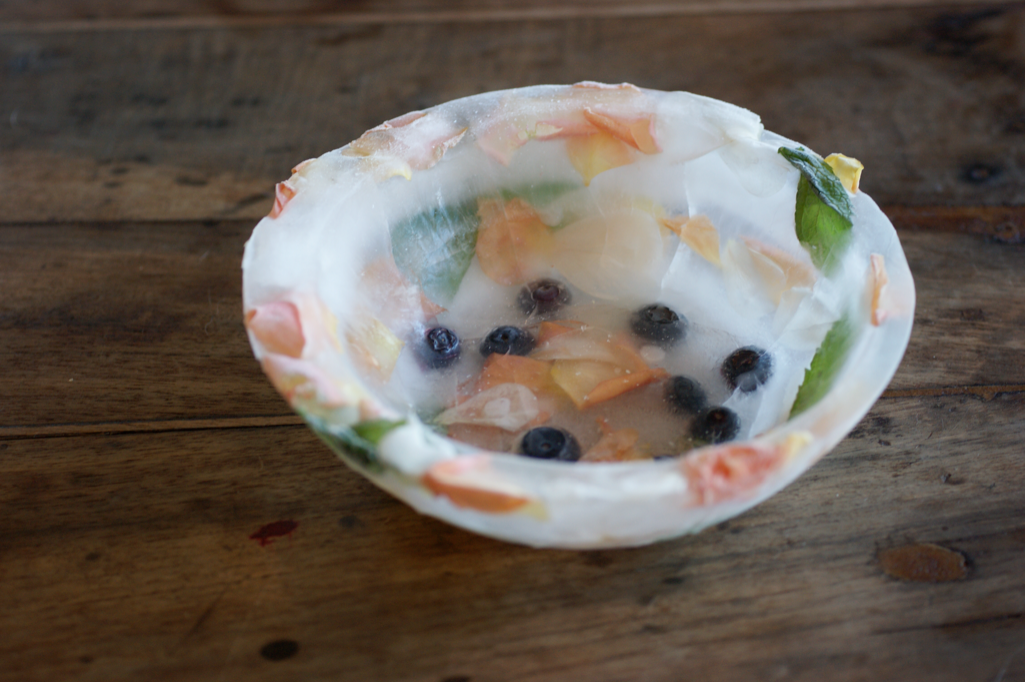
I decided to make mine with some roses and mint leaves from our balcony garden. I was was too impatient to wait while some ice cubes froze so I used some blueberries instead. You can't see them once you've put things in and I think they look pretty anyway.
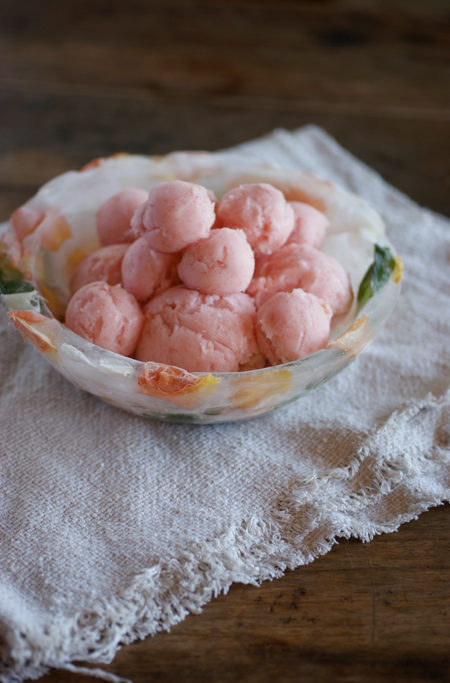
I decided to fill mine up with some of my White Nectarine Sorbet. My big ice cream scoop is having a tantrum at the moment so I ended up making more little ones with my melon baller. 

I think this is an incredibly gorgeous way of presenting iced desserts. It would help stop them melting for a little bit longer too.  Give it a try - it's so easy and doesn't cost you anything. 
Decorative Ice Bowl
(adapted from The Ice Cream Book by Farrow and Lewis)

2 bowls of slightly different sizes
handful edible petals/leaves
kitchen weights
jug
ice cubes/blueberries

Make sure your bowls fit together leaving a clear space in between. Put the ice cubes/blueberries in the bottom of the bigger bowl together with a few leaves and petals. Put the other bowl inside, making sure it is even. Place the weights in the bottom of the smaller bowl. Fill with water until it is starting to come up the sides. Carefully put in the freezer for 2-3 hours. Remove from the freezer and place the rest of the petals in between the bowls. Fill with water up to the desired level. Put back in the freezer and freeze overnight. 

To remove from the mould, remove the weights then pour some hot water into the small bowl. It should lift out easily aster a moment. Then either pour more hot water over the base bowl then remove, or put in a bowl of hot water and remove like that. Return to the freezer. A few hours or so before serving, scoop up the ice cream/ sorbet and place in the bowl. Return to the freezer until you are ready to serve. 
Sunday, 8 August 2010

Black and White Mini Cakes

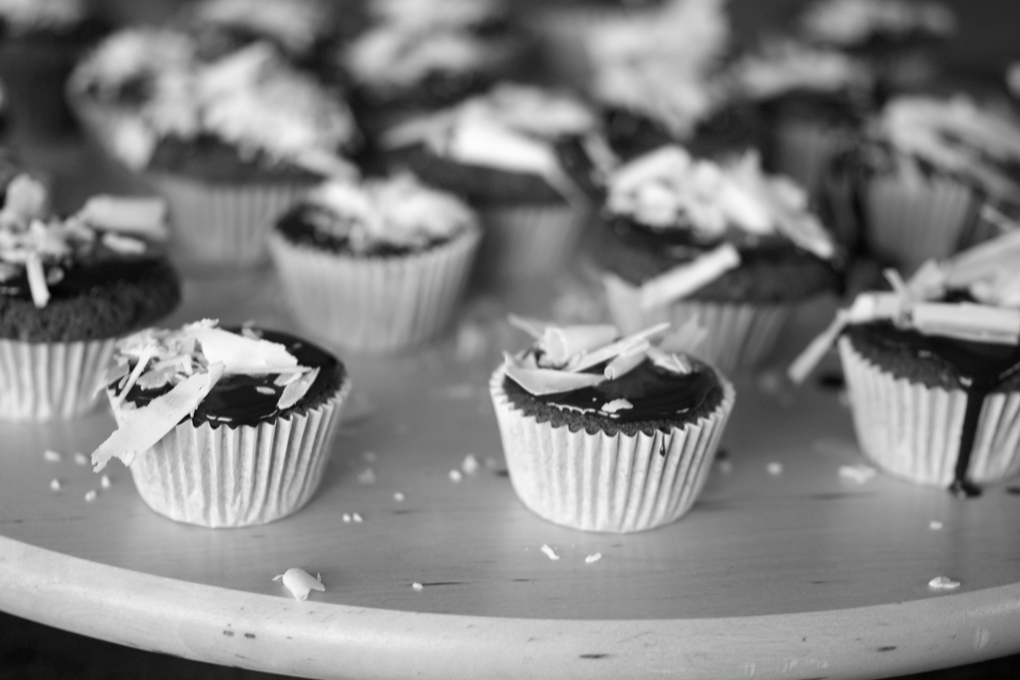
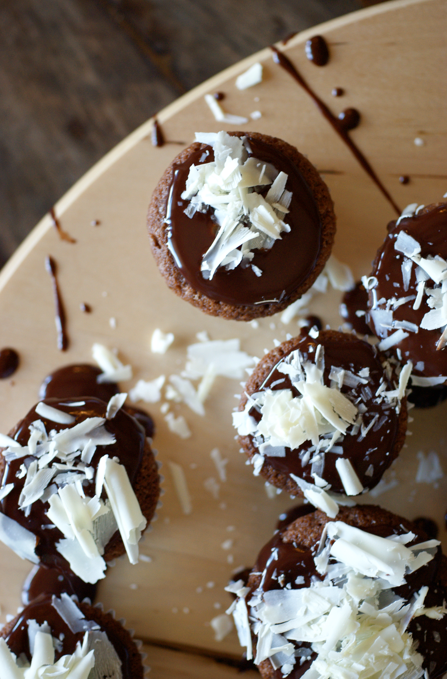
Sometime in the distant past, mum bought a mini muffin tin. We don't use it very much. I decided this was a shame, and so these mini cakes were developed. They're chocolate cake topped with dark chocolate ganache and white chocolate shavings. 


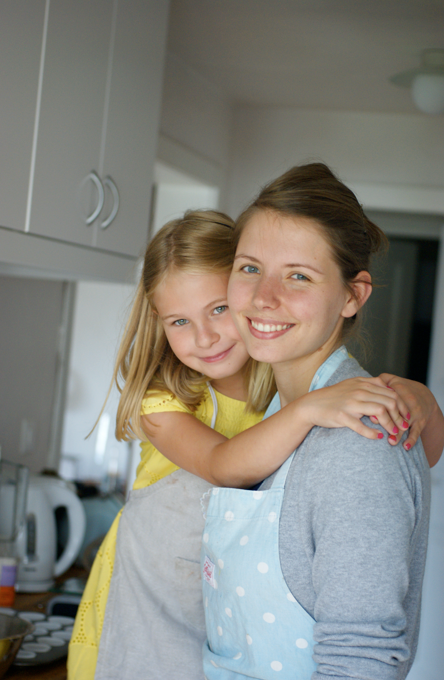
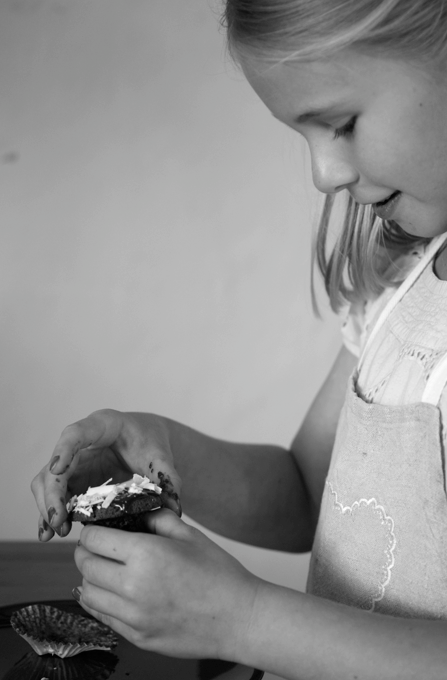
I had help making these. Isabella - you may well have seen her comments on my posts - is quite possibly this blog's biggest fan.  I invited her over to have a bit of a baking session and this is the result. She's a very useful assistant!  

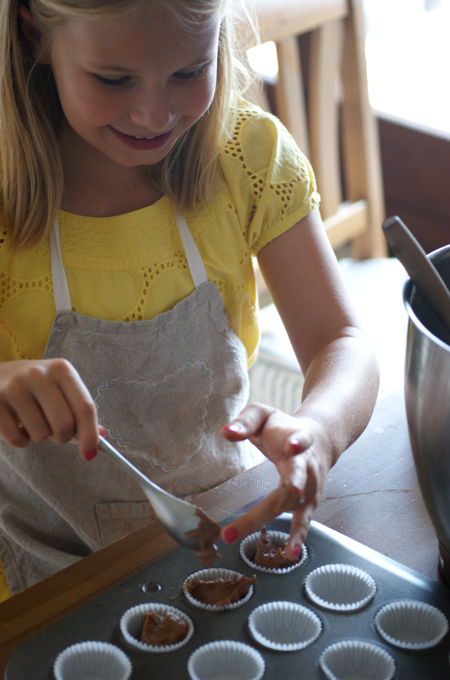
We whipped up a cake dough and set about dividing it between the cases. Our kitchen surfaces are very tall so we moved to the kitchen table to make things easier.  Some cases got a bit more than others but they all look lovely. 

(Also, how gorgeous is Isabella's dress? So cheerful and bright.)


While they were in the oven, we set about making a simple ganache. We broke up the dark chocolate, getting very messy fingers in the process. We measured out the cream and heated it up, chatting about Dr Who and Jamie Oliver.  I showed Isabella how fun it is to watch cakes rise through the oven door. 


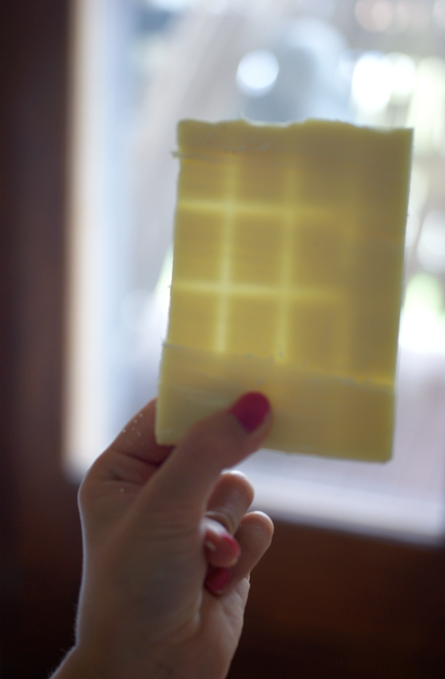
Once we had set the ganache aside to cool, we started making the chocolate shavings. We had a lot of giggles trying to make them work, but in the end we ended up with a big pile and no major mishaps. I love the way you can see through the bar once you've scraped lots of it away. 


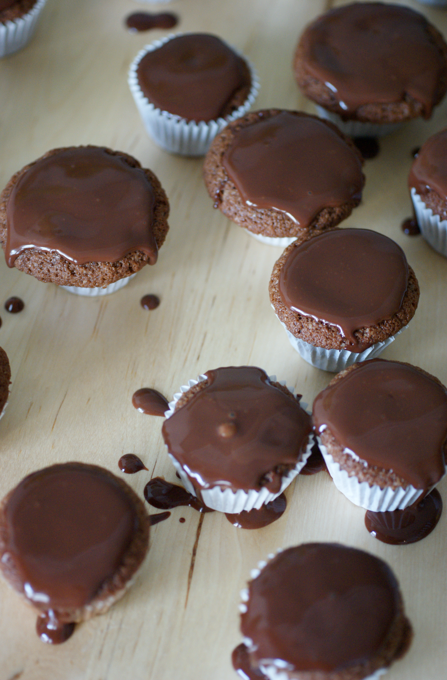
After taking the cakes out of the oven and letting them cool a bit, we put them all on a big stand and started spooning (dripping) ganache over them. Then we sprinkled handfuls of the chocolate shavings over the top - I love the rustic look of them piled on top. 


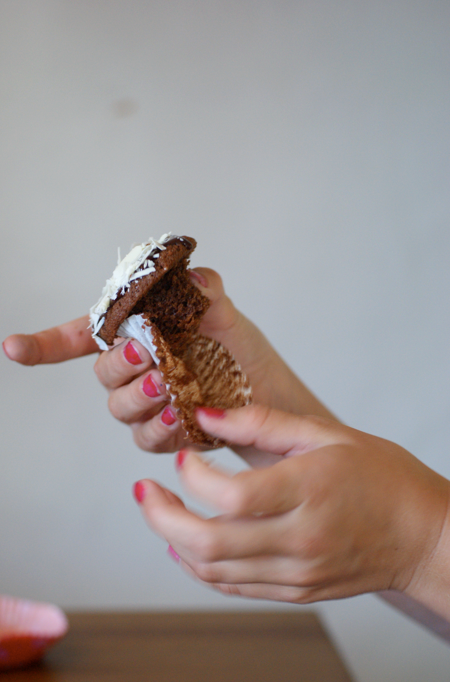
We ate some while they were still slightly warm, with the ganache spilling off the top. Pretty messy but very tasty. 


I'm not usually a fan of black and white food photos, but here it just seemed to work.  I love the fact that these photos ended up with a colour palette of browns and white with splashes of yellow, blue and pink nails. 

I had such fun making these and they taste wonderful too. 


Black and White Mini Cakes
(adapted from Nigella Lawson's recipe for basic fairy cakes in How to be a Domestic Goddess)

For the cakes:
125g butter
50g caster sugar
70g light brown sugar
2 eggs
100g plain flour
1 tsp baking powder
20g cocoa powder
2-3 tbsp milk

Preheat the oven to 180C. Cream the butter and both sugars together until light and fluffy. Add the egg a little at a time until incorporated. Sift in the flour, baking powder and cocoa over the top and beat in until combined. Divide between cases using a tablespoon. Place in the oven and make for 10-15 minutes or until a toothpick comes out clean. 

For the ganache:
60g dark chocolate
50ml double cream

Chop the chocolate up into small pieces and put it in a small bowl. Heat the cream up till nearly boiling, then pour over the chocolate. Leave for a few minutes then beat until smooth. Leave to cool before topping the cakes. 

To assemble:
100g bar of white chocolate (you won't use it all)

While the ganache and cakes cool, make white chocolate shavings by scraping a small sharp knife down the bar of chocolate, with the blade tilted towards you and pressing on the end as you drag it.  Make sure the chocolate is secure and won't move and be careful. Spoon some ganache onto each cake and then top with some of the white chocolate shavings. 

(Makes 24)

ShareThis