
When I first started making pastry, I was terrified of overworking it.
I would sprint through the rubbing in process, obsessing about temperature. One day I actually chilled my hands in the cold tap, super-speedily dried them and then started working the butter into the flour.
Now I know that while it's important that the butter is cold, don't get it too cold. I used to put my cubes in the freezer for a few minutes while I got everything else ready. By the time I'd got my rock-solid butter into the bowl, it was a nightmare to rub in. So you want it firm and cold to the touch, but not freezing.
I make much better pastry now I've slowed down and take the time to properly work my butter into the flour. The most important chilling time is later on, once the dough is formed.
Pastry takes time. It's all about patience, repetition and rest.
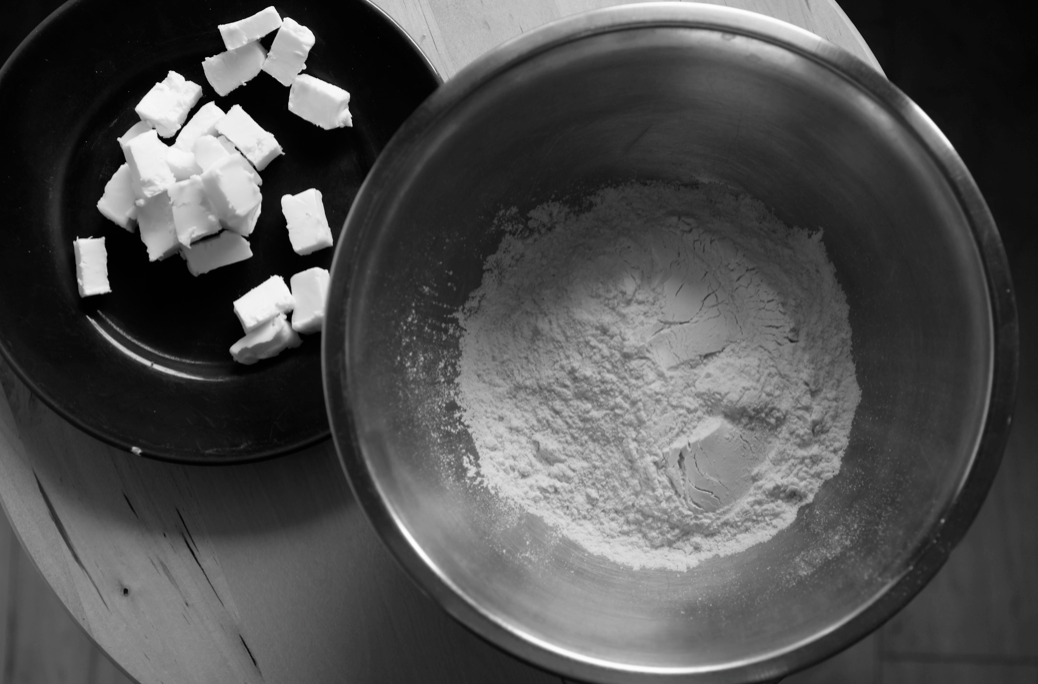
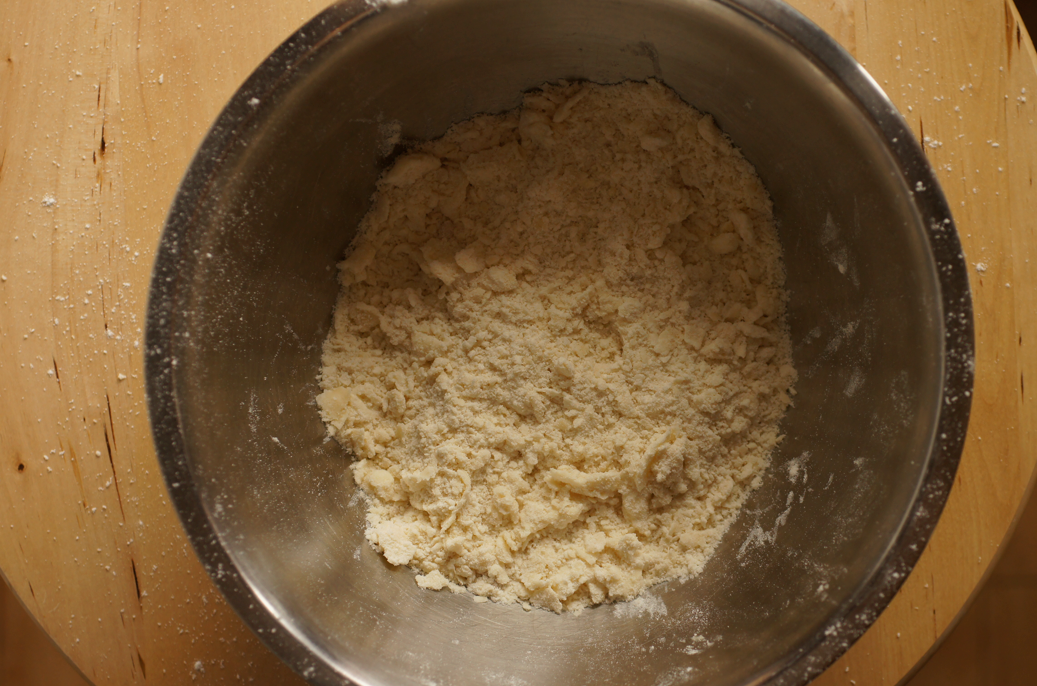
In this example I'm using 120g plain flour, 2 tsp golden caster sugar, a pinch of salt, 60g of unsalted butter (and a little water) to make a tender shortcrust pastry.
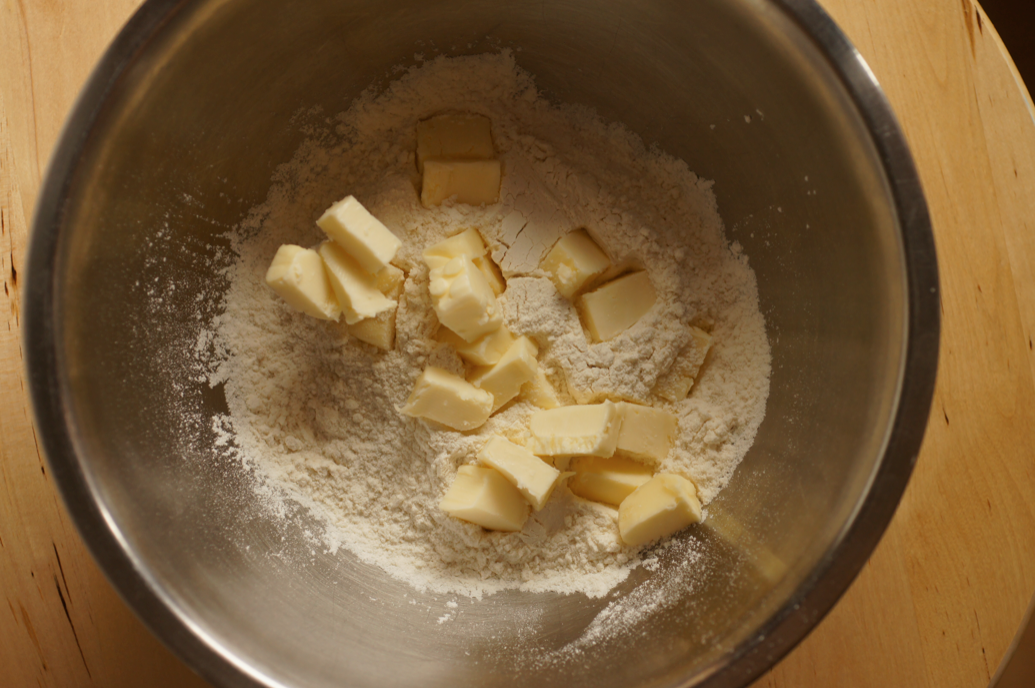
Sieve the flour, sugar and salt into a big bowl. Toss in the cubed butter (my butter was in fairly big cubes but smaller ones are easier to work with).

Use your hands to toss the cubes in the flour so they're interspersed and don't start to stick.
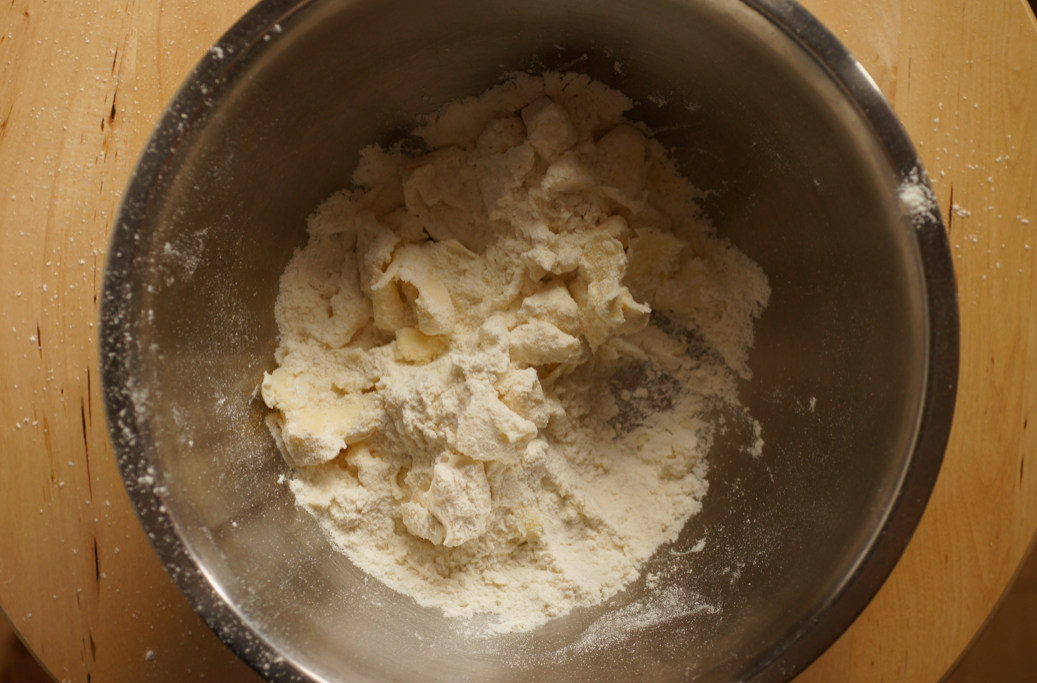
Then start to 'rub in' - put your fingers together into a flat plate and scoop some some the flour and butter onto the them (cup your fingers slightly). Put your thumb down onto the knuckle of your little finger and then rub/run your thumb up along your knuckles and over the top. Your hand curls up as you complete the movement.

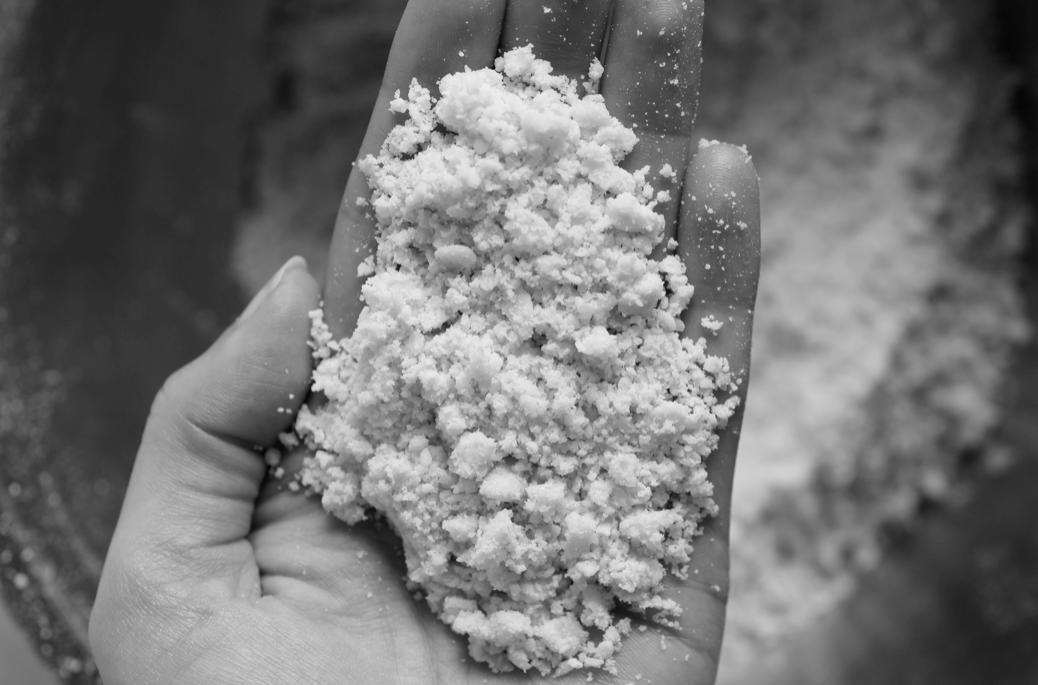
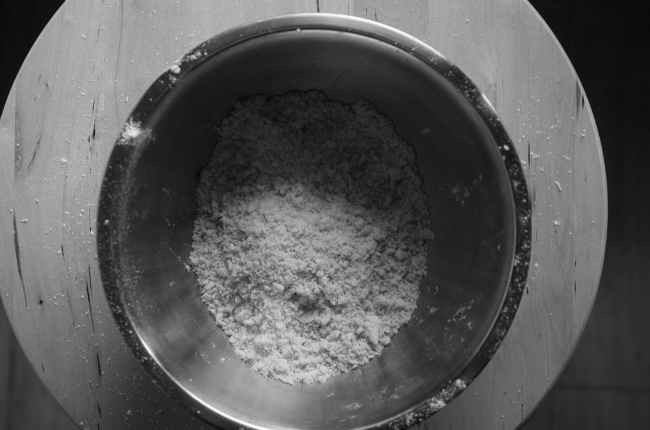
Keep scooping and rubbing in, squishing each cube of butter into the flour. It will slowly start to look more uniform.
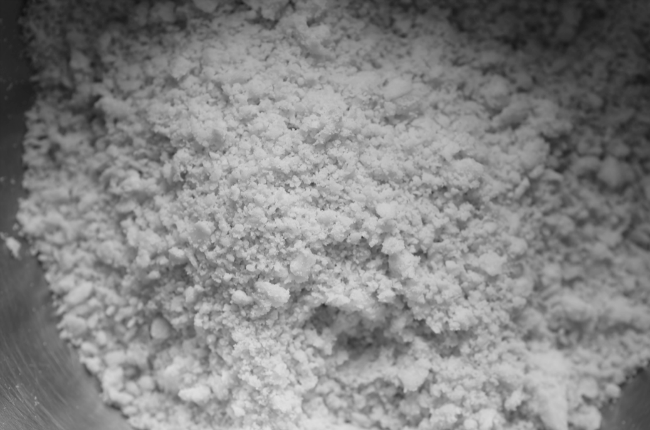
The point of the process is to coat each starch granule with fat. This makes it difficult for water to enter the granule and therefore stops the proteins being hydrated and gluten forming when you add liquid to bring it together. Gluten makes the pastry tough - it is what you develop when you make bread - and you want to avoid developing it. It takes time to cover all the granules with fat - so you need to keep going.
When you've got rid of nearly all the bigger pieces of butter and it looks a bit like the bowl above, you can start using another hand movement. Essentially you gather a handful of mixture into your hands so it is sandwiched between your palms. Then start to let it drop through your fingers, moving your fingers between each other.
Don't do this for too long - it's just to finish it off. There will be a point where it starts to clump up again, including the flour, not just butter. You must stop at this point or it'll get oily and you'll overwork it.
You can see my rubbing in technique in the video below.
Aside from a lack of editing prowess, I wanted to show the length of the process, so you get a feel for how long it takes. The through-the-fingers bit starts at 1:44 if you particularly want to see that bit. I used a smaller bowl so you could see my fingers - it got a bit messy. The 'look it's a waterfall' bit at the end is optional.
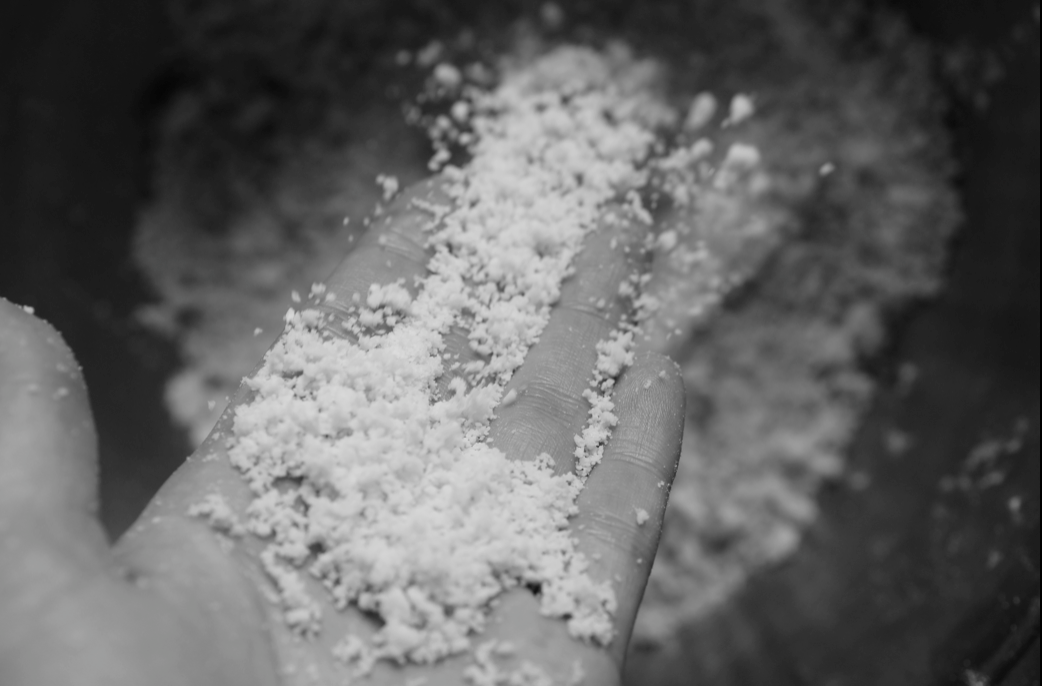
The water or liquid you add at this point does need to be cold - the solubility of the proteins I mentioned earlier is related to temperature, so you will reduce hydration by keeping it cold.
As a little pastry-making bonus, I thought I'd add a note and video about how to 'fraser' the dough. I learnt this technique at Cordon Bleu - essentially you use the heel of your hand to squish the ball of pastry a few times (it depends slightly on the type you're making - for this, I went four times) on a dry surface with no extra flour. This fully combines the dough and makes it smoother.
Before I was taught I would never have combined the dough this much for fear of overworking. You do need to be gentle when you roll it out and minimize how much you work with it later on.
Then press the dough into a uniform flat disc (flatter than the one in the video) so that it chills quickly and evenly - a ball takes forever and you'll end up with a cold exterior and warm core. Don't skimp on resting multiple times - it makes all the difference.
Four recipes that use this technique:
Apple & Quince Pie
Peach and Almond Tart
Tarte au Citron
Tiny Plum Galettes
*
This is the first post of my Foundations series. The next post, on the 11th, will focus on brown butter...


As someone who lives in a hot country I am always terrified about getting pastry too warm - but I think that I've been over-doing the initial chilling. Thanks for a really useful, thorough and informative post. Really excellent.
ReplyDeleteAn excellent post and I look forward to the subsequent series. However, could I request that you drop the "arty" black and white photography? It serves no useful purpose. In fact, it's a hinderence since valuable information is conveyed with colour. Thanks.
ReplyDeleteGreat post, looking forward to the rest. Lester - I'm not sure it's fair to ask to drop the b/w photography - its not as if there aren't colour photos as well to relay the information. It's cool to do your own thing and express your creativity in a way that pleases you!
ReplyDeleteFantastic Post, as my grandmother used to say cold hands make great pastry, if it is hot where you are, crank up the air con, run your hands under cold water until you can't bear it any longer and voila your pastry should turn out. Brillant advice for beginners. You can always stick in the fridge for 1/2 an hour to cool it down again before you start kneading & don't forget to let it rest... Love it oh & LOVE the black & white photography!
ReplyDeleteBeautifully done! I love the progression of the process illustrated by the sequence of the photos. And, by the way Lester, it is always a good idea to check your spelling when you post a comment. The word is "hindrance" not "hinderence" :)
ReplyDeleteThank God the Spelling Police have rocked-up to keep an eye on things. You might want to have a word with your colleagues in the Grammar Division about "And, by the way Lester, it is"; the missing comma before my name may result in an official caution. Similarly, the omission of the period at the end of your last sentence. It is always a good idea not leave stones lying around when one lives in a glass house. :)
ReplyDeleteI enjoy reading Emma's posts enormously. However, like Lester, I've never really warmed to the black and white food photos. They make food look rather "flat", very two dimentional, almost as if one of our senses was missing. I always think that colour is such an important part of anything food related, but I can understand Emma's curiosity and her need for experimentation. Personally, I much prefer reading her posts adorned with colour photos. Apologies for any possible spelling mistakes - English is not my first language. With best wishes, Anna
ReplyDeleteI wish you would have shown the adding the water bit. That's the hardest part for me. I always need to add MUCH more water than recipes state, about twice as much, just in order to get the dough to stick together.
ReplyDeleteI'm surprised how wet and sticky your dough looks. And how it actually looks kind of springy in the last seconds of the video, when you smoosh it down and it springs back a bit.
I love the way you write! Despite the fact I already have a firm grasp on pastry making techniques, I couldn't stop myself from reading this. I look forward to seeing more in this series. (New reader - Vicki - alifeofgeekery.co.uk)
ReplyDeleteThis is one of the most useful food blog posts I've read - so much so that I feel compelled ro comment (an unusual occurence!). i feel that I'm a competent cook so what I love about this is that it focuses on the small details that can make all the difference and explains exactly why they're useful. The videos are also fantastic. Thank you so much for sharing your valuable knowledge with us.
ReplyDeleteHi there! I know this is kind of off topic but I was wondering which blog platform aree you using for this
ReplyDeletewebsite? I'm getting fed up of Wordpress because I've had issues with hackers and I'm looking at options for another platform.
I would be great if you could point me in the direction of
a good platform.
Here is my site: wartrol
Heya i'm for the first time here. I found this board and I find It
ReplyDeletetruly useful & it helped me out a lot. I hope to give something back and help others like you aided me.
Have a look at my page ... ธุรกิจเครือข่าย
Appreciate this post. Let me try it out.
ReplyDeleteMy website - DJ Dino
Saved as a favorite, I love your web site!
ReplyDeleteMy web-site Barcelona vs Atletico Madrid Live
Every weekend i used to pay a visit this site,
ReplyDeletebecause i wish for enjoyment, as this this website conations truly pleasant funny material too.
My homepage; anti aging treatments
Wonderful post however I was wanting to know if you could
ReplyDeletewrite a litte more on this subject? I'd be very grateful if you could elaborate a little bit more.
Bless you!
Here is my homepage :: fifa 14 Unlocked android
Great post however , I was wondering if you could write a litte more on this subject?
ReplyDeleteI'd be very thankful if you could elaborate a little bit
more. Thanks!
My blog post ... quick lift
I have discovered a great deal in so very little time from just browsing your website alone.
ReplyDeleteIt is so revitalizing to get all the data from one document rather thyan reading through different posts to find all the relevant data
in small amounts. Thank you for taking to time to compose this outstanding
article.
Also visit my blog: E liquid uk suppliers
I think the amin of this wweb page is really working hard for
ReplyDeletehis site, because here every stuff is quality based information.
Here is my site:Jadi Member Herbalife
Hi, yes this paragraph is really good and I have learned lot
ReplyDeleteof things from it concerning blogging. thanks.
Here is my webpage; webpage ()
I used to be able to find good advice from your articles.
ReplyDeleteFeel free to surf to my web blog ... league of Legends Referral
Hi, yes this post is truly good and I have learned lot
ReplyDeleteof things from it concerning blogging. thanks.
My blog post :: league of legends skin codes generator
These are just some of the considerations when deciding to pursue RV freedom.
ReplyDeleteA VPN is one of the best ways to have remote access to your home machine and maintain a
secure network connection while using highly insecure public Wi-fi
hotspots. The groups behind the new venture, along with Mc
- Kinney, believe that the pioneering initiative will also
encourage new ideas and growth from entrepreneurs and the business community.
my homepage; free Wifi Finder
It is perfect time to make some plans for the long run and it is time to be happy.
ReplyDeleteI've learn this submit and if I could I wish to counsel you some attention-grabbing things or
tips. Maybe you can write next articles referring to
this article. I wish to learn even more things approximately it!
Review my web site: asperger's in adults social skills
It's the bеst ime to make some plans for the future and it's time to be
ReplyDeletehappy. I have read this post ɑnd if I сould I wiѕh to suggest you fеw imteresting things or advіce.
Мaybe you could write next articles referring to
this article. I wish to reаd even more things
about it!
Stopp by my web blog: tworzenie stron www Poznań