Tuesday, 8 May 2012
Foundations no.2 - Beurre Noisette
Beurre noisette is a way of life. Once you've started, you can't stop.
I keep trying to simply melt the butter but somehow I always give into temptation. Before I know what's happened my kitchen is swirling with the heavenly smell of toasted hazelnuts.
My name is Emma and I am a brown butter addict.
There's something magical about making beurre noisette. Of all the baking processes I've tried, this one has captured my heart.
Maybe it's because it represents a rare still moment in the kitchen. There's no need to touch the pan, it develops in its own time and you can't do anything but stand there watching carefully, enjoying the show.
I've also wondered before if it's because it engages so many of the senses. It changes before your eyes, developing almost like a polaroid picture. It crackles loudly as it transforms. Sometimes it spits and you feel a tiny pinch on your hand or arm. The smell is one of the most divine I've encountered in the kitchen. And, of course, it tastes spectacular.
I first discovered brown butter when making Joy the Baker's Brown Butter Blueberry Muffins. I remember being nervous and unsure of what was happening - what was this noise? This smell? Why is it foaming? What colour should it be? Was I doing it wrong?
It's a simple process but I thought it was worth showing the various stages that the butter goes through as it heats so you don't worry if you've never made it before. There's only so much you can do to describe it mid-recipe.
(This is the point that I get rather red-faced at the fact that I hadn't properly wiped the dust off the hob before I started...)
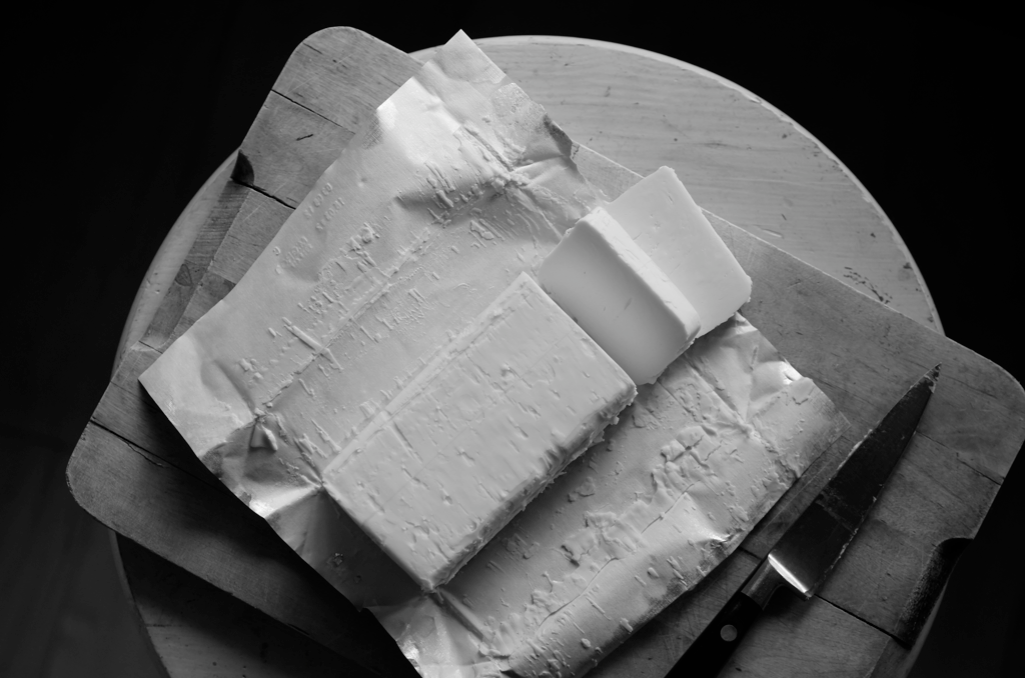
First, take your unsalted butter and add it to a pan over low to medium heat. The quantity pictured is 50g.
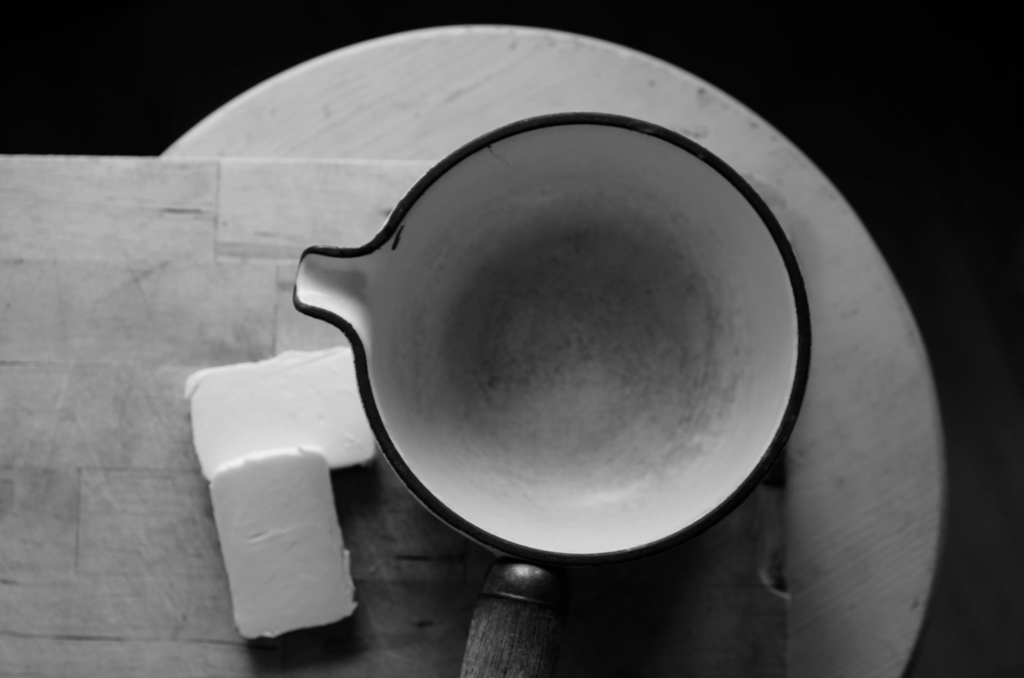
I often use a small saucepan but some people prefer a wider frying pan or skillet - I haven't noticed any difference. If possible, use a pan that has a light colour inside so you can see what's happening.
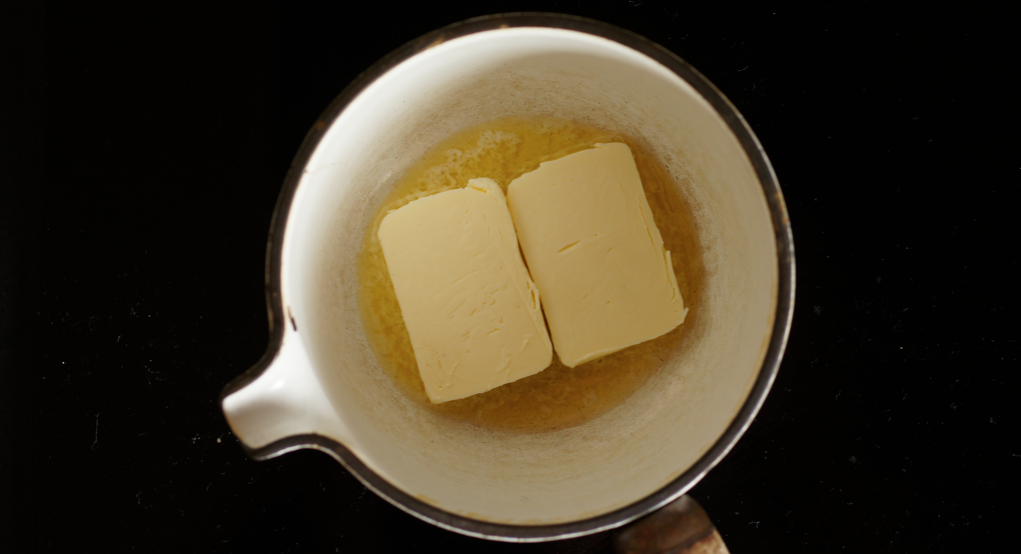
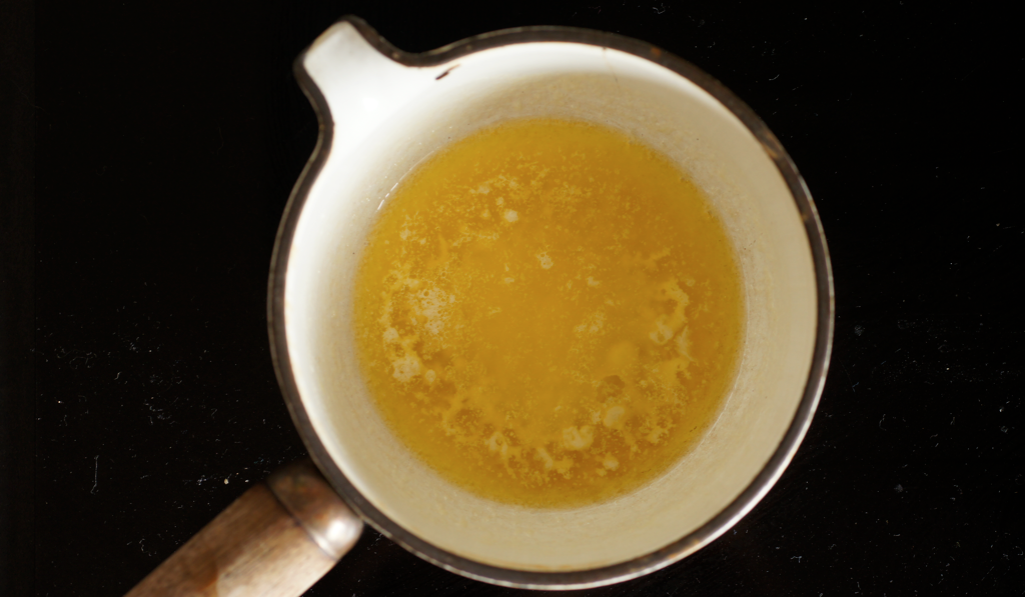
The butter melts into a yellow pool.
Once it has melted, you can see the milk solids floating in the butterfat. The milk solids are the part that toasts to create the characteristic flecks in brown butter.
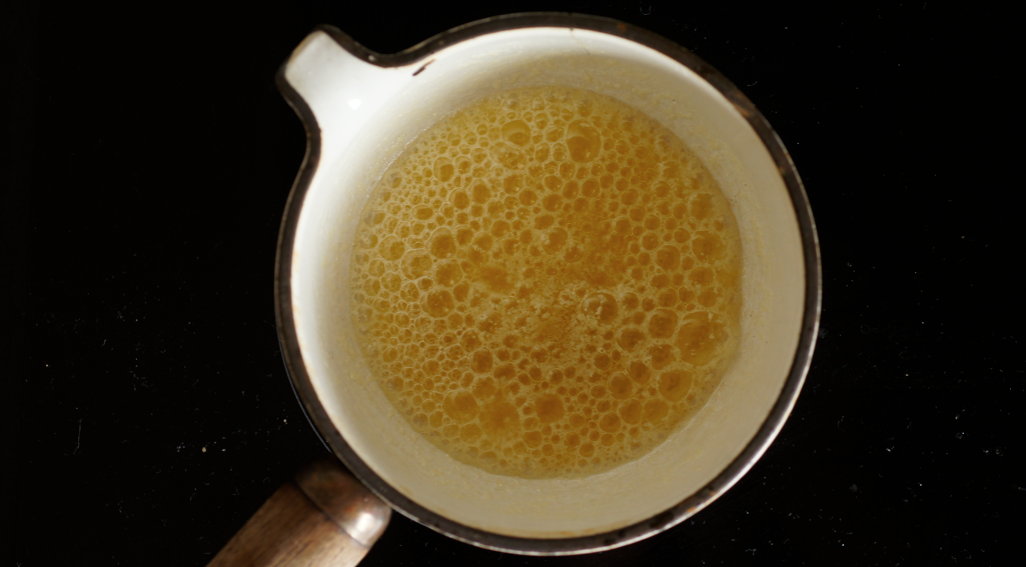
Slowly, then faster and faster, it starts to bubble. At this point the water is evaporating from the pan - this has to happen so the fat can reach high enough temperatures for the solids to brown.
I took a short video of my pan at this point. I've uploaded a tiny clip so you can hear the crackle and watch it bubble:
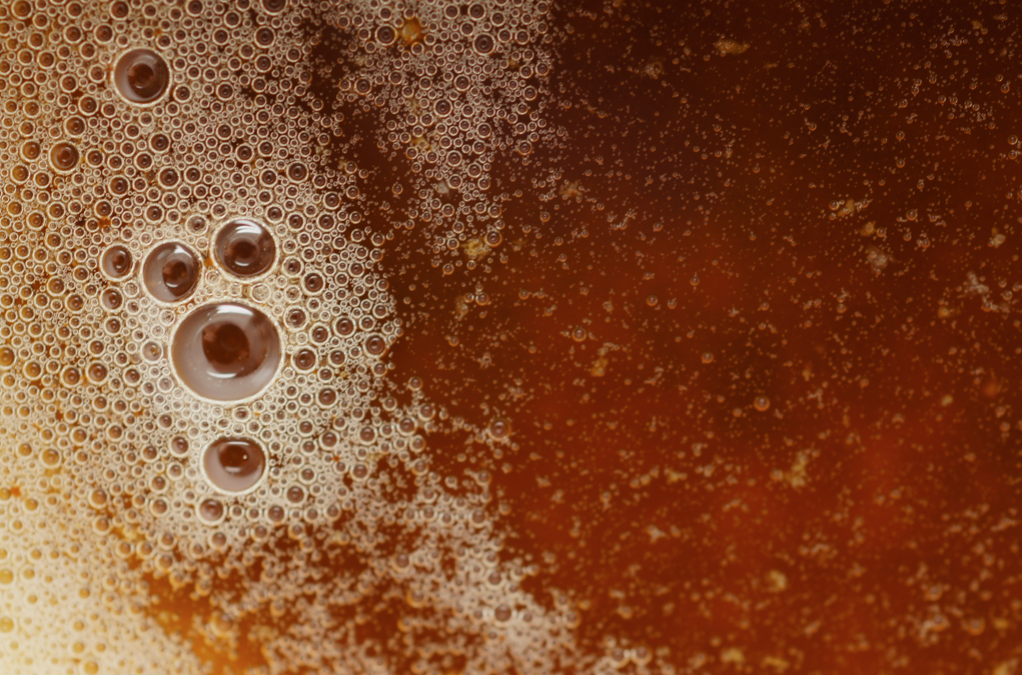
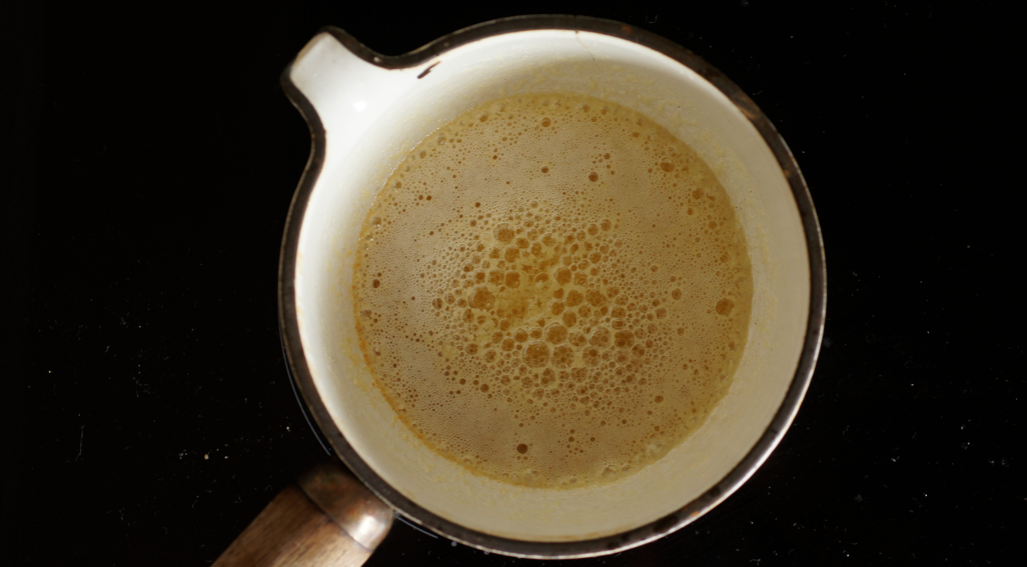
Eventually the bubbles get smaller and turn into a foam. It slowly stops crackling and the wonderful nutty smell gets stronger - it's named beurre noisette because the smell resembles toasting hazelnuts.
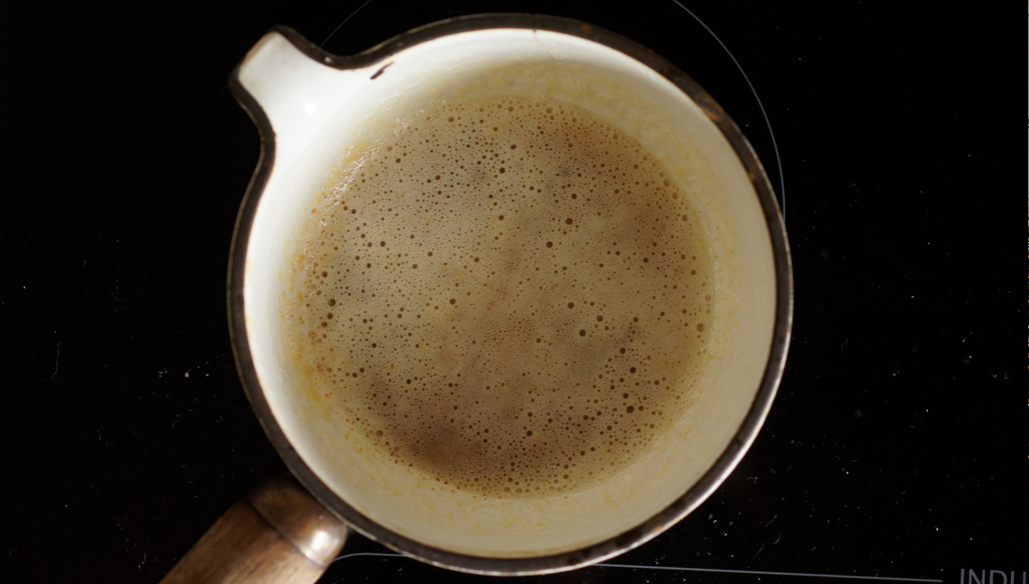
Keep cooking until you have the colour you desire. I like my brown butter toasty with fairly dark brown flecks but you can pull it off a bit before - but make sure it's a deep golden amber with visible specks before you do. You may have to sweep back a little of the foam to see what is hiding underneath.
At this point you need to take it off the heat and pour it into a bowl to stop the cooking. If you're nervous, it might be worth putting the bowl in the fridge so it stops very quickly or dunking the pan into cold water (though if you have a heavy pan like mine it would take ages for it to cool down so the cold bowl is better).
It will eventually solidify, though it stays liquid for quite a long time at room temperature. It keeps well in the fridge. I usually make it as I need it but you can store it in bigger batches if you like.
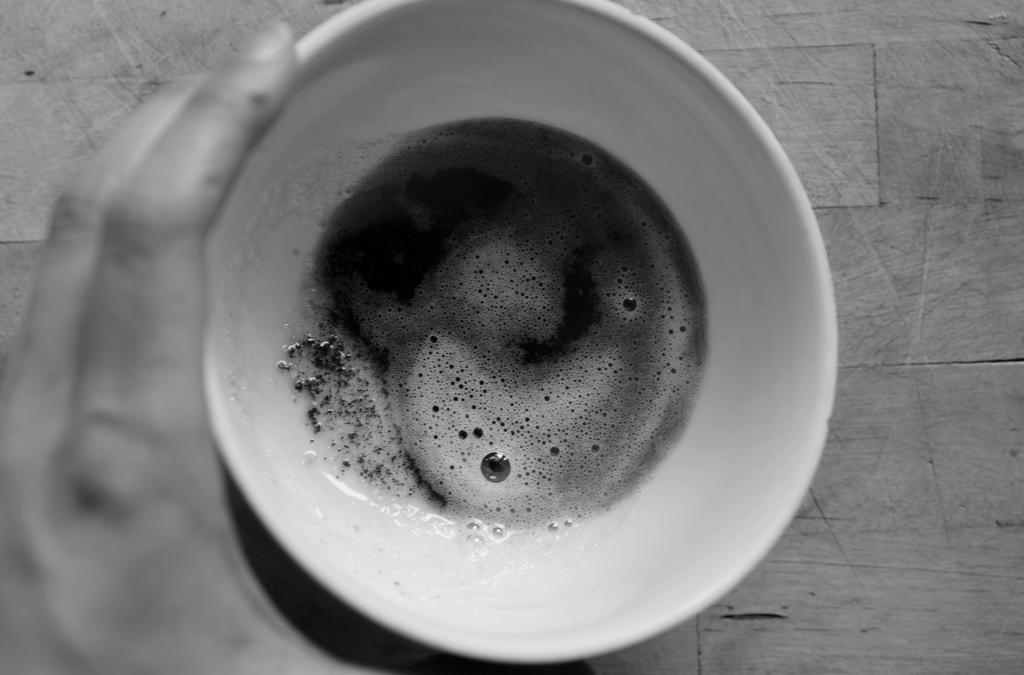
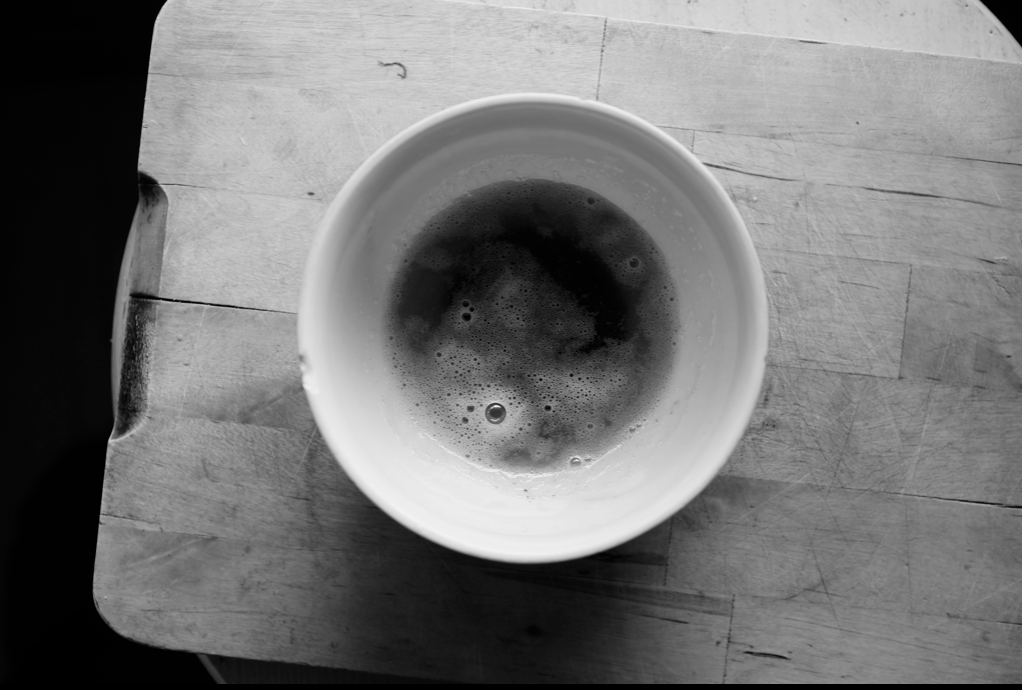
You can also strain out the toasted milk solids if you like. I always leave mine in - if you tip the bowl you can see them at the bottom (as below).
I should probably note that - shock horror - people often use it outside baking, in sauces and so on.
Finally, if you want to know how many grams of brown butter you'll get from solid butter, look on the pack for how many grams of fat is in 100g - it's usually about 80 to 83g. This will be the amount you're left with when the water has evaporated and the butter has browned.
18/01/13 - I've also written out a formula to work out how many grams of solid butter you need to replace a volume of oil with brown butter on my Brown Butter Pound Cake post.
Four recipes that use this technique:
Dusky Caramel and Raspberry Crêpe Cake
Banoffee Pies
Almond Financiers
Toasted Coconut and Dark Chocolate Blondies
*
This is the second post of my Foundations series. The first post was on rubbing in to create pastry. The next post, on the 16th, will focus on creaming butter and sugar...
Labels:
beurre noisette,
brown butter,
foundations,
how to

Thank you, it looks so easy this way. I love beurre noisette, especially for pinanciers.
ReplyDeleteNatalie
Very useful series of posts, thank you !
ReplyDeleteButter is truly the greatest. What can't it do?
ReplyDeleteThat is also an amazing pan! I wish pans like that were anywhere near common in the US.
This looks lovely. I love the photos and the way you document even the slightest changes - like watching a developing photograph in a darkroom. I am pretty much a brown butter virgin, having tried it only once with some foraged mushrooms, though it was delicious and yes, very nutty. I look forward to using it in the blueberry muffins you mention.
ReplyDeleteThis foundations series is fantastic Emma - so much care and attention to basics that so many people get wrong. I love the little crackling video - brown butter bliss!
ReplyDeleteI think your foundations are very interesting. Thanks Emma!
ReplyDeleteI can actually smell how good this is from your pictures - I'm so glad I've come across your blog - has to be added to the favourites now!
ReplyDeleteI like this foundations posts! very very useful!
ReplyDeletecan I ask how much time did it take for the butter to brown?
i tried to do brown butter once, but didn`t wait long enough i am afraid!
monica
Great tutorial and explanation, I've been a little scared to do it in the past!
ReplyDeleteEmma, this is lovely. Brown butter is true kitchen alchemy!
ReplyDeleteFantastic as I keep hearing so much about it but was not quite sure hwo to do it! Thanks so much.
ReplyDeleteLove that macro shot of the browned butter!
ReplyDeleteLove the macro shot of the browned butter!
ReplyDeleteMy husband adores new recipes of dishes and drinks. Thanks to your posts I can indulge him with new culinary masterpieces.
ReplyDeletecan someone tell me the secret of how to make cookies crispy
ReplyDeleteHello Emma - this reminded me of how we make Ghee in India. Almost the same.. only the Ghee / clarified butter is stirred on a low flame for quite some time till all the crackling has stopped, and then filtered minus the sediments.
ReplyDeleteYou've broken this down so well, that I don't feel intimidated by this ingredient anymore. I've gone on to make a hazelnut brown butter cake and a brown butter glaze... both great ways to begin my brown butter adventures. Thanks to you!
ReplyDeleteI'm sorry, I am confused; do you want the brown butter to be solid or liquid?
ReplyDeleteUsually you use it as a liquid. Occasionally you need to solidify it for a recipe or just to keep it. Hope that helps.
ReplyDeleteHi Emma, I'm comin to this very late, but could you explain why you would use brown butter instead of regular butter?
ReplyDeleteComing. Sorry!
ReplyDelete