Showing posts with label chocolate decoration. Show all posts

Saturday, 19 March 2011

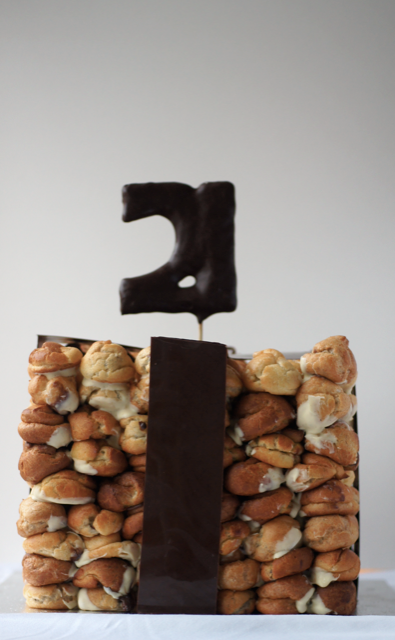
A Chocolate Croquembouche 21st Present


A few months ago I was contacted by a reader who had seen A Present of Profiteroles and wanted to know if I would be up for making a bigger version for her daughter's 21st party. I did a little happy-dance (think Laura Linney in Love Actually) and said of course I would. 

There were plenty of challenges along the way, especially as the cake had to be picked up around 24 hours before it was going to be served. I made a batch of choux and filled and stacked them, checking to see how they fared sitting in the fridge for 28 hours. Whipped cream wasn't an option, so I had to develop a good crème pâtisserie. After testing several different recipes, I decided on Raymond Blanc's recipe. To the completed base recipe I whisked in his suggested chocolate flavouring (15g cocoa and 30g grated dark chocolate) and a good splash of Baileys.  I made three big batches the night before The Big Day and went to bed. 

On the morning of The Big Day, I woke up feeling a bit nervous about my second-ever cake order. I tied my apron on over my pyjamas and started making an enormous batch of choux pastry, scaled up from David Lebovitz's Ready for Dessert. I tipped the flour into the buttery water and watched with horror as it just turned into a grey paste. After a tense few minutes of heat and beating it started to look a little better. Instead of beating in eggs in by hand as normal, I decided to save my arm and use my Kitchen Aid. This was not a good idea. First I managed to drop half an eggshell into the still-running mixer, crushing it into the batter. Due to the amount of ingredients involved, I picked the pieces out and kept going. Unfortunately I ended up with a 2/3 full mixer bowl full of thin paste with a distinctly raw eggy smell.
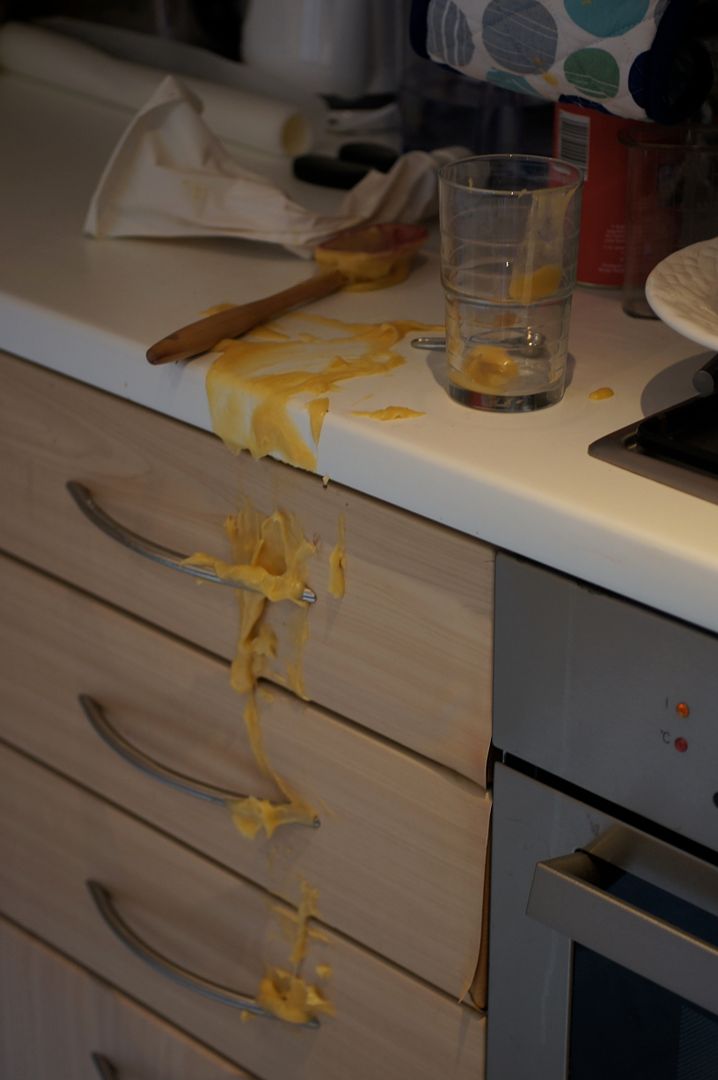
The next two batches didn't go much better. I halved the quantity for the second one. As I half-heartedly tried to scrape the final half of batter out of the saucepan into my piping bag, the first half decided to escape down the cupboards and onto the floor (photographic evidence of the top half of said incident here). The rest of the batch went into the oven. On noting that the far half was burning I acted without thinking and opened the door to spin the tray. They sank into miserable flaccid mounds.  For the third batch I managed to pull the bottom tray out onto the oven door and then fling the next tray off the rails onto the bottom batch, simultaneously squishing one half and sending the other half flying onto the floor.

My incredibly mature and composed response to this was to take the third batch of buns one by one and throw them into the bin with enough force that they splatted upon the far side of the plastic before sinking into the dark depths. Then I cried hysterically for five minutes while on the phone to my Mum on skype. 

Finally remembering that I was in fact 21 not 2, I started the fourth attempt. I made a small quantity (which turned out to be the perfect amount for two trays in my oven) and after beating it with perhaps a little more ferocity than usual, managed to successfully get a set of buns into and out of the oven without disaster. 

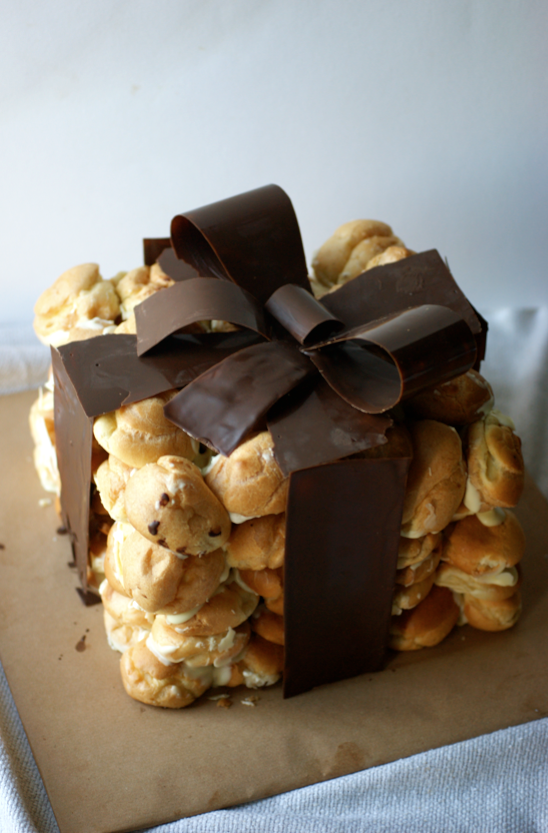
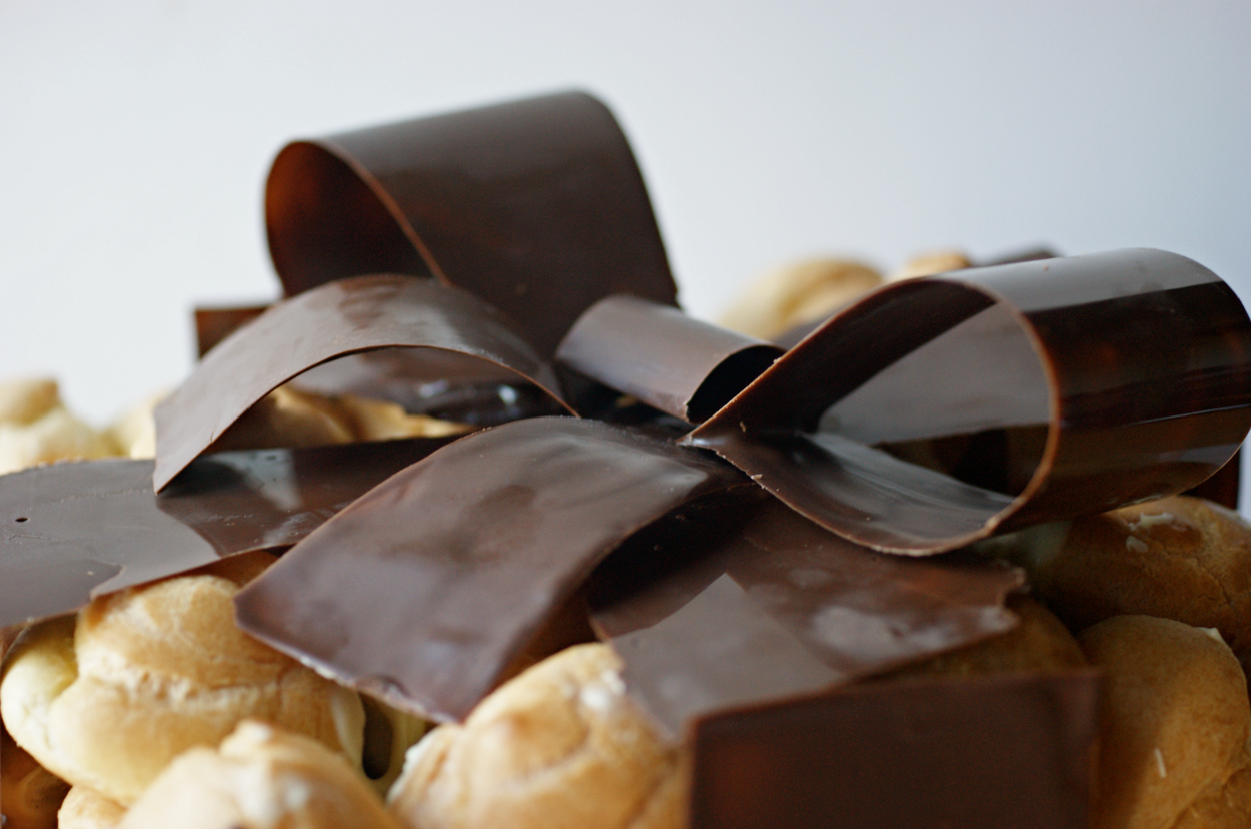
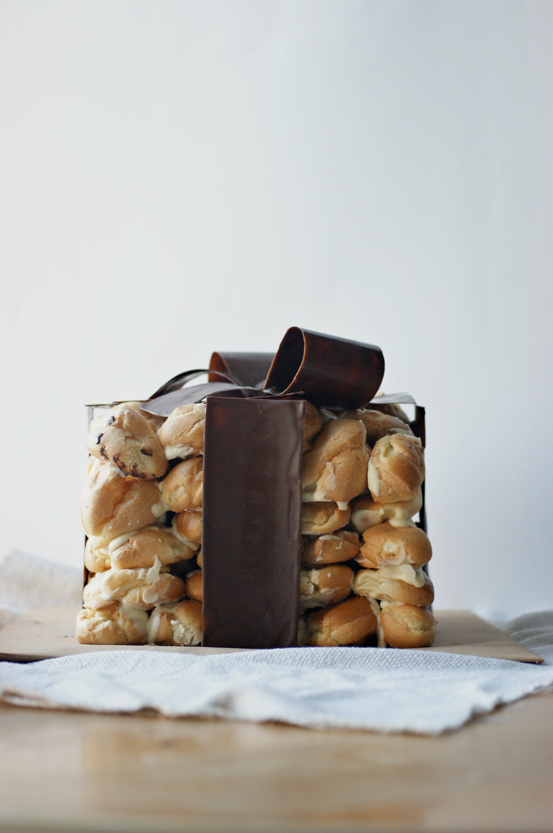
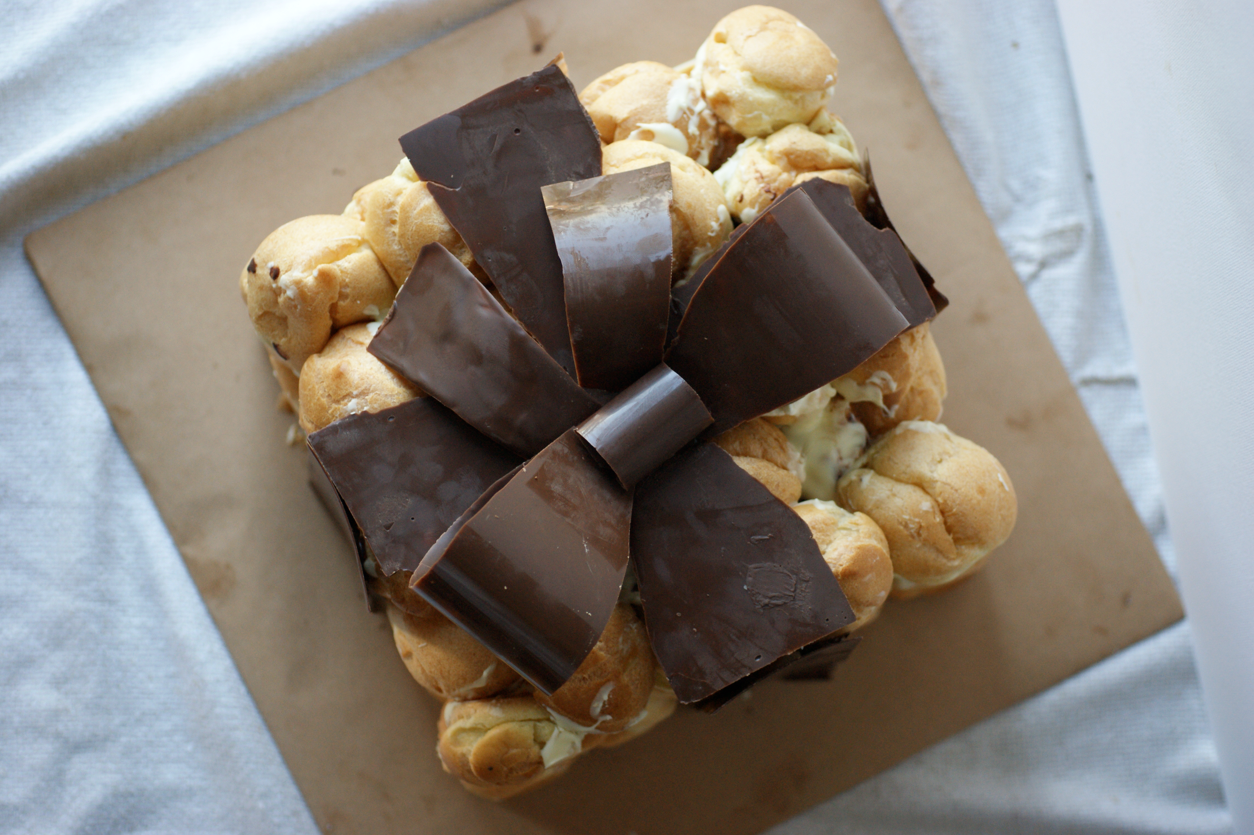
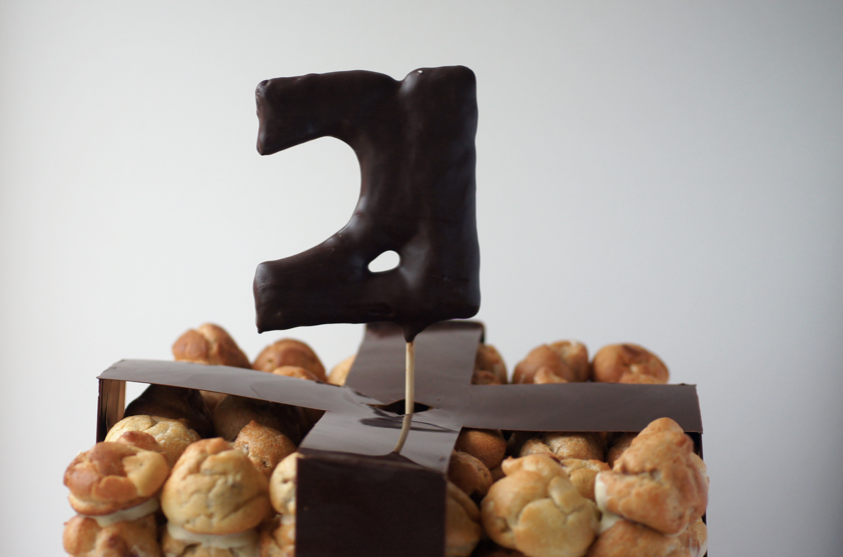
After that I calmed down and started working methodically. Within a few hours I had around 200 buns which I then filled and stacked into the mould with lots of melted chocolate. Finally I added the chocolate ribbons and the 21 which I had made the day before. After clearing up (and changing out of my chocolate-smeared pyjamas) my lovely clients came and took it away, lovingly wrapped in cling film for its journey. 

Despite the drama and being absolutely knackered I would have quite happily gone straight back to the kitchen and done it all again. 

Except maybe the choux-fails.
Tuesday, 17 August 2010

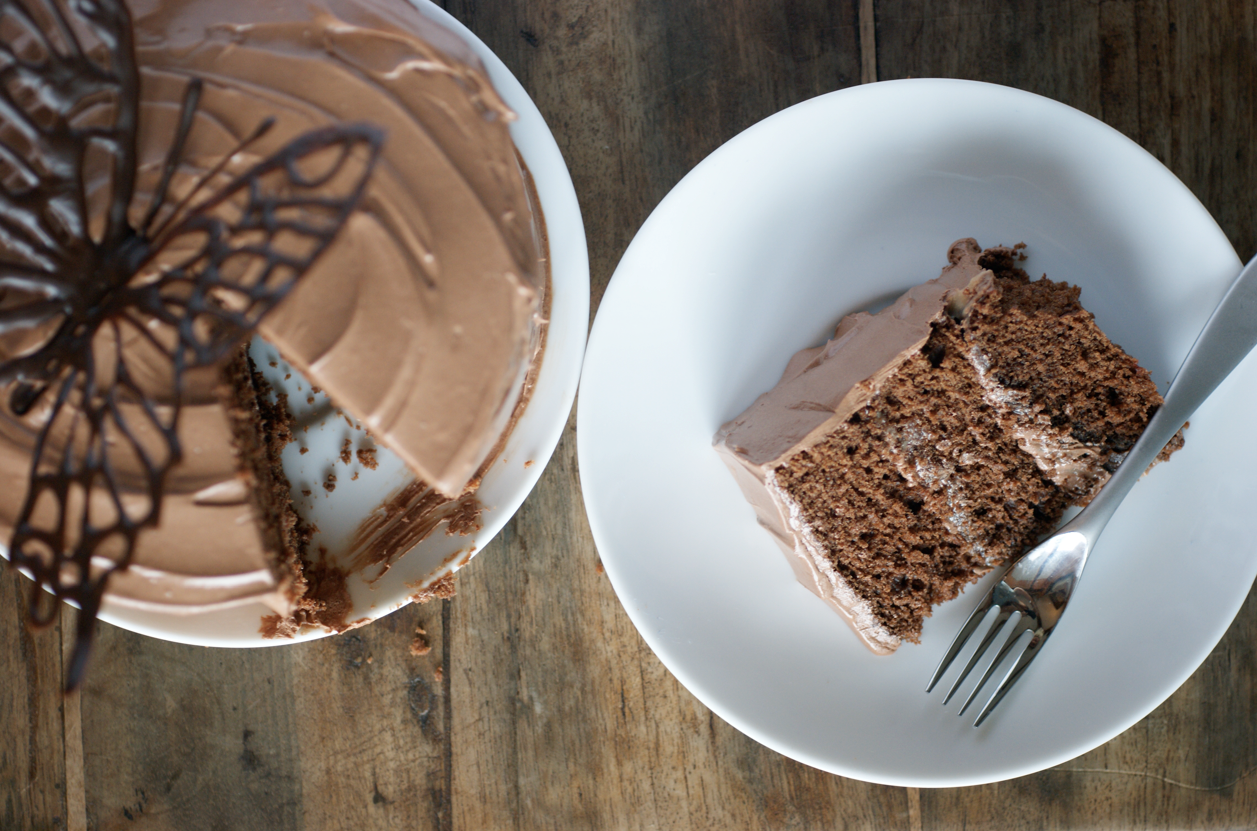
Butterfly Fleur de Sel Caramel Cake


This is my hundredth post. 

Over the last ninety nine posts, I have learnt a lot of new skills. My cooking has improved and expanded in ways I couldn't have imagined when I sat down to write my first post. I've discovered how much I enjoy photography and developed a style I like. Most of all, it has shown me how much I still have to learn and how many more exciting things lie in the future. I can't explain how excited I am. 


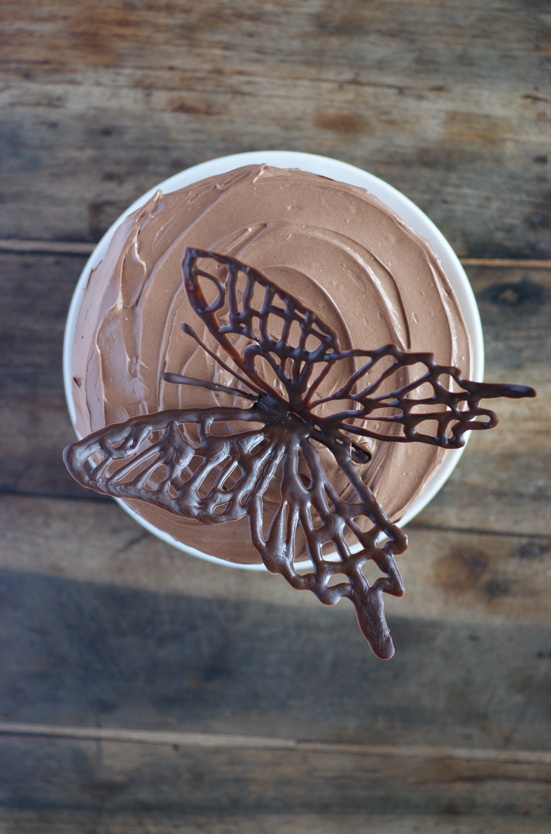
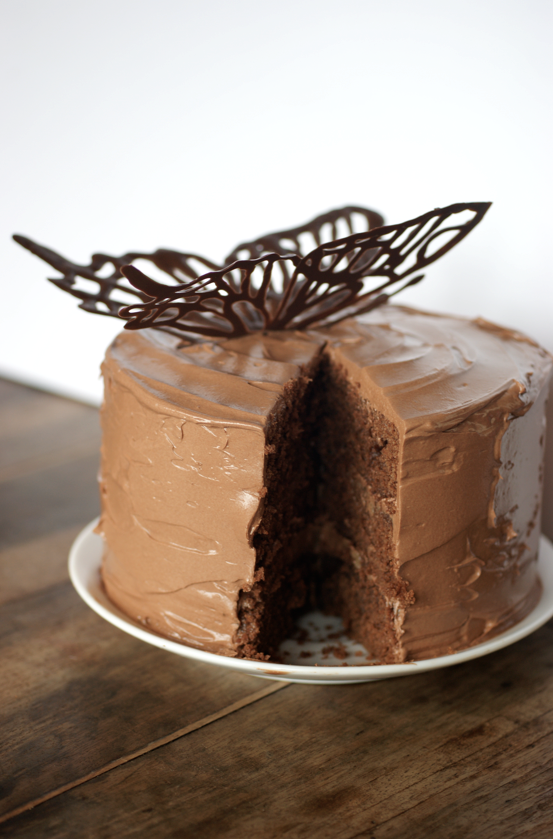
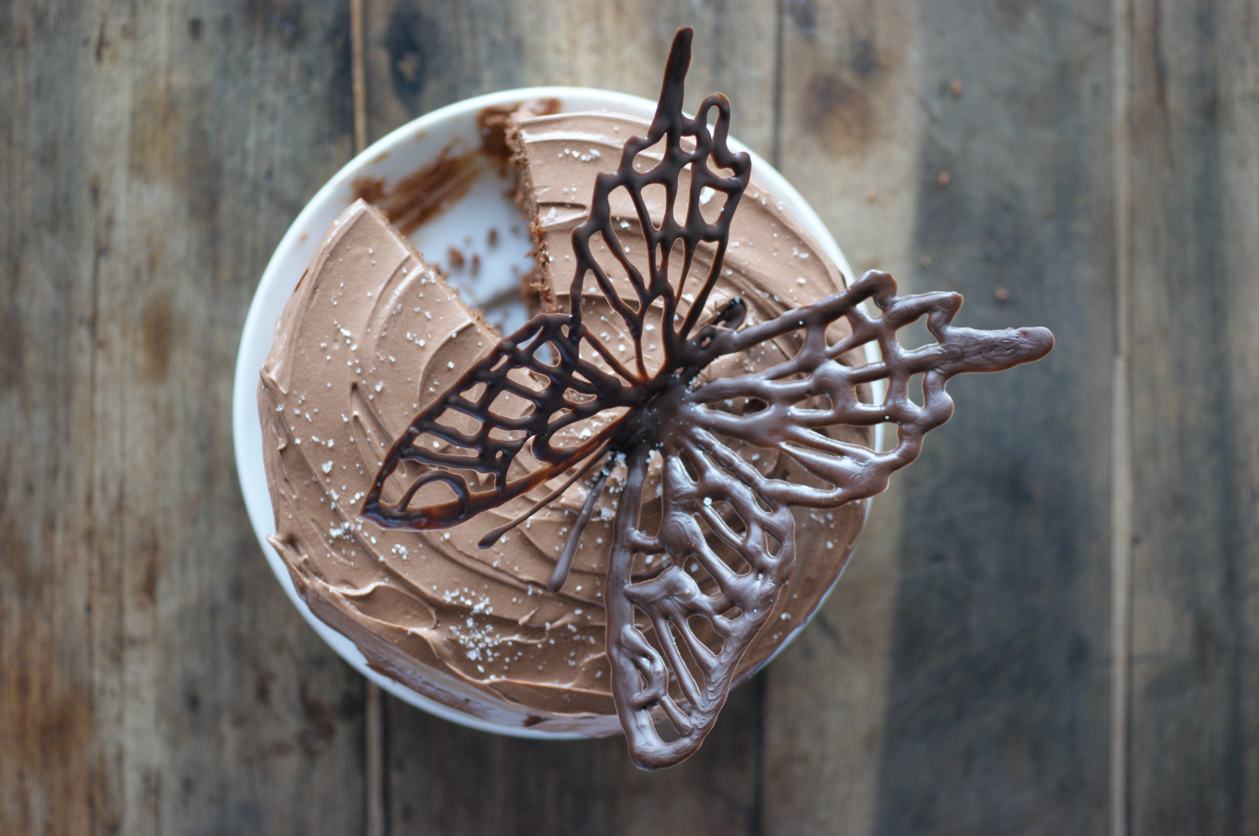
To celebrate this, I decided to make a cake. This is a recipe I have had my eye on for months, but never quite got around to it. I added a butterfly flourish. I couldn't resist. 

I also thought it was apt that it therefore contained two of the things I've enjoyed learning about most while keeping my blog: how to make caramel and to create chocolate decorations (as on my Beautiful and Damned Cake and the Present of Profiteroles). Instead of looking forward, this cake looks back to celebrate what has gone before. 


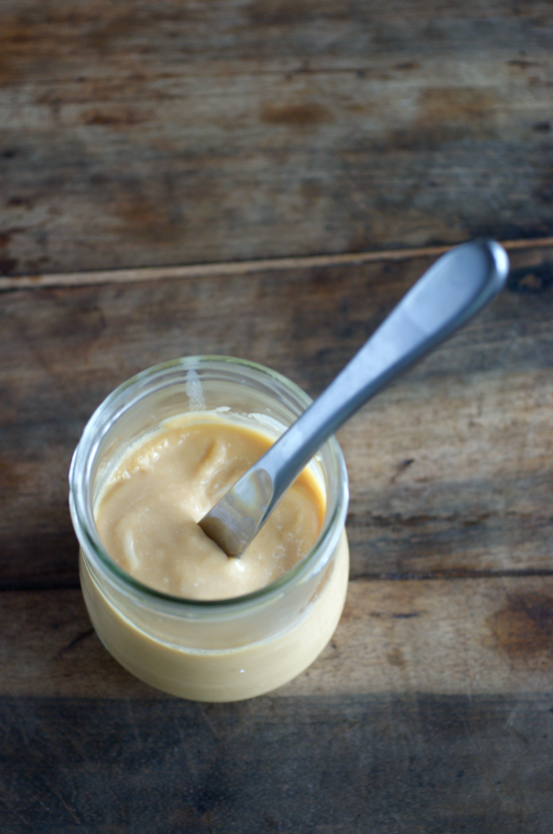
To my slight surprise, the runaway star of this show for me was the fleur de sel caramel with sour cream. It is truly spectacular. I have spent a lot of time since I made it hovering by the fridge trying to decide if eating it off a spoon (or even dipping in a finger) would really be that bad...


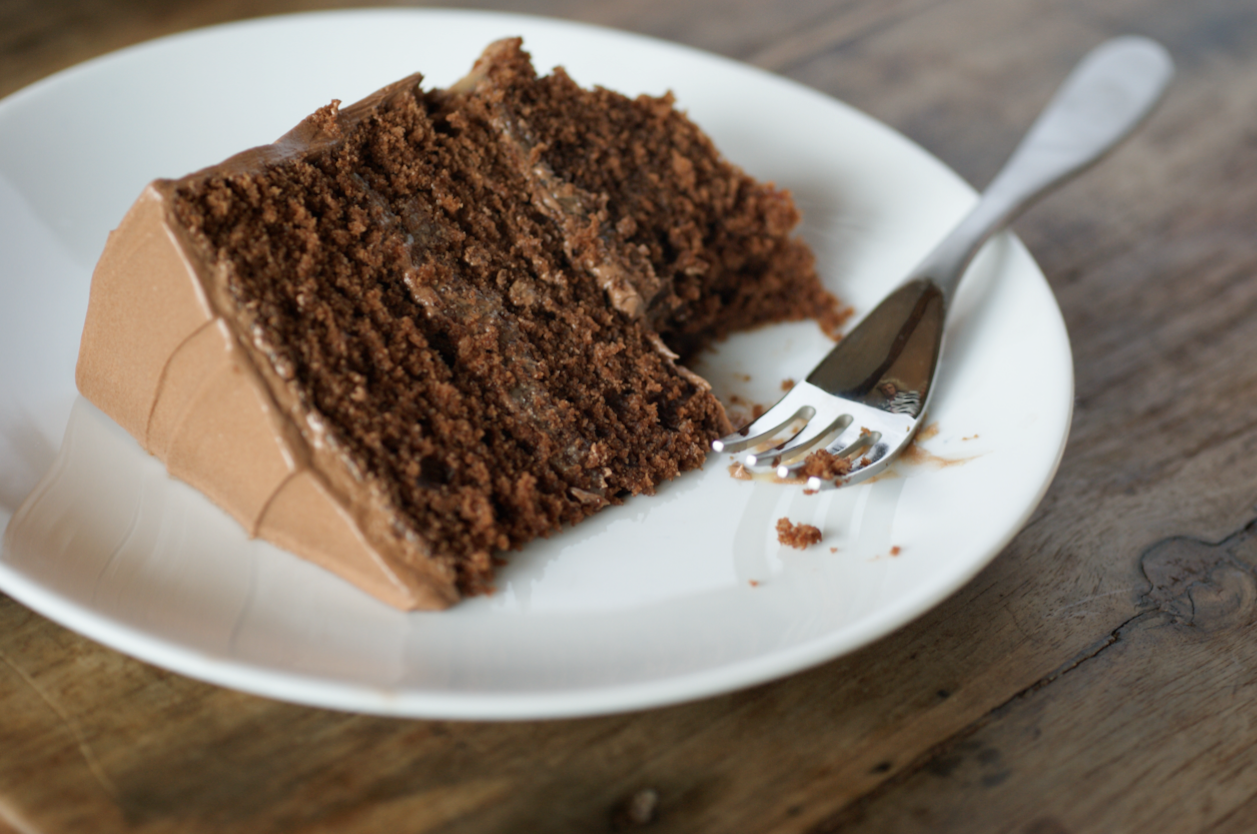
This cake is about as rich as it gets. The cake is intense and damp, then smothered with the glorious caramel. The icing, found between each layer and covering the whole cake, is almost ridiculous in its decadence. You take sugar and water and make caramel. Then you whisk in a lot of double cream. Then you pour it all over a big pile of dark chocolate. Then you beat in a big bowl of butter. Despite all this, it's not as over-the-top rich as you would think - it's smooth and complex.

I found the most disappointing aspect of this cake to be the cake itself. The bits I cut off to level things up were delicious and I think it's a very nice plain chocolate cake, but it didn't work perfectly with the rest. This could well be the way I made it, but the flavour just slightly jarred with the icing and caramel. Perhaps it was because I couldn't find vegetable shortening so substituted extra butter. Another time I might use a different recipe - perhaps my ever reliable Birthday Cake with some good quality cocoa. It wasn't in any way bad, just not perfect. 

Despite halving the recipe, this was a big cake. I only used about half the icing I made - I'm not a fan of inch thick icing in between the layers and all over, even if it does look striking. If you're also like me, maybe reduce the recipe or make a batch of cupcakes or something to smear the spare icing on.

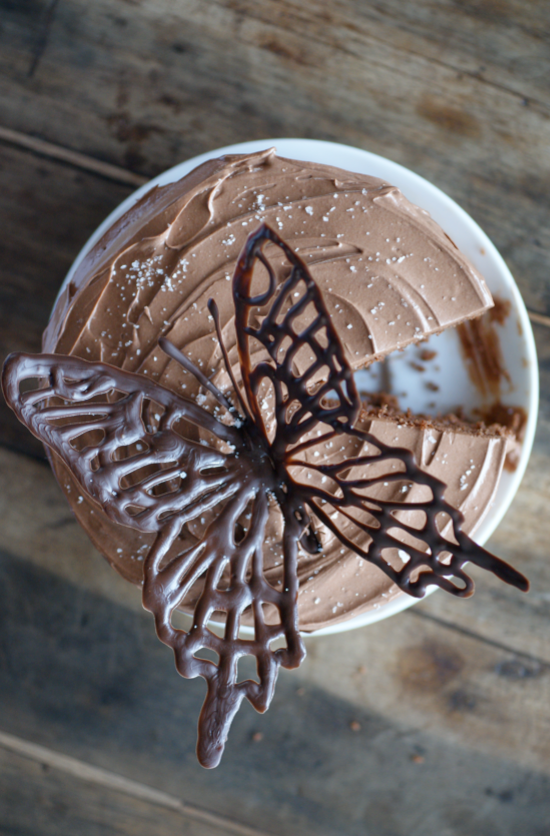
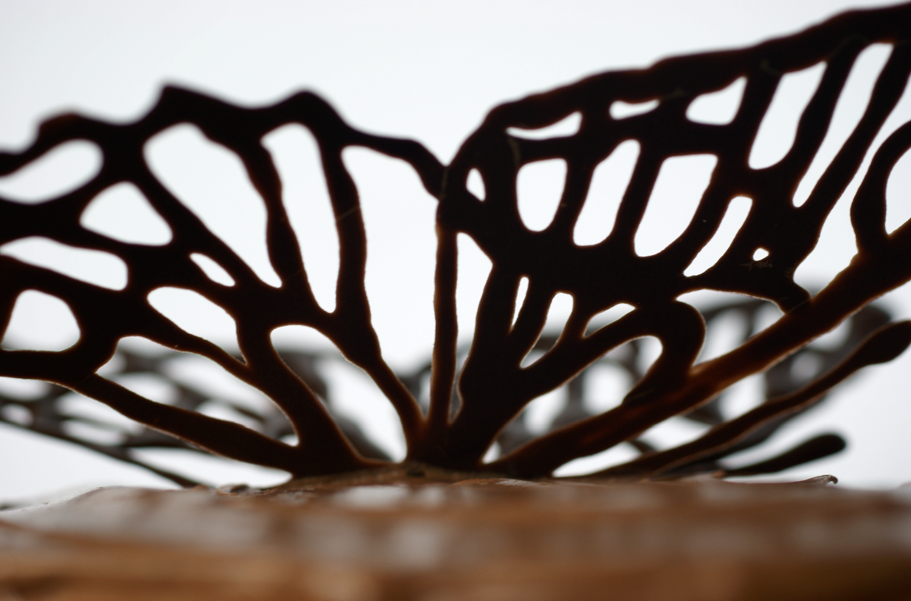
I'm not entirely sure why I decided on making a butterfly for the top. Perhaps because it was a challenge to make wispy wings that would stay flying in the air and not sag into the icing or snap. 

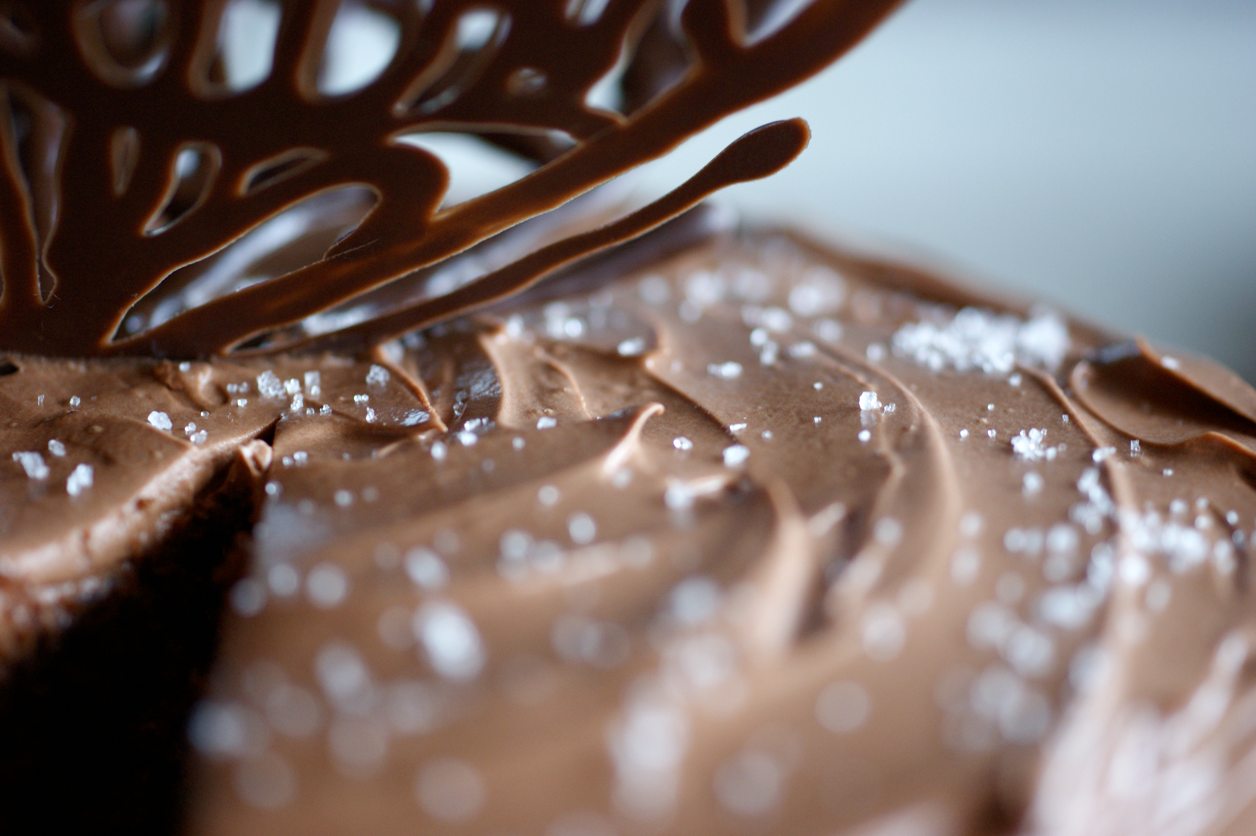
I forgot to sprinkle some fleur de sel onto the top of the cake until after I had photographed it and eaten a slice, hence the fact that only a few photos include it. I like the way it looks like the first flakes of snow falling on bare ground around a fragile butterfly flickering in the cold. 

Fleur de Sel Caramel Layer Cake
(Adapted from the bakery Baked's recipe - I found it here)

For the caramel:
112g granulated sugar
1 tbsp glycerine/corn syrup
70 ml water
140ml double cream
1/2 tsp fleur de sel
70ml sour cream

Put the sugar, glycerine and water together in a saucepan. Attach a sugar thermometer. Stir to dissolve the sugar as you bring it to the boil over a high heat. Meanwhile, heat the cream and salt in a small saucepan until the salt is dissolved and the cream has reached a boil, then remove and set aside. Keep going with the sugar until you reach about 350F - then try to keep the mixture at about this temperature until it reaches a deep golden brown. At this point, remove from the heat and let sit for a minute before whisking in the hot cream. Let the foam subside, then whisk in the sour cream. Leave to cool then store in a jar in the fridge. 

For the cakes:
45g cocoa powder
90ml sour cream
200ml hot water
305g plain flour
1 tsp baking powder
1/2 tsp bicarbonate of soda
1/4 tsp fleur de sel
140g butter
165g granulated sugar
90g brown sugar
1 1/2 eggs, beaten
1/2 tsp vanilla

Preheat the oven to 160C. Grease and line three 6" tins (I only have one here - I split it three ways and did one after another). In a medium bowl, whisk together the cocoa powder, sour cream and hot water then put it aside to cool. Weigh out the flour, baking powder, bicarbonate of soda and fleur de sel  and sift into another bowl. In a mixer, beat the butter for 5 minutes. Add the sugar and beat for another 7 minutes, occasionally scraping down the sides - it should be light and fluffy. Slowly add the beaten egg, mixing well between addition. Add the vanilla and beat again.  Start adding alternate small amounts of the flour mixture and the chocolate mixture, starting and ending with the flour. Divide the batter. Bake for about 20 minutes or until the cake is springy to the touch and a toothpick comes out clean. Leave to cool for a few minutes before removing from the tin and leaving to cool on a wire rack. When cool, level out the tops with a serrated knife or cake knife. 

For the icing:
112g granulated sugar
1 tbsp glycerine/corn syrup
35ml water
200ml double cream
225g dark chocolate
225g unsalted butter, still cool but soft

Before you start have all the ingredients measured out and the mixer standing ready. Make the caramel as you did for the fleur de sel caramel above, except that the cream doesn't have salt in it. Instead of adding the sour cream, let it cool for a few minutes. While it cools, chop the chocolate and put it in the mixer bowl. Pour over the caramel mix. Leave for a few minutes then stir until smooth. Put into the mixer and beat on low until the mixer bowl is cool to the touch and the mixture has cooled down. Tip in the butter and turn the speed up to medium-high. Whip until the mixture is silky smooth, thick and whipped. Take out and put into the fridge until needed. 

For the butterfly:
The process is similar to the one for the decoration on the Beautiful and Damned cake. I also creased the parchment paper along the joins between the body and wings so they folded easily and lightly greased the paper so it released. I made a foil mould of how I wanted the butterfly to sit before I piped it and then let it set in that position.

To assemble:
Place four strips of parchment paper over the plate you want to use. Put the first layer of cake on top of them. Spread with some of the caramel and then some icing. Add another cake layer, the caramel and icing and then the final cake layer. You can use a dowel to secure the layers at this point if you like (I used a wooden kebab stick, cut to size). Make sure they layers are straight and then add a crumb coat. Put in the fridge to firm for half an hour or so. I made the butterfly in the gap. Take out of the fridge and ice with the remaining icing. Position the butterfly, sprinkle with fleur de sel and put into the fridge to set for half an hour or so before serving. 

(Serves 10-12)

Thursday, 27 May 2010

A Present of Profiteroles: Piece Montée


I was incredibly excited when I found out about this Daring Bakers challenge - I've always wanted to make a croquembouche. I've enjoyed working with choux pastry before and this time was no exception.

I realise that I haven't exactly made a croquembouche in the traditional sense - another time - but I reckon the old pastry masters such as Carême would see this as an acceptable piece montée. I've been watching some wonderful programmes on 4oD on Carême called Glamour Puds - if you're in the UK I recommend them. The unusual and often architectural centerpieces he made with pastry inspired me to try and do something a little different with my piece montée.


One of my flatmates informed me that if my rather heavy-handed description of croquembouche as 'sort of a mountain of profiteroles'  was incorrect in any way, she might cry... so, really, I didn't have a choice - this had to be traditional profiteroles. I also felt anyway that pastry cream would be a bit too heavy for this summer weather, so I was very happy to use softly whipped cream. This was also why I went in for chocolate glazes and decoration rather than the caramel.

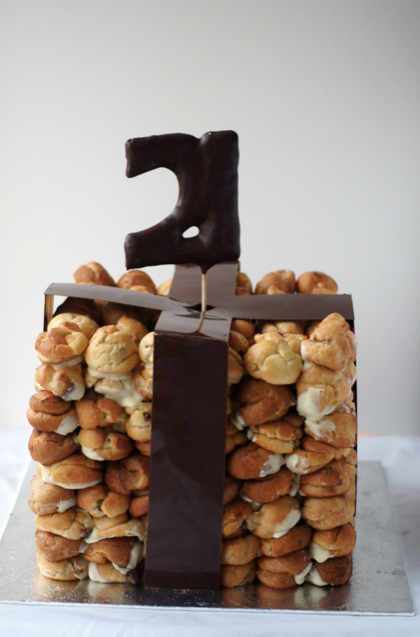
As I was going for a traditional combination I've made before and not risking burns with spun sugar, I decided to get daring with the shape and chocolate decoration. The natural shift from a cone seemed to me to be to a cube. A cube that needs dressing up just made me think of a present... and so my present of profiteroles was born.


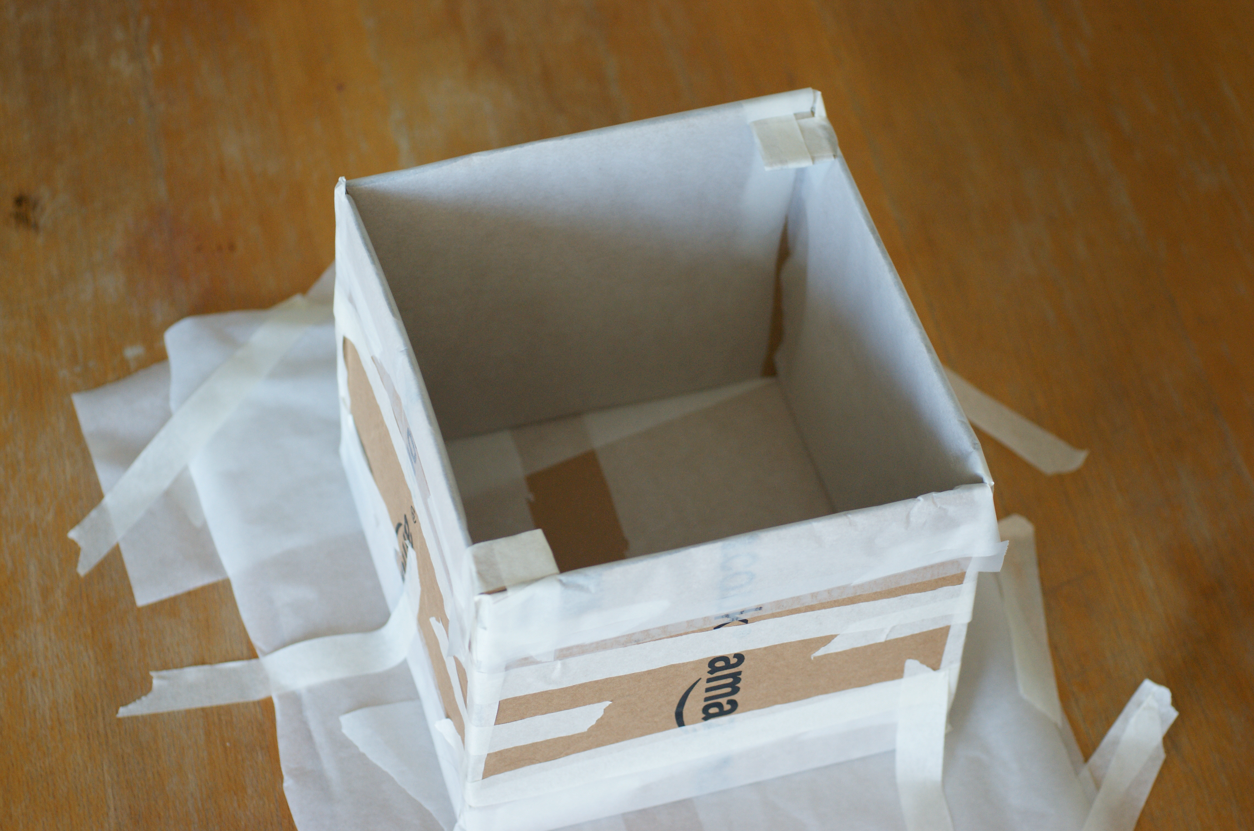
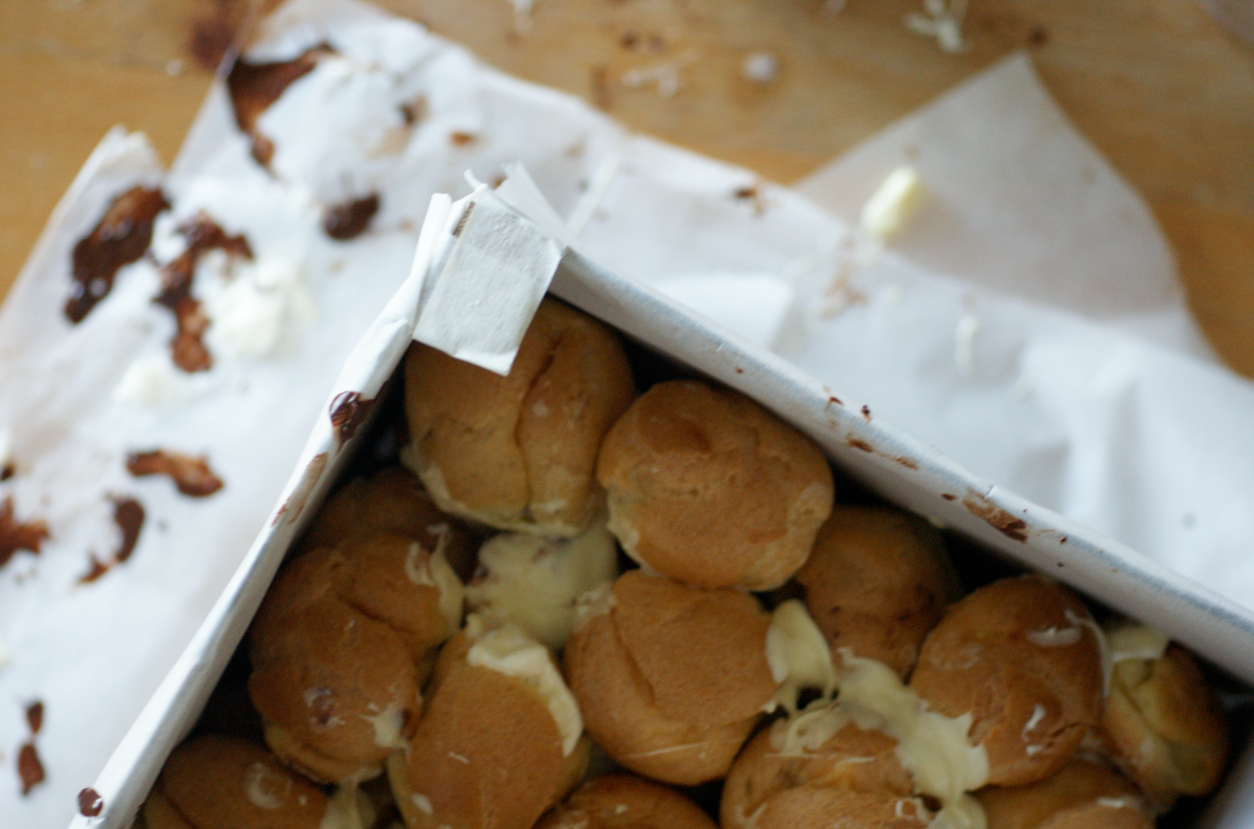
I made a cube mould from a few squares of cardboard cut from an amazon box, some greaseproof paper and liberal amounts of both sellotape and masking tape. It worked wonderfully - I just slid a palette knife around the edge after the completed stack had been in the fridge for half an hour or so and it just pulled easily off the top.


Since making my Beautiful and Damned cake, I feel a lot more confident working with delicate chocolate decorations. The no-need-to-temper chocolate I used for that came in handy again with this.  I decided to make 3D chocolate ribbons. I've seen people using thin plastic to make sheets and rings before so I decided to work with that idea to make these.

I made a paper pattern of how I wanted my bow to look, then I bought some laminated plastic and cut it in the shape of my paper pattern. The melted chocolate was then spread over the sheets, pinned in place and then left to cool.  The bow loops I made by attaching the two ends with a paper clip. The middle loop was kept in shape by a rubber band then just peeled off. The two loose ends I actually just held in shape with my hand in the freezer until they set, then put in the fridge.  


The flat sheets for the top and sides curled slightly as they set, which was annoying and meant that I had the spread, not shiny, side facing out. There were a few other problems and I managed to shatter one bow loop by mistake. There were also a few loose ends on the finished product and bits that weren't perfect, but for a first try it I was quite pleased.

To complement the dark chocolate of the ribbon, I used white chocolate to glue the four outside 'walls' and the top. I also didn't egg wash the buns as I wanted a lighter look for them too. The core was stuck together with liberal amounts of dark chocolate.


In the end I think the present comprised of about 100 profiteroles - I made three batches of the choux pastry. I used about a litre of cream to fill them. There was about 200g each of white and dark chocolate. In the end it fed 14 people, including some twice as we had more the next day. All in all, pretty epic. A wonderful challenge!

The May 2010 Daring Bakers’ challenge was hosted by Cat of Little Miss Cupcake. Cat challenged everyone to make a piece montée, or croquembouche, based on recipes from Peter Kump’s Baking School in Manhattan and Nick Malgieri.

ShareThis