I was very excited when I discovered this month's Daring Bakers challenge - I already knew I loved Tiramisu and the recipe is full of things I hadn't made before like Ladyfingers, Zabaglione, Mascarpone and Tiramisu itself.
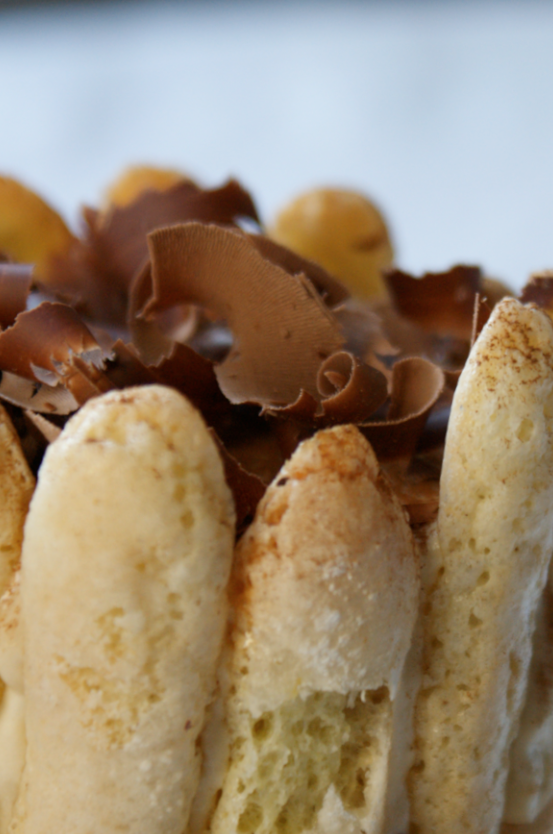
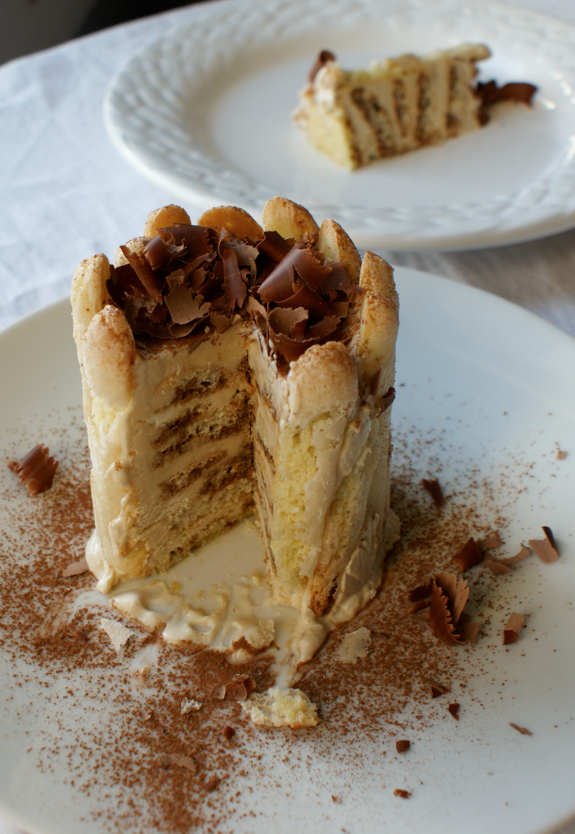
This month has been a real adventure. Just the number of days I spent making various elements and playing around with things was amazing - my flatmates thought it was hilarious. I ended doing silly things like buying expresso and hazelnut syrup from a coffee shop in town and then having to buy a bottle of water from Boots (which I then emptied out) and a little pot so I could transport them home without it spilling out of the cups. To make the mini classic tiramisu above I ended up sawing the top off a Pringles tube and covering it in cling film before spending hours trying to make the little ladyfingers stand up properly and then once it was finally assembled having to get it in the freezer asap before it all spilled out. It's been worth it though - I've enjoyed every minute and they're delicious.
I'm having to post late as I ran out of time before a big squash match yesterday and hadn't finished writing - which is a bit silly as I finished about a week ago. Ah well. Better late than never!
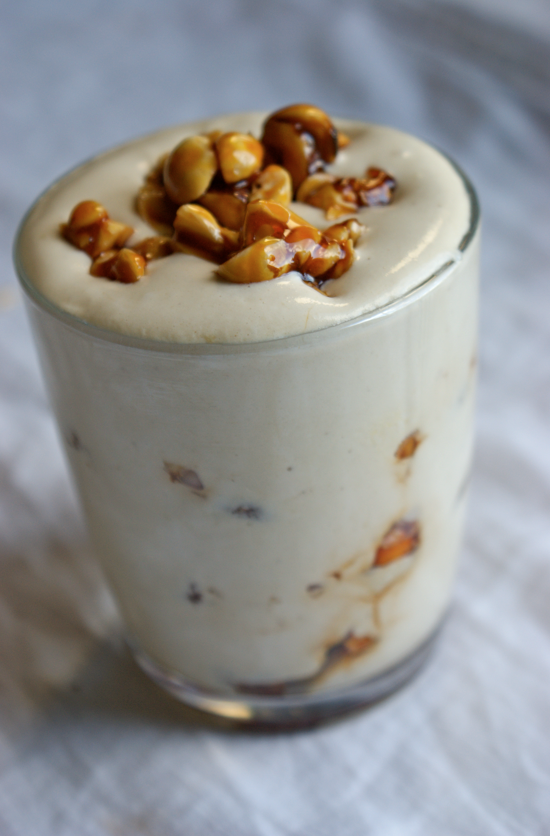
I wanted to try something a little different as well as a classic version. I wanted to contrast all this lovely soft creamy texture with a bit of crunch - my first thought was honeycomb. I decided to try and make a little box out of the honeycomb to surround the tiramisu, so I made four little boxes out of baking parchment - one for each side. I forgot that once you've added the bicarb all hell sets loose and there's no way I was going to get a thin layer. Oh dear. It also had a funny aftertaste so the honeycomb plan was set aside.
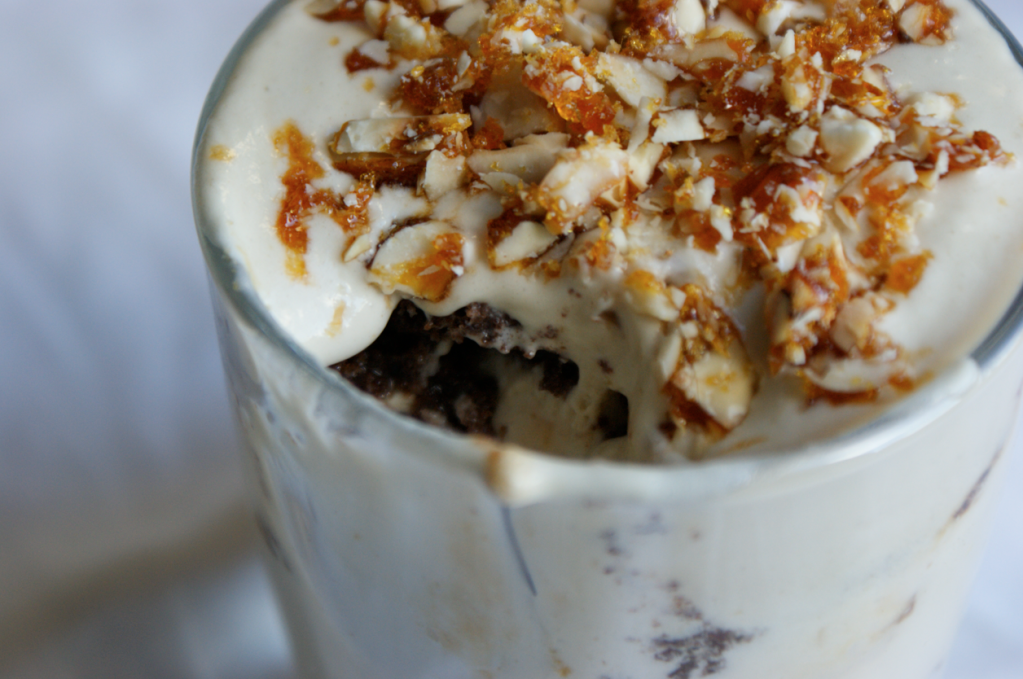
Instead I decided to make a hazelnut praline to add to the ladyfinger layers to give crunch and a lovely caramel flavour. I also bought two shots of hazelnut syrup to dip my chocolate ladyfingers into. I have to admit that nutella might have crossed my mind with a chocolate-hazelnut combination. It turns out it was a wonderful idea - the hazelnut complements the coffee in the cream beautifully. The praline inside slightly melted into the cream which both looked lovely and tasted divine. The nuts and a little praline stayed crisp for the contrast. I was really pleased with how it all came together.
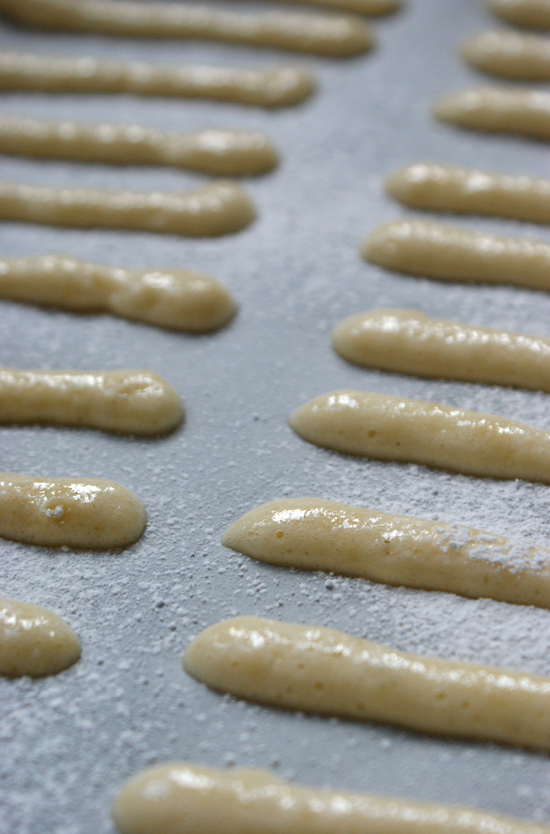
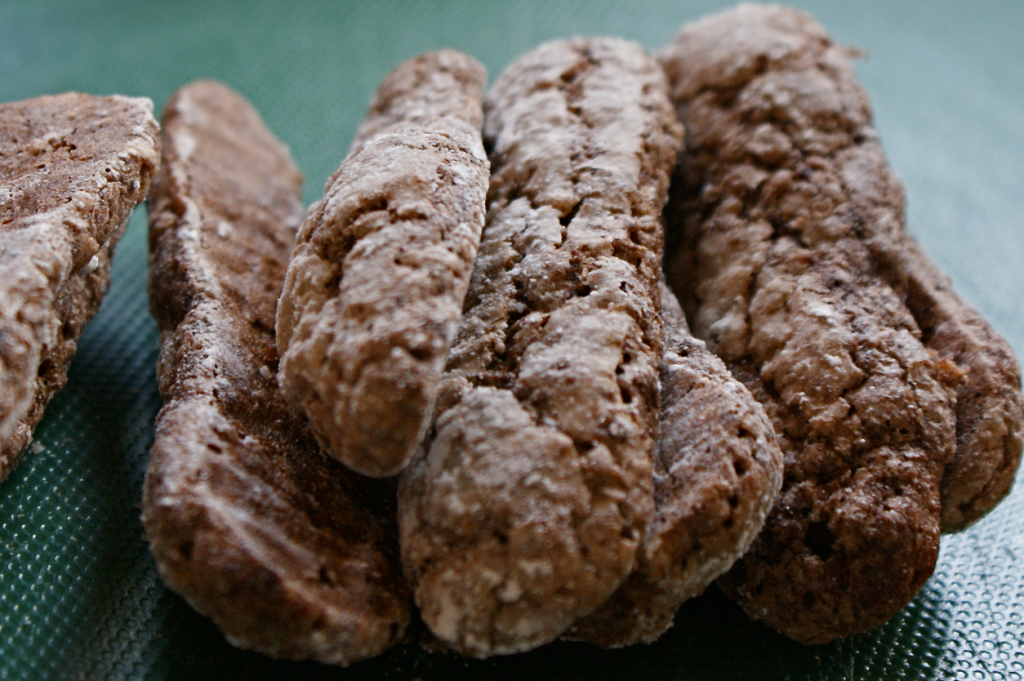
One of the most exciting elements of the challenge was making our own ladyfinger/savoiardi biscuits. I've never made them before and was amazed at how easy they are to make at home - definitely not going to be buying them again! I've never piped a mixture like this before so t took a few goes to get it right but by my second batch it was okay. I did a first full batch which gave me the slightly dodgy ones below which I used for the middles. Then I decided to do another one egg batch to get it just perfect and play with it a bit - so I piped thin strips (as above) to encircle my mini tiramisu and made a few circles to see if that would work. After that I made the chocolate ones for the Chocolate and Hazelnut Praline Tiramisu - see the changes at the bottom.
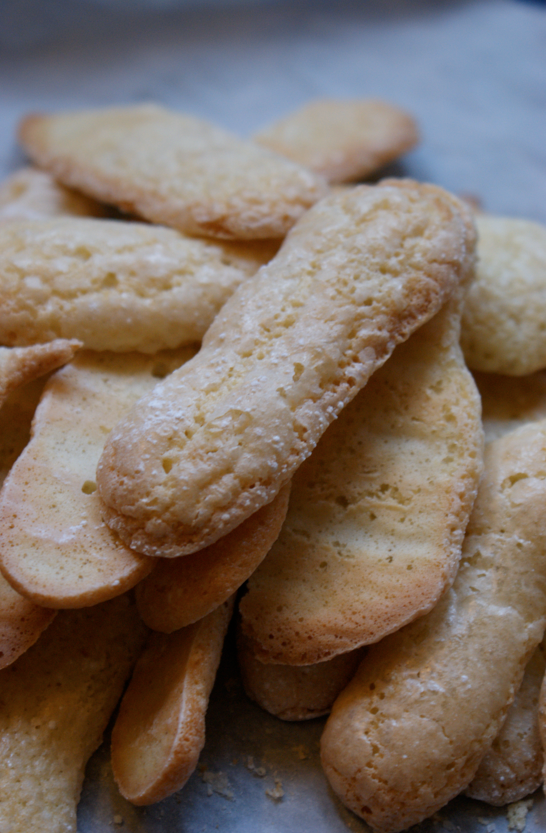
Ladyfingers/ Savoiardi Biscuits
3 eggs, separated
75g sugar (I used caster)
95g plain flour
2 tbsp cornflour
50g icing sugar
Preheat oven to 350C and line lightly greased sheets with baking parchment. Beat the egg whites until stiff peaks then start to add the caster sugar spoon by spoon, beating in between, until all is incorporated and you have smooth and glossy peaks. Beat the egg yolks together before dribbling over the meringue and folding in lightly. Sift the flour over the top and fold in lightly until just incorporated. Fill a piping bag with the batter and pipe into strips of about 5" by 3/4" (or any shape desired). Sift half of the icing sugar over the shapes then leave for five minutes - it should sink in and glisten as above. Sift the other half over before trying to gently remove the excess sugar by lifting the sheet and shaking (be careful!). Bake for ten minutes or until puffy and light golden brown. Allow to cool on sheet before removing to wire rack. Store in an airtight container until needed.
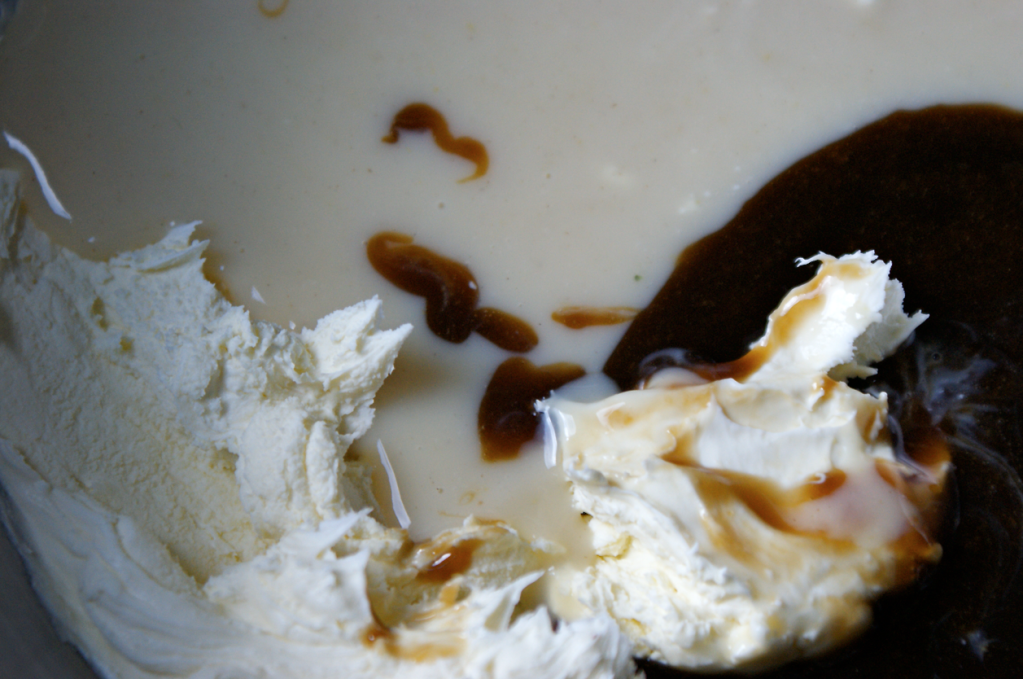
The next new component we had to make was our own marscapone cheese (above, with the pastry cream and zabaglione). I've never done any cheesemaking before so it was another new adventure. A lot of daring bakers seemed to have trouble with it but I was lucky and it seemed to come out perfectly - until I moved it to the back of the fridge the day after and half of the bowl froze! It went quite funny but I was able to salvage enough of the non-frozen half to make the tiramisu - you can see bits were a little grainy in the picture above.
Mascarpone Cheese
(Makes 340g of cheese)
500ml double cream
1 tbsp fresh lemon juice
Bring one inch of water to boil in a medium saucepan then reduce the heat to medium so the water is simmering. Pour the cream into a metal bowl and suspend over the saucepan. Use a thermometer to keep an eye on the temperature and heat until it hits 87C (190F) or if you don't have a thermometer until small bubbles start trying to push up to the surface. This takes about 15 minutes. Add the lemon juice and continue to stir until it thickens to a custard like consistency and covers the back of a spoon thickly. There should be clear streaks as you stir - mine had to cool down a little before this happened. Leave to cool for 20 minutes. Line a sieve with several layers or cheesecloth or a clean tea towel and place it over a bowl. Transfer to the sieve. Be patient and don't squeeze it or touch it. When totally cool cover with clingfilm and put in the fridge. Leave to firm up overnight or for 24 hours. It should firm up beautifully. Keep in the fridge and use within 3-4 days.

Along with the mascarpone we also had to make a pastry cream, zabaglione and whipped cream to create the lovely filling. The pastry cream recipe in wonderful - it'll definitely be my new go-to. I'd never made zabaglione before - I'm not sure it came out quite right - it tasted amazing but was very dark and thick (you can see in the picture two above). I didn't add any sugar to the whipped cream as it seemed sweet enough as it was.
Zabaglione
2 large egg yolks
50g caster sugar
60ml expresso coffee (or port or marsala wine)
1/4 tsp vanilla extract
1/2 tsp lemon zest
Heat an inch of water in a saucepan (or in a double boiler). In a metal bowl mix together all the ingredients and whisk till smooth. Put the bowl on top of the saucepan making sure it doesn't touch and cook over a low heat, stirring constantly until it resembles a thick custard. Let it cool to room temperature before covering and putting in the fridge for at least 4 hours or overnight.
Pastry Cream
55g caster sugar
1 tbsp plain flour
1/2 tsp lemon zest
1/2 tsp vanilla extract
1 large egg yolk
175ml whole milk
Mix together the sugar, flour, zest and vanilla in a medium sized saucepan. Add the egg and half the milk and whisk until smooth. Place over a low heat and cook, stirring constantly. Add the remaining milk a little at a time, continuing to stir. After about 12 minutes the mixture should be thick and smooth with no lumps and beginning to bubble. Sieve if desired. Transfer to a bowl and cool to room temperature before covering and chilling in the fridge for 4 hours or overnight.
Classic Tiramisu
1 portion zabaglione
1 portion pastry cream
75g mascarpone
235ml double cream
470ml brewed expresso
50g caster sugar
36 savoiardi/ladyfingers (or as many/few as desired)
Cocoa powder to dust (and I used chocolate shavings)
Have a the serving dish(es) of you choice ready. Mix together the expresso and sugar and leave to one side. Whip the double cream to stiff peaks and set aside. In a large bowl beat the mascarpone until smooth before adding the zabaglione and pastry cream and blending until just combined. (I had to beat mine till smooth otherwise there would have been lumps of mascarpone). Fold in the whipped cream. Working quickly start dipping the ladyfingers in the expresso mix, only leaving them in for a second or two (I only did one side, but I think I would do both another time) before immediately laying them in the bottom of the intended dish. You can break them in two to create an even layer. Spoon a layer of the cream mixture over the top (work out what proportion of the ladyfingers you've used and use a similar proportion of the cream mix). Repeat until you've finished, leaving a creamy layer on top. Cover carefully with cling film and pop in the fridge overnight. To serve remove the cling film and dust with cocoa powder and any other decoration.
Chocolate and Hazelnut Praline Tiramisu
For the chocolate ladyfingers: As above but replace 30g of the flour with cocoa powder and sift it in with the flour. I found it slightly harder to fold in.
For the hazelnut praline: Remove the skins from 70g of whole hazelnuts then chop roughly. Toast in the oven for a few minutes until lightly browned. Prepare a baking sheet with a square of baking parchment. Make a caramel with 70g white caster sugar and when a deep golden brown tip the nuts in and stir well before tipping out onto the sheet to cool.
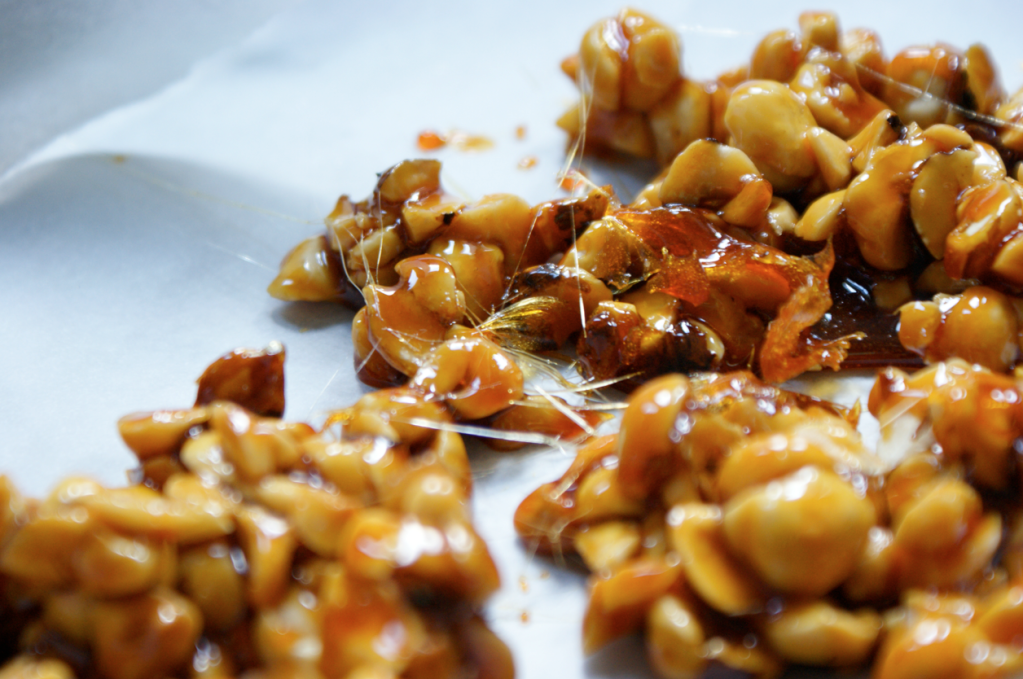
To assemble: Roughly chop the praline (I reserved a chunk of the praline to top one of the glasses). As above, except dip the chocolate ladyfingers into hazelnut syrup (I bought two shots a coffee shop). On top of each ladyfinger layer, sprinkle some of the praline. Top with more crushed praline or a chunk.
The February 2010 Daring Bakers’ challenge was hosted by Aparna of My Diverse Kitchen and Deeba of Passionate About Baking. They chose Tiramisu as the challenge for the month. Their challenge recipe is based on recipes from The Washington Post, Cordon Bleu at Home and Baking Obsession.