

Back in April, Mum asked for three things for her birthday tea: chocolate cake, praline and ice cream. A coeliac friend was coming to the tea so it also had to be gluten free.
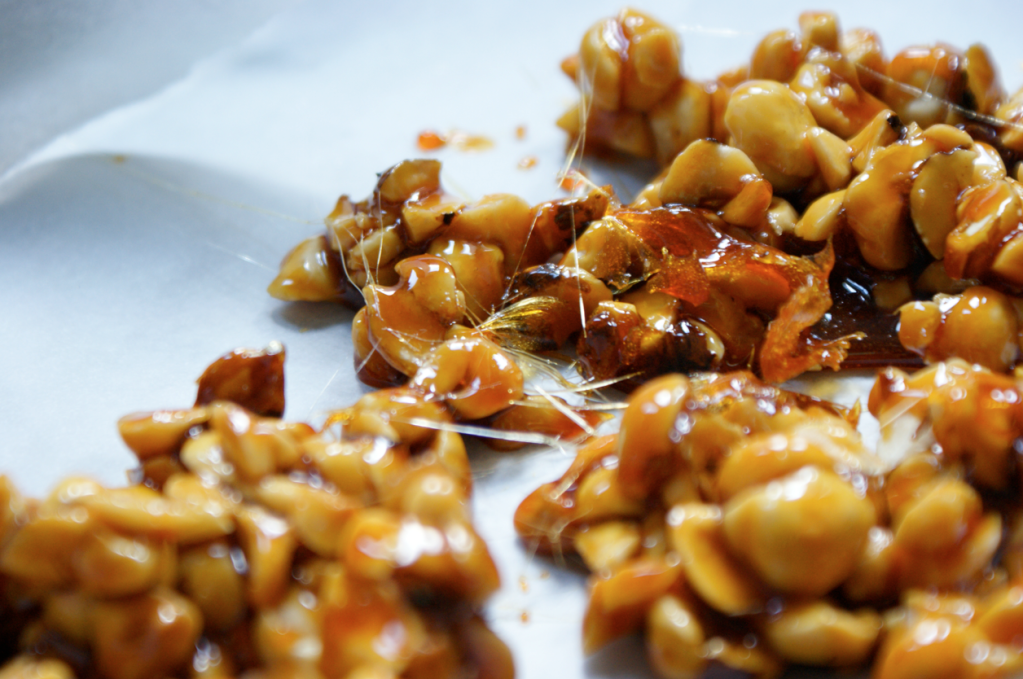
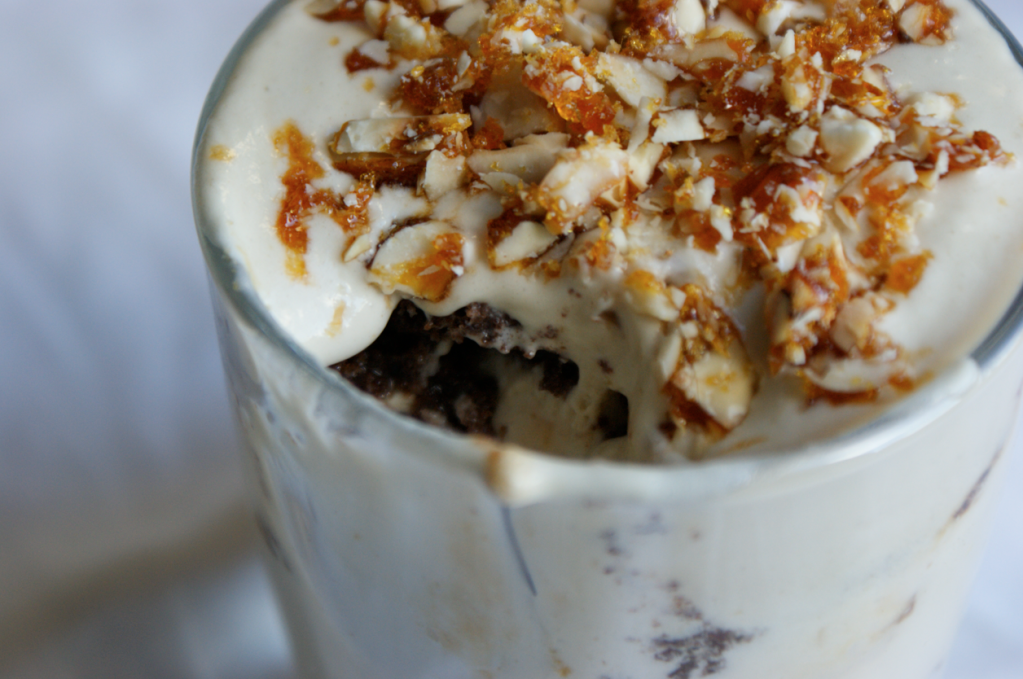
Mum had already tried making this chocolate torte with cocoa powder instead of flour, so I decided to start with that. Next, I made a batch of my favourite vanilla ice cream. On a whim I ground the praline down to a fine crumb, which turned out to be wonderful (both on top of the torte and on a spoon).

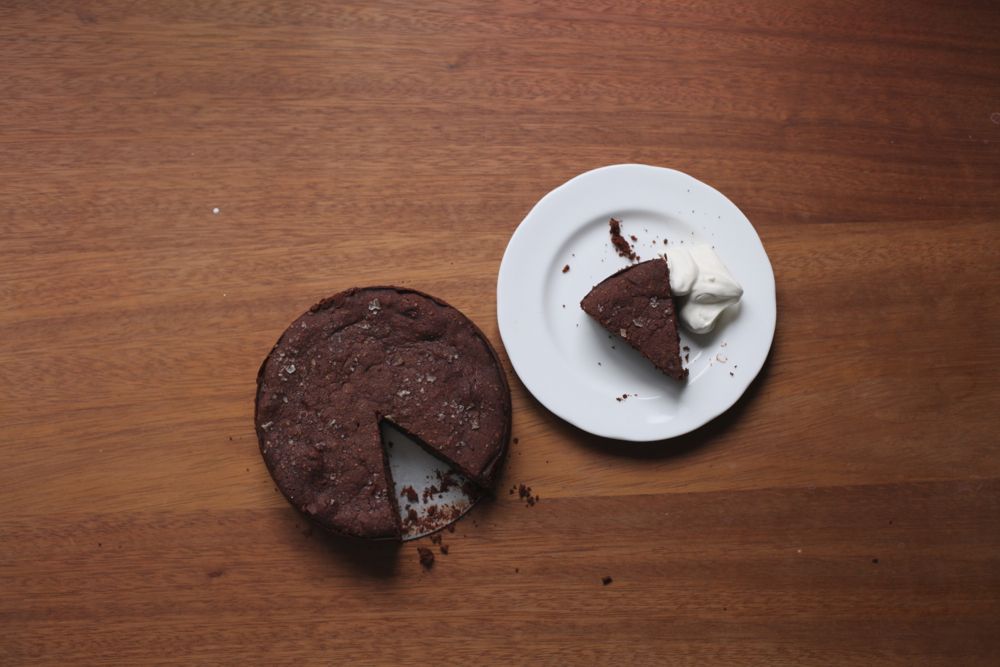
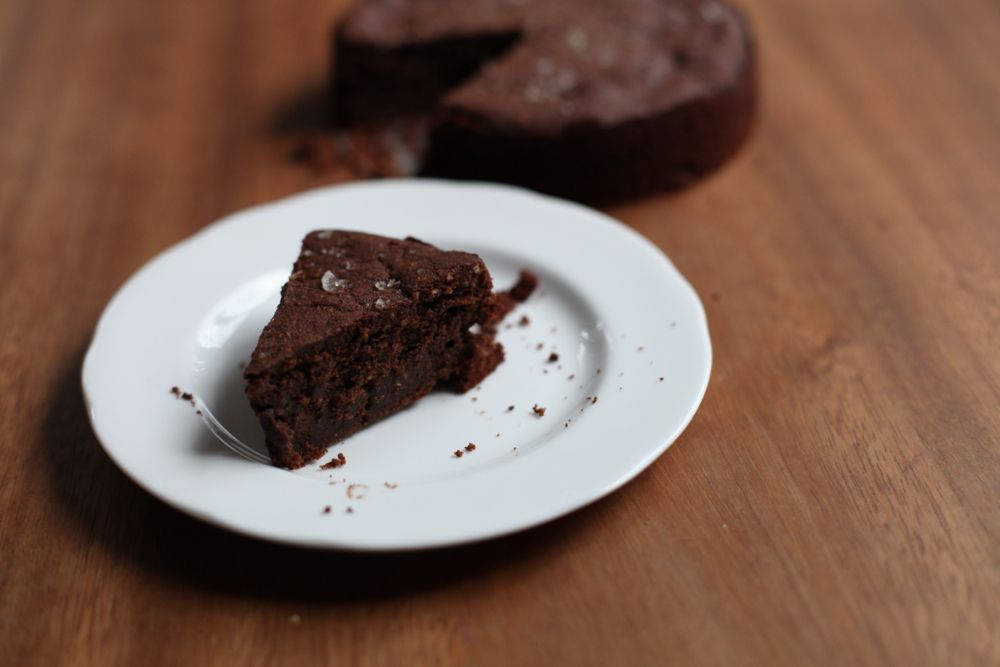
Last weekend I went to Wales to celebrate a housewarming and generally enjoy the bank holiday. I thought this would be a good recipe to take down as the torte improves with time so it didn't matter which day we ate it. I kept the praline in a separate airtight box (it doesn't keep well on top of the cake) so I'm afraid I don't have an image of the assembled cake for you.
Despite that, I think you can imagine it: a dark torte topped with a thick layer of nutty, crunchy praline crumbs and a big scoop of melting ice cream to meld it all together.

Chocolate Hazelnut Torte with Hazelnut Praline
(adapted from Alice Medrich's Sinfully Easy Delicious Desserts)
For the torte:
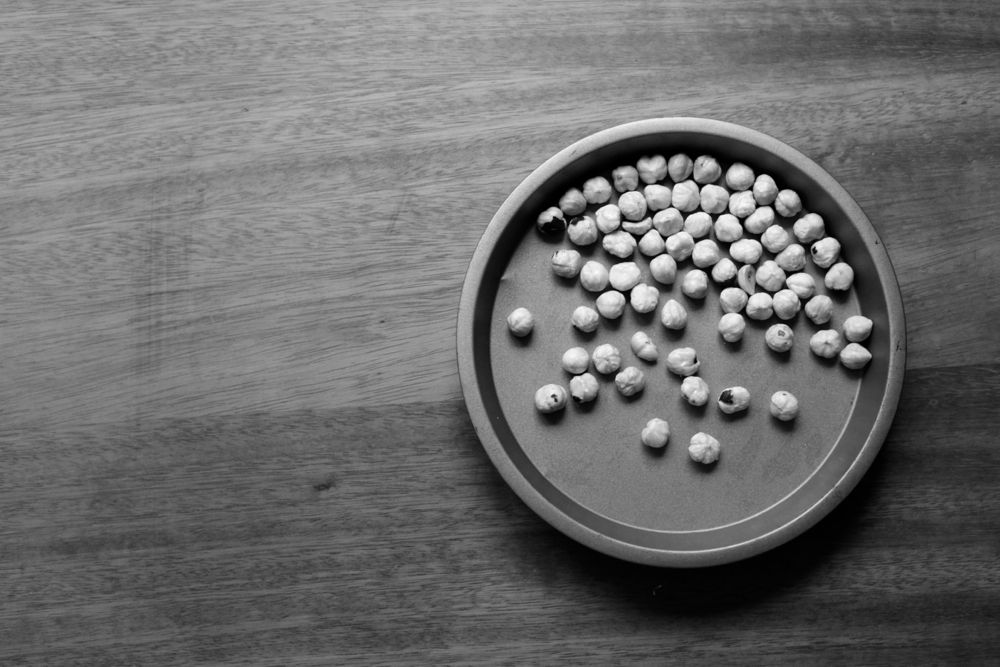
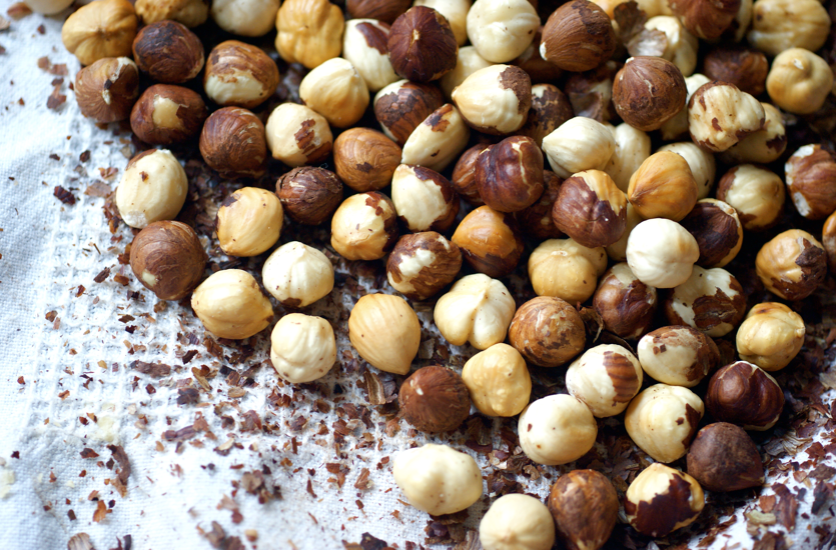
70g whole hazelnuts
30g cocoa powder
170g dark chocolate (70-85%)
150g light brown sugar
140g unsalted butter, slightly softened
big pinch of fine sea salt
4 large cold eggs (from the fridge)
1 tsp vanilla extract
For the praline topping:
70g whole hazelnuts
40g white granulated or caster sugar
big pinch of fine sea salt
Preheat the oven to 180C/350F (fan). Lightly butter a deep 8"-9" springform or loose-based tin. Place the hazelnuts on a small tray in the oven and toast for a few minutes until they start to smell and darken and the skins begin to split open. Rub any loose skins off with a clean tea towel or kitchen roll. Put into a food processor with the cocoa powder and blast until they are finely ground.
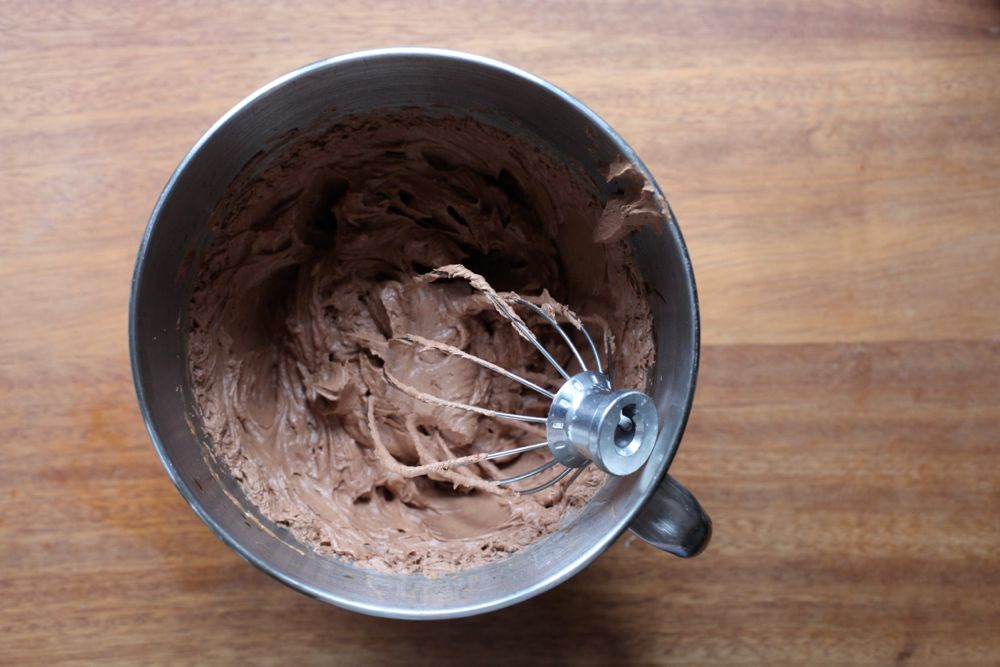
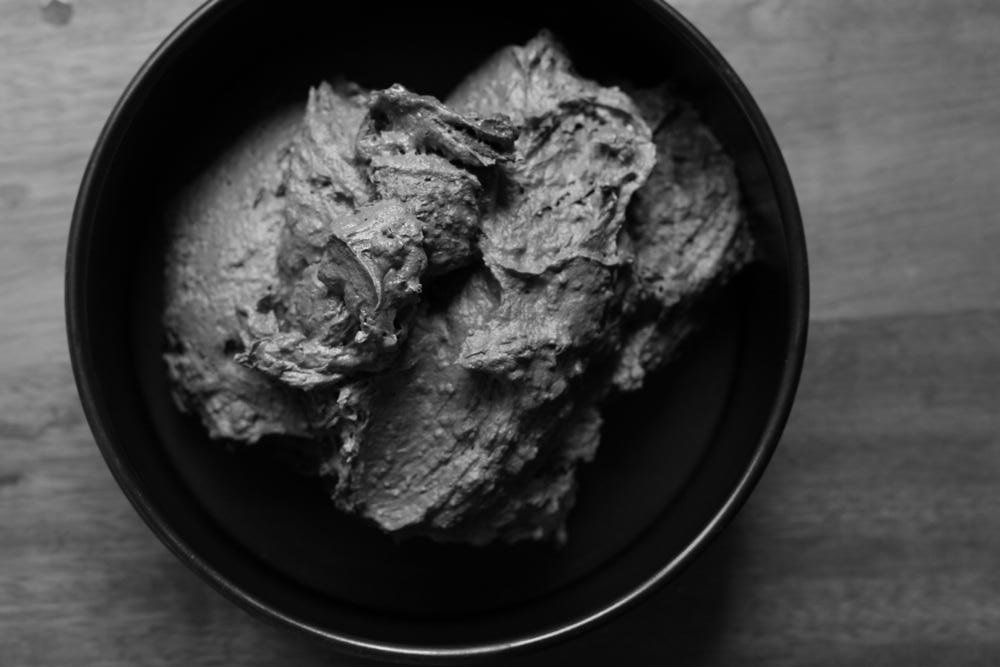
Place a mixer bowl over a pan of barely simmering water. Chop the chocolate and tip into the bowl. Stir occasionally as it melts. Meanwhile weigh out the brown sugar and salt and cut the butter into cubes - it should be starting to soften, not squishy. When the chocolate has nearly melted, take it off the heat and stir until it's smooth. Place on the mixer (with the whisk attached) and add the sugar, salt and butter. Whisk on medium until the ingredients have fully combined and the mixture has lightened a little. Scrape the sides down then add the first egg. Whip until combined, then add the next egg. Repeat until they're all combined then add the vanilla and whip for 2 minutes on high until stiff and pale.
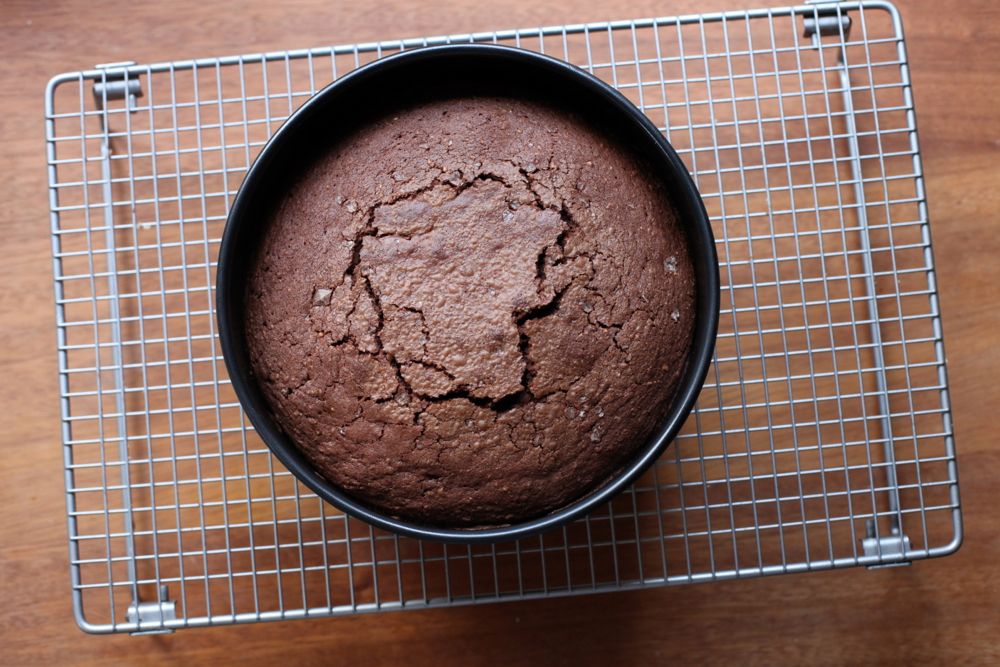
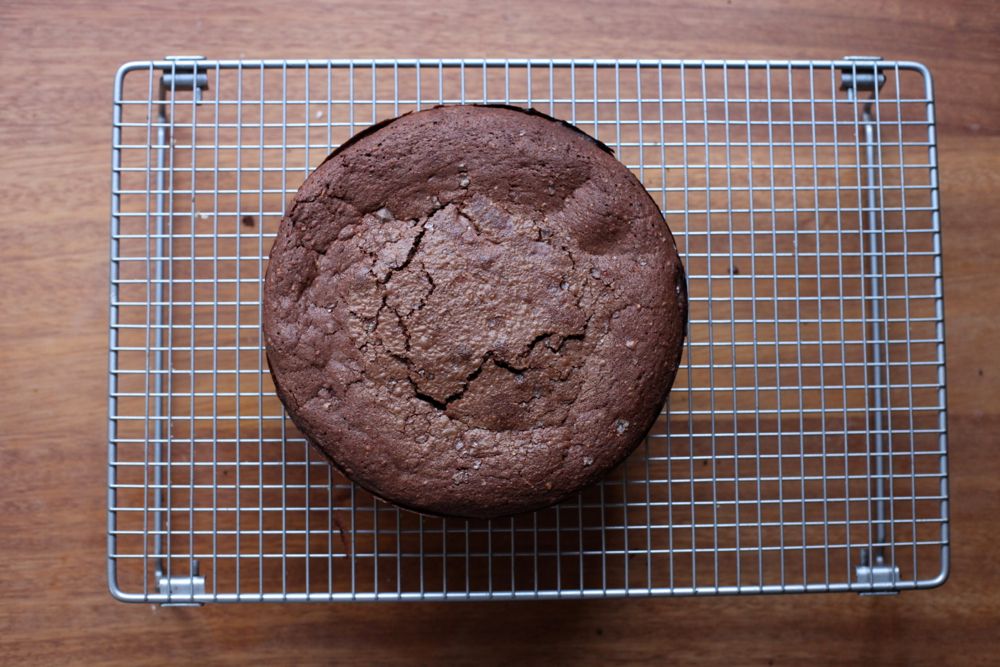
Add the cocoa-ground hazelnut mixture and fold in. Scoop into the pan and level out. Bake for 23-30 minutes - a tester should still bring up a sticky crumbs and it won't look fully cooked in the middle (a bit like brownies - don't overcook it or it gets dry and crumbly). Place on a wire rack and leave to sink and cool fully in the tin. Wrap in kitchen foil and try to leave for at least one day and up to three before serving.
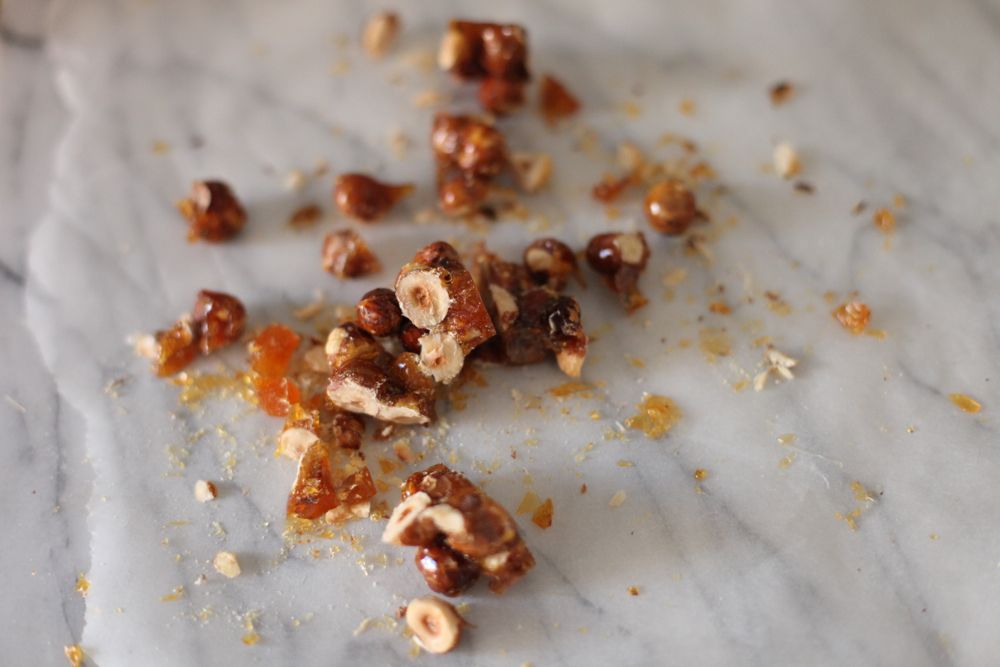
To make the praline topping, place a sheet of baking parchment near the stove. Toast the hazelnuts (as above, or in a frying pan until a similar stage) - they need to still be warm when they're combined with the caramel. Spread the sugar over the bottom of a medium sized heavy-bottomed pan and place over medium-high heat. Watch carefully - after a few minutes, the sugar will start to liquify at the edges. Don't stir it - you can flick some of the crystals onto a liquid bit, but don't fiddle too much. Once it's nearly all melted and starts to caramelise, swirl it all together. Keep heating until you have a deep golden-bronze colour then stir in the salt and the still-hot hazelnuts so they become covered in caramel. Quickly scrape it all out onto the baking parchment and spread out. Leave to cool (it's ready once the caramel snaps). Break into big chunks then place into a food processor (no need to wash between the earlier hazelnut/cocoa mix) and pulse until it is finely ground (same sort of texture as ground almonds).
Spoon the praline over the top of the cake then serve. It's best with softened vanilla ice cream but a big spoonful of gently whipped cream or crème fraîche also works.
(Serves 10-12)

Three more hazelnut recipes:
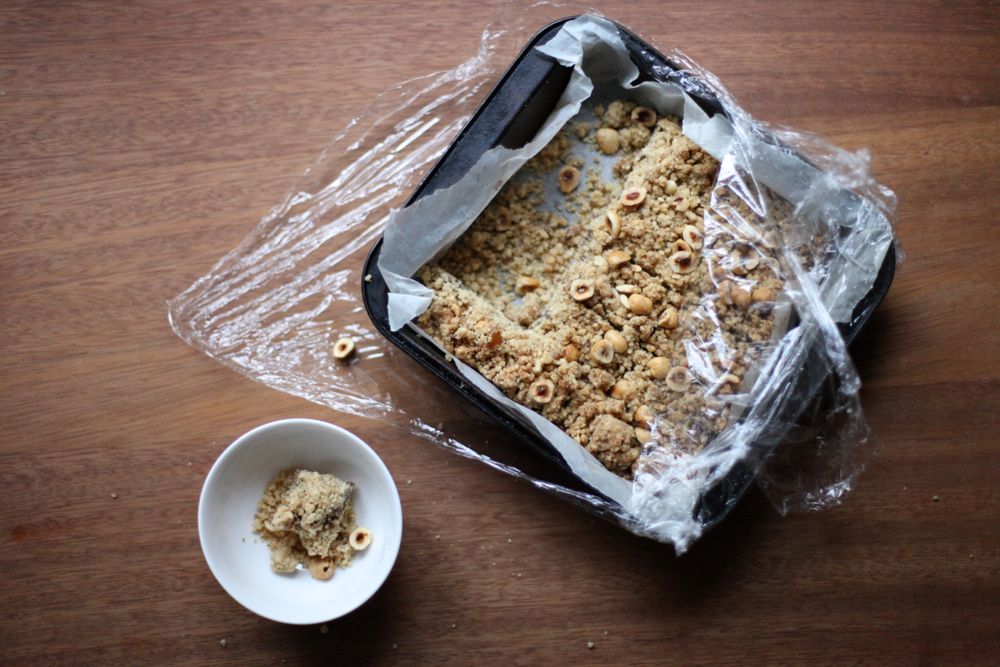
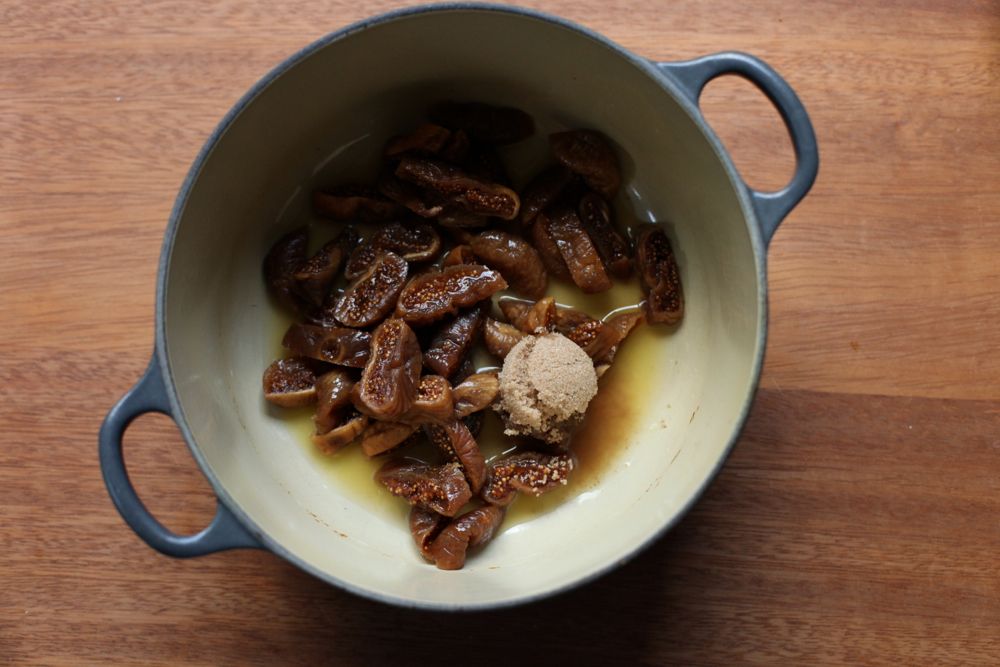
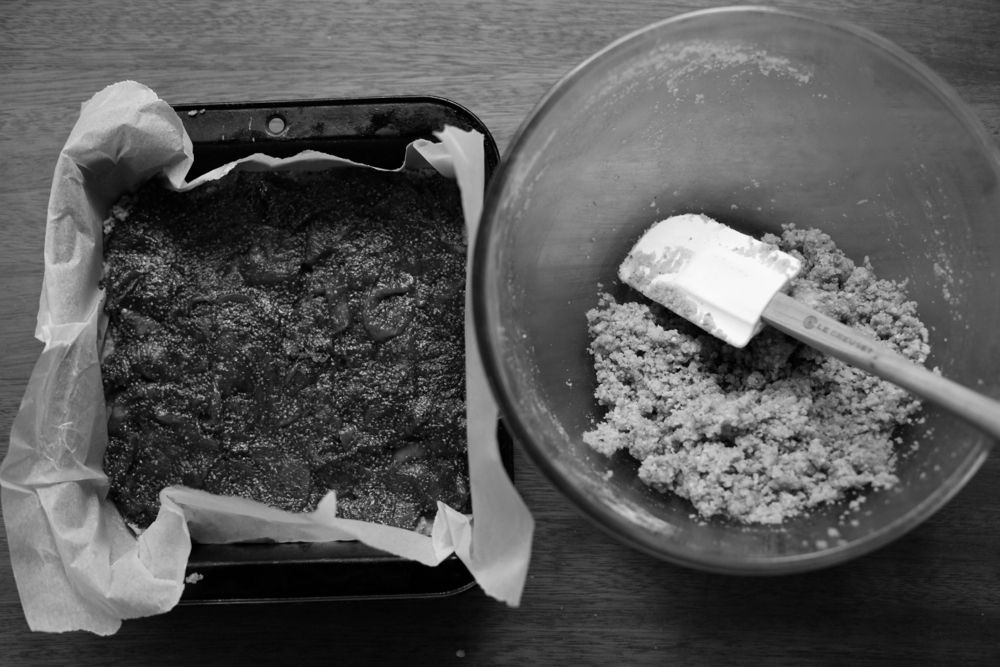
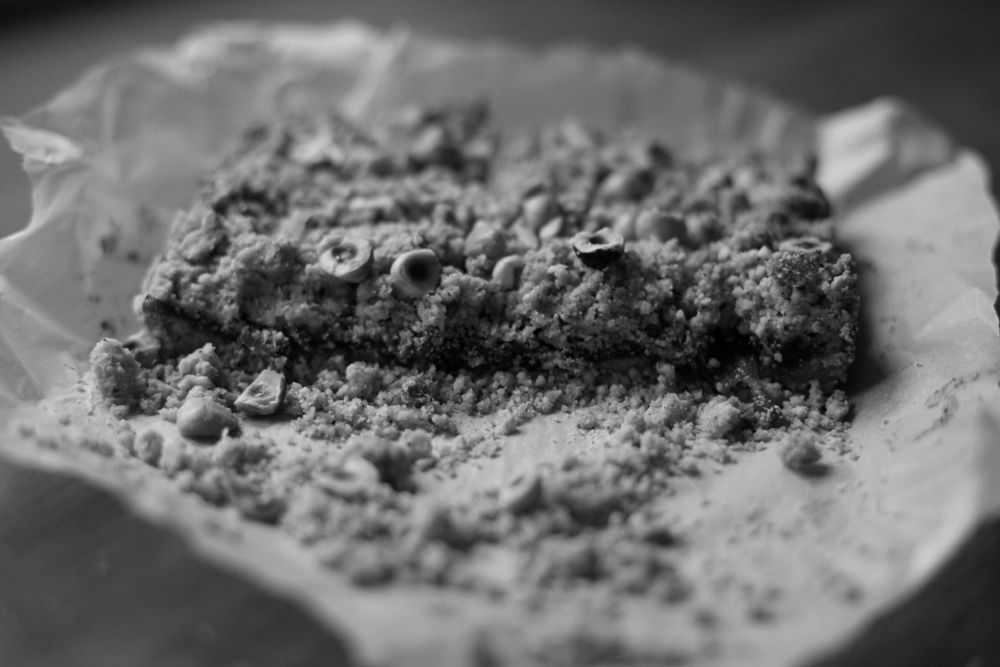
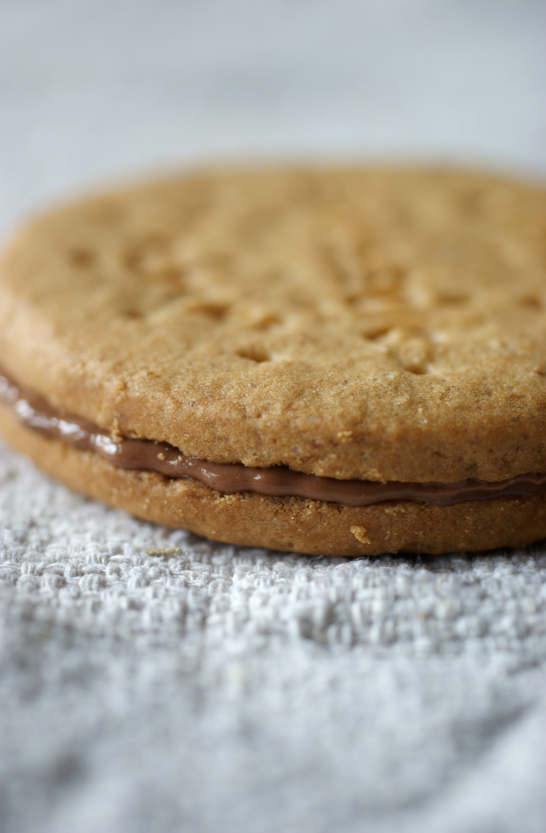
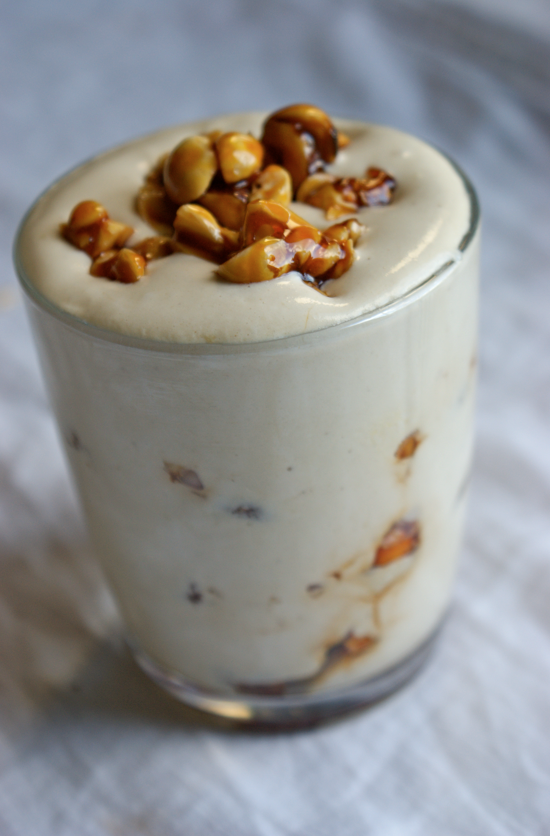
Fig & Hazelnut Crumble Bars
Roasted Hazelnut Butter Biscuits
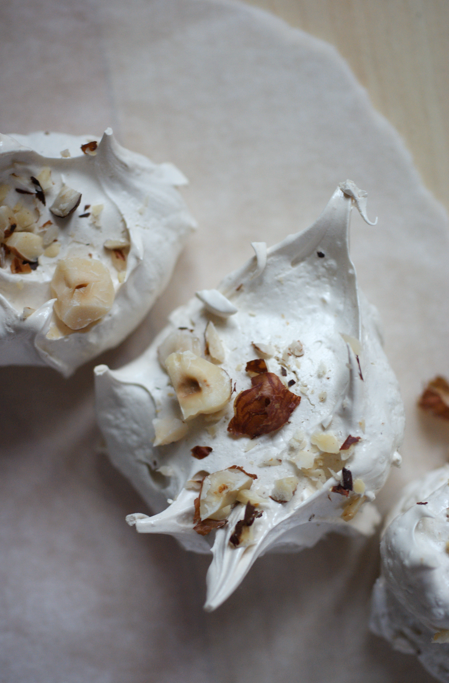
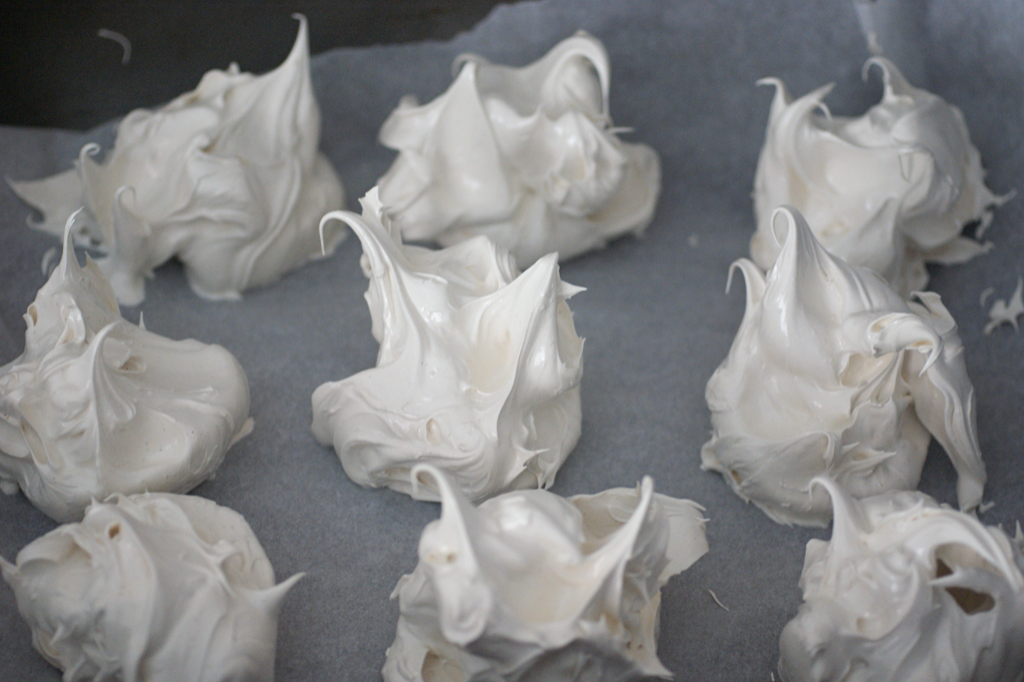
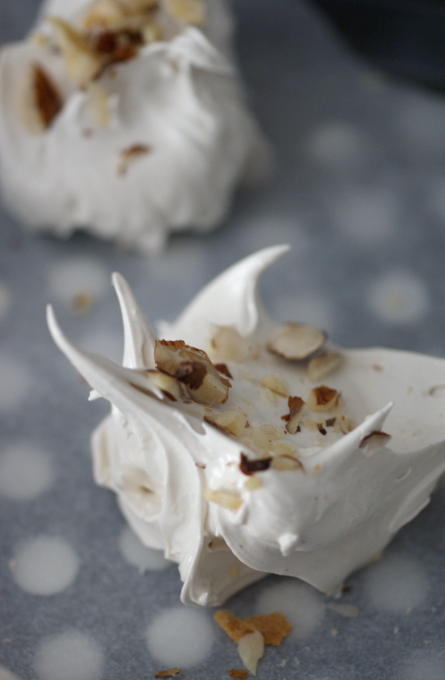
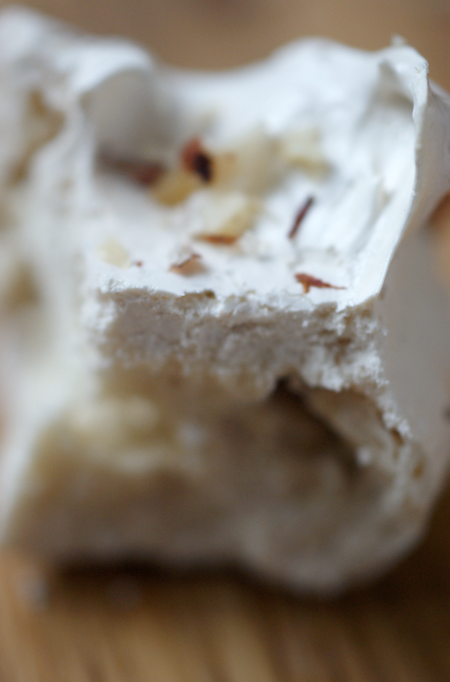
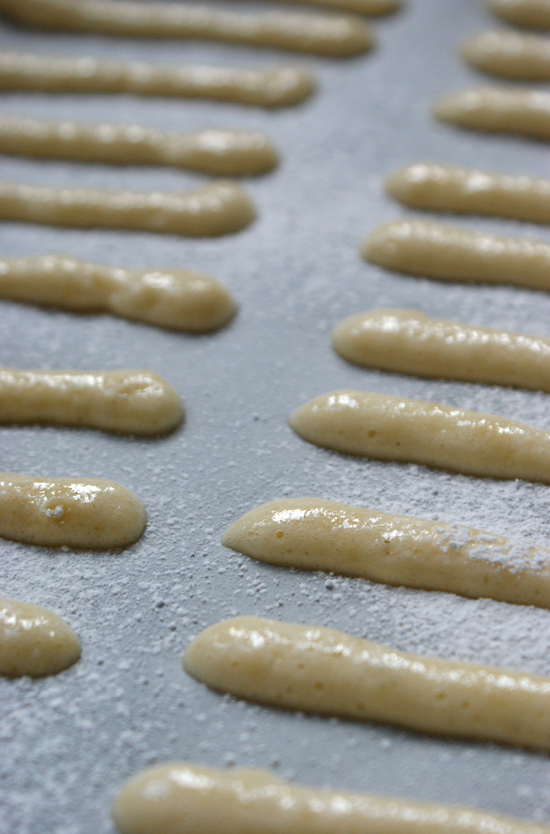
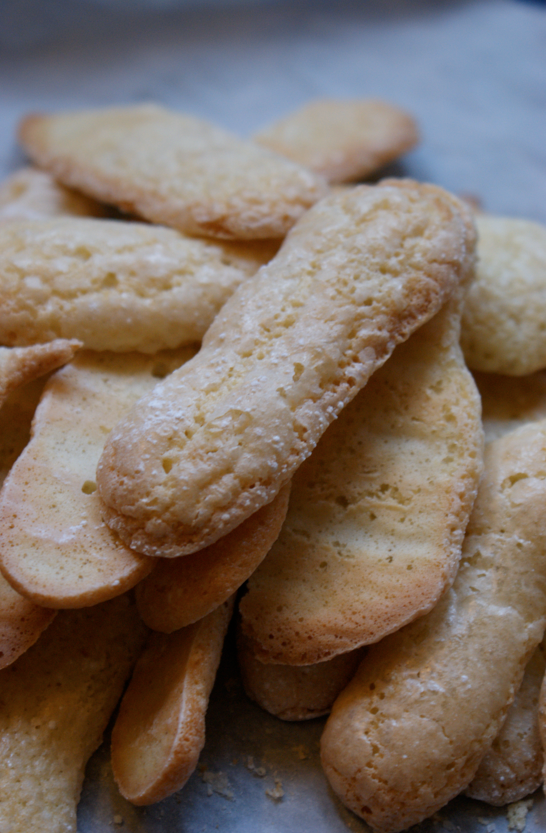
Brown Sugar, Cinnamon & Hazelnut Meringues


