Friday, 12 February 2010

Sticky Cinnamon Buns


Some days you just need some carbohydrates slathered in butter, sugar and spices. Yesterday my flatmate and I were having a distressing day. I find baking the best solace so headed to the cookery books and came up with these:  my flatmate was on a carb binge and I was craving sugar - these ticked every box.  I halved the recipe for our own safety and made mini rolls instead.

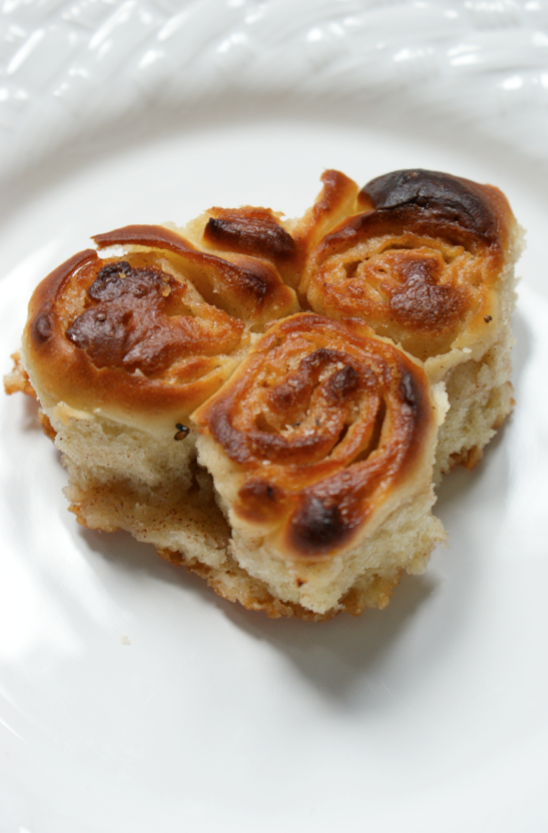
I first made these five years ago when an old friend and I were sitting around on Valentines day moping about being 15 and single.  Well, she was moping - I've never found Valentines day particularly problematic. Still, these buns are wonderful and put smiles on both of our faces and it seemed appropriate with Valentines coming up again (and amusing when I realised these three look like a heart...).

They're not very hard to make - just reassuringly complicated.  They're perfect for that afternoon when you want to busy your hands, not think about anything, just knead some sticky dough and watch it rise. They filled our apartment with the warm scent of yeast followed by an amazing fug of caramelized sugar and cinnamon when they were baking. It's a truly comforting smell.

They're so good that to be able to photograph them this morning I had to smuggle away three buns from the hungry hands last night in a piece of foil...
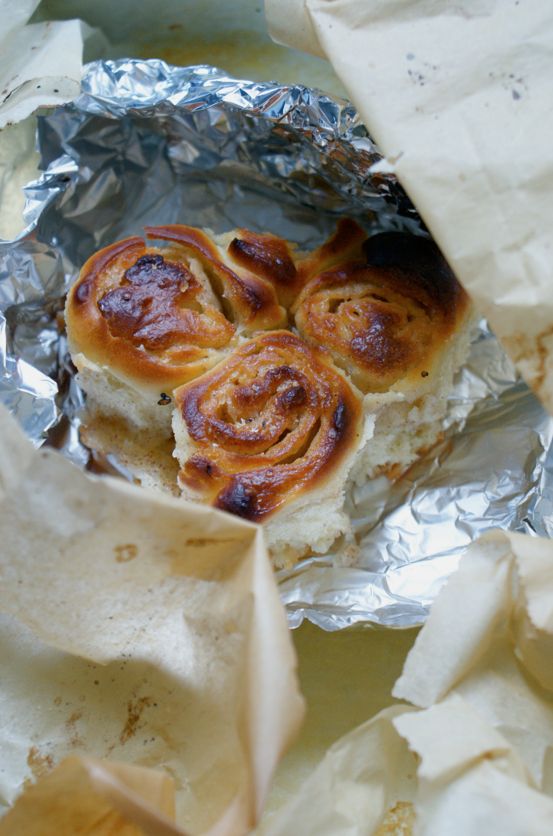

Sticky Cinnamon Buns
(Based on a recipe in Nigella Lawson's How to be a Domestic Goddess)

For the dough:
300g flour
50g sugar
pinch of salt
12g of easy blend yeast or 23g fresh yeast
50g butter
200ml milk
1 egg

Sift together the flour, sugar, salt and yeast together into a bowl. Measure out the milk then add the egg and beat in. Melt the butter and whisk into the milk mixture. Stir into the flour mixture until it combines. Mine was very sticky. Turn out onto a floured surface and knead until smooth and springy - as it was so sticky I got the dough everywhere but it did come together and get quite elastic after kneading. Put into a lightly buttered/oiled (with a heavily flavoured oil) and cover tightly with clingfilm. Place in a warm place and leave it to rise for about half an hour.  (I also wrapped mine in a tea towel).

Preheat the oven to 230C. Take a spare third of the dough (I overdid this and ended up with a thick bottom and small rolls) and roll out to a rectangle that fits into your tin, which should be lined bottom and sides with baking parchment (I used a 23 x 15cm brownie tin).  Roll out the rest of the dough on a floured surface, attempting to get a rectangle - I rolled mine quite thin, to about 40 x 20 cm, but less would work.

For the filling:
75g soft unsalted butter
75g caster sugar
1 tsp cinnamon
milk/beaten egg to glaze

Beat the butter, sugar and cinnamon together in a small bowl. Spread the rectangle with the filling, trying to get a fairly even cover. I had some spare so I also spread some on top of the dough in the tin - I liked the way this made the bottom extra sticky. Roll the rectangle up from the longest side, to create a big sausage.  Cut the roll into 2-3cm slices then arrange them in the tin, swirls facing upwards. They'll puff up so don't worry if there are gaps.  Brush them with egg or with milk. Wrap the tin and baking parchment up in clingfilm and put back in the warm place for about 20-30 minutes or until they're puffy.

Pop into the hot oven and bake for about 20 minutes or until they've risen and are golden brown - they will go quite dark brown in places but that's part of the charm.  Remove them from the tin with the parchment and set on a cooling rack then start tearing them off - make sure you eat them warm, they're by far their best. You can quickly reheat them in the oven or even the microwave.

Makes about 20 mini cinnamon rolls.
Thursday, 4 February 2010

Chocolate Cream Cheese Icing and Birthday Cakes


I love making birthday cakes. There's something really lovely about bringing a smile to a friend's face on their special day. It's beginning to be a bit of a tradition among my friends at university that I provide the cake as a present - yesterday I made my forth of this (academic) year.

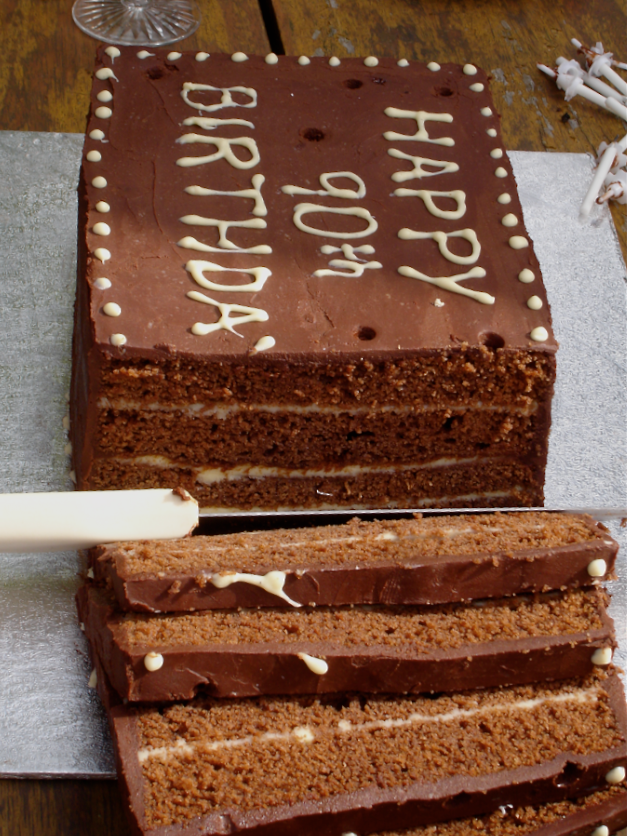
I've posted about birthday cakes before - such as with the trusty Double Chocolate Birthday Cake recipe for my Mum and when I made a Summer Fruit and White Chocolate Layer Cake for my mum's friend.  This summer I used the double chocolate recipe again to make my Grandfather's 90th birthday cake. I had to use rectangular roasting tins to make it as that was all I could find big enough in his kitchen -  I hadn't brought my tins over from home.  Still, it turned out well in the end - with some trimming!


I try not to branch out too much with birthday cakes.  It would be so disappointing if the birthday boy/girl didn't like it - let alone anyone else excited for a slice.  I try not to get too over enthusiastic about very dark chocolate ganaches and cutting sugar and steer towards something a bit sweeter and crowd-pleasing. For a similar reason, the past three have been vanilla sponge - especially as one of my lovely flat mates doesn't like chocolate cake for some unfathomable reason .


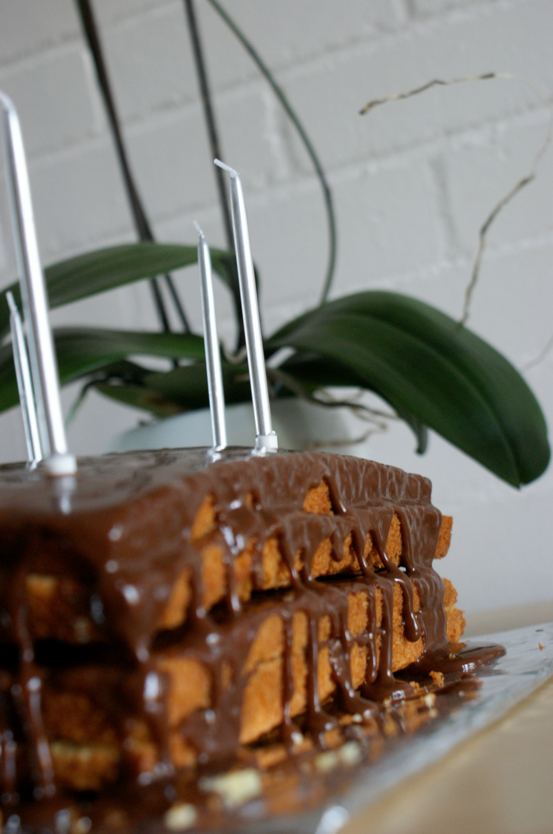
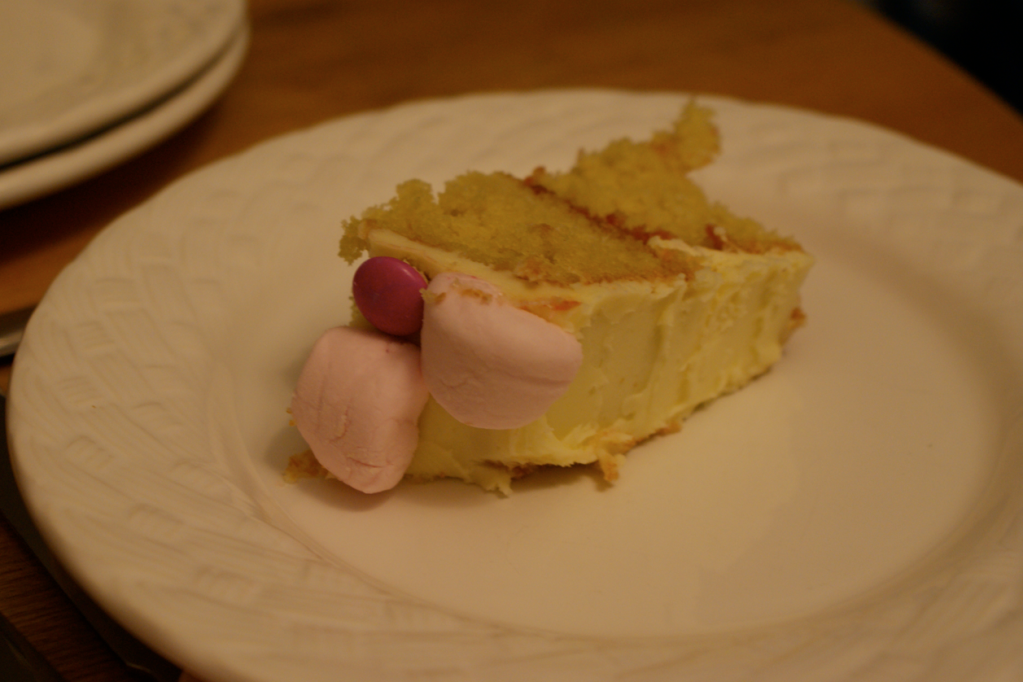
However, I have experimented a little with icings and decoration. The first (above) was covered with a drippy milk chocolate ganache. Then I sandwiched the second (below)with fresh raspberries and raspberry jam and covered it with vanilla buttercream, decorated with marshmallows, Smarties and chocolate buttons. The third (no pictures, unfortunately) was a square cake cut into an 'M' shape and covered in a Snickers icing - I melted milk chocolate, a Snickers bar, a spoonful of peanut butter and some butter together then beat in double cream when it had cooled - which was seriously good!


This time I decided I wanted to make a chocolate cake. Inevitably I reached for the family recipe, as above. I wanted to do something a little different with the icing.

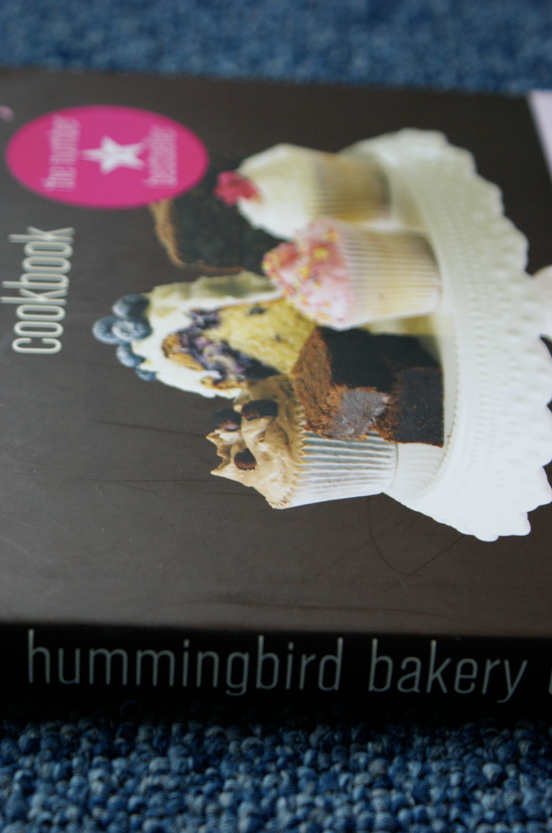
In September last year, my Mum and I went into London the day before a family funeral. Neither of us were very well and we were feeling quite miserable. We were driving along in South Kensington when I noticed a bakery - and not just any bakery, but The Hummingbird Bakery. And so we stopped, found a parking space and went in. I had hot chocolate (very yummy and rich) and a red velvet cupcake (I had to try one, having never before) - Mum had a carrot cake cupcake.  It was all lovely - though I have to admit, I did find them slightly too sweet after a few bites. Still, they brought a smile to our faces on that difficult day.

We stayed for about an hour chatting to a mother and son who were sat at the next table about life and baking - and how good the bakery's cookbook was. I bought Mum a copy for christmas but I obviously couldn't separate her from it when I came here, so I was very pleased to hear my flat mate also was given a copy.


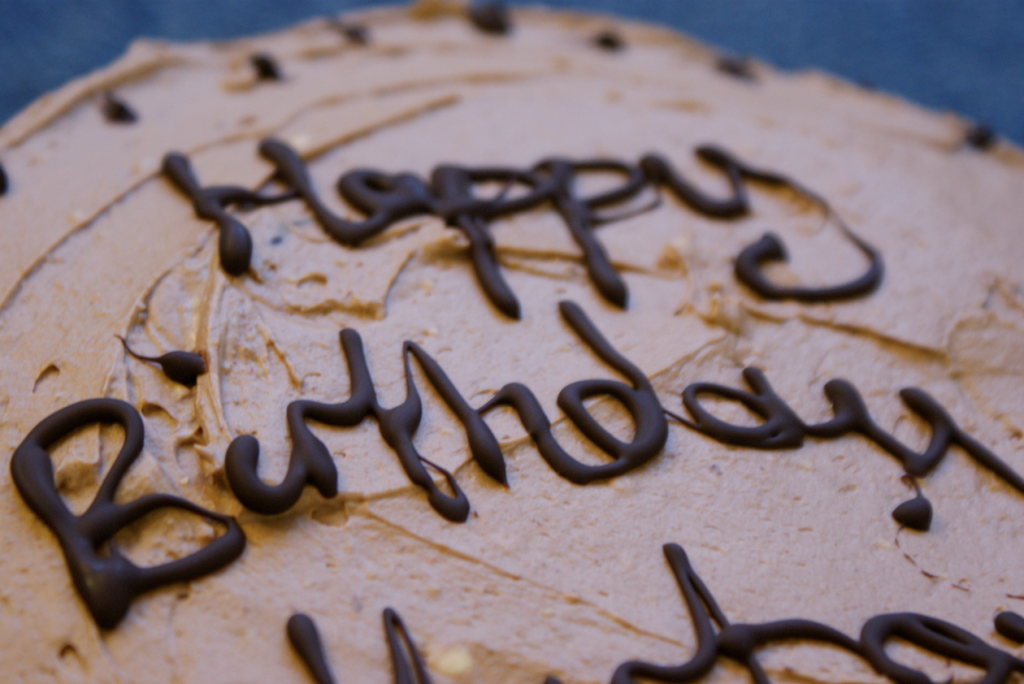
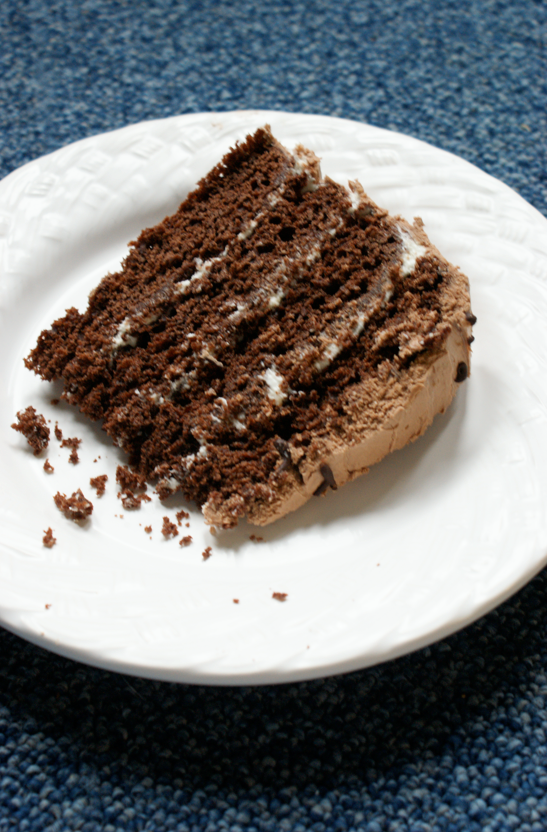
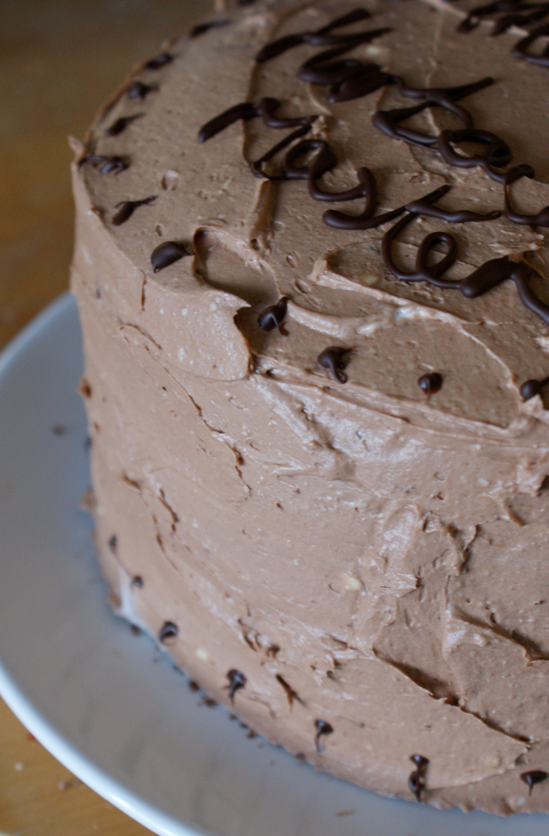
It was to this book that I came back to when I was searching for a cream cheese icing like the one I had tasted. I doubled the recipe to cover the cake, cut a large amount of the icing sugar out and added a bit more cream cheese. I used this plain icing to sandwich the four layers. Then I melted some dark chocolate and let it cool before folding it into the remaining icing. This I used to crumb-coat and then ice the cake - I had quite a bit leftover in the end. I used a little melted dark chocolate to decorate.

It's iced with the 'Harbour Master' because the birthday boy created a Port Night (Monday Night is Port Night, don't you know) at college and is styled as the Harbour Master. Don't ask.


Cream Cheese Icing/Frosting
(Origins in The Hummingbird Bakery Cookbook)

400g icing sugar
100g butter, at room temperature
300g cream cheese
big pinch of salt

Beat the butter until smooth, then add the icing sugar and beat on a very low setting (or you'll suddenly find yourself in a cloud of sugar!) until it is evenly dispersed. It didn't come together - just turned it a pale yellow. Tip in the cream cheese and salt and mix in at a low speed until it comes together, then turn the speed up and beat until light and fluffyish.

50g dark chocolate

To make the remainder chocolate flavoured (to turn the whole mix, use maybe 75-100g depending on how much of a chocolate flavour you want) melt the chocolate in a double boiler or in the microwave. Allow to cool till it's room temperature but still liquid, then pour into the icing and fold in evenly.

ShareThis