

Today I turned 23.
A week ago, I started writing a post for my birthday.
I wrote that 22 had started with crushing heartbreak. I described how the past few months have felt like speeding along on rollercoaster in the dark, complete with a feeling of uncertainty and a heady combination of thrilling highs and stomach-churning bad news. Everything I thought I knew has been questioned and every week seems to bring another life changing decision. I feel older - weathered by the wind.
But you know what? It's my birthday. I don't want to dwell on the difficult parts of this year, or how the thought of my future fills me to the brim with a potent mixture of deep excitement spiked with fear and self-doubt.
Today is a day to celebrate.
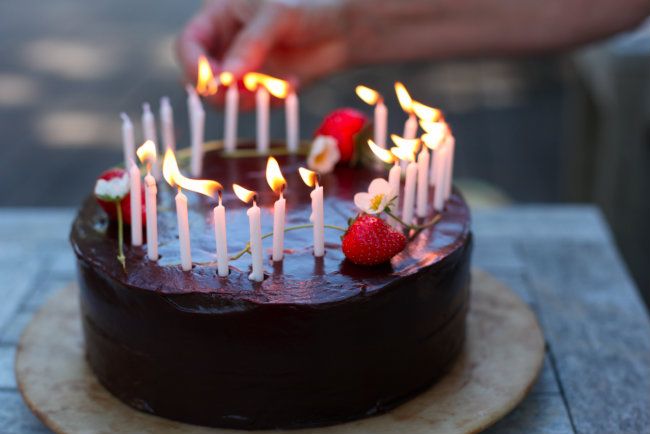
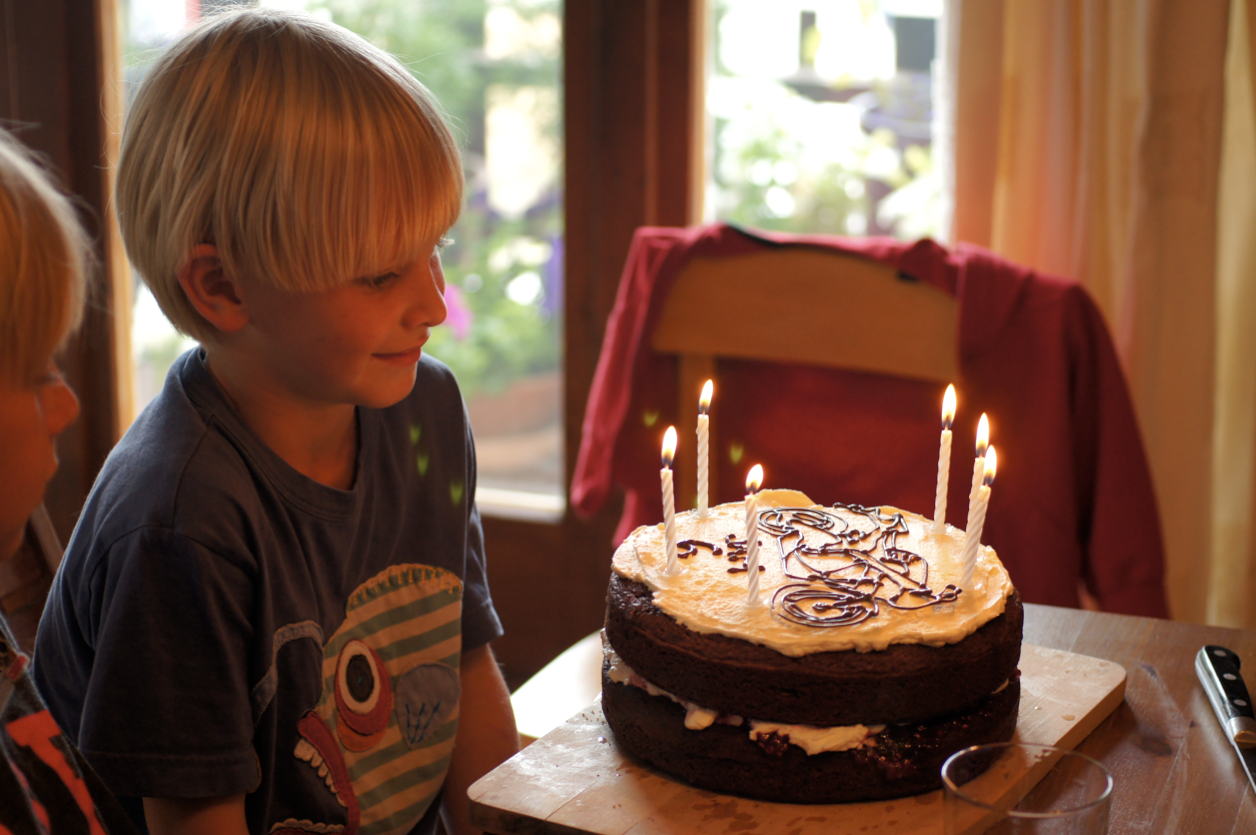
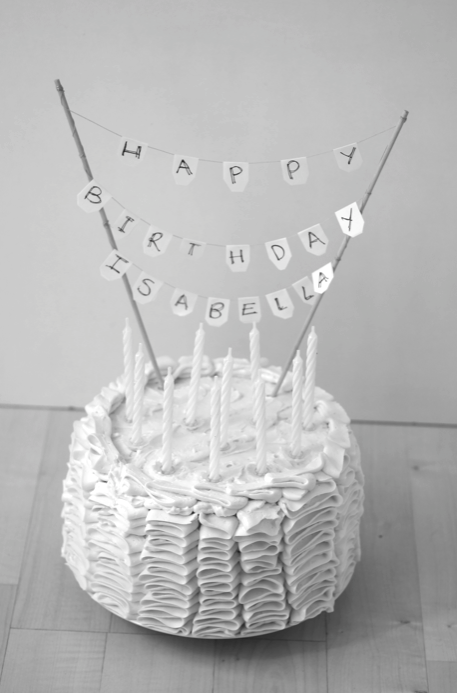
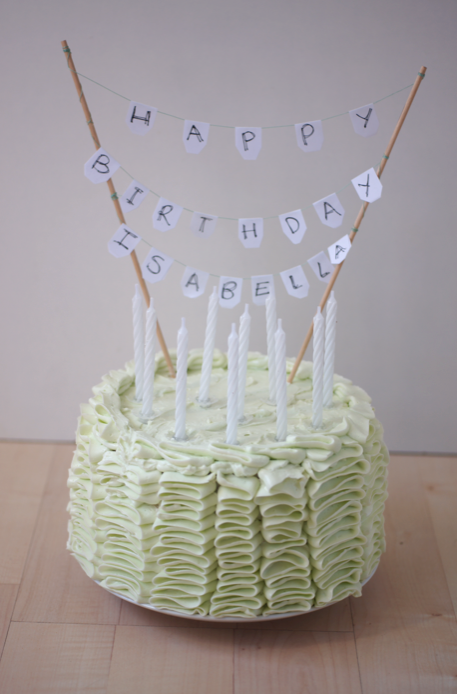
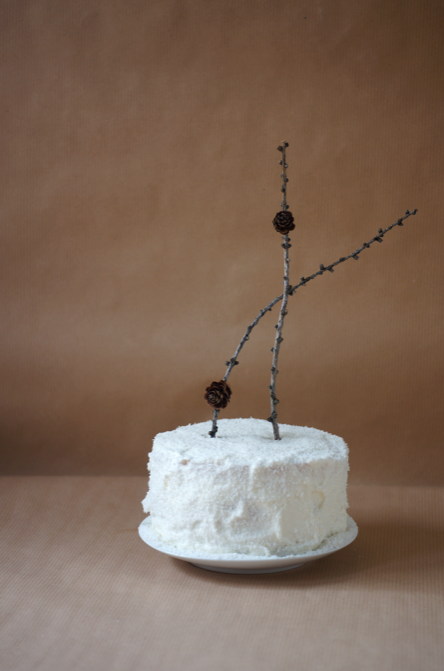
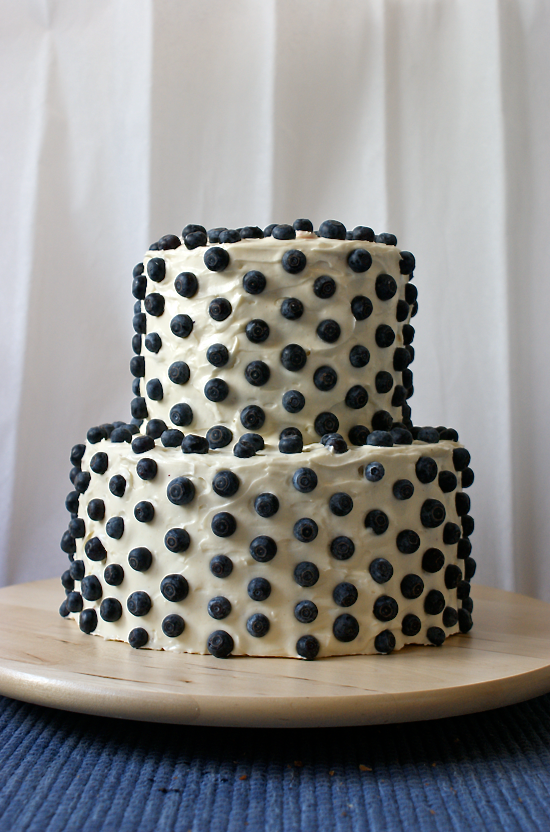
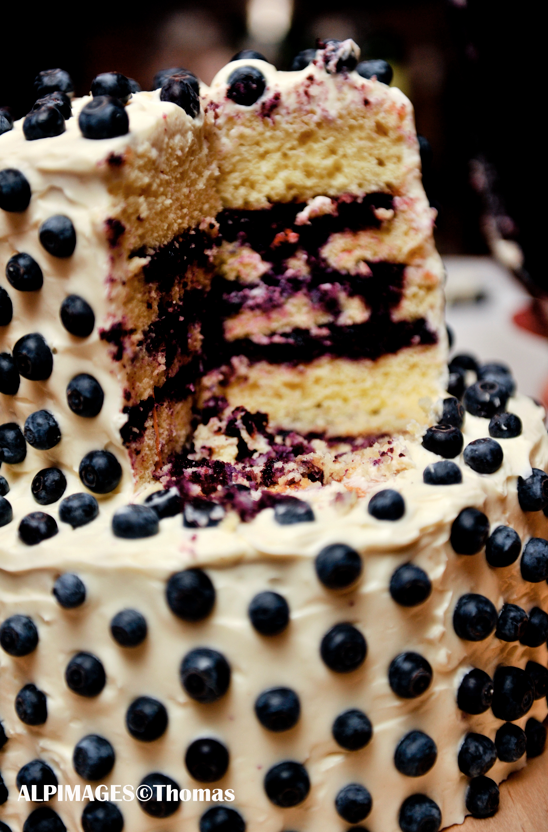
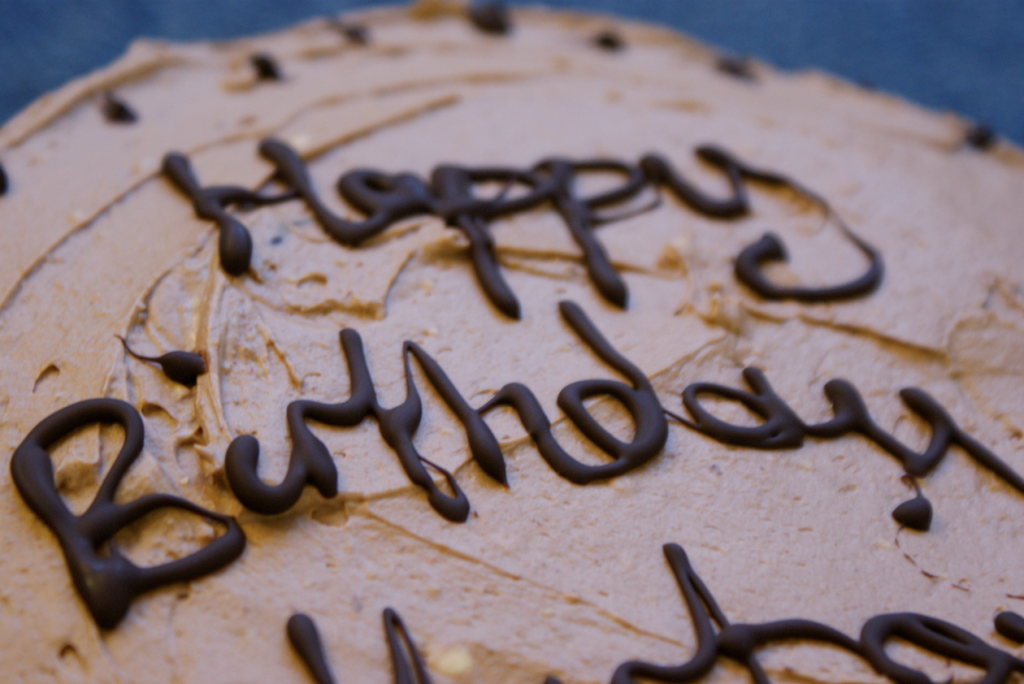
No celebration is complete without CAKE.
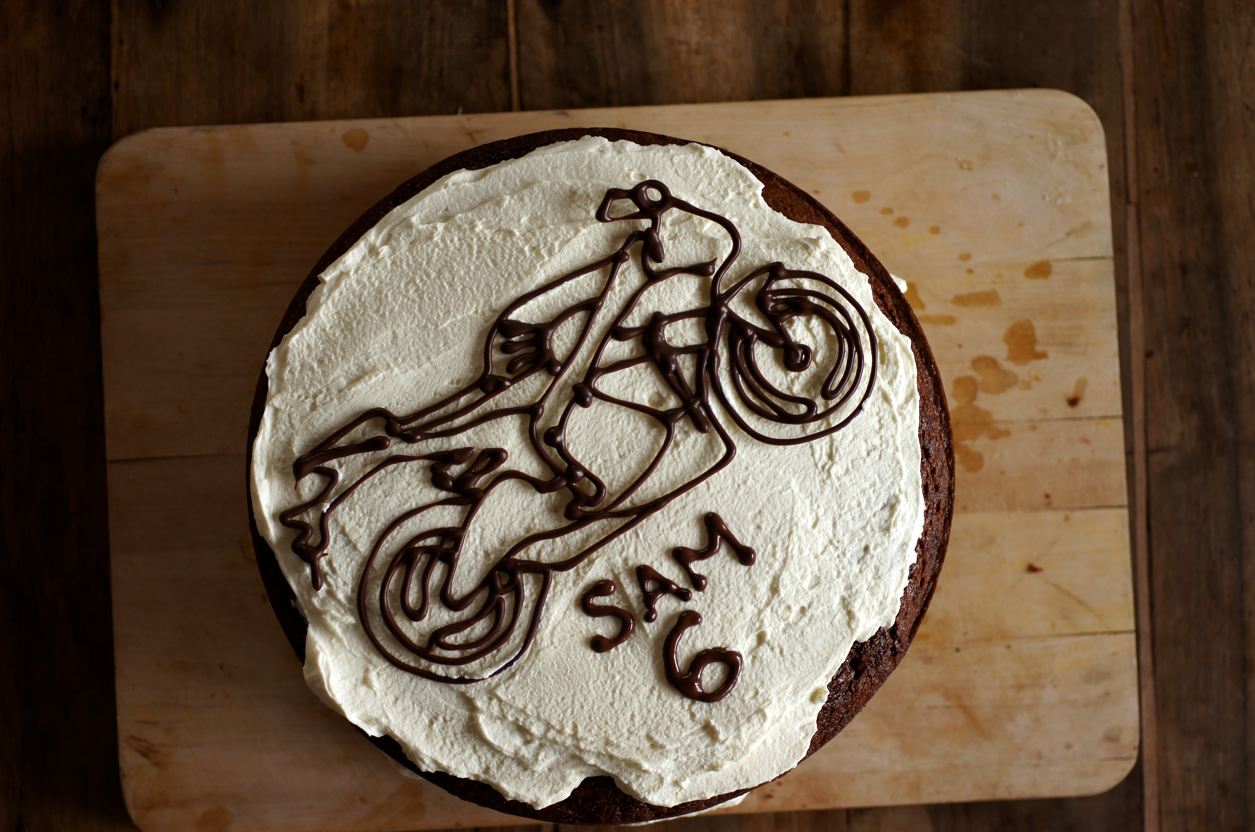
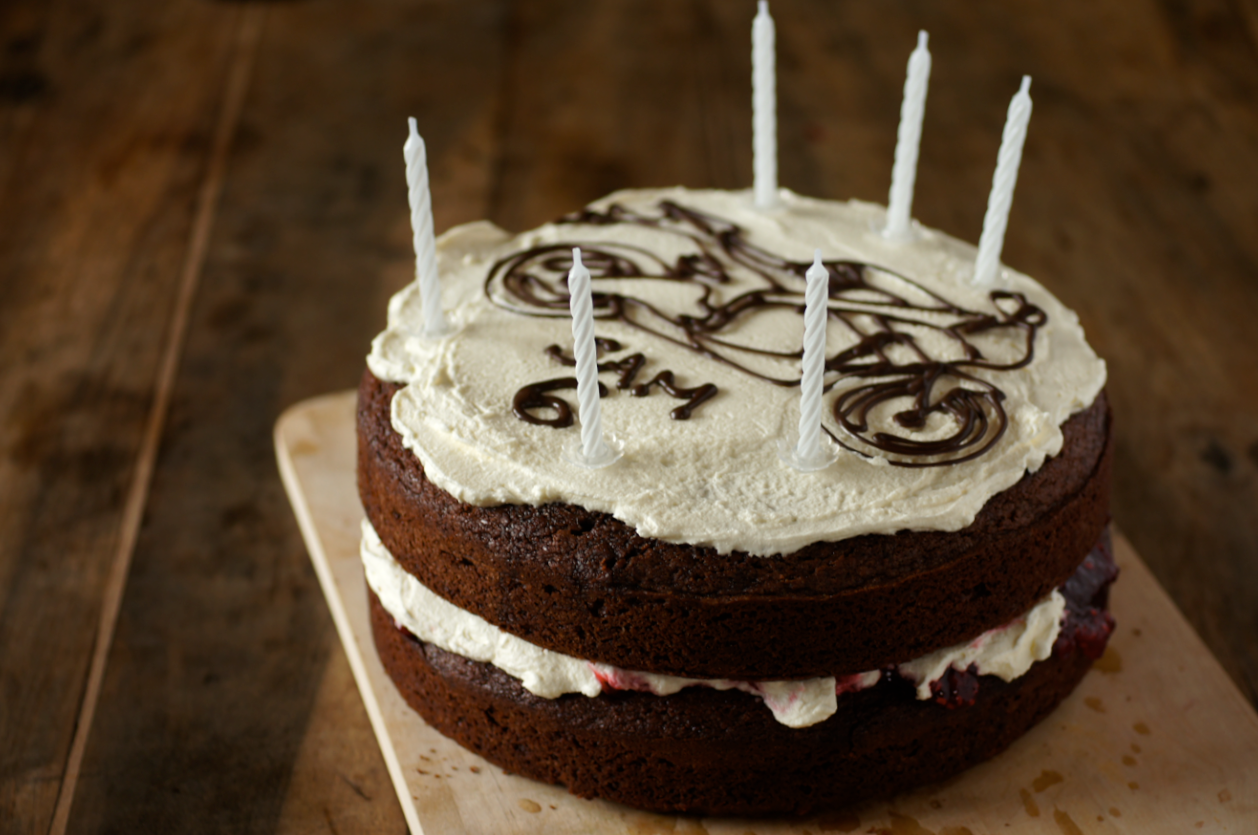
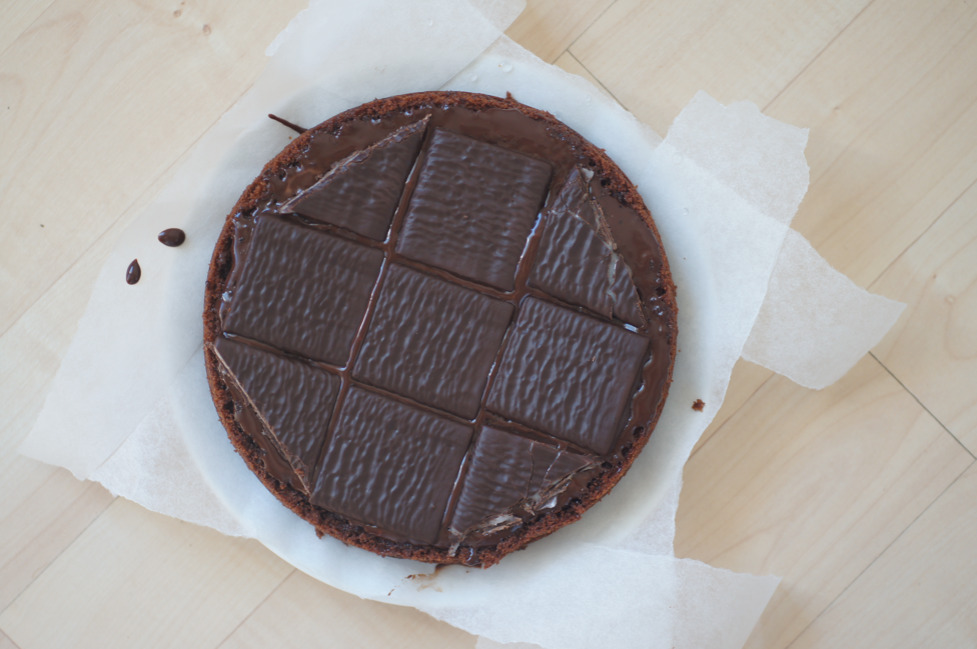
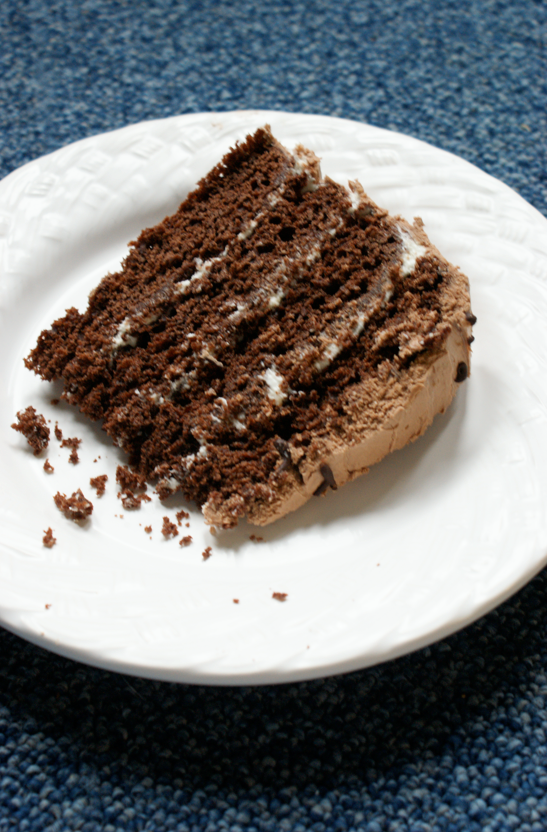
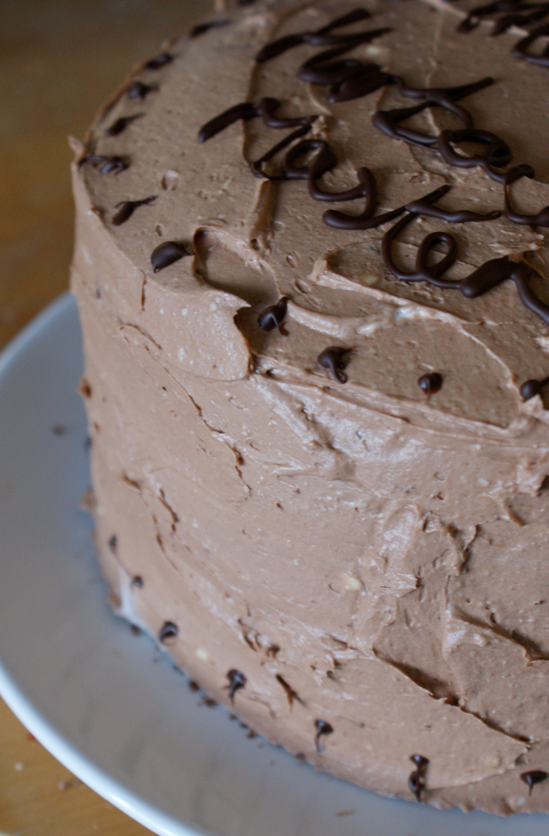
This cake is that chocolate cake, a recipe I'd heard whispers about. In our borrowed Berkeley home, the Scharffenberger chocolate book was left on the kitchen island. It had a sticky note marking that page and five stars etched in pencil at the top. How could I resist?
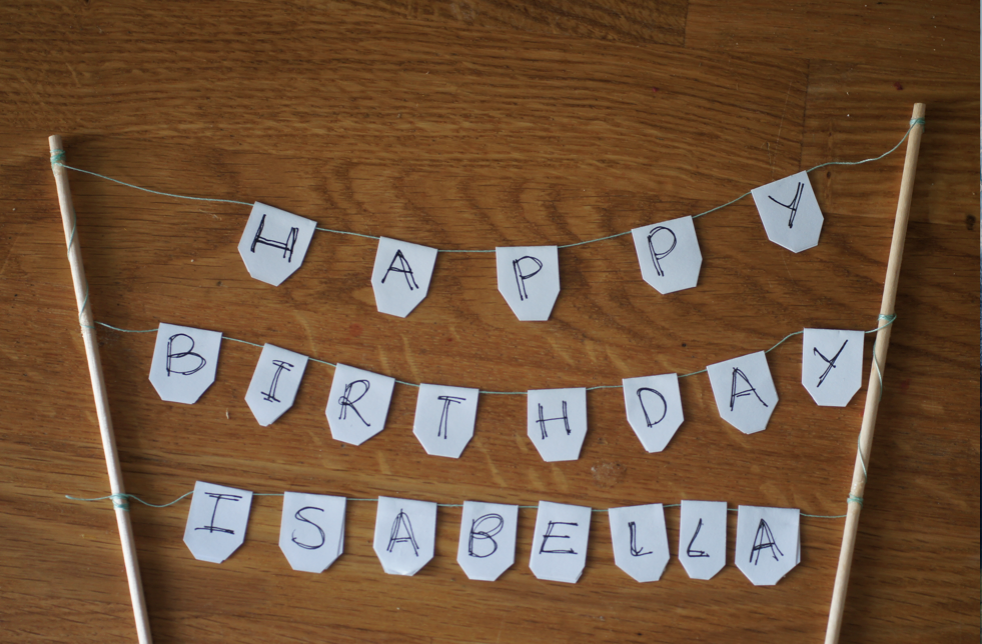
Mum and I made the cake together. I finished it off with some strawberries and strawberry flowers from the garden. It's a fudgy, dark chocolate cake - and surprisingly not too sweet. I was highly skeptical about the amount of sugar but decided to follow the recipe faithfully. If you can't find the 99% chocolate for the icing, I'd try a different ganache recipe (perhaps double the example here) - a lower percentage would make it too sweet.
Finally, a few days ago I bought myself an early birthday present with the prize money from the Guild award and some savings. I bought a Canon 5D Mk II and a 1.4/50 to replace my old Sony DSLR. I swore I wouldn't upgrade until I really needed to - my lovely friend Erin helped me realize I'd hit that wall. I still feel slightly at sea but I'm really pleased with how things are developing so far.
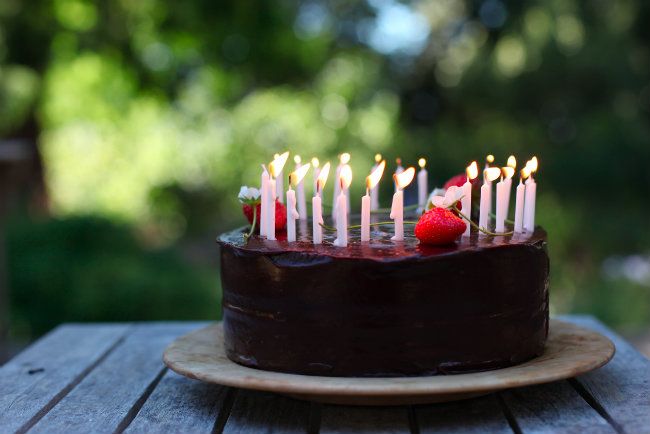
We ate the cake outside on the decking. It has been a gorgeous, blue-skied day.
(PS. Though it may say June 11th at the top of this post, it's still the 10th and therefore my birthday in California.)

That Chocolate Cake
(Adapted from The Essence of Chocolate by John Scharffenberger and Robert Steinberg. Also online here in cups.)
For the icing:
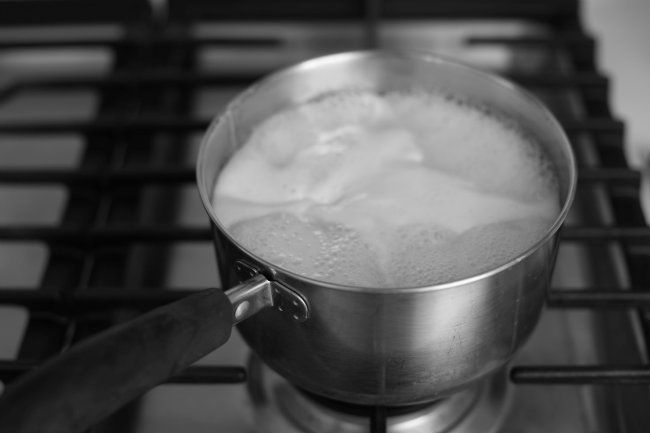
275ml double cream
250g granulated sugar
130g 99% unsweetened dark chocolate, finely chopped
100g unsalted butter, cubed
1 tsp vanilla extract
For the cake:
450g granulated sugar
200g plain flour
85g unsweetened cocoa powder
1.5 tsp baking powder
1.5 tsp bicarbonate of soda
1 tsp fine sea salt
2 large eggs, beaten
275ml milk
135ml canola oil/another oil with no flavour
275ml boiling water
Start with the icing. Combine the cream and sugar in a large saucepan. Put over a medium heat and bring to the boil. Once it starts to properly bubble, turn the heat down to low and simmer for 6 minutes. It foams up a lot. Take off the heat and leave to cool for one minute then add the butter and chopped chocolate. Stir until smooth then transfer to another bowl and stir in the vanilla. Leave to cool, stirring occasionally.
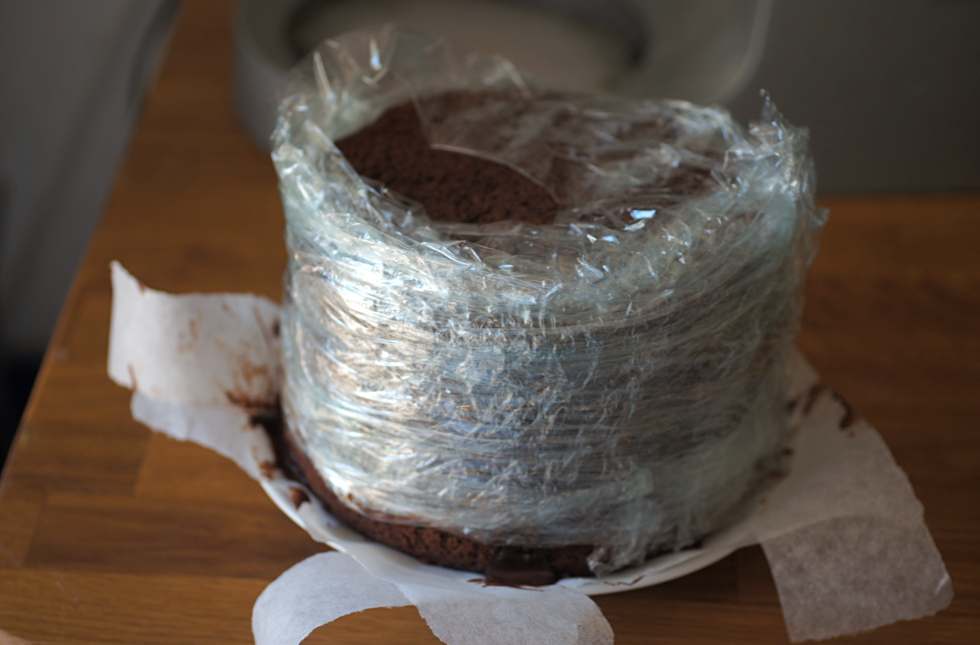
Preheat the oven to 180C/350F. Butter, line and flour two 8" cake tins (not ones with removable bases, the batter is too liquid). Place the sugar, flour, cocoa, baking powder, bicarbonate of soda and salt into the bowl of a stand mixer with the beater attached. Stir on the lowest setting until a uniform brown colour. Add the beaten eggs, milk and canola oil then turn the mixer up to medium and beat for 2 minutes. Boil the kettle while it beats then turn off and pour in the water. Mix it on low until smooth - it is very soupy. Divide between the two tins - I think mine were 650g each but I forgot to write it down. Carefully transfer to the oven and bake for 30-40 minutes or until a skewer can be removed from the centre cleanly (mine took 40). Leave to cool on a wire rack for 5 minutes in the tins then turn out and remove the paper.
By the time the cakes are totally cool, the icing should be thick enough to ice - it should hold its own weight. Place one of the cakes onto a serving plate lined with paper strips. Spoon some of the icing into the middle and spread it out. Add the top layer then spoon about half the rest of the icing onto the top. Drag down and over the sides and smooth over. Add the rest as you need it, working fairly quickly. Use a palette knife dipped in a jug of hot water then dried with a towel to get a shiny finish. Watch out as you move it - the layers can slide a little until it sets up. Add any decorations, final flourishes and candles then slice and enjoy.
(Serves 10-12)
EDIT 13/6/12: We've found that the cake got even better the next day, and is still lovely two more days later, though the icing has clouded and is slightly speckled. It'd definitely be the perfect cake to try if you needed to make it the day before a party or event.


