

The creaming stage is often overlooked. It's not glamourous or innovative - it's been a basic baking technique for centuries. Yet it does make a difference.
Unless you have experience baking, it's easy to read 'cream the butter and sugar together' and think that this just means to combine them quickly. I only realised quite how long you should beat the two together when I started baking seriously - my mum, though an excellent cook, never had much patience for creaming.

To cream butter properly, it needs to be at the right temperature. Recipes normally call for room temperature butter, expecting you to plan and remember to take it out early. I almost always forget (possibly because when I was taught, mum always used from-the-fridge butter, so it's not etched into my routine).
Microwaving and other shortcuts often melt the butter on the outside or make it oily. There's only one tip that always works for me, which is to use the method for plasticizing butter for puff pastry and other doughs.
I prefer this to chucking the butter into the mixer on its own for a minute or two before you start - but that is another option.
(l-r):
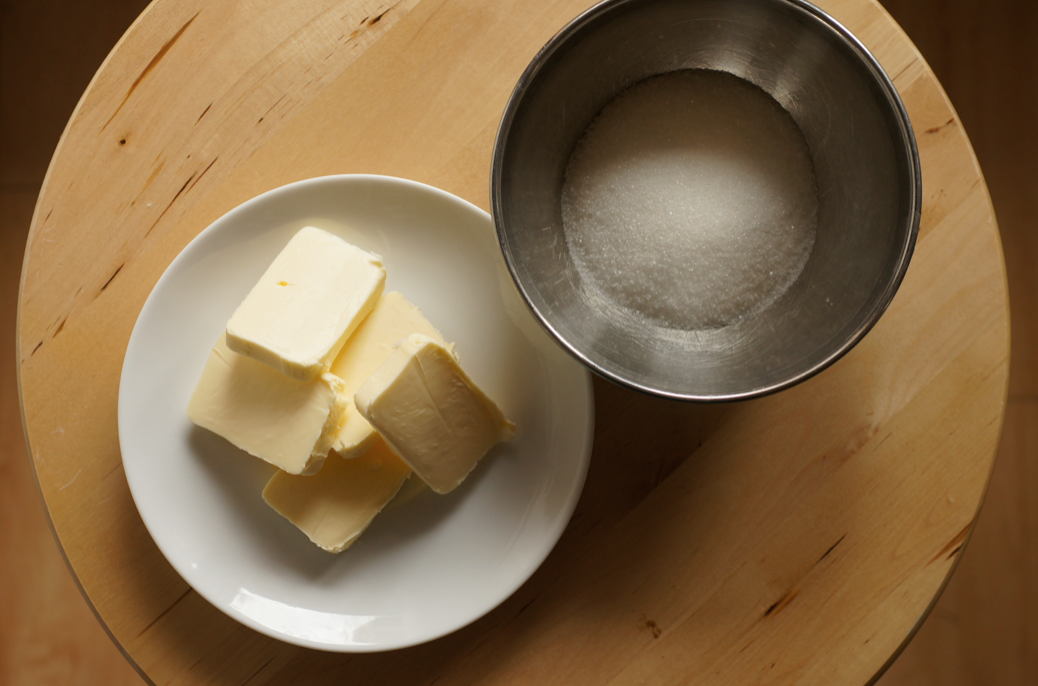
1/ Get a sheet of baking parchment and lay it on a work surface. Cut your butter into slabs (about 1 cm thick) and place them on the paper with a bit of a gap.
2/When you've arranged your butter, fold the paper over it, making sure you leave space all around. Grab something to bash with. A rolling pin is perfect but if yours has disappeared into thin air like mine, try a roll of tin foil or anything similar.

3/ Start whacking the butter (not too hard or the paper might split). It will spread out - you want to get it quite thin. (If you wanted to use this for making puff, you'd now need to roll it to make it perfectly even, but we don't need to).
4/ Touch the package. If it still feels very cold, hold it between your palms and let your body heat warm it a little. You don't want it too warm or oily - just malleable. Unwrap from the paper and place in the mixer bowl.
Bonus = you can use the buttery paper to grease your cake tin.

Add the sugar to the butter in the mixer bowl (beat the butter briefly by itself first, if you haven't bashed it). Put it onto the machine with the beater attached.
In this example I used 100g of butter and 100g of granulated sugar.

Beat on medium speed - the two will clump up as they start to combine. Keep beating.
I used to cream butter with the whisk attachment but now I think the beater gives a better result. If you don't have a stand mixer the whisk sticks on a hand beater work. Or, if you have very strong arms and a lot of time, you can attempt it by hand with a wooden spoon.

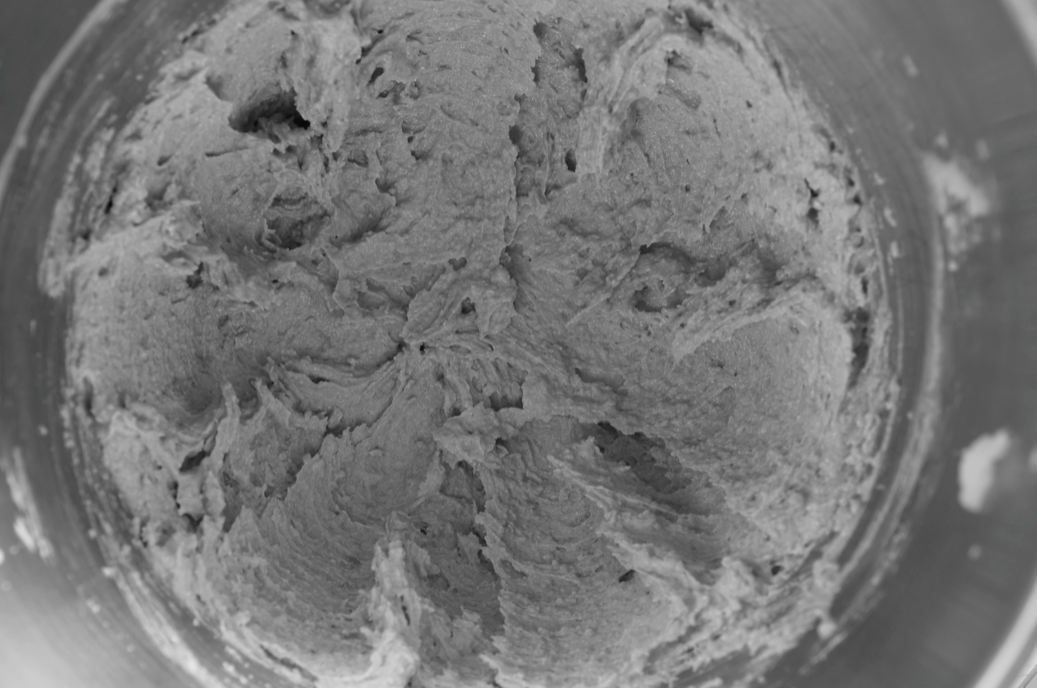
It will start to stick to the sides and as it comes together. Eventually it'll be spread evenly over the bottom of the bowl, as below. Keep beating - this usually takes four or five minutes at least.
Make sure you keep scraping the sides down to bring everything into the middle.

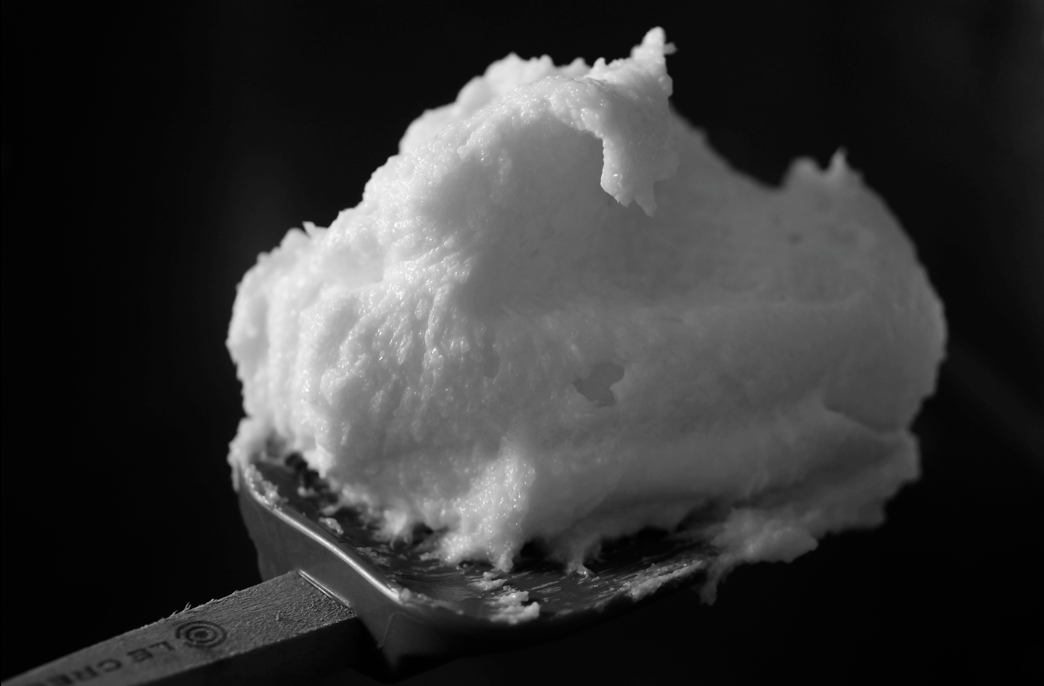
I stop beating once the mixture has visibly thickened on the side of the bowl (in volume not texture). It looks puffy and leaves a droopy peak when you scoop it up.
Keep in mind that creaming isn't just combining the ingredients - you're trying to create tiny air bubbles. The sharp edges of the sugar crystals cut into the fat to create the little pockets - this only works if the sugar is crystalline (i.e. caster sugar instead of honey). Chemical aeration helps give lift but the creaming is still important to give a great rise and texture.
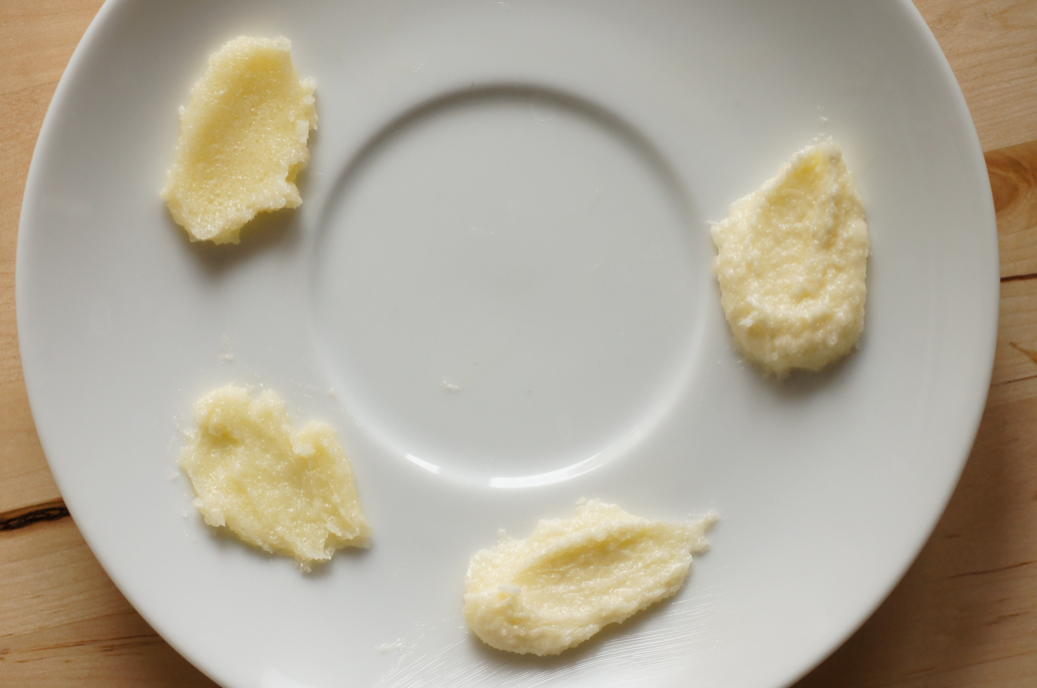
The samples start from the top left and swing round. As you can see, the mixture goes from very solid at the top to fluffier. The colour changes from pale yellow to cream or ivory - obviously only if you're using white sugar, if you're using brown sugar it just gets paler. If I had used caster sugar instead of granulated, it would look smooth instead of grainy.
Some biscuits and cookies require a shorter creaming time, though they use the same method - for instance, Triple Chocolate and Pecan Cookies.
Usually recipes now call for the eggs to be added. To avoid the mixture splitting (and ruining all your creaming volume), beat the eggs together first and add them slowly, beating well between each addition (it needs to be totally incorporated). If you're worried about it splitting, add a tablespoon of flour from the amount used in your recipe. Don't add too much, though, as the gluten in the flour will start to form and toughen the mixture if you keep beating it. If it does split, don't cry - the cake should still taste delicious.
To give another example, I took a photo of the creamed mix for the Peanut Butter Cake. This was a combination of peanut butter, butter, caster sugar and soft brown sugar - so quite a different mix. As you can see, it fluffed up nicely - look at the little peaks created by the beater.
Four recipes that use this technique:
Blueberry Loaf Cake with Lemon & Mint Syrup
Coffee and Walnut Cake
Spiced Apple Cake
Espresso, White Chocolate and Rose Cake
*
This is the third post of my Foundations series. The first post was on rubbing in to create pastry. The second looked at brown butter. The next post, on the 20th, will focus on icing/masking cakes...


Thank you SO MUCH for doing this foundation series--it is so helpful to know the scientific reason behind these things, as well as to have detailed pictures accompanying the explanations. Your previous one about pie crust gives me hope that I, too, can make a great pie crust--up until now I didn't realize that I hadn't been rubbing in for nearly long enough, because I was scared of overworking the dough. Other videos of the rubbing in process edit out how long it actually takes, so it was helpful to have the uninterrupted shot of the whole process. Thank you thank you thank you!
ReplyDeleteI've been known to eat a spoonful or two of creamed butter & sugar - yum!
ReplyDeleteGreat post, Emma!
ReplyDeleteWow, brilliant post Emma! I've made biscuits for years, but love all the tips and insights as to what is actually the point of process of creaming, thanks! x
ReplyDeleteVery good detailed post :)
ReplyDeleteThese foundations pieces are so useful. Such a great idea :-)
ReplyDeleteThis series is the most useful thing I have read on a food blog in years. Incredibly helpful and necessarily explicit in a way that the vast majority or recipes, books & blogs never are. The images make it even clearer. Well done.
ReplyDeleteI have also found that grating cold butter can help. Smooshing it between your fingers also helps a bit too.....
ReplyDeleteGreat series!
What a great post. I too put the butter in on it's own to really soften it before creaming. Love the images too.
ReplyDeleteEmma, that first photo is CRAZY BEAUTIFUL. Wow.
ReplyDeleteAnd I am loving your foundation series. I am one of those savory cooks who often rushes through the the pastry goodies and I so appreciate learning your simple techniques.
Thanks,
E
I especially like grating cold butter for pie crusts. When I've forgotten to leave the butter out for creaming, I cut it into pieces and leave it to set in my metal mixer bowl for a while. It would take longer if your mixer bowl was glass, though.
ReplyDeleteEmma, I'm SO glad I came across your blog! (I think I've said that in a previous comment, but I really am!) I love that you take the time to explain things, and give pictures of different stages in the baking process - and all the yummy things you create make me want to run to the kitchen and bake things!
ReplyDeleteI realised my cakes were starting to have a better texture recently, and the only thing I could put it down to was a longer creaming stage. When it comes to baking I have a problem knowing when to stop - shaking a pan of parboiled potatoes before roasting, folding something into a mixture, not stirring caramel etc etc, but turns out this is somewhere that 'skill' comes in handy! Yay! ; )
I'm so pleased you find it useful, Amy! And that you've found a skill that comes naturally :)
ReplyDeleteDear Emma, I have always questioned the reason behind beating sugar and butter till fluffy. I never had them fluffy, you can always feel the granulated sugar inside. I though the batter should become like whipped cream:) silly me because it never does. I asked my friend about this process (and so many chefs) they all confirmed that butter and sugar get fluffy with them, mine never did. I guess now the only thing I can do is keep beating for 5 min or so... it's always good to know the techniques behind the instructions.
ReplyDeleteThank you again.