Tuesday 20 August 2013

The New York Times Recipe Lab + Blueberry Jam


I'm excited to reveal that tomorrow, at 7pm UK time and 2pm New York time, I will be participating in the New York Times Recipe Lab live video chat with Kevin West (who wrote Saving the Season), Julia Moskin from the NYT and two other readers.

We'll be chatting about the recipe for Blueberry Jam from Kevin's book (which we've all made) and preserving in general. I've really enjoyed finding out a bit about the differences between UK and US jam making and I'm looking forward to finding out more tomorrow.


I found the Recipe Lab series a few weeks ago and quickly watched all of the episodes (some of my favourites were Ottolenghi, Deborah Madison and Nigella). It's lovely to see cookbook authors chatting casually about their work. On the off chance, I filled the reader participation form in last week and was very surprised to be called an hour or so later.


I've now made the jam twice, once in Oxford last week and then again in Switzerland today (I flew out last night). The recipe for the jam is here. For those that work in metric, I used 1.36kg of blueberries, 600g sugar and 120 ml of water (the second time I made a half recipe).

So if you're interested in preserving and jam or just want to check out my accent and mannerisms (my usual motivation for watching videos of bloggers I follow), then you can either watch live on the NYT Dining Section site or catch up with the video later - I'll update with a link to the video as soon as I can.

UPDATE: the video of the chat is embedded below.


Three other posts that involve preserves:
2010: Ginger and Apple Jam
2012: Seville Orange Marmalade
2013: Strawberry Jam (with a touch of lime)

Thursday 15 August 2013

Blueberry Braided Bread: A Guest Post


My post today is over on The Pastry Affair, a gorgeous baking blog written by Kristin Rosenau.

Kristin started out as an astroparticle physicist. Then, in 2010, Kristin left physics to work as a baker (she's pretty good at it... Hello, Nutella Espresso Rolls.). She worked as a full-time baker for two years, tutoring on the side, then changed course once more, to go back to graduate school to become a physics teacher. As you can imagine, I've followed her journey with great interest as the parallels between our lives played out across the ocean.

While Kristin goes through a few more life changes, she asked me to write a guest post. I made this soft, sweet braided bread with blueberry compote and cream cheese filling and got a bit carried away with braiding metaphors. You can find the post, recipe and photos of the finished braid here.


Three recipes of Kristen's that I'd love to try:
Chocolate Chunk Ginger Cookies
Pumpkin Espresso Bread
Toasted Almond Cookies with a Dried Fig Filling

Thursday 8 August 2013

Foundations no.8 - Meringue, Part II


This is the second part of my Foundations post on making meringue. Last week I covered the basics of meringue and the French method. The same basic tips apply to Swiss and Italian meringue, which is what we're covering today. Though they might seem a bit scarier, both techniques are useful to have under your belt.


Swiss meringue is made by combining the whites and sugar then heating them over a pan of simmering water - a bain marie - then taking them off the heat and whipping until cool. Along with Italian, it's called a cooked meringue.

One of my favourite things about Swiss meringue is that you can make it with a combination of soft brown sugar and caster sugar. I first discovered this a few years ago when I made the Brown Sugar, Hazelnut and Cinnamon Meringues from Ottolenghi's first book. The recipe uses 35% brown sugar and 65% white caster sugar, which gives a gorgeous caramel flavour.

The ratio for Swiss is variable - I tend to use something around 1 : 1.5 (whites : sugar). In the photos I used 82g egg white (from 2 large eggs), 80g white caster sugar and 45g light brown sugar. That's a 1 : 1.5 ratio with the 35/65 brown/white split (I calculated 82 x 1.5 = 123, then 123 x 0.65 = 80, so 123 - 80 = 43, which I rounded up to 45).

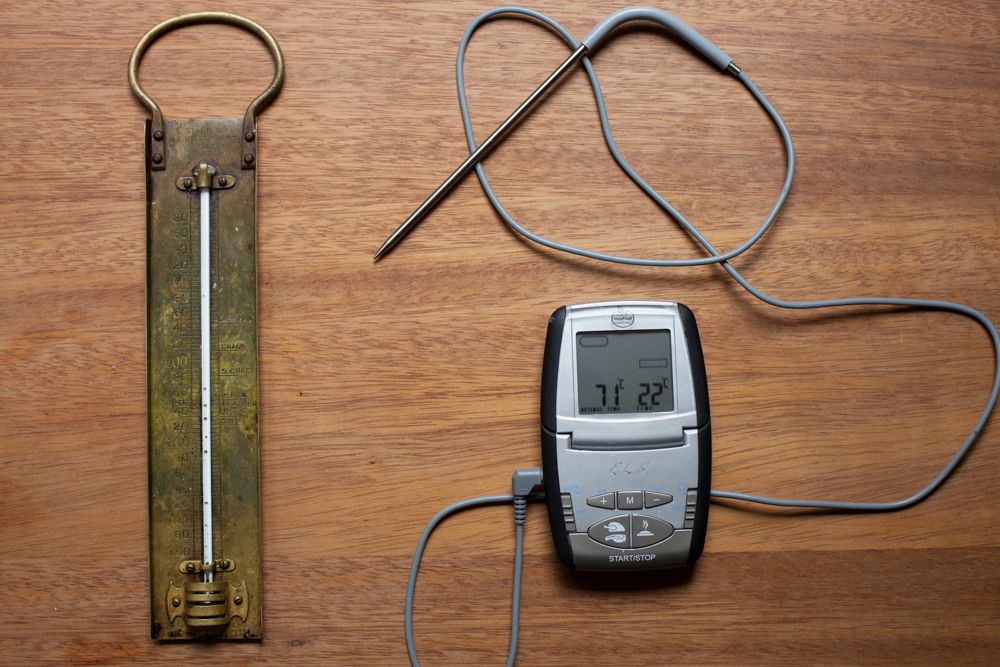
You can use an electric thermometer or a normal one. I have my grandmother's thermometer but I tend to use the electric one as the probe is faster to clean.


The temperature that the whites are heated to varies greatly by recipe. The Ottolenghi recipe takes them to 40C, Cordon Bleu took them to 50C, David Lebovitz takes them to 60C, Whisk Kid and Bakers Royale/Alice Medrich heat them to 70C and McGee says they can be taken up to 75-78C.

So what temperature should you use?

One of the main reasons for taking them up to 70C/160F is that you kill any salmonella present and pasteurize the egg whites. My habit of licking the cake bowl lead to me getting salmonellosis when I was 18 months old - I don't remember it but apparently it wasn't pleasant, so I understand why you might want to be careful.

I haven't noticed any difference in the final product so it depends on how much you're worried about raw egg. Salmonella is pretty rare and personally I'll eat mousse or other things with raw eggs. The only thing you must do is heat it enough that the sugar dissolves fully into the whites (this usually happens at about 40C) - otherwise it's up to you. If you're just checking the sugar, you don't even need a thermometer - you can just rub a bit of the mixture between your fingers.


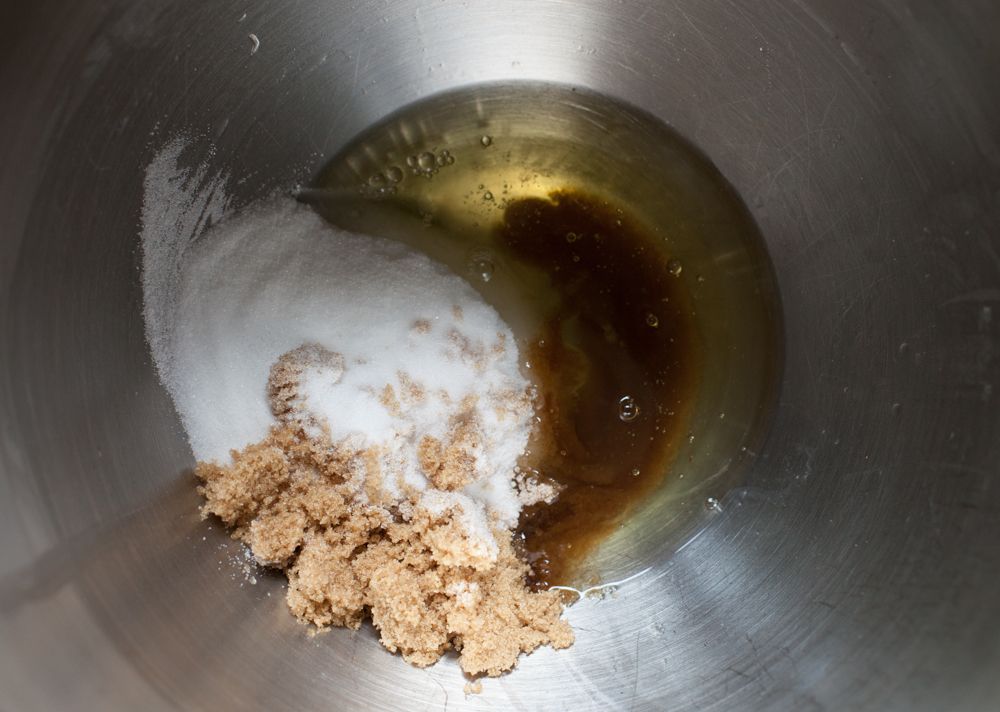
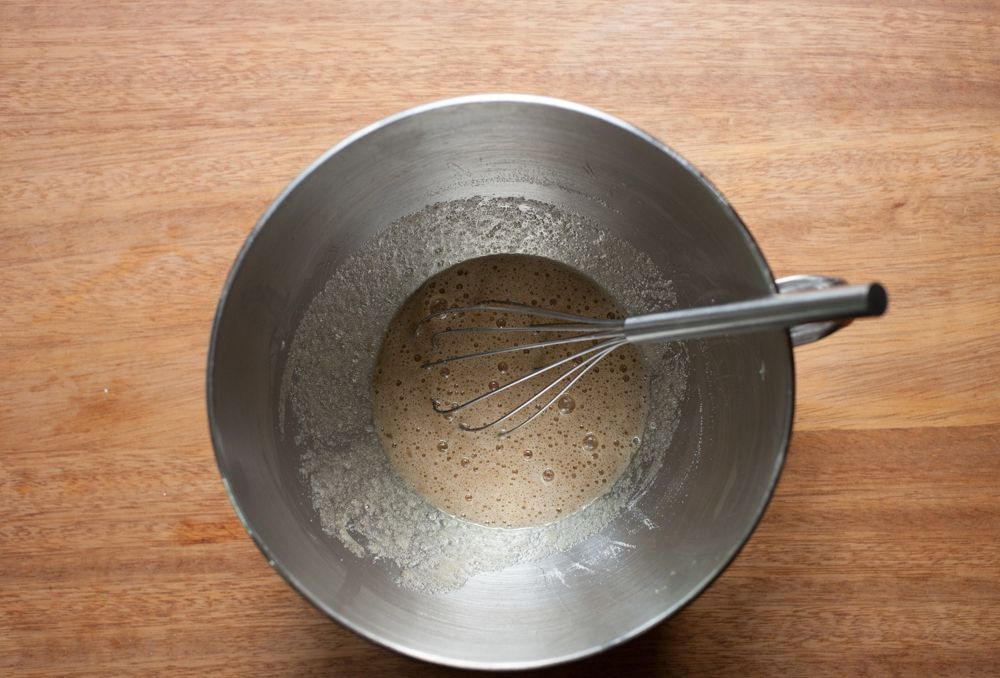
To start, wipe the bowl of a stand mixer (or a normal bowl, if using an electric hand whisk) down with a lemon to get rid of any grease and add a touch of acid (this step is optional, but I always do it). Briefly whisk the egg whites and sugar together to combine them.


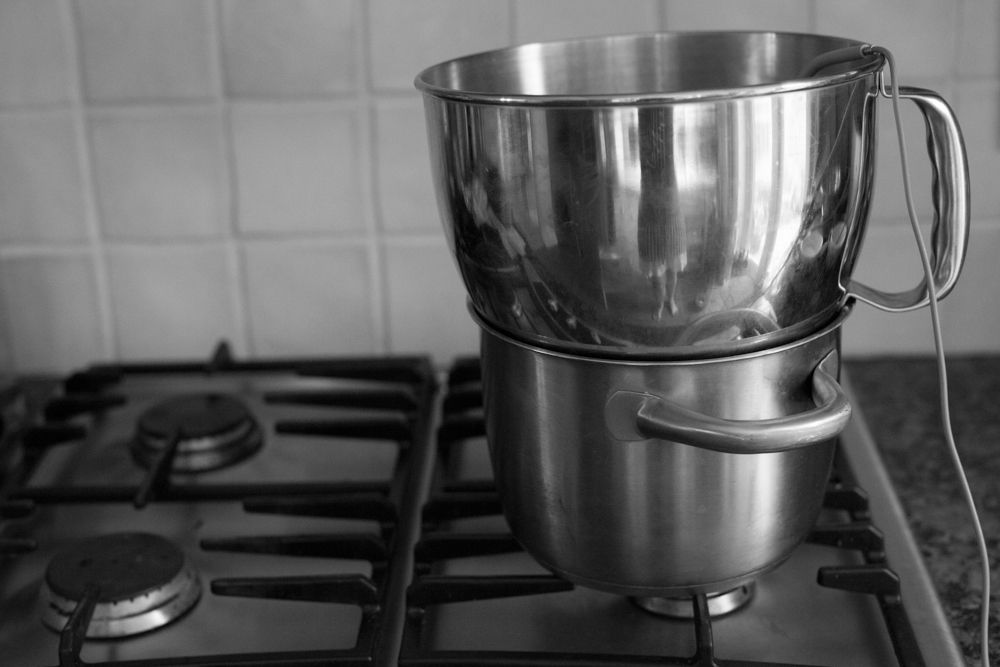
Place the bowl over a pot of simmering water and add the thermometer. Stir every now and then (I stir with my thermometer probe). After about 3 minutes, when it's about 40C/105F, it should feel smooth with no gritty bits if you rub a bit of the mixture between your fingers. Either use it now or keep heating until it reaches your desired temperature. It took me 7 minutes in total to get to 70C/160F when I made the batch in the pictures.


Transfer the bowl to a stand mixer (or use an electric hand whisk) and start whipping on medium-high (I use 8/10 on my mixer).


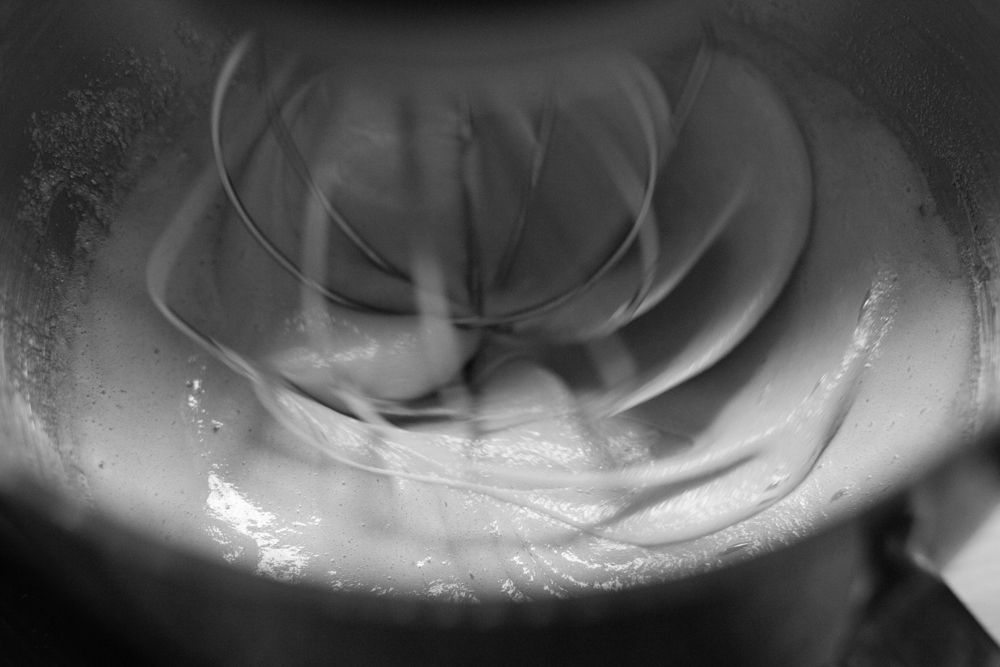
Keep going until the base of the bowl is room temperature to the touch and you have stiff, shiny peaks (see Part I for more description and photos of the peaks). This can take between 6-10 minutes, partly depending on the size of your batch (this one took 7 minutes).

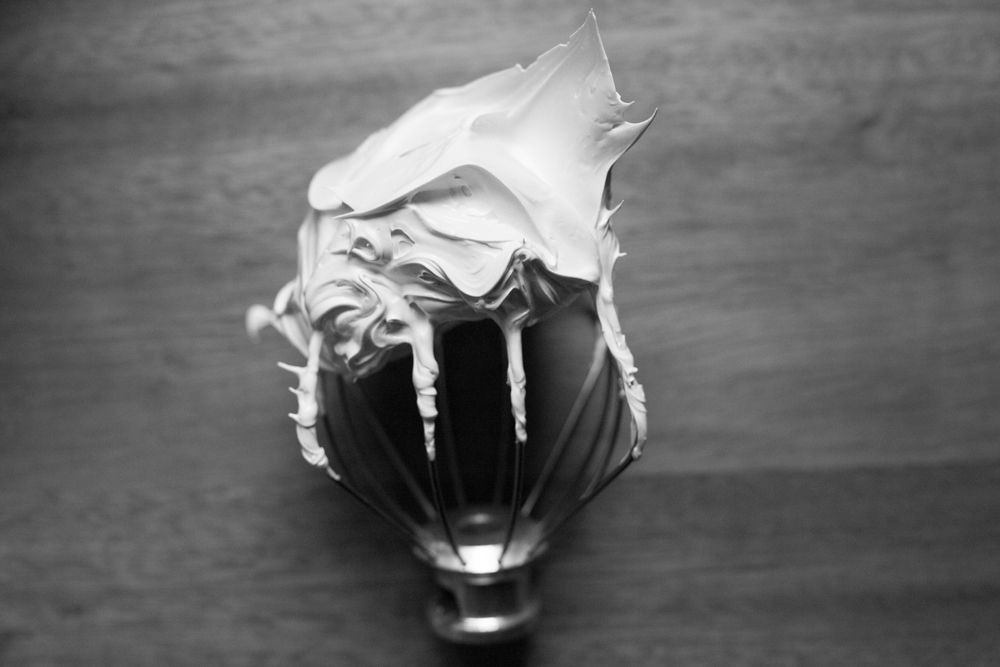
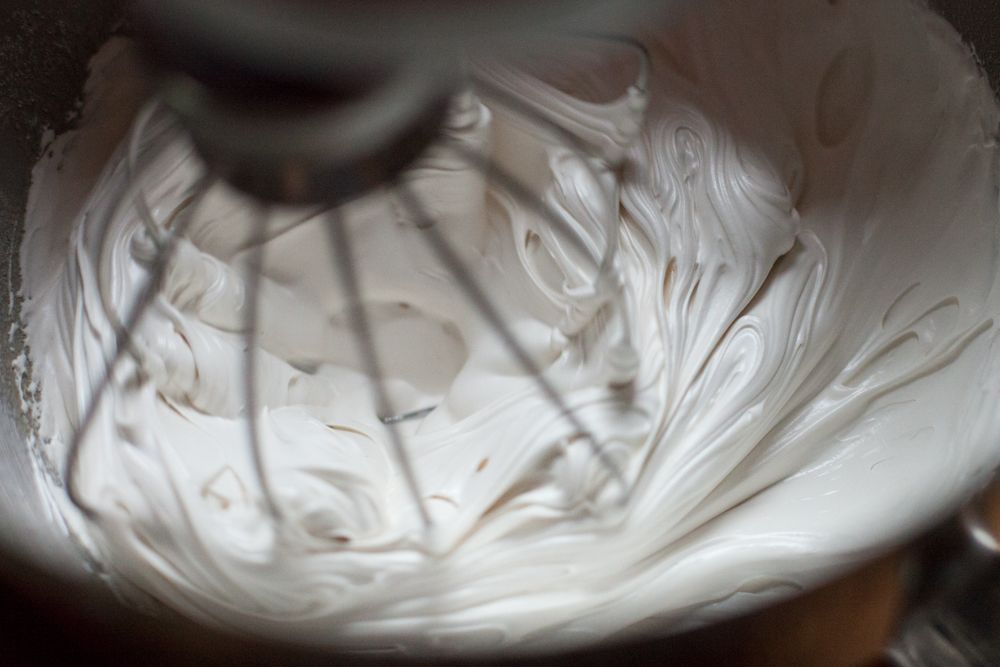
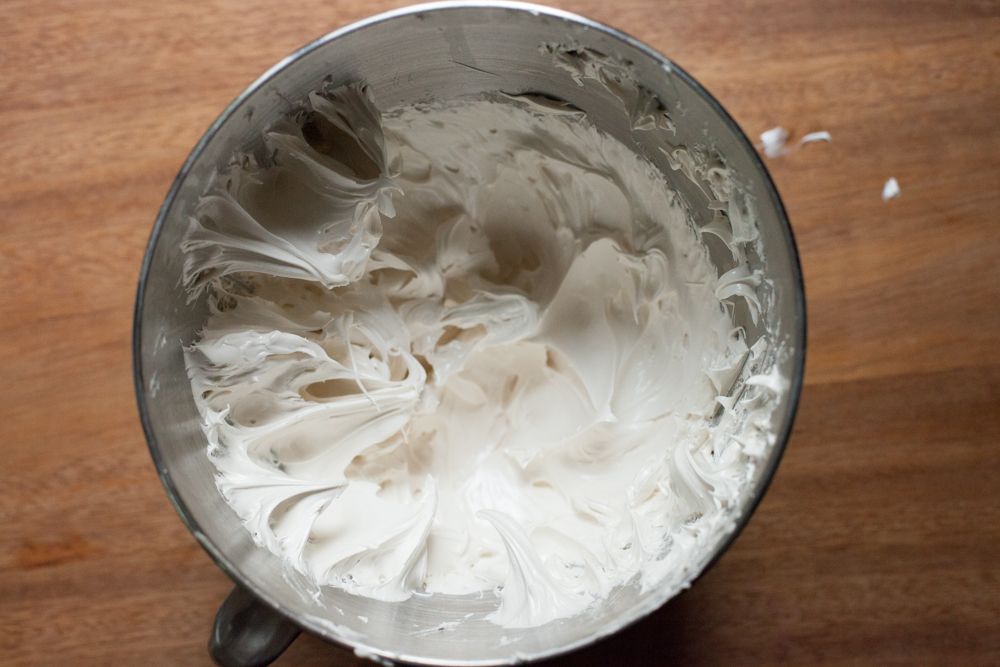
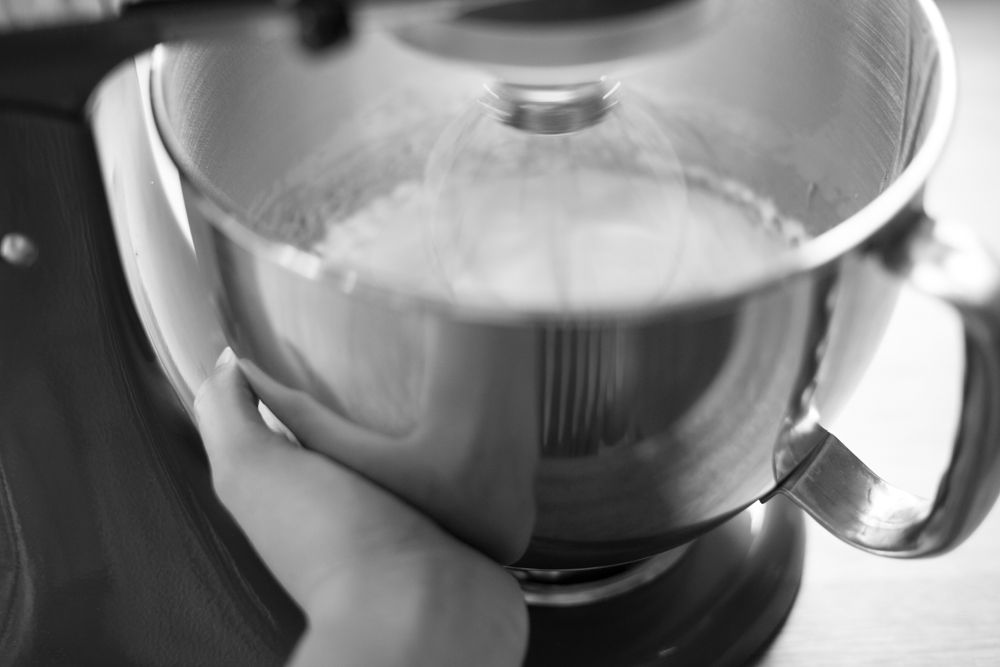
As you can see at the top, the meringue is very stiff and quite dense compared to the French meringue (this is because of the method and the higher sugar content).


The stiffness, stability and safety of Swiss makes it great for piping onto things and blowtorching them - for instance, I used it for the Lemon & Brown Sugar Meringue Tartlets and I once used it to pipe a ruffle cake that I then torched. Unlike French meringue that hasn't been baked, Swiss (and Italian) should hold up for a day or two without separating if it's covered with cling film and kept in the fridge, so it's useful for anything that needs to hold.

There is, of course, the lovely Brown Sugar, Cinnamon and Hazelnut Meringues. You can also make a Swiss Meringue Buttercream by adding butter, as I did for the Rose and Pistachio Layer Cake and for the Beautiful and Damned - it's a brilliant buttercream for layer cakes.


The Italian method creates a cooked meringue by pouring a very hot sugar syrup onto the whisking whites then whisking until cool. While you're heating the syrup to a higher temperature, the whites don't actually reach a high enough temperature to kill off salmonella, so if that's what you're worried about, use Swiss.

You usually see a relatively large amount of sugar to whites for Italian - up to 1 : 2 (whites : sugar). This ratio makes meringue that is sometimes called 'hard' meringue and is the upper limit of the amount of sugar you can add. 'Soft' is sometimes used for the minimum 1 : 1 ratio - as I've noted with French and Swiss, you usually end up using something in the middle.

You also add water to make the syrup. You only need enough water to dissolve the sugar - any more and you'll just have to spend time boiling it off before it comes up to temperature.

For the photos I used 70g egg white, 140g caster sugar and 90ml water.


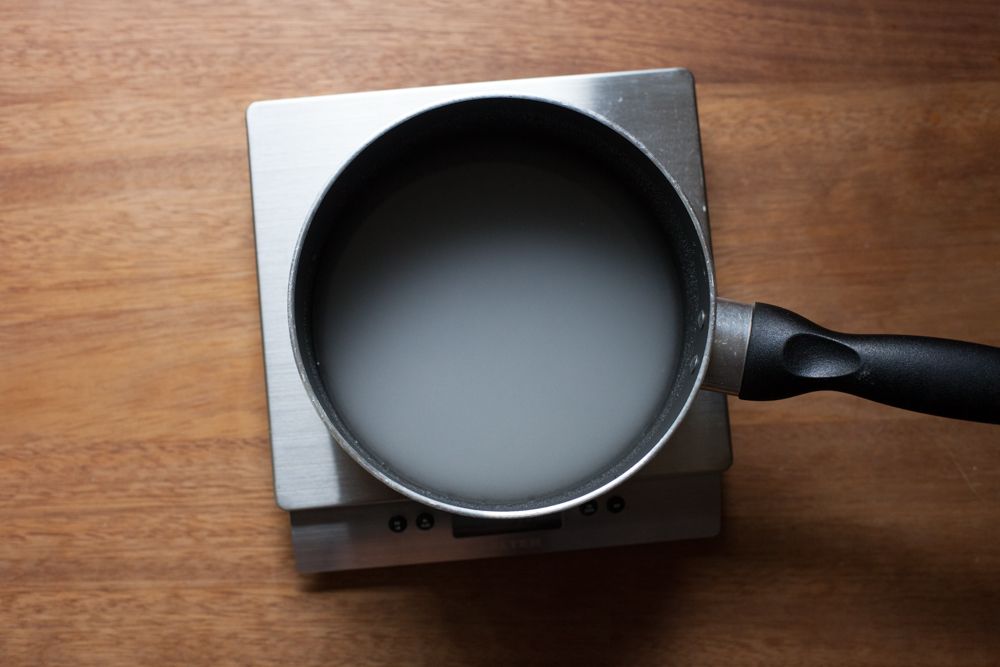
Place your whites in a very clean bowl on a stand mixer with the whisk attached. Don't turn them on yet.

Swirl the sugar and water together in a small pan. Add a thermometer and place over a medium-high heat. If there are sugar crystals on the side of the pan, wash them down with a wet pastry brush.


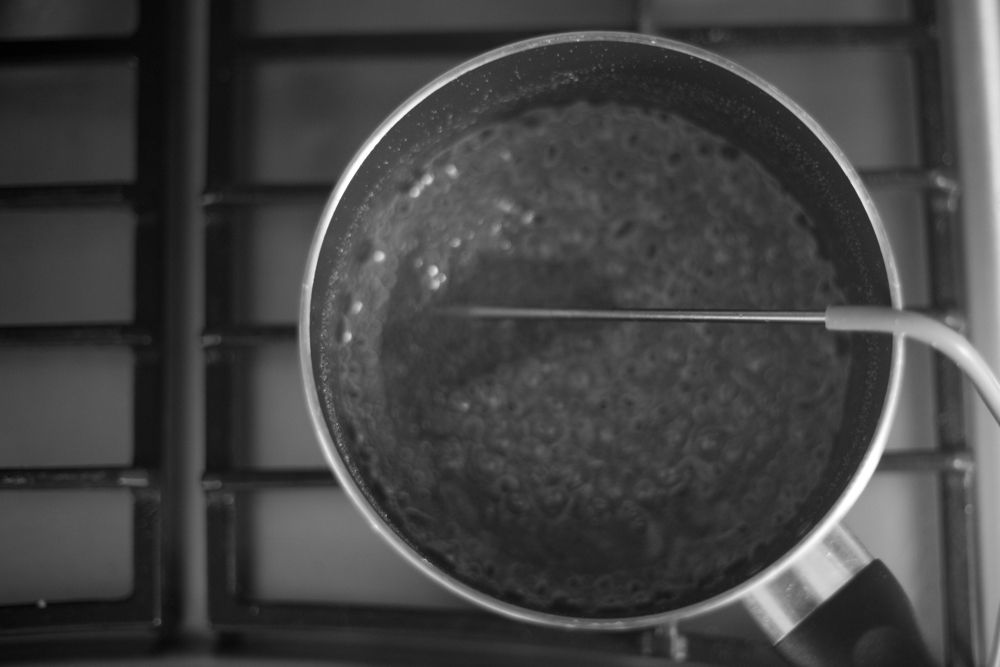
Once the syrup gets to 105C/220F, start whipping the whites on medium (4 or 6/10). You want them to be a bit stiffer than they are when you start adding the sugar for French, but not over whipped and grainy - somewhere in between soft and stiff peaks. If they get there before your sugar is ready, turn them right down (the other way to do it is to wait until 116C/240F then whack them on high, but I prefer going slowly).

When the syrup reaches 120C/250F, take it off the heat and immediately pour it down the side of the bowl, keeping the mixer whisking on low (2 or 4/10) as you pour.

Though I've used it before, here's a video clip showing how to pour the syrup without hitting the whisk (excuse the small slip of hand, a pan with a handle is easier to deal with):


Once you've added the syrup, turn the mixer up to medium-high (I use 8/10) and let it whip. Don't worry if the mixture seems rather soupy, it'll whip up.


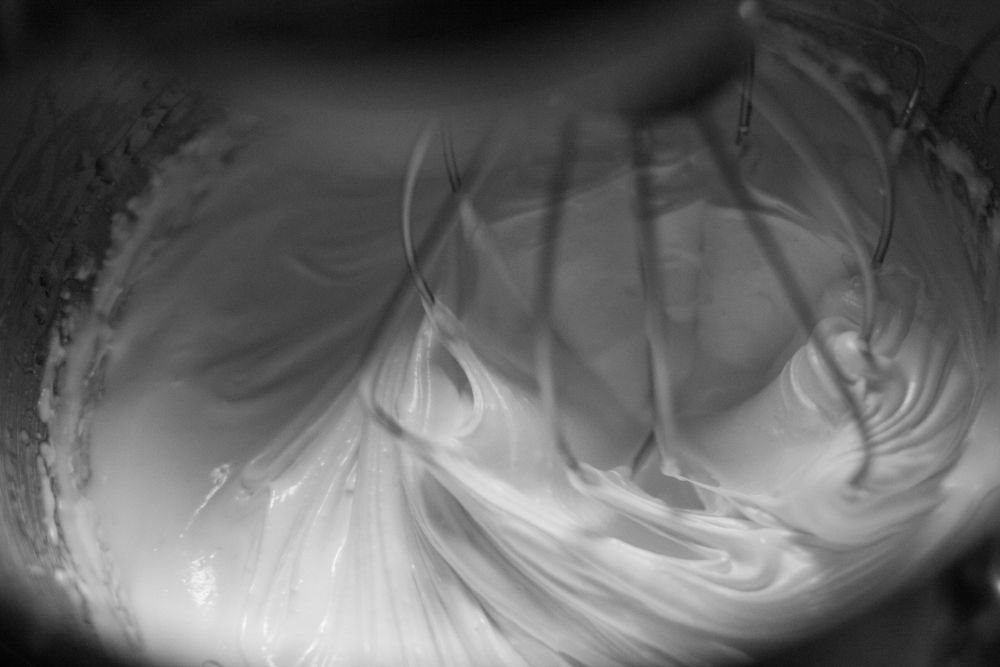
Keep whisking until the base of the bowl feels cool to touch (as below) and the meringue is thick and leaves very stiff peaks - this takes about 6-10 minutes.

I don't use Italian as much as Swiss or French. A few years back when I was interested in macarons I had the most success with the Italian meringue method. The French buttercream I make (the video above comes from that post) uses the Italian method but has egg yolks as the base - though you can also make an Italian meringue buttercream just like Swiss meringue buttercream.


This is the eighth post in my Foundations series - the first half, on the basics and French method of making meringue, is here.

***

Thursday 1 August 2013

Foundations no.8 - Meringue, Part I


Back when I first started blogging, meringue was one of the things I was scared of making. I bewailed my troubles in an early post on Lemon Meringue Pie, declaring that I didn't know why it was going wrong (if you click through, you can also enjoy my attempt to take photos in the dark with a lamp and a homemade lightbox...). This post is for that past version of myself, standing in the kitchen of my university flat, intensely irritated.

It's also one of the topics that has come up when I've asked for suggestions for the Foundations Series. Meringue is perfect for so many summer dishes - think of all the soft fruit and cream you can combine it with - so it seemed like the right time to tackle it.

Because I want to cover each method, I've decided to split the topic into two posts. This post will focus on the basics of meringue and the French method. Part II covers the Swiss and Italian methods.


The first person to call the glossy combination of egg whites and sugar 'meringue' was a French court cook called Massialot in 1692. Meringue had been made before, however, under different names.

Take a look at the beginning of this recipe from earlier in the seventeenth century - it's easily recognisable as a French meringue:


"Take five ounces of sugar finely beaten, two whites of egg. The sugar must be stroyed in by degrees into the eggs as you are beating them and you must beat them with a spoon a long time. The longer you beat them, the thicker they will be and the whiter..."

A 1677 manuscript receipt book owned by Ivan Day, as seen in Ivan's book, Cooking in Europe 1650-1850.


The recipe is called 'Satin Biscuit', deftly capturing the elegant sheen of meringue.


A few things to keep in mind:

- Make sure your equipment is very clean and free of grease, that you have rinsed it all carefully so no detergent is left and that your whites have no trace of yolk in them.

- It's easier if the egg whites are at room temperature. Older whites are faster to whip, but they're not essential.


French meringue is the simplest of the three meringues. When I first started making it, I made the common mistake of not whipping the whites for long enough, before or after the sugar was added. French can be just as thick and glossy as the cooked meringues.

French often has slightly less sugar than the other types. I usually use a ratio of egg white to sugar of 1 : 1.3. Therefore, if I have 70g of egg white, I calculate 70 x 1.3, which gives me 91g (or 90, if we're being sensible).

In the photos I'm making a mix with 80g of egg white (from 2 large eggs) and 105g of white caster sugar. It's best to use caster or superfine sugar as it dissolves quickly.

Some recipes include lemon juice, cream of tartar, vinegar, cornflour and so on (especially for pavlovas). Generally I stick with the two main ingredients but if you're using a recipe, follow their lead. Adding salt decreases the stability of the egg white foam by interfering with the protein bonding process so I avoid using it, especially at the beginning.


Start with a very clean bowl and whisk (be particularly careful with plastic bowls and utensils). I usually wipe the bowl clean with the cut side of a lemon to make sure. Add the whites to the bowl and have the sugar to hand.

You can make French meringue in a stand mixer, with a hand mixer or with a normal whisk (though be prepared to have an aching arm). I usually make it in a stand mixer so I've put the settings I use below.


Start whisking the whites slowly then increase the speed. I start at 4/10 then move to the 6/10 setting on my mixer. They will start to froth up.

As you whip egg whites, two things happen: air bubbles are incorporated into the liquid and some of the egg proteins begin to unfold as they are tugged around by the whisk. The proteins gather at the surface of the bubbles and begin to bond, creating a network around the bubble walls, holding the gas and liquid in place.


Keep going past the big bubble stage (two pictures up) until you get a foam with tiny bubbles (above). When you lift the whisk out it should leave soft peaks that flop over and don't disappear back into the mix. This usually takes about 40-60 seconds on 6/10.

Watch carefully as you don't want to overdo it - you can't rescue curdled, clumpy whites. Don't panic and add it too soon, either, or you'll reduce the volume, lightness and stability of the foam as the sugar interferes with the unfolding and bonding of the proteins.


When you've reached the tiny bubble stage, start adding the sugar slowly in several additions, whisking all the time.


Scrape the sides of the bowl down then turn the mixer up (I use 8/10). At this stage the sugar is dissolving - if you look at the picture above, you can see the granular texture, and you can feel it if you rub a bit of mixture between your fingertips.

Once the sugar has dissolved, it makes the liquid into a thick syrup, which slows drainage from the bubble walls, preventing their collapse and making the mixture more stable.


Even once the mixture starts to look glossy (as above) you still need to keep whipping.


After a bit, the meringue starts to thicken up and turns a bright, snowy white. The picture above shows the meringue at the soft peak stage. Some recipes call for you to use the meringue at this point, but for most you keep whipping.


Finally, you reach stiff peaks. When the whisk is pulled slowly out, the mixture should stretch like a ribbon between the bowl and the whisk. When it's pulled away, the meringue peak should stay strong, like a little mountain. From the point you add the sugar, this usually takes about 2-3 minutes on 8/10.

To make simple meringue nests, pile the meringue into heaps on a lined tray (this mix makes 6 to 8), use a spoon to make a dip and then bake for 60 minutes at 100C/210F. Turn the oven off and leave to totally cool (I usually do this overnight). Transfer to an airtight box if you're not serving them immediately. This makes the sort of nests I like with a crispy, creamy crust and a squidgy, chewy interior.

This is the eighth post in my Foundations series - the next part of this post covers Swiss and Italian meringue.


Three more ways to use French meringue:
Strawberry Meringue Cake
Eton Mess
Raspberry Pavlova Ice Cream

ShareThis