Showing posts with label tart. Show all posts

Thursday, 29 May 2014

Treacle Tart v.2


Though most treacle tart recipes on the internet mention that it's Harry Potter's favourite dessert, I couldn't find much detail or thought on the matter. So, to remedy such a terrible situation, I skim read the books again to find the quotes (thankfully I know them well enough that it only took an afternoon) and then got sucked in and shed yet more tears at the end.

As I think I've mentioned before, Harry Potter was a big part of my teenage years. The books will always be special to me - as, I think, they are to many of my generation, those of us who grew up with them, year by year, as we went through secondary school. I wrote my first quote-backed, detailed arguments about the books (H/Hr forever) and I genuinely think those arguments taught me more than most of the English lessons at my school.


"When everyone had eaten as much as they could, the remains of the food faded from the plates leaving them sparkling clean as before. A moment later the puddings appeared. Blocks of ice cream in every flavour you could think of, apple pies, treacle tarts, chocolate eclairs and jam doughnuts, trifle, strawberries, jelly, rice pudding...
As Harry helped himself to a treacle tart, the talk turned to their families."

Harry Potter and the Philosopher's Stone, Chapter Seven, The Sorting Hat, p. 93.


"'Slave labour,' said Hermione, breathing hard through her nose. 'That's what made this dinner. Slave labour.'
And she refused to eat another bite.
The rain was still drumming heavily against the high, dark windows. Another clap of thunder shook the windows, and the stormy ceiling flashed, illuminating the golden plates as the remains of the first course vanished and were replaced, instantly, with puddings.
'Treacle tart, Hermione!' said Ron, deliberately wafting its smell towards her. 'Spotted dick, look! Chocolate gateau!'
But Hermione gave him a look so reminiscent of Professor McGonagall that he gave up."

Harry Potter and the Goblet of Fire, Chapter Twelve, The Triwizard Tournament, p. 162.


"Harry was too used to their bickering to bother trying to reconcile them; he felt it was a better use of his time to eat his way steadily through his steak and kidney pie, then a large plateful of his favourite treacle tart."

Harry Potter and the Order of the Phoenix, Chapter Eleven, The Sorting Hat's New Song, p. 191.


"'You missed the Sorting, anyway,' said Hermione, as Ron dived for a large chocolate gateau.
'Hat say anything interesting?' asked Harry, taking a piece of treacle tart.
'More of the same , really... advising us all to unite in the face of our enemies, you know.'
[...]
Draco Malfoy was miming the shattering of a nose to raucous laughter and applause. Harry dropped his gaze to his treacle tart, his insides burning again."

Harry Potter and the Half-Blood Prince, Chapter Eight, Snape Victorious, p. 155-7.


"The dungeon was, most unusually, already full of vapours and odd smells. Harry, Ron and Hermione sniffed interestedly as they passed large, bubbling cauldrons. [...] They chose the one nearest a gold-coloured cauldron that was emitting one of the most seductive scents Harry had ever inhaled: somehow it reminded him simultaneously of treacle tart, the woody smell of a broomstick handle and something flowery he thought he might have smelled at The Burrow. He found that he was breathing very slowly and deeply and that the potion's fumes seemed to be filling him up like a drink. A great contentment stole over him; he grinned across at Ron, who grinned lazily back.
[...]
'It's the most powerful love potion in the world!' said Hermione.
'Quite right! You recognised it, I suppose, by its distinctive mother-of-pearl sheen?'
'And the steam rising in characteristic spirals,' said Hermione, enthusiastically, 'and it's supposed to smell differently to each of us, according to what attracts us, and I can smell freshly mown grass and new parchment and -'"

Harry Potter and the Half-Blood Prince, Chapter Nine, The Half-Blood Prince, p. 174, 176.


"Harry's scar was becoming more and more painful. He stood up. At once, Kreacher hurried forwards.
'Master has not finished his soup, would Master prefer the savoury stew, or else the treacle tart to which Master is so partial?'"

Harry Potter and the Deathly Hallows, Chapter Twelve, Magic is Might, p.191.


Harry attends five sorting feasts over the years and, as the quotes show, he eats treacle tart at four of them. The sorting feasts are about arriving at Hogwarts - first, as a new student, getting to know the people around him - and then, later, being welcomed back to the first real home he can remember. The treacle tart heralds a time of friendship, belonging and being looked after. I think that's why Harry smells it in the Amortentia and why it attracts him so much.

And so from Harry's first night at Hogwarts to bickering about S.P.E.W., from potions to burning scars, the sweet and comforting treacle tart runs through it all.


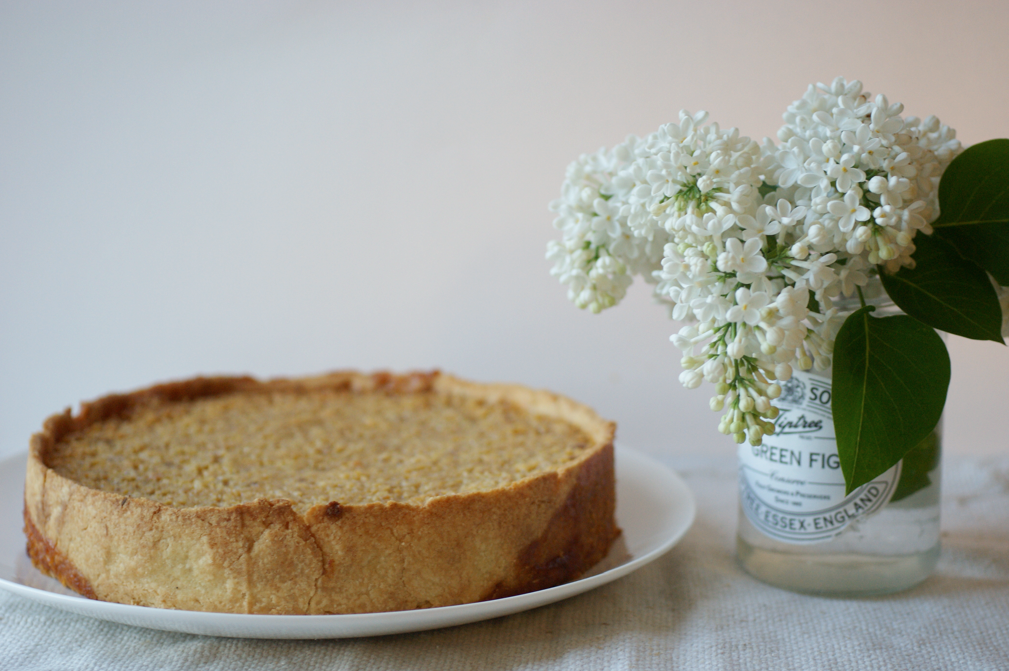
I wrote my first post about treacle tart just over four years ago. At the time I thought I couldn't replicate the tart of my childhood, but I think I've got pretty close now (except for the pastry, but I've decided I prefer my pastry anyway).

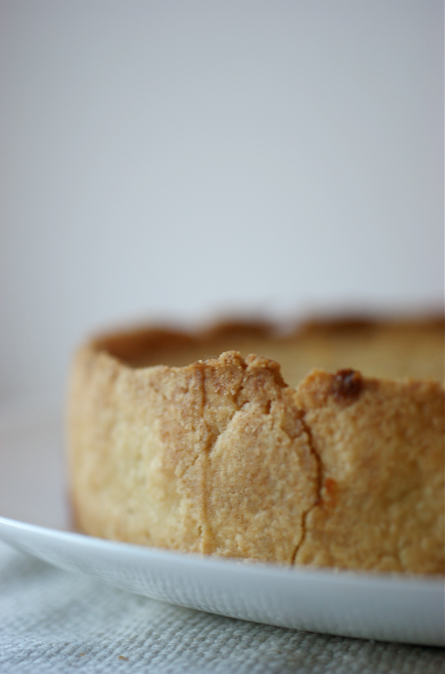
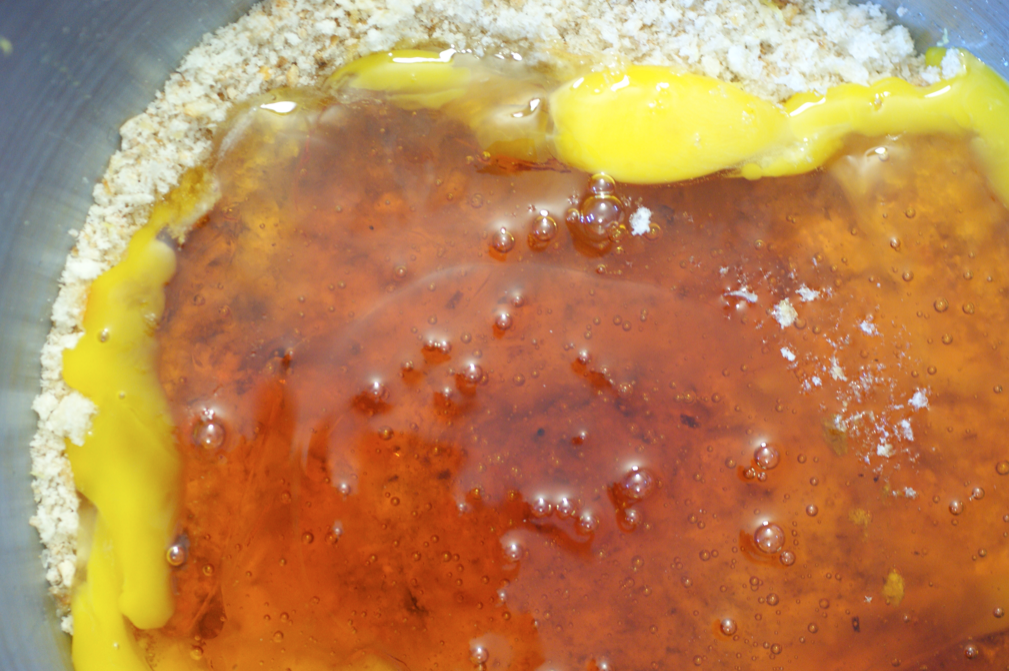
As you can see above, the filling is formed from golden syrup, breadcrumbs, lemon juice, egg and a touch of cream. I've tried adding other bits like ground ginger and lemon zest but they started to mask the pure flavour I love. I also tried a tablespoon of black treacle to see if it deepened the flavour but it totally overwhelmed it with a metallic tang (I've seen some recipes on google that make treacle tart with just black treacle, which - much as I like treacle - sounds awful). I also don't believe in lattices or anything like that - the crust is one of the best bits and it doesn't need more pastry.

I know it can appear to be a slightly odd idea, but it's genuinely one of my favourite desserts.


Treacle Tart
(I started with a Good Food recipe for the filling years ago)

For the pastry:
130g plain flour
1 tbsp caster sugar
1/4 tsp fine sea salt
75g unsalted butter
milk to bind (about 1 tbsp + 1 tsp)

For the filling:
250g golden syrup*
75g breadcrumbs**
juice of 1/2 lemon
1 large egg
1 tbsp double or single cream

Sieve the flour, sugar and salt into a mixing bowl. Cube the butter, add to the bowl and rub in (see foundation for help). Add the milk and bring together with your hands into a ball (see video here, though you shouldn't have butter lumps left). Squish into a disc, wrap in clingfilm and leave to rest for 20-30 minutes in the fridge.

On a lightly flour-dusted surface, evenly roll the pastry out to a circle that's roughly 12"/30cm in diameter. Transfer the pastry to the tin and let it rest in the shape for five minutes in the fridge (see first video above). Take out again and press carefully into a 8"/20cm round tart tin, making sure you get into the corners. Trim the edge, keeping a few scraps (see second video above). Place into the fridge and chill for 20 minutes or until cold and hard.

Preheat the oven to 180C/350F (fan). Line the pastry case with baking parchment (I used parchment lined foil in the photo) and then fill to the top with baking beans or weights. Place into the oven and bake for 15 minutes. Once the case is in the oven, make the filling. Weigh the syrup and breadcrumbs into a mixing bowl then add the remaining ingredients and whisk together until uniform. Leave to sit while the case bakes.

After the 15 minutes carefully lift out the beans in the parchment. If you have any small cracks, fill with a tiny bit of leftover pastry. Place back into the oven and cook for 5 minutes or until the bottom looks cooked (paler, drier). Give the filling another stir then scrape into the tart case. Place back into the oven and reduce the temperature to 160C/320F (fan). Bake for 25-30 minutes until set in the middle and browning around the edges.

I keep mine in the fridge and it's good for about 5-7 days - in fact I think the filling tastes better as time goes on. You can serve it slightly warm, room temperature or even, as I've recently discovered I like it, from the fridge (it's slightly chewier and doesn't taste as sweet when cold). I always serve it with clotted cream and I can't imagine it being as good with anything else.

(Makes 8-10 small slices)

* The truth is that there is absolutely no substitute for golden syrup in a treacle tart. You can get it on amazon.com and hopefully in other places too.

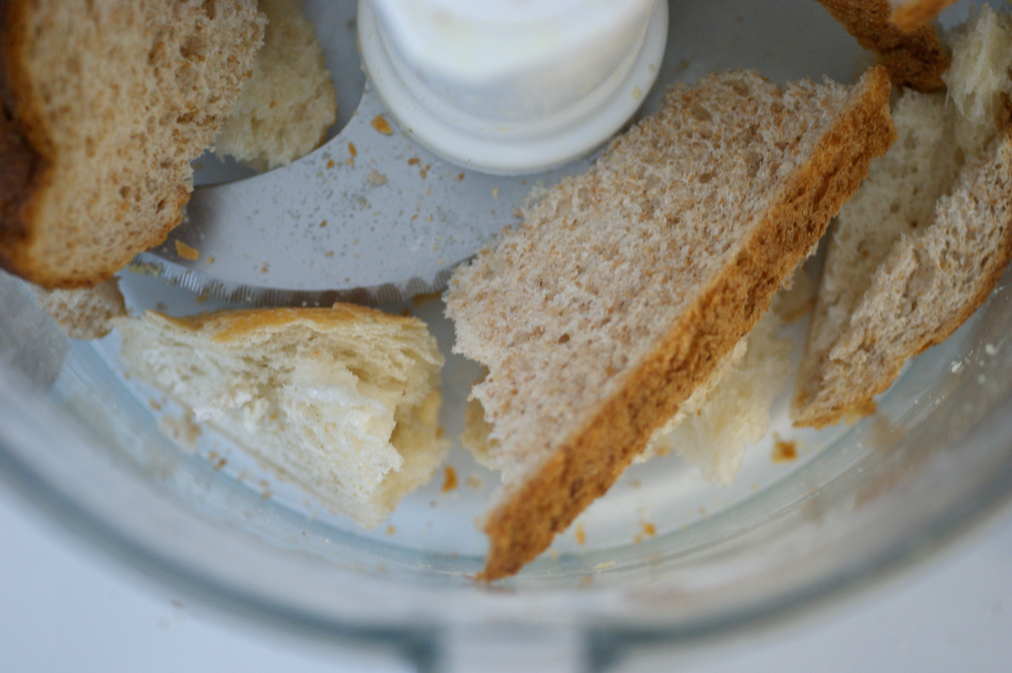
** My favourite breadcrumbs to use here are made from the Plaited Milk Bread, but any plain white loaf or brioche-style bread would work (except sourdough, I think). Some people like it with brown bread or a mixture, but I prefer white. I make breadcrumbs by (intentionally or not) letting the bread go slightly stale, then whizzing it up in the food processor. I leave them to dry out on a tray for a bit, then keep them in a bag in the freezer.


Edit 07/06/16: I recently made a double recipe, using a 10" tart tin - it worked wonderfully. I had quite a bit of spare pastry with a double recipe, so I'd probably do a 1.5x recipe on that another time. The filling was just the right amount. It took 20 minutes to blind bake and 35 minutes to bake with the filling.


Three recipes that actually do have treacle in them:
Treacle Scones
Ginger Root Bundt Cake
Treacle Flapjacks

Thursday, 7 June 2012

Lemon & Brown Sugar Meringue Tartlets


Where do I begin? I have so many stories to share.

It might be simplest if we start with the short, factual version. I'm sure the outline will be fleshed out in the next few posts. What do you want to hear about?

When I left you, over six weeks ago, I was still in Switzerland. When I flew back to the UK a few days later, I packed up my flat in London, saw friends and went to some meetings. Mum joined me and we went to see family in Devon for a few days. I moved from the flat to my house in Oxford. Two days later, I graduated from university (Oxford has a big delay between exams and the ceremony). The next day, we flew to America. Three weeks of travel and delicious food later, I flew back to England - to go to an awards ceremony, have more meetings, and organize my house. On Monday I flew back to California.


In a stroke of wonderful luck, we've rented an incredible house in Berkeley. Through the kitchen windows you can see the citrus plants just outside, laden with oranges or lemons. The gravel below the huge pots is strewn with fallen fruit, just waiting to be swept into a pile.


There are six chickens in a run tucked beside the vegetable patch. To me, this means fresh eggs with gorgeous orange yolks for baking. To mum, this is a very welcome return to chicken keeping.

To make the most of this unexpected windfall, I decided to use the eggs and lemons to make a bright curd and some shiny Swiss meringue.

I also made some very thin and crispy tart cases to contrast with the silky softness of the fillings. I made these on my first day here - in the midst of the jet lag and confusion, a fiddly task settled my mind.


We're staying in this house for the remaining three weeks of our trip. It feels good to have a solid base (especially one with a very well stocked kitchen).

Though I've cooked a few little things, I essentially haven't made or photographed food for six weeks. I feel rusty - my fingers ached as I rubbed in, my arms complained about whisking, I couldn't get the colours to look right on camera. Whatever the results, it feels wonderful to properly dig my hands into flour again.


I made a full recipe of the lemon curd so we had some for spreading on bread, stirring into greek yogurt and just eating on a spoon. A half recipe should be around the right amount to fill the tarts. The meringue is absolutely delightful - thick, strong (you can give your tarts silly hair if you so desire) and full of flavour from the brown sugar.

Watch out if you don't have a blow torch and decide to toast the meringue under the grill - I managed to incinerate the tips on one tart. Though, actually, I rather liked the touch of smoke.


EDIT 12/6/12: As you might have noticed, I've changed some of of the photos on this post - of the lemons and chickens - because I really didn't like them and once I had my shiny new camera, I decided to re-shoot. Now the others are annoying me!


Lemon & Brown Sugar Meringue Tartlets
(Lemon curd adapted from David Lebovitz, meringue adapted from Ottolenghi's The Cookbook)

For the pastry:
60g plain flour
1 tsp caster sugar
zest of 1/2 a small lemon
pinch of fine sea salt
30g cold unsalted butter, cubed
approx 1.5 tbsp cold water

For the lemon curd:
125ml lemon juice (6 tiny lemons)
rind of 1 small lemon
100g caster sugar
2 egg yolks (approx 40g)
2 whole eggs (approx 100g)
pinch of fine sea salt
85g unsalted butter

For the meringue:
2 egg whites (approx 60g)
65g caster sugar
35g brown sugar

Place the flour, sugar, zest and salt into a mixing bowl. Stir with a whisk or fork to combine and loosen any lumps of flour. Add the butter and rub it in until it looks like wet sand. Sprinkle the water over and start to work in with a plastic pastry scraper or knife. Bring together with your hands then squish the ball once or twice upon the surface with the base of your hand to fully combine the mixture. Form into a flat disc and wrap in cling film. Chill for at least 30 minutes in the fridge - it should be firm but not hard to the touch.

While the pastry chills, make the curd. Place a medium saucepan onto the stove and fill with a few inches of water. Turn the heat up to medium. Prepare a bowl with a sieve over it and place it near the stove. Whisk the lemon juice, rind, sugar, yolks, whole eggs and salt together in a medium sized bowl (which fits on top of the saucepan without touching the water). Place it over the water and add the pieces of butter, whisking constantly. Once the butter had melted, turn the heat up to medium-high and keep whisking until the mixture thickens considerably - you should be able to leave whisk marks/small peaks on the surface. As soon as it's ready, scrape it into the sieve and press it through into the bowl (this catches the lemon rind, the chalaza and any small lumps) and cool. Leave the saucepan on the side - you'll need it later for the meringue.

I find it easier to divide the pastry and roll each circle out individually when doing a small number like this. So chop the pastry into 6, making each piece into a disc - each piece should weigh approx 20g - and place them back in the fridge. Preheat the oven to 180C. Lightly dust the surface and your rolling pin with flour. Take one piece and roll it out, turning it 1/4 between each roll. When very thin and about the right size, place into the case (the ones here are 3.5 inches across the top). Press down into the corners and then into the sides. Put back in the fridge to chill without trimming.

Repeat for the others, then take the first out again. Press the sides in and up, then trim by sliding a sharp knife along the edge of the tin. Line with paper and fill right up to the top with baking beans or rice. Put back in the fridge and repeat with the others. Bake for 20 minutes or until the pastry is nearly cooked through. Remove the beans and paper and bake for a further 5-10 minutes until golden and crisp. Remove to cool on a wire rack.

Have a stand mixer fitted with a bowl and whisk ready. Wipe the bottom of another clean, medium sized mixing bowl with one of the juiced lemon rinds (this helps remove any little bits of grease which can spoil your meringue). Place the egg whites, caster sugar and brown sugar into the bowl and whisk together. Place the bowl over the water. Keep lightly whisking as it warms up and the sugar dissolves - you want the mixture to be smooth and hot to the touch. Test by rubbing a little of the mixture between two fingers. When you can no longer feel any grains, take it off the heat and quickly scrape it into the stand mixer bowl. Turn up to high and whisk for approximately 4 minutes until very stiff, golden and shiny. It should still feel warm - turn the mixer down to medium and whip until cool to the touch.

Transfer half of the meringue to a plastic piping bag (or a plastic ziplock bag). Take your pastry cases and fill with 1-2 tbsp of lemon curd. Snip off the end of the bag and pipe on top of the curd with the meringue. When you've run out of meringue (it should be enough for three) re-fill the bag and finish the other three. If you have a blow torch, toast the meringue in steady sweeps. If not, preheat the grill and place them underneath until browned - this only takes a very short time, so don't leave them. You can also leave them without toasting the meringue.

(Makes six tarts with leftover lemon curd)

Wednesday, 21 March 2012

Chez Panisse Almond Tart


When I decided to leave Cordon Bleu early, I erased the marks on May and June. I created two fresh, blank pages.

Just before I made my final choice, I compared diaries with mum. She discovered a chunk of holiday sandwiched between the winter and summer seasons. So we decided to go on a trip.


California quickly established itself as the destination.

So you'll find us on a flight to Los Angeles at the beginning of May. Seven weeks later, we fly out of San Francisco. At the moment there's no fixed route or timetable - just a scribbled list of places to eat, people to meet, sights to see and a general direction for our little rented campervan.

Have you got any must-not-miss suggestions? We'll eat almost anything as long as it's not very spicy (and I have an irrational dislike of anchovies).


One of the places that I want to visit in California is Chez Panisse. I've had one of their signature recipes - this almond tart - bookmarked for years. It seemed like the perfect time to finally give it a go. It's an unusual recipe - you press the room temperature pastry into the tin with your hands. At the start it looks like it'll never be even and neat (see above...) but it does smooth out in the end.

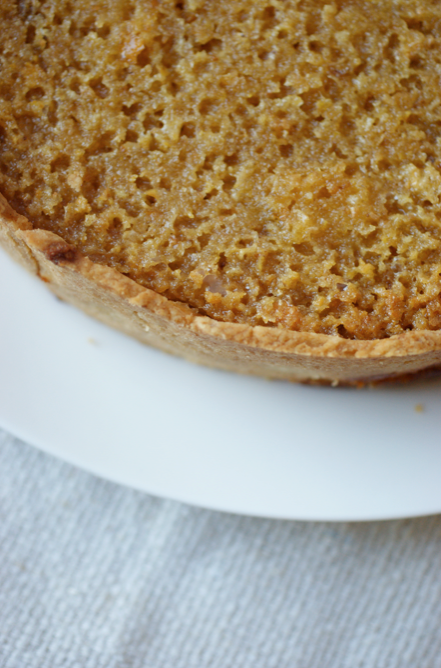
The result is a crumbly, buttery, almost shortbread-esque bottom layer of the tart. The filling - described beautifully in the book as "creamy-and-russet caramel" - perfectly tightropes the line between chewy and gooey. It surpassed my high expectations.

There's no need for cutlery, cream or fruit. This is something to eat with your hands. It would be perfect for a spring picnic - the pastry might delicately crumble around the edges but otherwise it travels well.

You can find the recipe in Chez Panisse Desserts by Lindsay Shere. It's such a pretty book, sprinkled with Wayne Thiebaud illustrations. You can also find a slightly different version of the recipe on David Lebovitz's site. I used both to make this tart.


A few notes on the recipe:

1/ You can play with the dough quite a bit when you're lining the tin. As mentioned, keep a bit of extra pastry at room temperature and smear over any tiny holes/cracks after baking - be careful to not press too hard as it'll crumble. I totally froze my shell after I'd lined it - you don't need to blind bake, just put it straight in the oven. Keep in mind that it won't cook the second time so the pastry needs to be well cooked.
2/ I didn't have any almond essence so I didn't use any in the pastry or filling. It was still absolutely lovely.

3/ Be careful how much filling you pour in - mine bubbled up and over when I put it in the oven. I still had a little leftover. Lindsay mentions leaving the filling for 15 minutes before filling the shell and baking - I was in a hurry so didn't. The leftover bit thickened quite a lot in that time so it might make a difference.

4/ Getting it out of the tin is a pain. Mine didn't stick on the base (as happened to Adam) but as the filling flowed over, the sides stuck. I used a knife to push the sides away from the tin while it was still soft then pulled the tin off when it had firmed up a bit more. It didn't look pretty and crumbled a lot but hey - still tasted good!

Monday, 21 November 2011

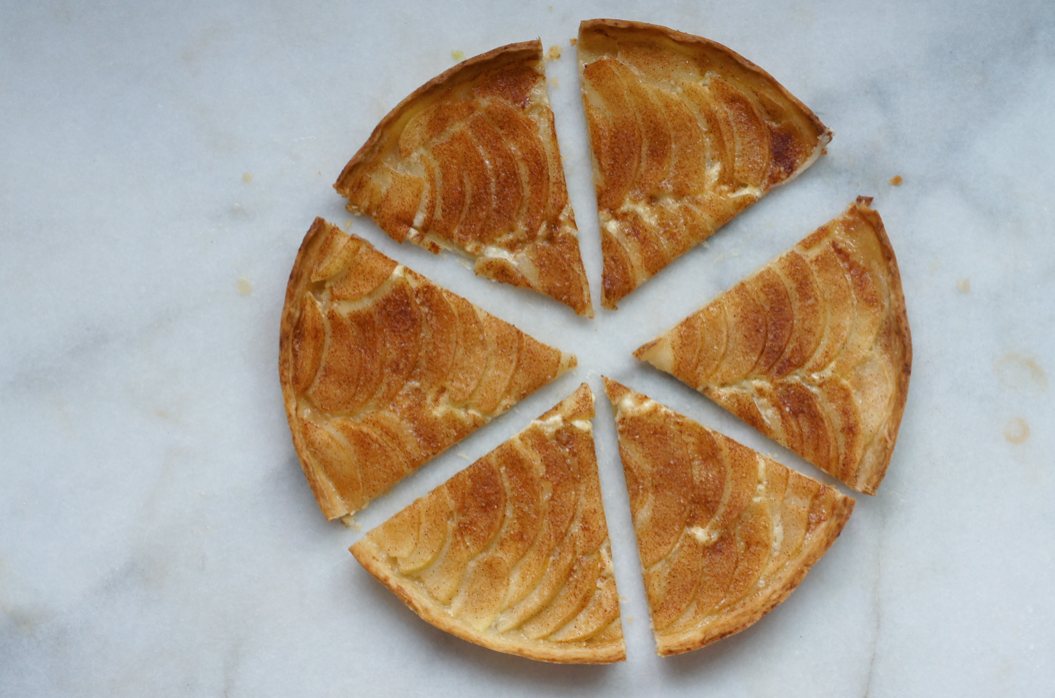
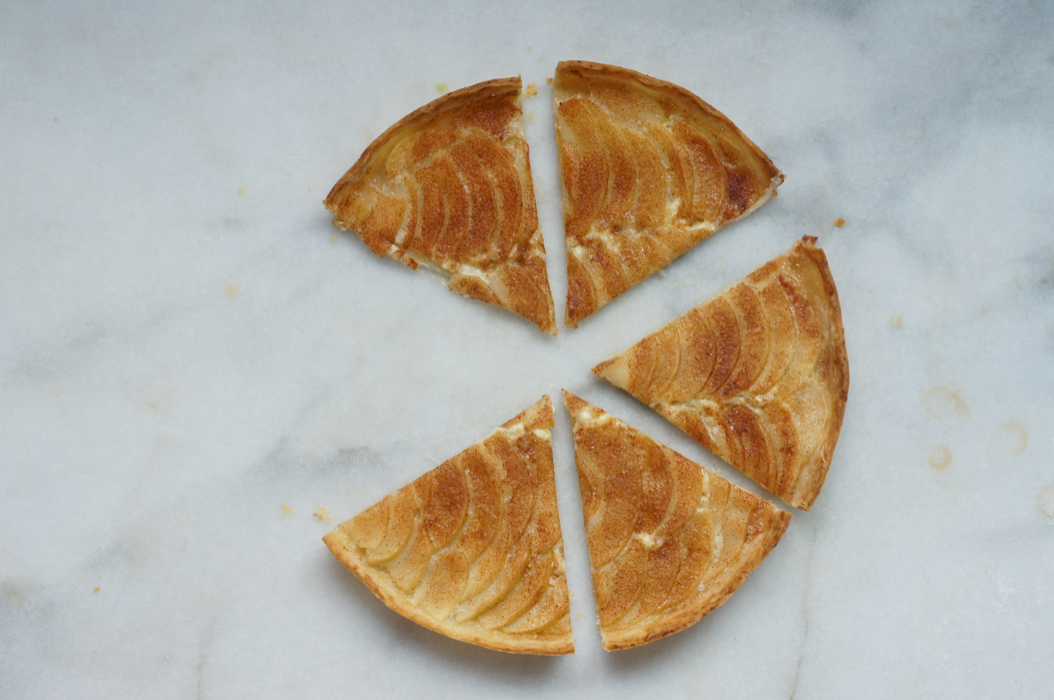
Tarte aux Pommes


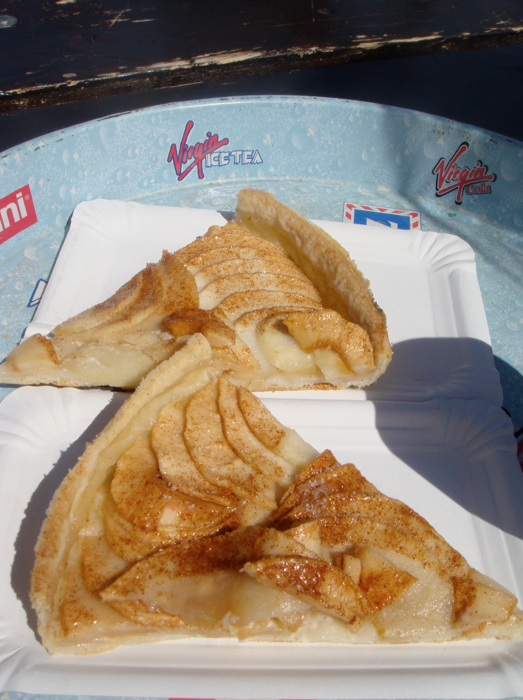
The moment I tasted the tart you see here, I danced around my kitchen in jubilation. I've been trying to recreate this recipe for almost as long as I've been cooking.

The tarte aux pommes at Chez Simon is legendary. It's a Verbier staple - I've eaten it every winter for 19 years.

I finally discovered the key a few days ago: cream (as in all good things). There's this wonderful touch of creaminess underneath the apples I couldn't work out. It's not a full layer - just a tiny touch that slightly curdles into the juices. I can't explain why this is so heavenly, but it is. You can use either double cream or sour cream.

Together with a simple pastry, just-cooked apples and plenty of cinnamon and sugar, you have winter perfection. All you need is hot chocolate and a blustery wind to redden your cheeks. Sparkly snow optional.


Tarte aux Pommes
(inspired by Chez Simon's original, though I don't have his recipe)

For the pastry:
60g plain flour
1 tsp sugar
pinch salt
30g cold butter, cut into cubes
cold water to bind (about 1.5 tbsp)

For the filling:
1 tsp lemon juice
1-2 fairly tart apples, such as Granny Smith
1 tbsp granulated sugar
1/2 tsp cinnamon
2 tbsp double cream or sour cream

Sieve the flour, sugar and salt into a mixing bowl. Toss in the cubes of cold butter. Rub the butter into the flour using your fingers until the mixture resembles fine breadcrumbs. Add a tablespoon of water and use a blunt knife to combine with the crumbs. Add a dribble more water until the dough comes together into a ball (use your hands at the end). Squish into a disc, wrap in cling film and chill for at least 20 minutes.

When the pastry has chilled, roll it out on a lightly flour-dusted surface into a circle an inch larger than your tin (a shallow 8” tin is perfect) – there is enough dough but it will be thin. Drape the pastry over your rolling pin and place it into the tin. Press into the corners and sides. Leave to rest in the fridge for 10 minutes.

Preheat the oven to 180C/350F. Trim the sides down to 2cm, press in again and prick the bottom all over with a fork. Then line with paper and pack tightly to the top with baking beans. Bake for 20 minutes or until the pastry is cooked except for a little dampness in the centre.

Place the lemon juice in a medium sized bowl and add a few inches of water. Peel the apples, placing them in the water as you go to stop browning. Half and quarter the apples and slice out the core. Thinly cut them lengthways into strips, so you have a pile of semi-circles – this is faster if you have a mandolin.

Turn the oven up to 220C/425F. Mix the sugar and cinnamon together in a small container. Spread the sour cream over the bottom of the pastry case in a thin layer. Drain the apple slices, then tart arranging them in the case – begin with a row down the middle, tightly overlapping them so you don’t see the cored middle. Continue to the bottom and then start another row, repeating until the case is covered.

Sprinkle evenly with the sugar mix and bake at the top of the oven for 10-15 minutes or until the apples are soft (and knife should easily go through them) and the pastry is lightly browned. Best eaten while it’s still warm with your hands, like a slice of pizza.

(Makes 6 slices)


Saturday, 3 September 2011

Tarte au Citron


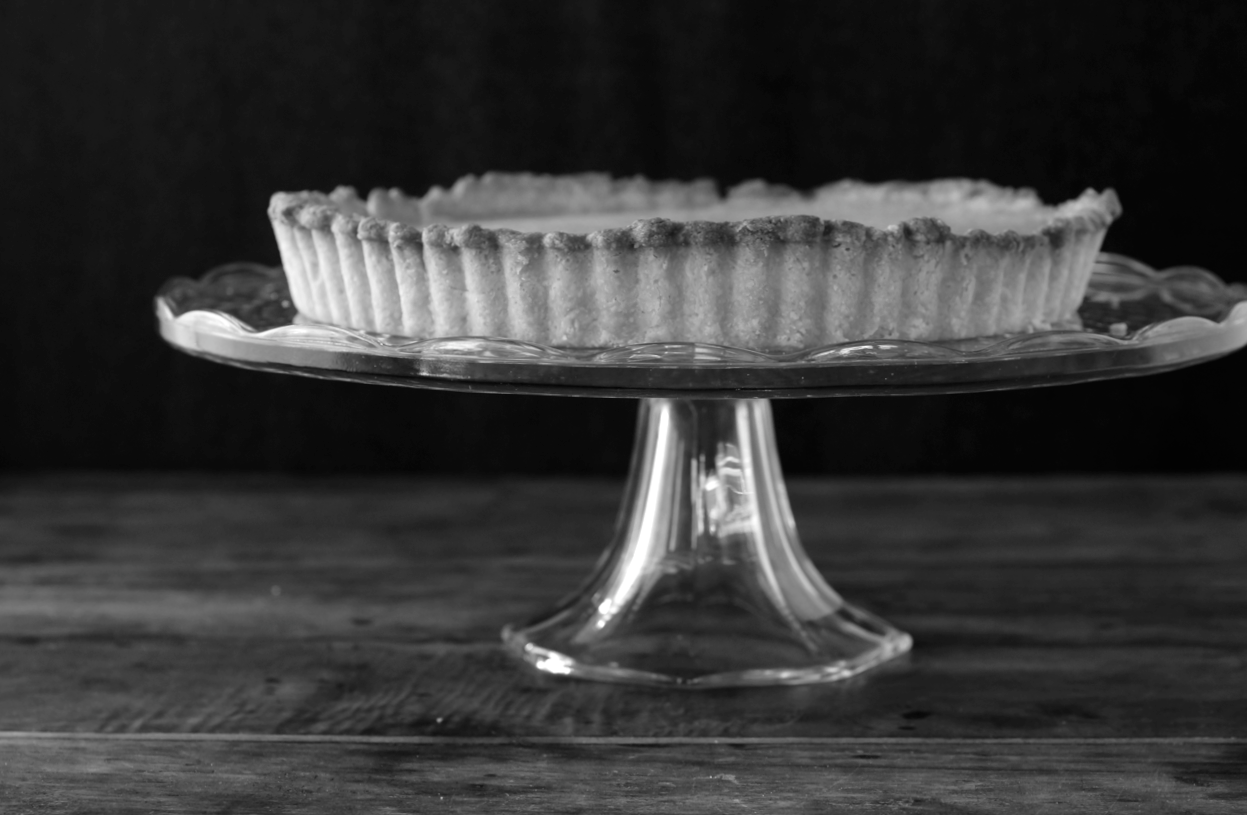
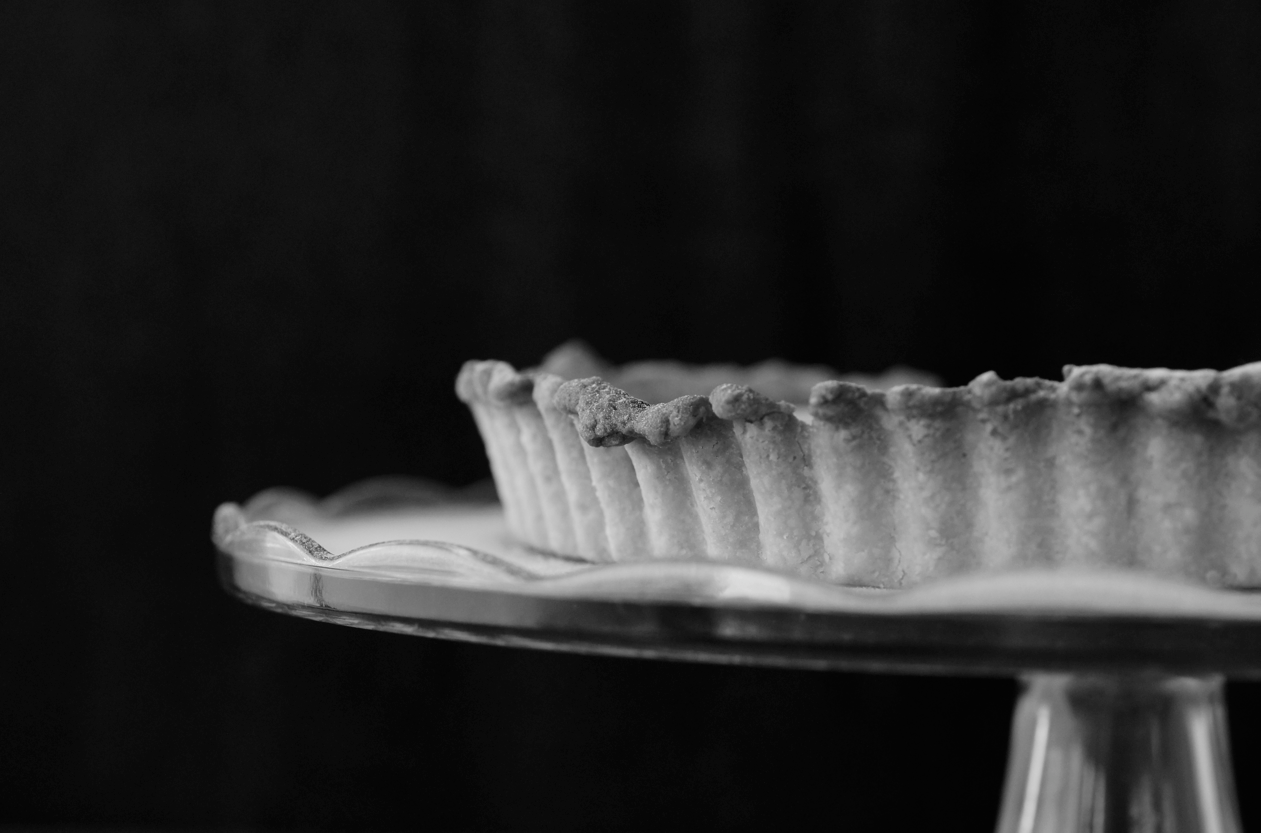
I love watching old black and white films. Apart from the generally gorgeous aesthetic, I love the dialogue. The wit, the timing, the facial expressions. Two words come to me when thinking about these films: bold and elegant.


I feel the same way about black and white photographs. There's something about them that draws me in.

I think I will be doing more black and white food photography. I like how graphic is is and how it really suits simple styling. It's classic.


The bright orange of this tart seemed almost garish. I wanted to decorate the tart with edible nasturtium flowers but the luminous red kept blowing out. The whole set up was too vivid. Sensory overload.

I'm not in any way denouncing colour - I love vibrancy. Some things just don't work in black and white. Despite that, I like taking a step back and desaturating. I find it refreshing somehow.


The two words I mentioned above are dear to my heart. Bold and elegant are two words I want to live by.

I like life to be elegant, to have a certain refinement and beauty. I'm not ashamed to say I like beautiful things - art, words, colours, fabrics, food, smiles. Elegance is also being kind and generous. Trying to not gossip or judge. Respecting others but also - most importantly - yourself.


To be shy is easy for me. To go about life being bold about my dreams, being bold about who I am - that is difficult. Yet, when I do push myself to be bold, it is always totally worth it. It's going and getting what you want.

Yet I don't think being bold is arrogant or pushy. To me it is understand yourself and be true to that person. To be sure of who you are without pushing it into another person's face. To have courage to be strong in your beliefs, your morals, your ideas. To be comfortable in your own skin and your own choices.

Bold and elegant. That's my life motto as I go into this new stage of my life. I may not succeed at all times. But that's who I want to be.


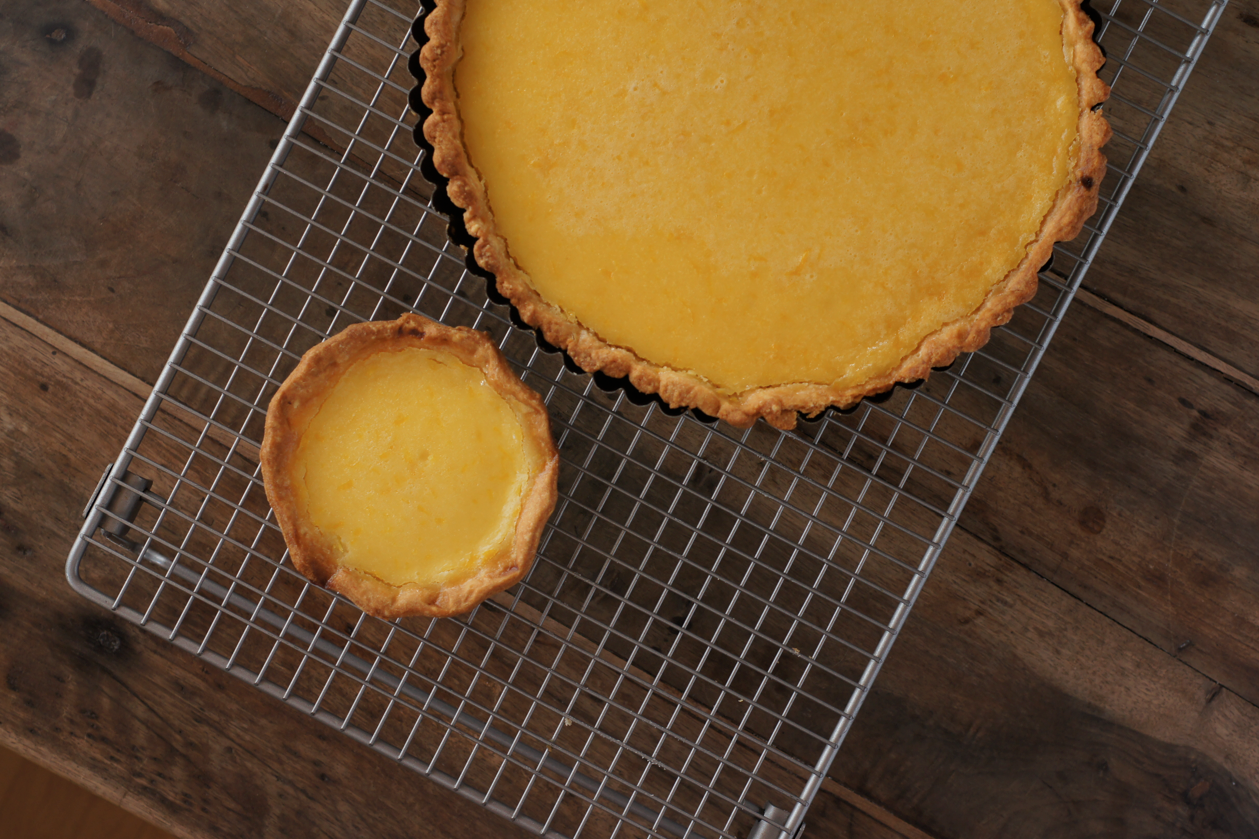
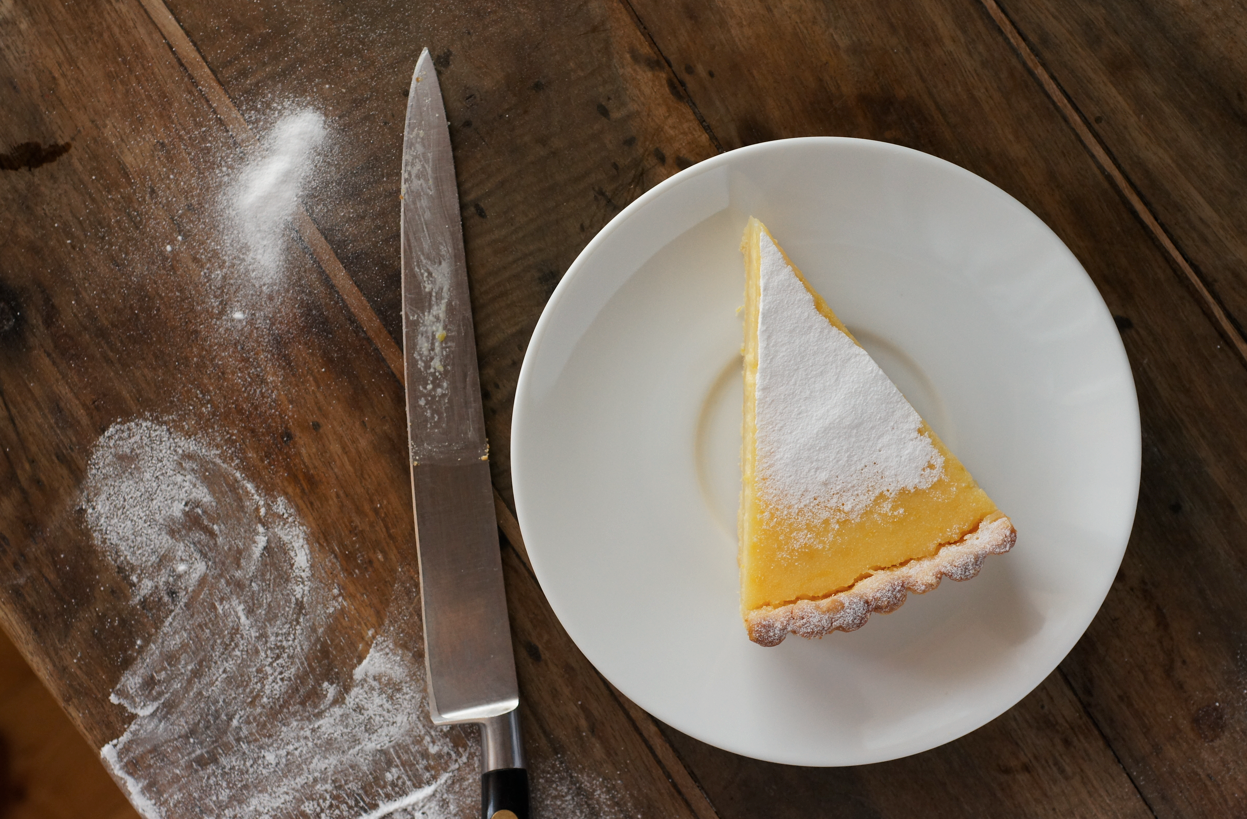
After watching the pastry episode of The Great British Bake Off, I had massive tart au citron cravings. I don't think Mary and Paul would approve of this one - at pretty much every stage I made a silly mistake. The first time I made the pastry I forgot the icing sugar. I found the next time that an hour wasn't sufficient to chill the pastry. I chilled the leftover scraps again and made a mini tart and it was much better behaved - my edges would have been much neater on the main tart if it had been properly cold. I then managed to slightly overcook my filling. I did manage to avoid the infamous soggy bottom though...

I hadn't expected to adore this tart quite as much as I do. I keep sneaking slithers from the fridge. The amount of sugar is just right - you get a properly sharp hit of lemon but your mouth doesn't ache afterwards.

*

Finally I am incredibly honoured to have been included in Fiona Beckett's 'Latest Food & Wine Blog Finds' post. Fiona is a very successful UK food writer who has written for pretty much every magazine and newspaper here as well as authoring 22 books. She gave a very inspirational talk at Food Blogger Connect and I'm overwhelmed that she called my blog "beautiful" and "well-written".


Tarte au Citron
(Adapted from Marco Pierre White's recipe, as printed in The Times)

For the pastry:
225g plain flour
pinch of salt
150g unsalted butter, cold
75g icing sugar
2 egg

For the filling:
4 large unwaxed lemons
4 eggs
1 egg yolk
150g caster sugar
200ml double cream

Cut the butter up into small cubes and place back in the fridge. Sift the flour and salt into a big bowl. Weigh the icing sugar out into a small bowl. Separate one of the eggs and put the white to one side. Beat the other egg and egg yolk together in another small bowl and place in the fridge.

Take the butter out and rub it into the flour until it resembles fine breadcrumbs. Sift the icing sugar over the crumbs and stir in with a blunt knife. Add the beaten eggs and knife through the mixture. Flour the work surface and tip out. Bring together with your hands and knead very briefly. Press into a circular disc about 3 cm thick. Wrap with cling film and refrigerate for 1-2 hours, or until firm.

Butter a tart tin (22cm diameter and 2.5cm tall) then dust with flour. Tap to remove any excess. Dust the surface again with flour. Roll out into a circle of 28cm diameter. Fold over the rolling pin and transfer to the tin. Press into the edges, leaving a 1 cm overhang. Patch up any mistakes with extra bits of pastry (and keep any extra bits in case cracks appear during blind baking). Scrunch up a piece of greaseproof paper and line the tin. Fill with baking beans or dried beans - like red kidney beans. Place into the fridge for 15 minutes.

Preheat the oven to 180C/350F. Place the chilled tart tin into the oven and bake for 20 minutes. Mix the egg white with 1 tbsp water. Take the tart out of the oven and remove the beans and paper. Plug any holes with leftover scraps of pastry. Brush the inside with the egg white. Place back in the oven for 5 minutes or until the pastry looks fully cooked and golden. Leave to cool on a wire rack.
Lower the oven to 150C/300F. Zest the lemons - you should have about 1 tbsp zest. Chop the zest finely so you don't get stringy bits in the filling. Juice the lemons - you should have about 175ml juice. Whisk the eggs and egg yolk together in a bowl with the sugar until the sugar has dissolved and the mixture is smooth. Whip the cream until it holds soft peaks and then stir into the egg mixture. Stir in the rind and juice.
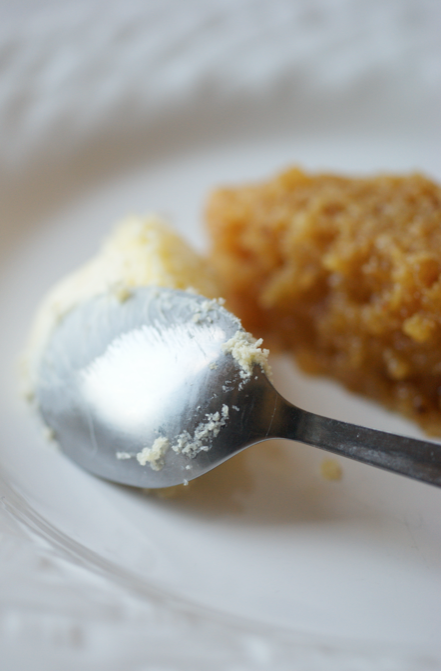
Place the tart case into the oven, then pour the filling into the case (this helps stop sloshing as you put it into the oven). Start checking at 40 minutes - the tart should be set but still wobbly in the middle. It could take up to 60 minutes. Remove from the oven and leave to chill in the case on a wire rack. Once cold, remove from the tart tin and dust with icing sugar. Cut with a sharp knife which has been run under hot water to get a clean edge.

(Serves 8-10)

Monday, 19 July 2010

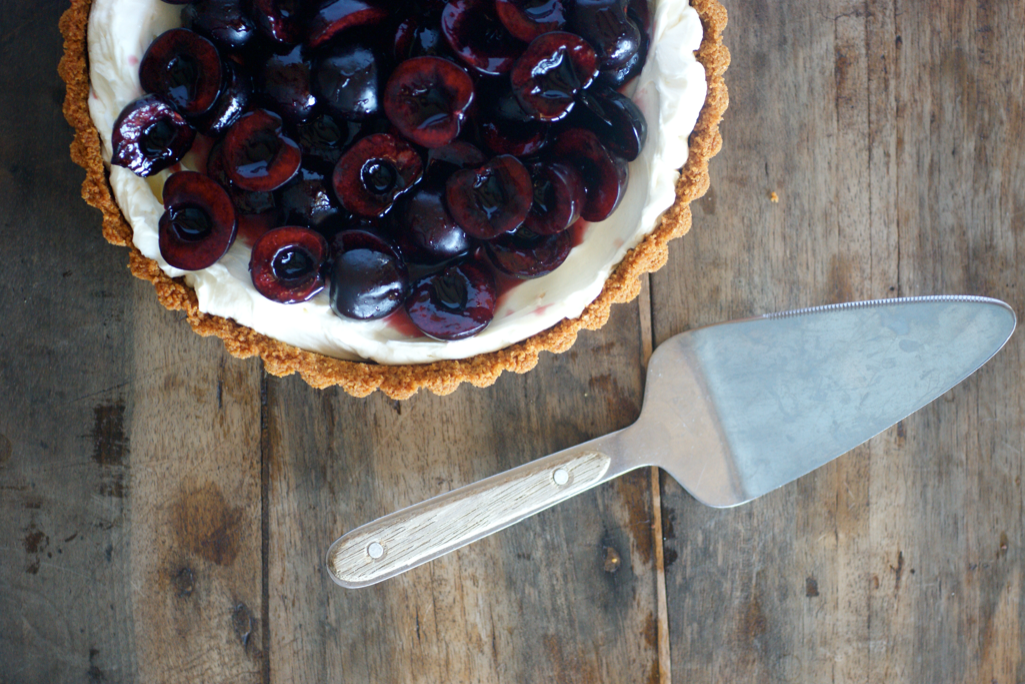
Black Cherry and Mascarpone Tart with a Gingernut Crust


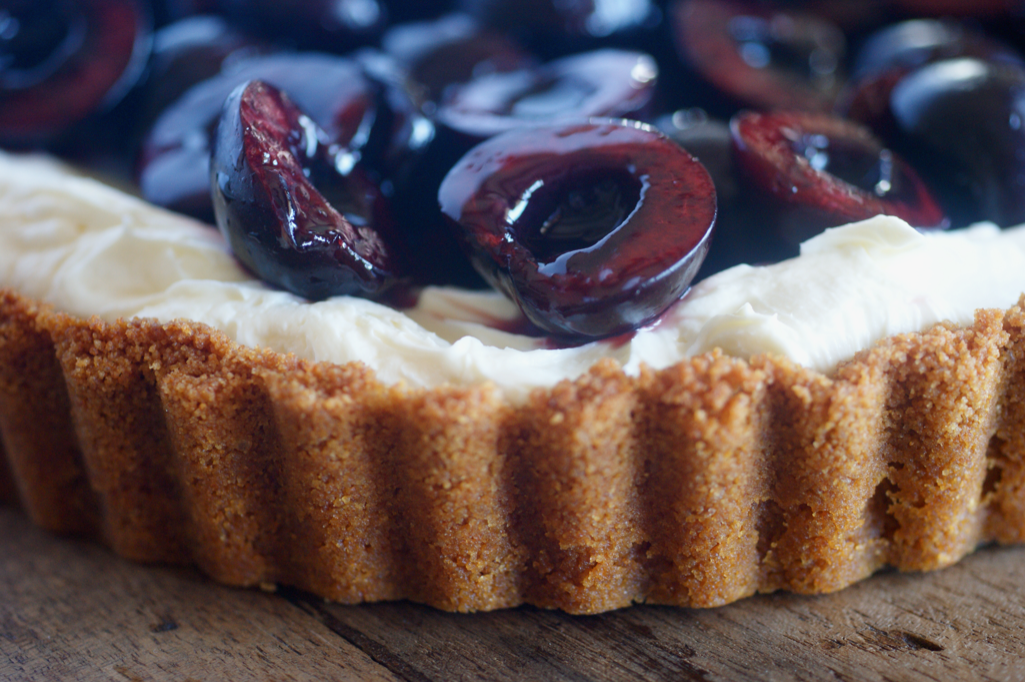
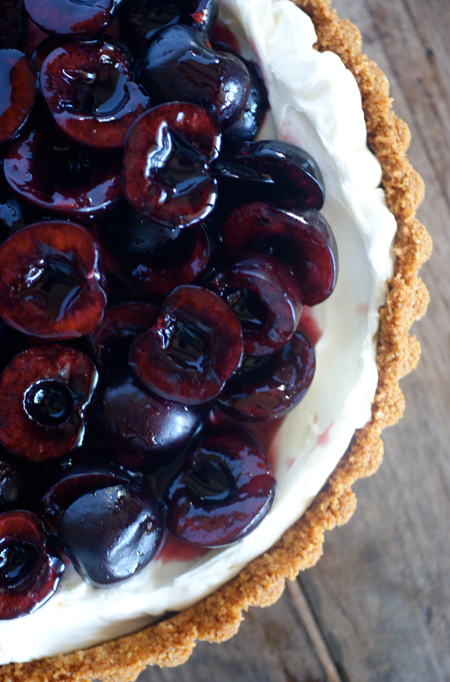
This is a stunner of a tart. It's a bit like unbaked cheesecake, which probably explains why I like it so much. Still, I promise this is different from my Cherry Cheesecake. It's darker, richer and spicier. 

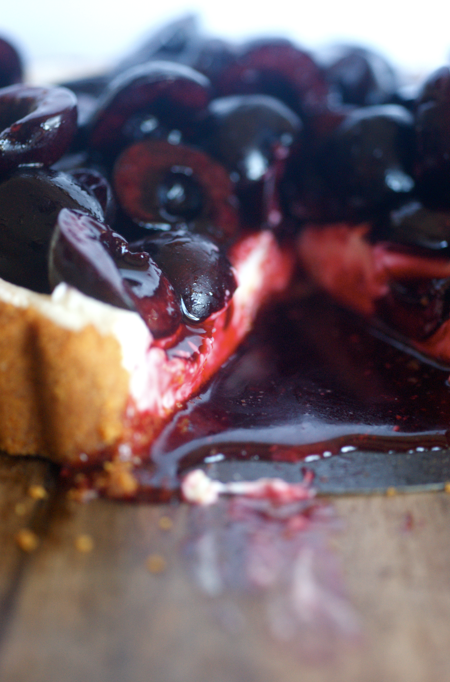
In a lot of ways, I suppose this is quite a dark and sinister dessert. Your hands get stained blood-red when you pit and halve the cherries. It seems to 'bleed' redcurrant glaze when you cut it. And, of course, there's maSCARpone (this may or may not be the way I remember how to spell it...). 

Or, you know, my imagination could have been clouded by reading too many of Shakespeare's history plays - blood, back stabbing, child murders etc are getting all too everyday.  I'm reading my way through the complete works this summer and have been reading the many, many Henries, the Richards and John in the past days. I'm trying to maintain a rate of two plays and at least a few sonnets per day. It's incredibly enjoyable - I really recommend it if you have the time.  


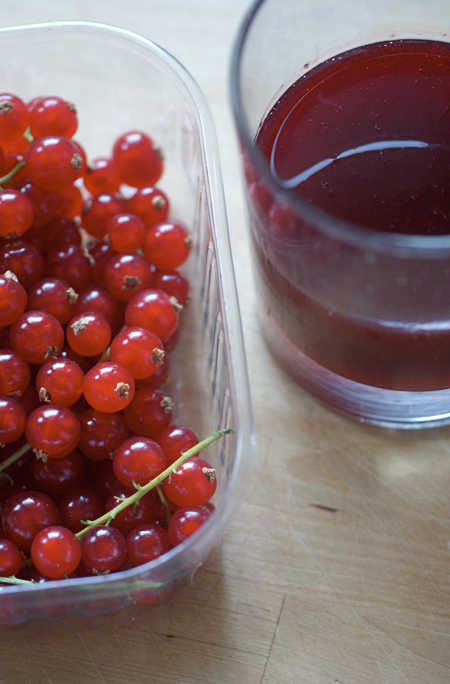
Instead of using an apricot jam or similar as a glaze, I decided to go for something different. We bought some redcurrants recently but I hadn't really found a use for them, especially as they're quite a sour batch. In the end I made this - a simple syrup to toss the cherries in. It's a subtle addition to the flavours but I was really pleased with it. It's also very nice on its own. 


This is really quite rich - though it's a small tart it can definitely feed a fair few. Mum and I had a slice each and then she took the rest with her to a barbeque. You really want to eat it within 24 hours so try and find some helpers to eat it with!


I got the idea for this from smitten kitchen - Deb did hers with nectarines. I thought I would be different and do it with cherries, then realised that she had adapted it from using cherries. Not so original after all! I'd like to try it with peaches or the like - it would give it a refreshing edge. Maybe also fold in some whipped cream to have a lighter version, or some sour cream as Deb does. 


Black Cherry and Marscarpone Tart with a Gingernut Crust
(adapted from Smitten Kitchen, here)

For the crust:
1 batch of gingernuts (or similar)
30g butter

Preheat the oven to 170C/350F. Break the gingernuts up roughly, then put in a food processor and blend until fine. Melt the butter, then pour into the processor. Blend again until all the crumbs are coated. Tip into a 20cm tart tin with removable base. Use a measuring jug or similar to press the crumbs down and into the sides firmly. Place in the oven for about 8 minutes or until slightly darker. Cool on a wire rack. 

For the redcurrant glaze:
60g redcurrants
40g brown sugar
1 tsp stem ginger syrup
squeeze of lemon juice
20ml water

Put all the ingredients into a small saucepan. Heat at a medium temperature for until bubbling, then reduce to low for five minutes or so, slightly squishing the currants. Leave to cool, then pass through a fine sieve. 


For the filling:
200g mascarpone
150g cream cheese
30g caster sugar
zest of half a lemon
juice of half a lemon
1/2 tsp vanilla extract

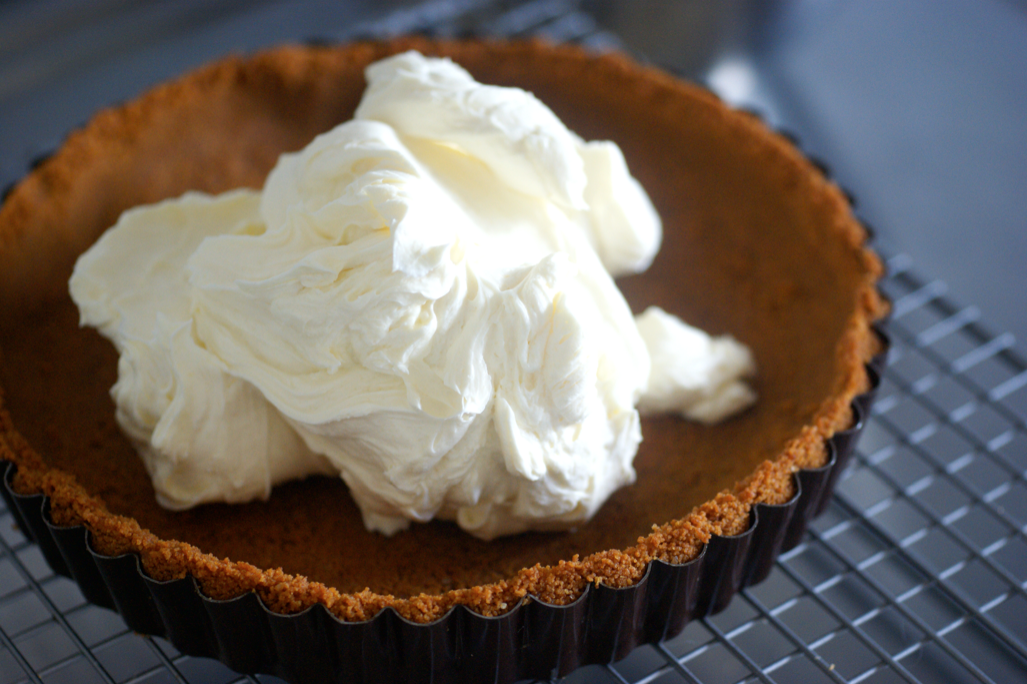
Beat together marscarpone and cream cheese, then beat in the lemon juice and vanilla. Finally beat in the sugar and lemon zest.  Spread over the cooled base and put in the fridge while you fiddle with the cherries. 

To assemble:
couple of handfuls of black cherries

Pit and halve the cherries. Toss them in a few tbsps of the redcurrant glaze. Take the tart out of the fridge and top the filling with the cherries. 

(Serves 8-10)

Tuesday, 11 May 2010

Treacle Tart


After the quite overwhelming response to my last post about my whisky and dark chocolate Beautiful and the Damned cake, I didn't know what to post about next. After a big project, what can follow?

In the end, I reached back to a classic. It's a classic English pudding, but also a classic to me, a childhood staple.


This is the Treacle Tart I mentioned in my post about Eccles Cakes. It's another treat from that special bakery, another childhood memory. It wasn't our house in Cornwall without at least one Treacle Tart sitting on the top of the counter.

As children the most exciting part of the day was pudding after lunch, when the tart(s) would be slipped in the Aga for a few minutes to warm and then served with big dollops of clotted cream.  Later on, as teenagers, we used to come home from beach parties and tipsily sneak slices of the tart before heading to bed.

Apart from the vast amounts of golden syrup, this is actually a very useful store cupboard-and-leftovers type of pudding. The bread in particular can be whatever you have lying around, as long as it's not too seeded or flavoured. I used some old bits of wholemeal, a chunk of white bloomer that had somehow ended up frozen and a white roll. 


It's also incredibly easy. All you have to do is make a pastry case and then a simple mix-and-pour filling. I added a bit of ground ginger and some double cream to loosen the set but other than that the recipe didn't need fiddling with. 

I couldn't possibly serve Treacle Tart without clotted cream. It would just be wrong. (Though I did allow certain people a small amount of vanilla ice cream...). They even have matching tops - look how similar the crust of the cream is to the top of the tart!


All in all, I was very pleased with this. It's not really the tart of my childhood, but I doubt I could ever replicate that. This version is yummy and so unbelievably addictive - we demolished the whole thing in one sitting.  

Do try it - I know the concept is a bit odd if you haven't heard of it before, but it's so good!


Edit: My new and improved treacle tart recipe is here.

Sunday, 11 April 2010

Pear Tart Tatin


A month or so ago, over at the wonderful Yummy Supper, I saw Erin's recipe for Pear Tart Tatin. I bookmarked it and promised myself I would make it as soon as possible. I set about doing so a week later, but the flaky pastry recipe I tried out went quite wrong. Since then various things have conspired against me, but finally - finally! - I made it yesterday.


I have to admit that I bought the puff pastry from the supermarket. I really want to make puff pastry soon but I just didn't have time at the moment and I wanted to make the tart right now. (Impatient, much?)

This impatience is partly because of making Pear and Caramel Cakes last summer. The combination is just heavenly - and it's not hard to guess how much I like pear-and-something-yummy duos.


I've never really understood fancy salts. I remember seeing a massive selection on the wonderful food floor of a department store in Milan and being quite bemused as to why somebody would need or want that many types of salt. Then, recently, I started seeing fleur de sel popping up everywhere, usually linked with some divine caramel concoction. It still passed me by but must have lodged somewhere in my brain, for I recognised it while browsing the shelves at the supermarket. Yesterday I gave in and bought some. I still have absolutely no idea what my small local Co-op is doing selling gourmet salt, but there you go.

The box describes the salt as "precious petals of salt gathered by the sauniers hands... exalts the taste of your dishes". I love the idea of the petals, but most of all I like the idea of the dish being exalted by the salt.


Having never used it before, I decided the easiest way to go about it would be to sprinkle a little of the salt over the caramel as it cooled (well, I thought I would do it as it cooled - I put it out on the balcony in the dapped sunshine to cool and by the time I had got back, it was solid...). I think this worked pretty well - the caramel was absolutely divine. I don't know if it would have been better to stir it in earlier but it must have melted and bubbled away in the oven. Perhaps another time I would be less hesitant about adding too much - I was worried I would ruin it.


It turns out I'm not anywhere near as good as E. at arranging pear slices in a pretty pattern. It didn't help that the length of the pear slices exceeded the radius of my pan, so I ended up with a skewed flower pattern. During my lengthy arranging process, the pears turned a little brown - as you can see above. Since they were just about to be drenched in golden caramel and sit bubbling away in it for half an hour, I figured it wasn't a tragedy.

All I changed from the original was halving the recipe, using puff pastry and adding the fleur de sel. The addictive qualities and taste is all down to E.

I served mine with mascarpone (which was lovely) but I think vanilla ice cream would be devastatingly good. Creme fraiche or double cream would work too.


Pear Tart Tatin
(Adapted from Erin at Yummy Supper)

100-125g puff pastry
50g caster sugar
10g cold unsalted butter
1/8 tsp fleur de sel/sea salt
2 small, firm pears

Preheat the oven to 200C/390F. Roll out the puff pastry to a little bit bigger than the bottom of a roughly 16cm/6" skillet/pan - it doesn't need to be a perfect circle. Pop in the fridge on a plate to chill. Spread the sugar in an even layer over the bottom of the skillet. Place over a medium-high heat and watch carefully - after a few minutes, the sugar will start to liquify at the edges. Don't stir it - you can flick some of the crystals onto a liquid bit, but don't fiddle too much. Once it's nearly all melted and starts to caramelise, swirl it all together. Keep heating until you have a deep golden-bronze colour then take off the heat. Quickly add the cold butter and salt and stir until the bubbling stops. Leave to harden while you prepare the pears.

Peel and slice the pears (I sliced each quarter into 3-4 pieces) and arrange in a circular pattern on top of the caramel. Place the pastry over the top. Bake for 30-40 minutes or until the pastry is golden and the caramel is bubbling around the edges. Remove from the oven and leave for 2-3 minutes before placing a plate on top and flipping over. Rearrange any pears that have moved and scrape any remaining caramel over the top. Serve warm with vanilla ice cream or creme fraiche.

(Serves 2-4, depending on slice size - it's quite rich)

UPDATE 26/11/2017: rewritten to clarify and update techniques - I reduced the butter and salt amount and stirred in the salt with the cold butter at the end of making the caramel. I made this with unripe comice pears and they worked beautifully. I used homemade rough puff from this foundations post.

ShareThis