Showing posts with label pears. Show all posts

Sunday, 30 March 2014

Five Years


It's Poires au Chocolat's fifth birthday today!

The past five years have taken me from being a 19-year-old fresher to a few months off 25. So much has changed but blogging has been one of the strongest threads through it all. It's hard to describe how important this space has become to me and how protective I feel - it's been a part of my entire adult life. As I sit here facing my next five years, I know that a lot of things will look very different. Though I'm sure my path won't make it easy, I really hope that Poires au Chocolat will reach ten.


In the end, I decided to celebrate five years by writing an ebook. I'd been looking for a fun project for a few months - something I could get my teeth into - and it seemed like the perfect thing to do. I wanted it to be different to the blog but still working along the same lines. I thought something historical with lots of references to stories and literature was the sort of thing that would work.

So the ebook I'm writing is about the food sent out to the front in parcels by loved ones in World War One. It's the sort of topic I love - slightly random but fascinating to research.


I studied WWI literature for my A Level synoptic paper in my last year of school. We could read anything we liked on the topic - poetry, prose, British, German, modern or contemporary. It was one of my favourite papers to study (tough competition came from my introduction to Chaucer and a paper on William Blake) and certainly my favourite to write, with the sort of open questions I came to love at university. The things I'd read stuck with me and suddenly resurfaced when I was thinking about possible topics.

The scale of the horror and suffering during WWI is hard to comprehend as someone who has never known war, looking from a century's distance. Despite that, I hope I can commemorate it with respect. I want to focus on the small moments of joy and on the comforting power of food from home. To remember those small personal details, in some ways insignificant and everyday, but vital nonetheless.


I'm not an expert on the history (it would take a lifetime - or at least several decades - to be that) and I'm not trying to write a textbook. In many ways this ebook will be a collection of all the anecdotes and comments that have made me smile or touched me as I've read and researched. It's a way of bringing together all the bits I don't want to forget and that I find myself excitedly blurting out to friends and family.

I think that blurting feeling comes from having found the research really gripping - it's had lots of moments, twists, and surprising gems. It's also been emotional at times. Sitting in the Imperial War Museum research room reading letters written in the trenches - touching the very paper - is an experience I won't forget.

I'll also remember - for different reasons - a day I was working in the Bod and stacked up a beautiful first edition of a 1915 cookery book to find that about a third of the edges had never been cut (it looked like it hadn't been read in several decades). I had to go and ask the librarians what to do and then sit there, paper knife in hand, slitting each page of the cakes chapter. The sound of tearing paper ripping through the silence in a no-seats-left lower Rad Cam is engraved upon my memory - I was half expecting a fellow reader to perform an enthusiastic citizen's arrest.


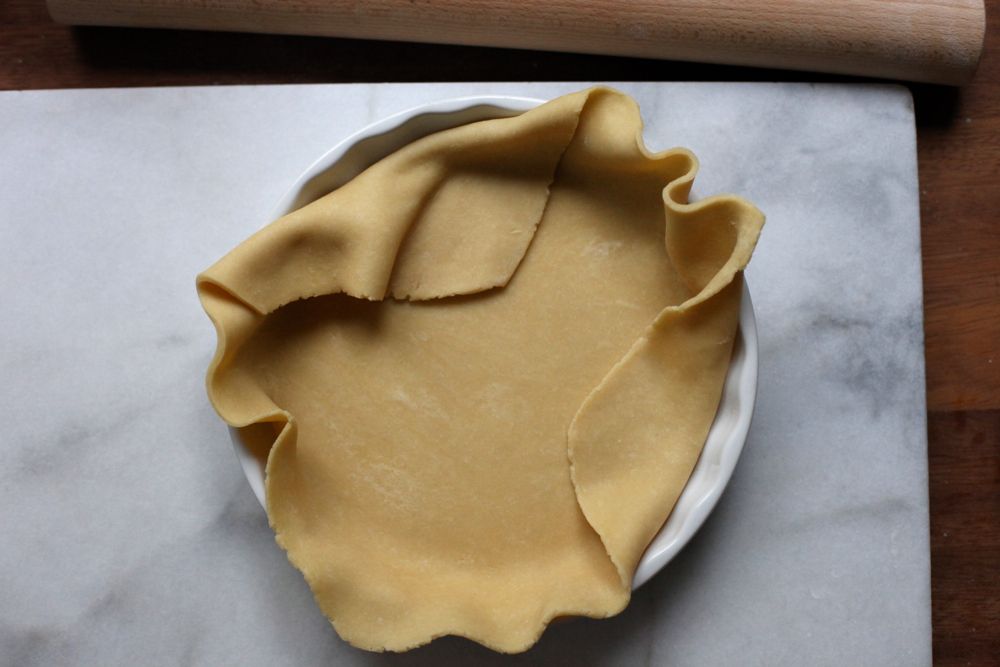
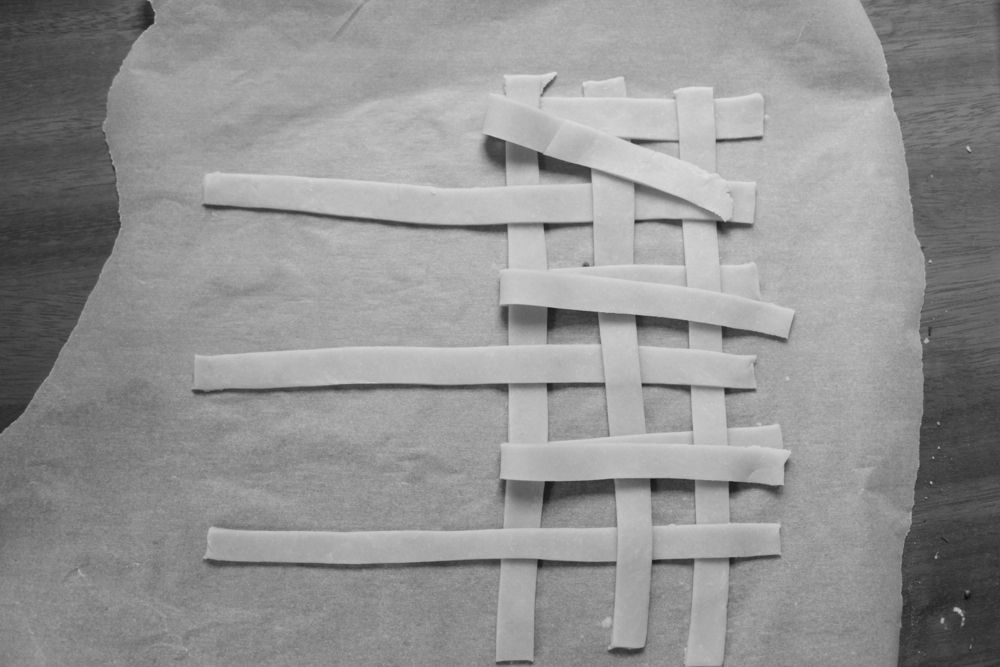
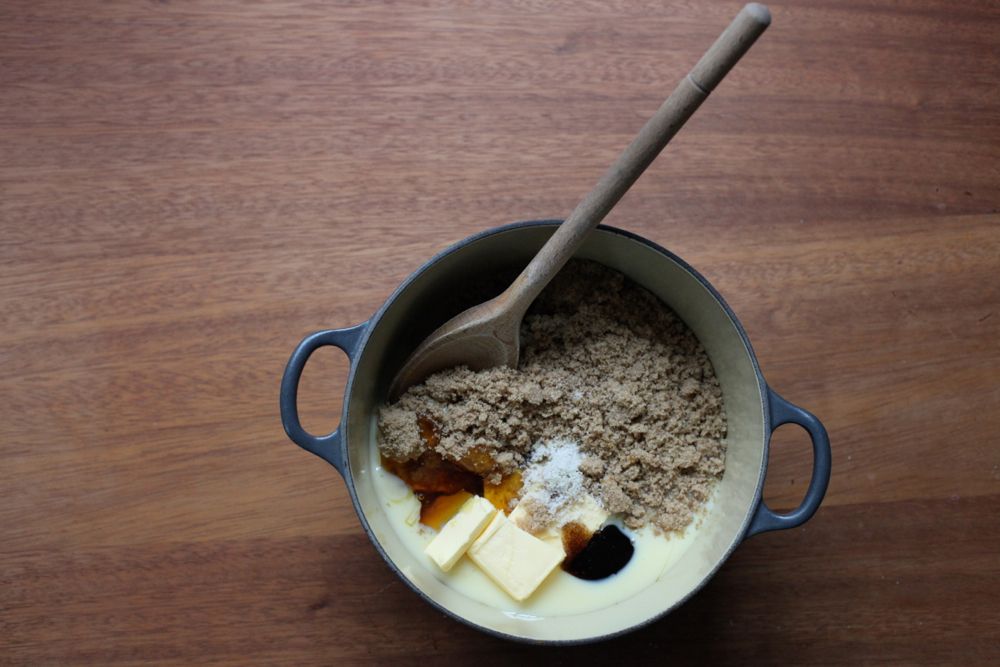
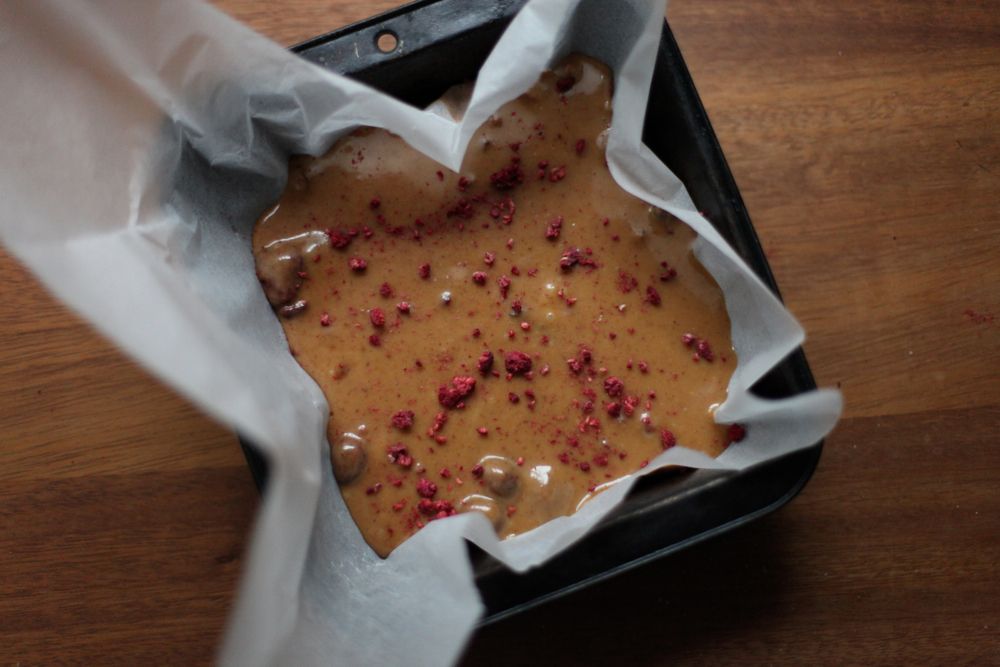
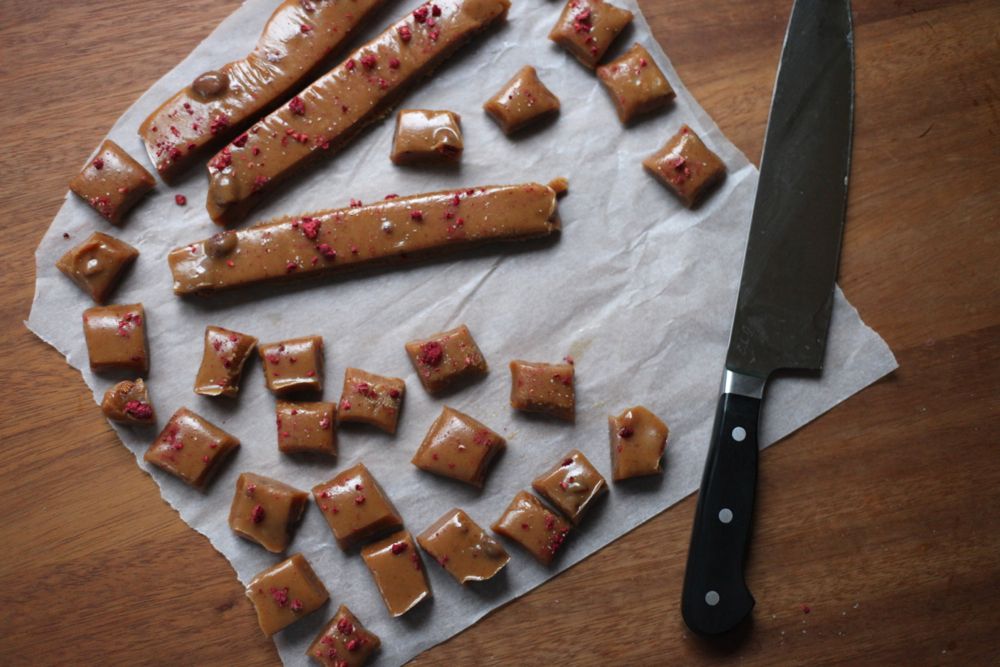
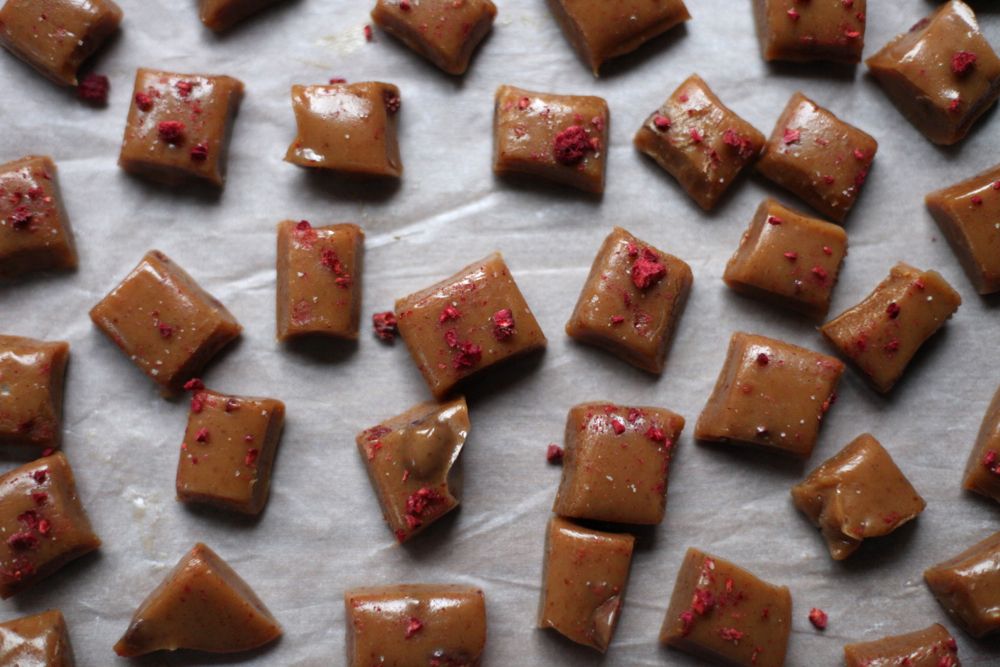
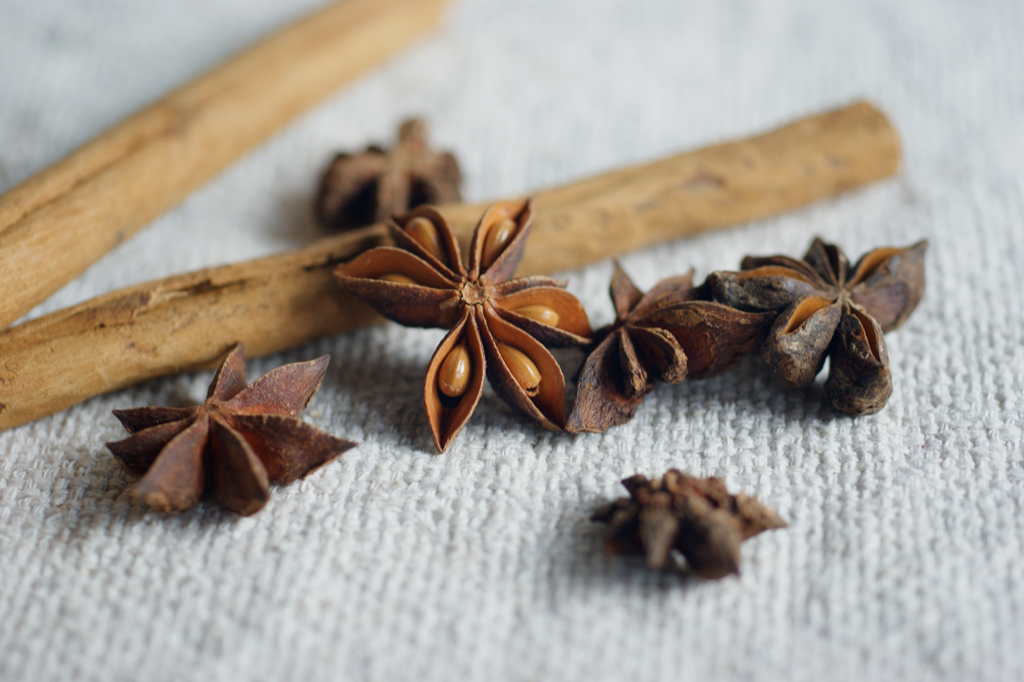
The ebook will be split into two sections. The first part will cover the sort of things that were sent out (from cakes and chocolate to two brace of grouse, smoked salmon & clotted cream), rationing, the rules, Christmas and various other topics, with quotes and contemporary photos and that sort of thing. The second part will contain ten recipes (things like shortbread and toffee) with headnotes that describe the letters and stories that mention them.

I'm going to experiment with selling it as a PDF from the blog (though Selz.com). You won't have to leave the site to buy it. I like the idea of a PDF ebook because I want to be able to design attractive, static pages with the images set in properly.

I'm planning to finish and release it in May - I'll let you know about a date soon.

I hope you'll all like it and find it as interesting as I have. Even if not, it's been just what I needed personally. It's felt completely different from working on the beginnings of bigger book projects (far less stress and fear). It's still a challenge, just of the right sort of size. There's something wonderfully satisfying - and, to let the geek really flow, thrilling - about being on a research hunt, chasing quotes and references from book to book and archive to library and back again. It's like fitting a puzzle together.


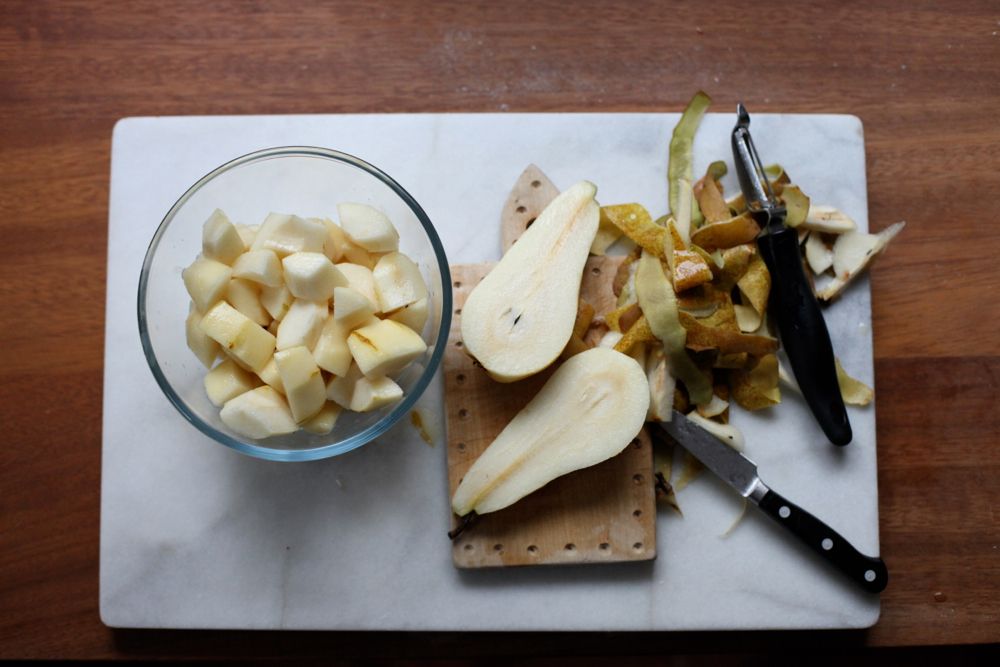
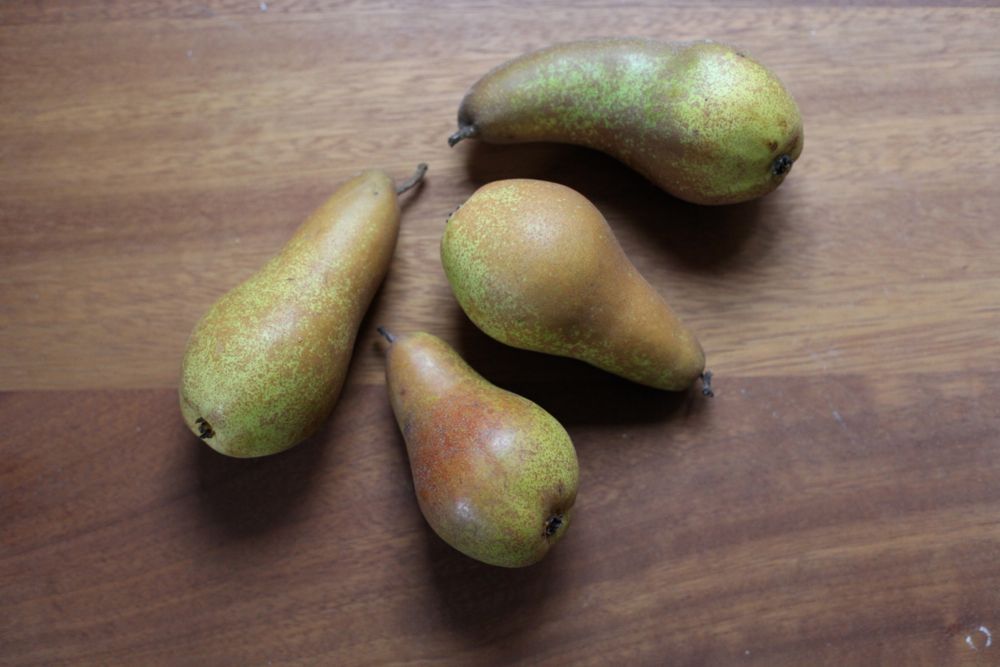
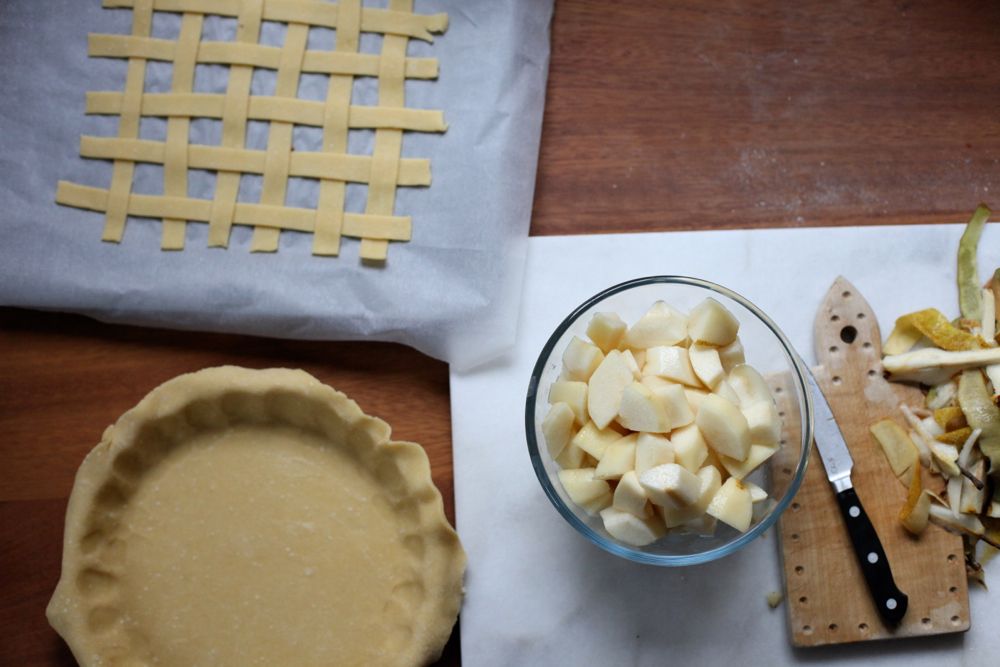
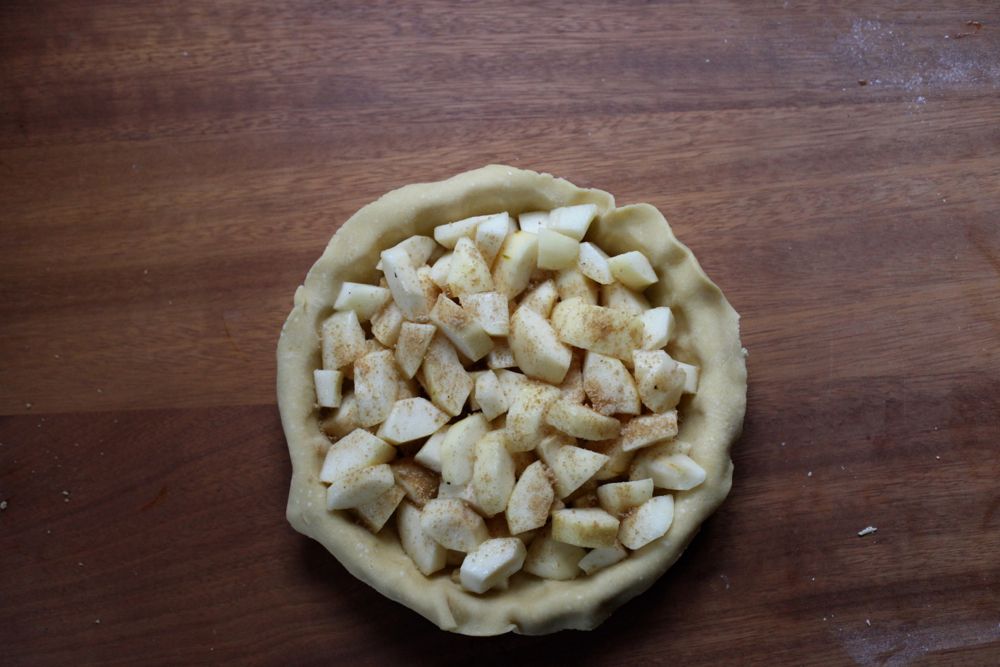
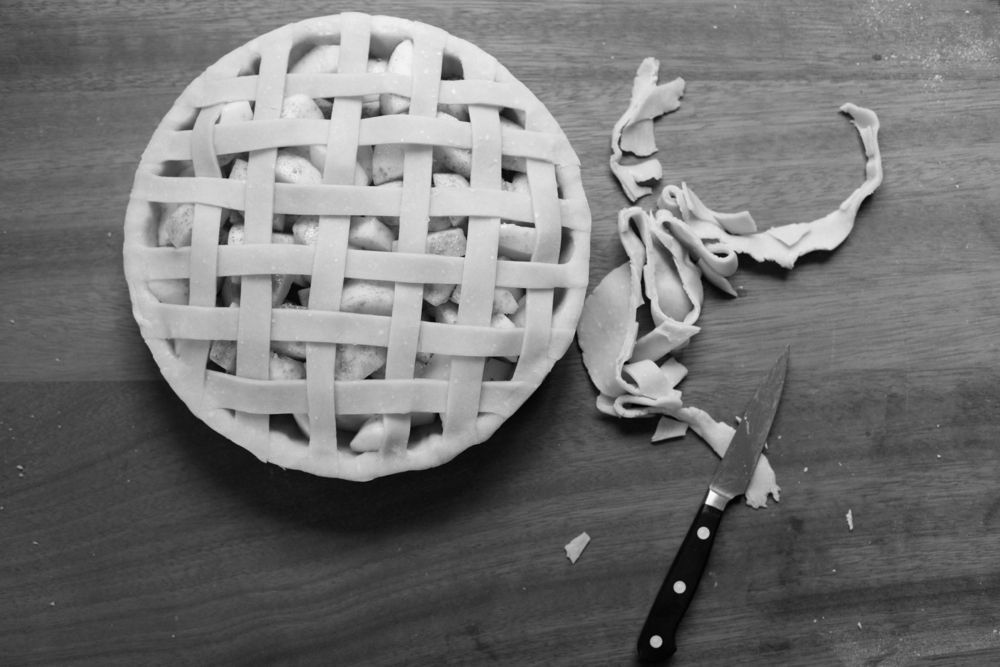
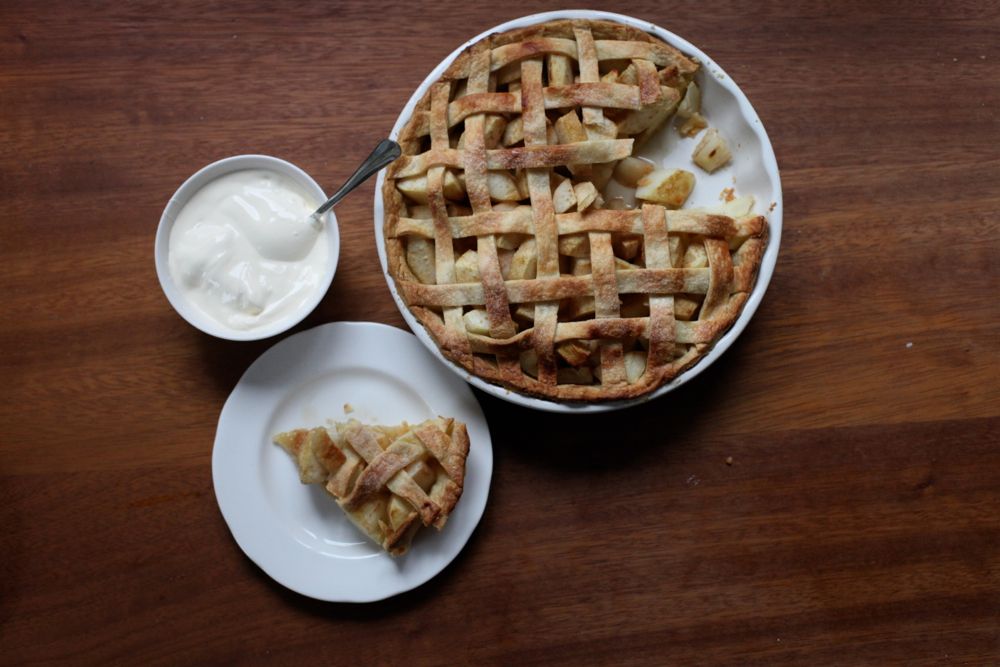
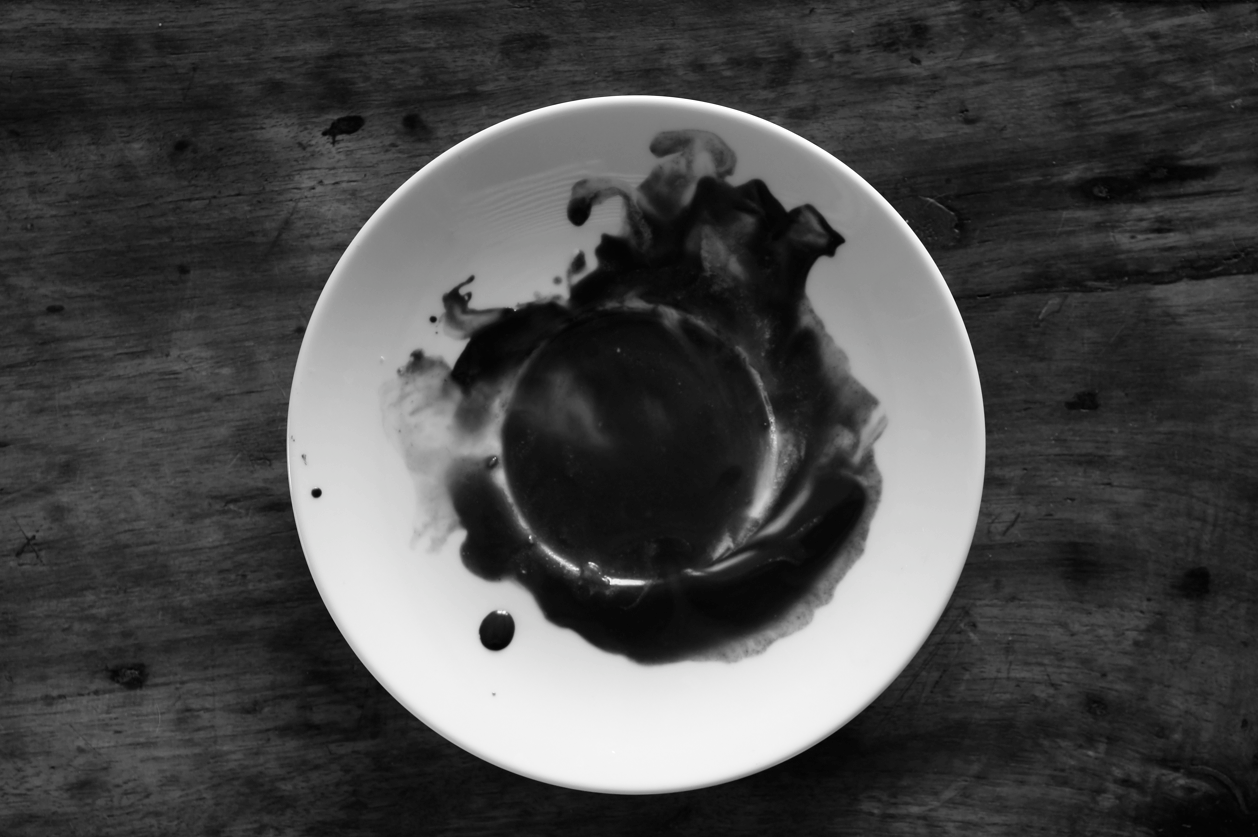
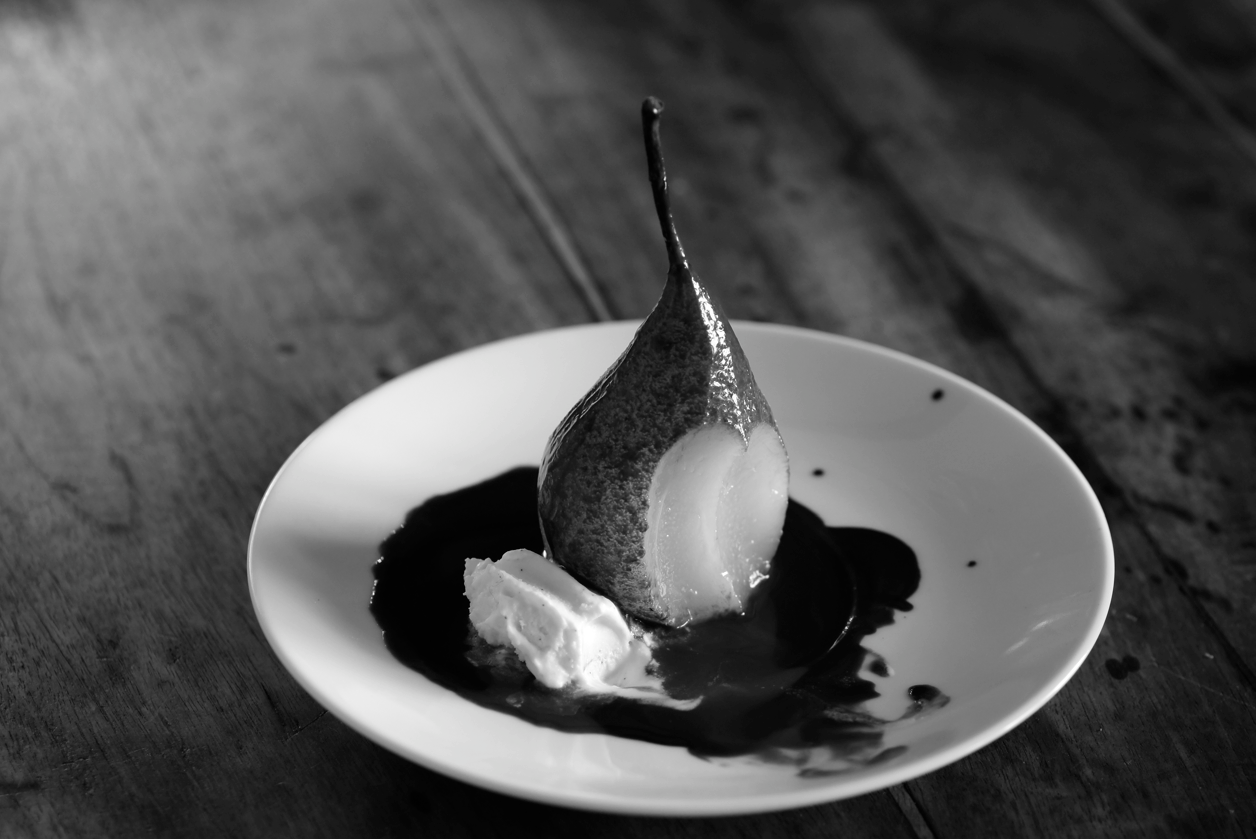
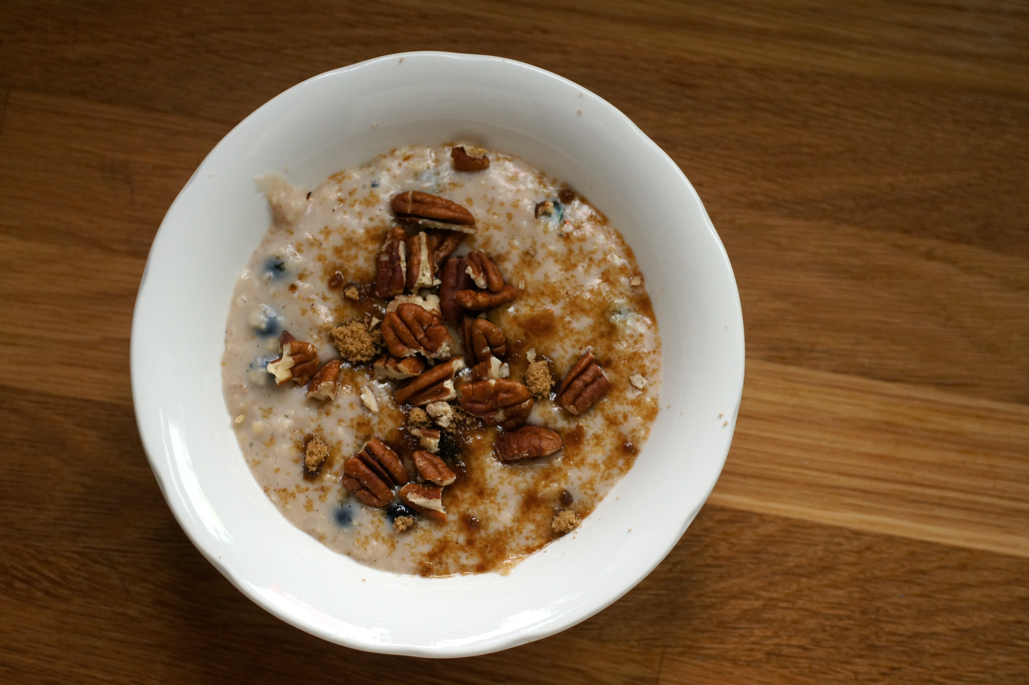
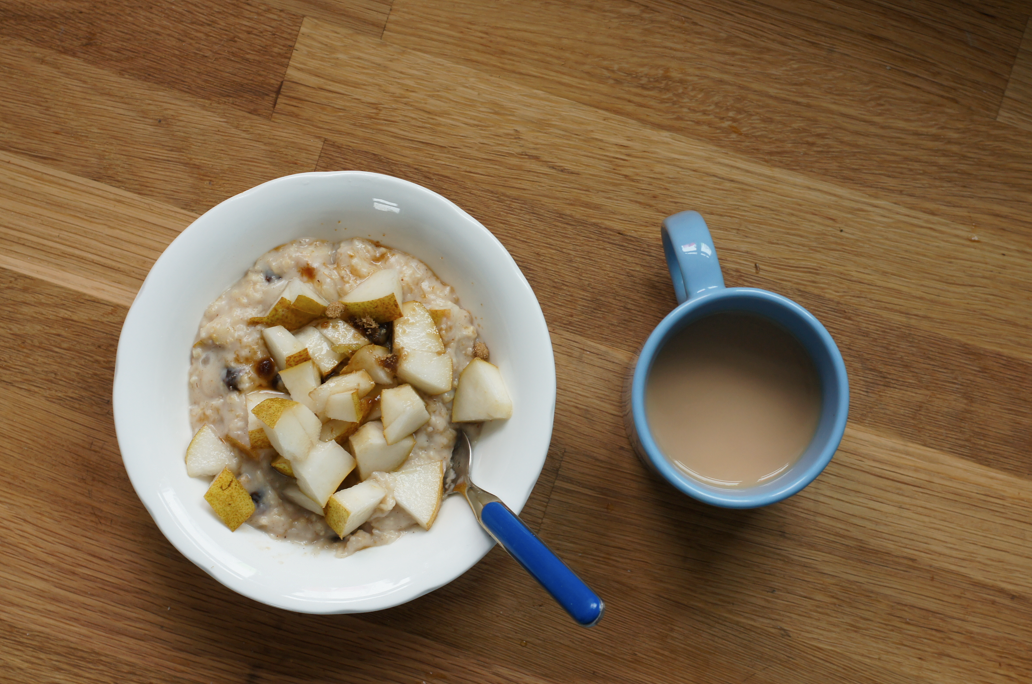
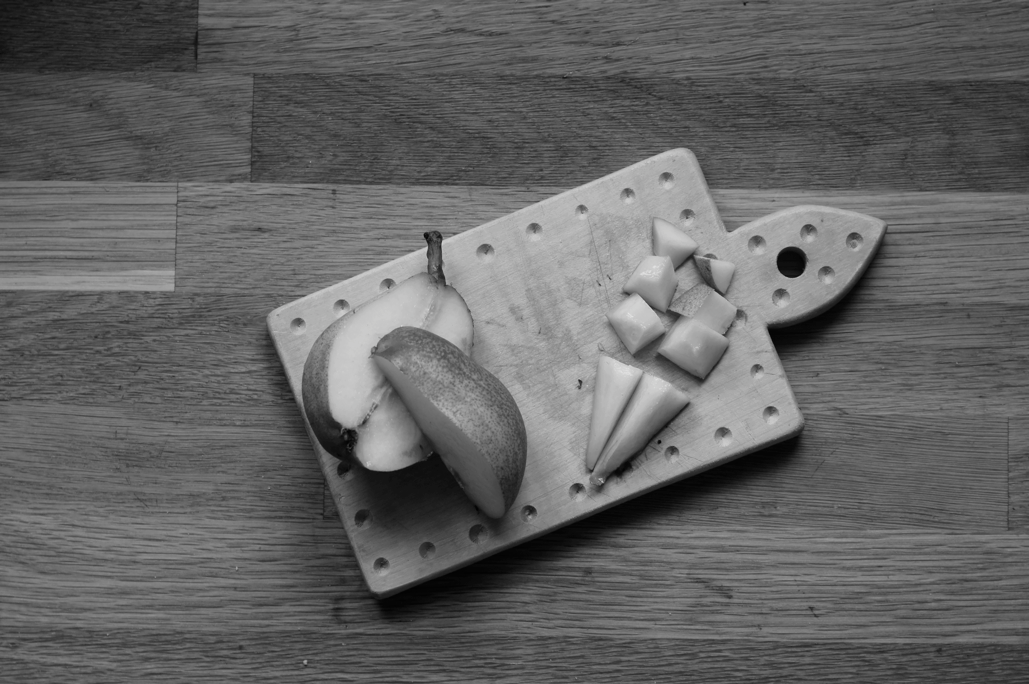
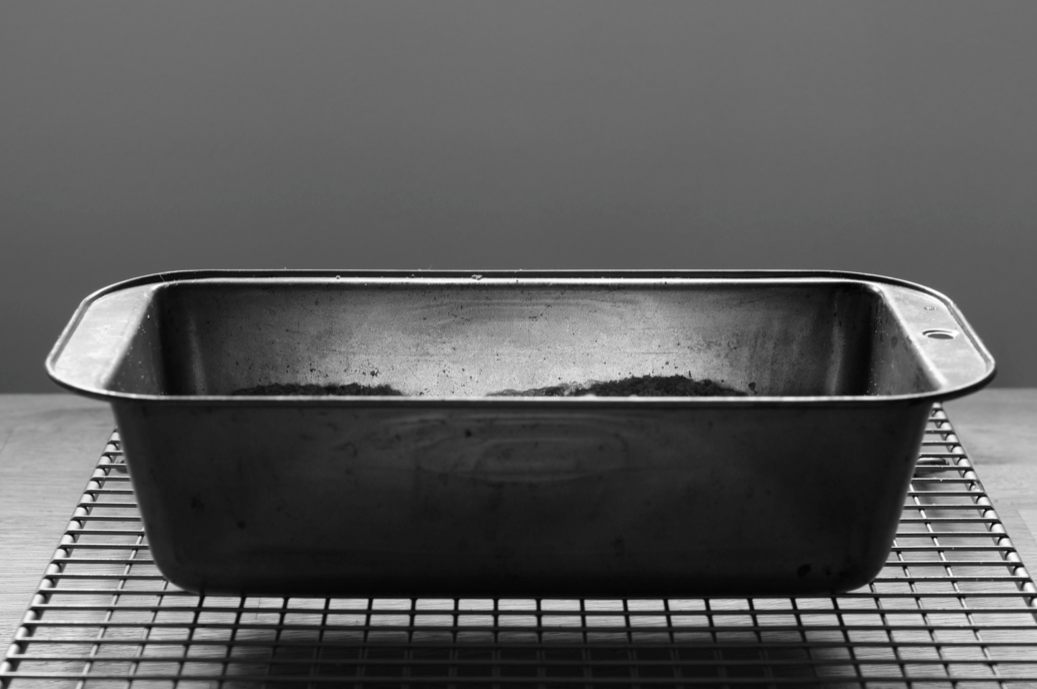
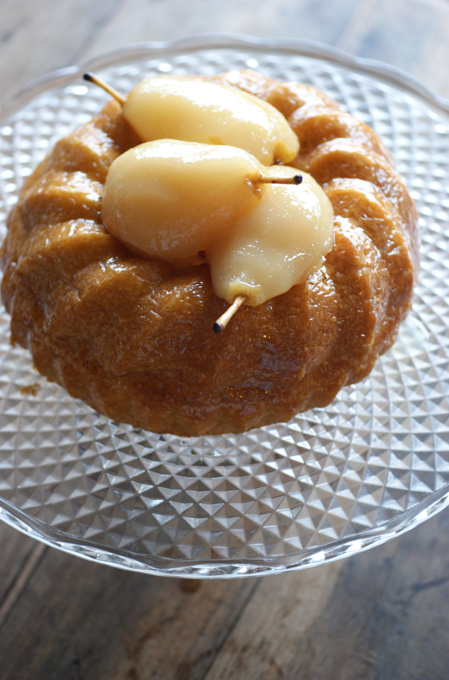
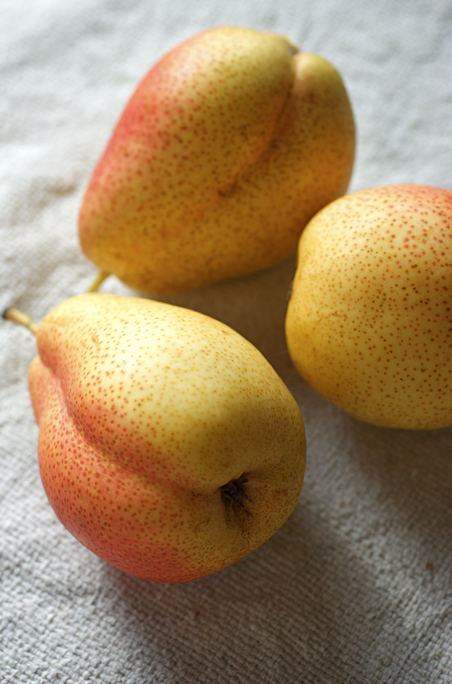
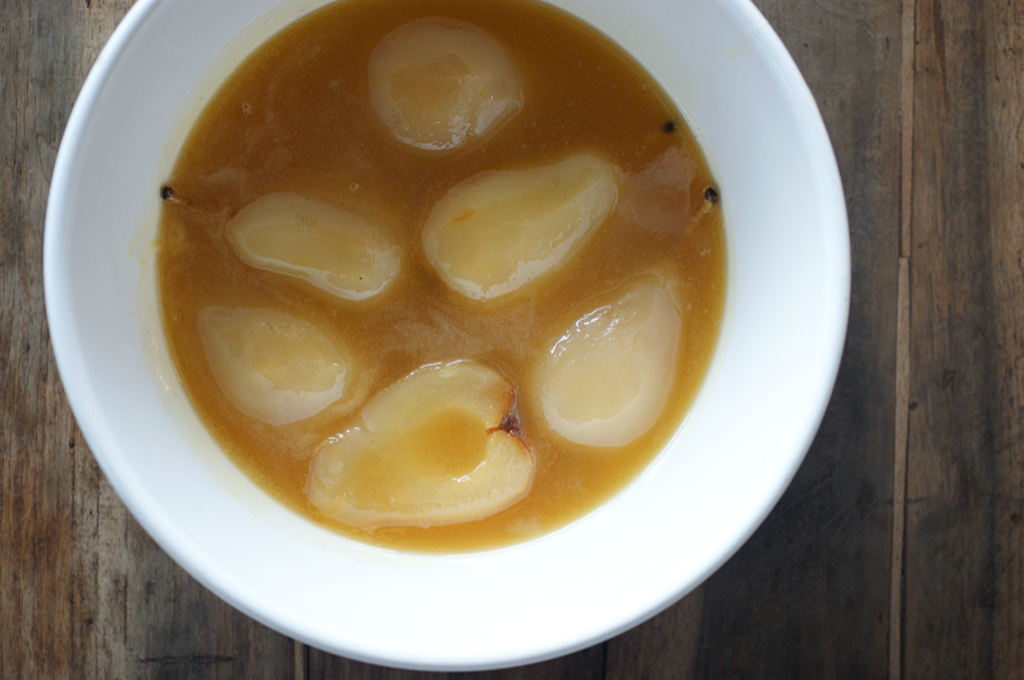
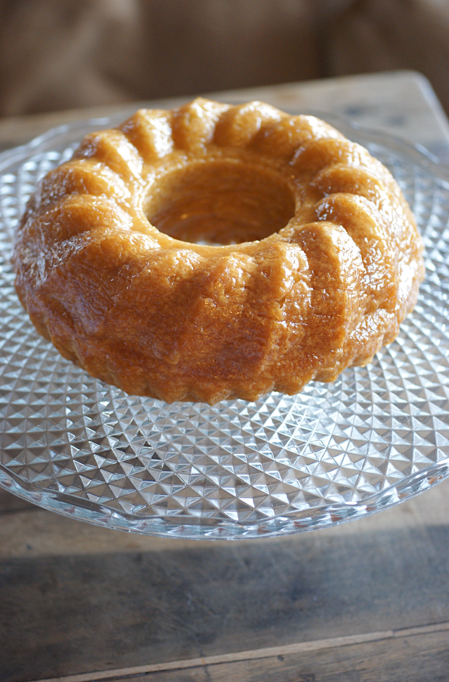
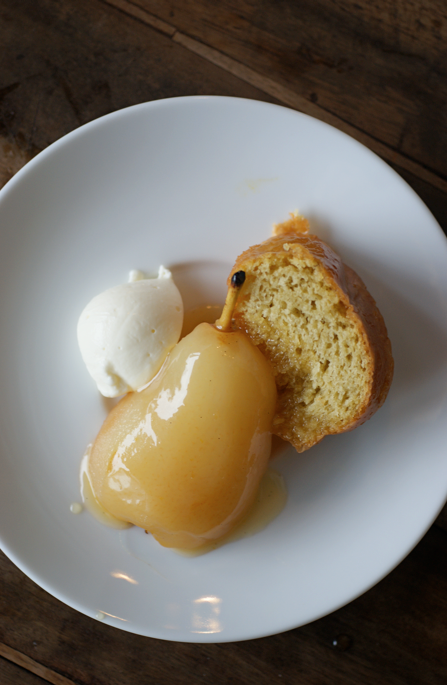
Anyway - back to the birthday. As I've mentioned many times, one of the reasons this blog is called Poires au Chocolat is because of the pear and chocolate loaf cake (as below) that I tested that fateful Easter holiday in 2009. Yet there's also another layer, in that one of my favourite desserts growing up - and today - is the humble combination of freshly chopped pear and melted chocolate.

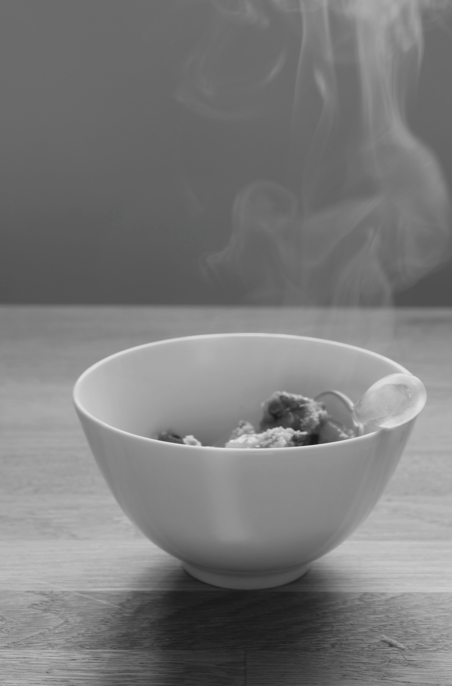
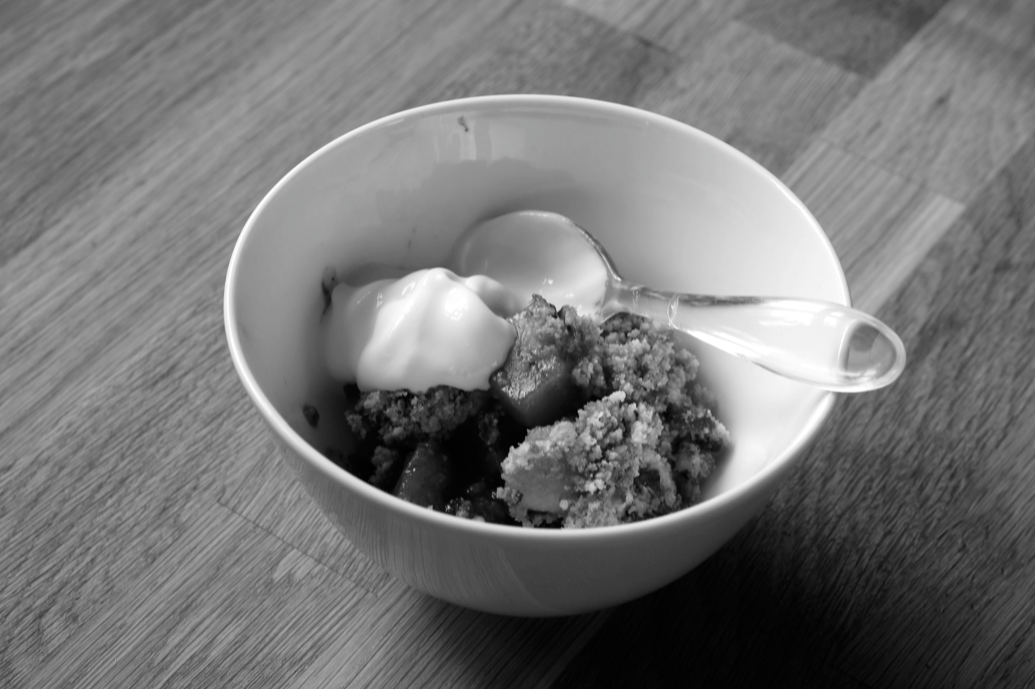
It's too simple for a recipe but I thought it would be perfect as the background to this post. If it helps I reckon we usually use roughly 10-15g dark chocolate per pear (melted as per the glossary) and a pear serves one. A few splashes of double cream finish things off.


My first, 100th, 200th & 300th posts (this post makes 332 overall):
1: Lemon Curd Cake
100: Butterfly Fleur de Sel Caramel Cake
200: Toffee Apples
300: Dutch Baby a.k.a. Puffed Pancake

Thursday, 14 November 2013

Pear & Caramel Pudding Cake


In the middle of making this cake for the first time, my mum's Kenwood Major died.

It was eighteen years old, bought when I was six. Mum taught me to bake with it. I can't begin to count the number of memories it features in.


It had been going slowly wrong for the past year or so, and finally gave up as I scraped down the sides of the bowl, declining to turn on again to finish creaming the butter and sugar. It went without a whimper or a bang, quietly, in great contrast to the racket it had started to make whenever you managed to twist and push the dial just so to make it turn on.


A few days before the mixer's demise, I came across this caramel apple cake. As I hadn't made anything with pears this autumn I decided to try making a upside down caramel pear cake. That recipe and most other similar cakes I've seen start with a brown sugar mixture on the bottom. I wanted to make one with proper caramel, lightly salted - a sort of tarte tatin/cake hybrid.

I adapted the cake mixture from my Pear and Chocolate Loaf as it's one of my favourites and I already knew it went well with pears. I tried three different types of pear: Bosc, Conference and Comice. Bosc was the best.


Despite the emotional loss of the mixer (and having to do the rest by hand), the first cake came out beautifully.

But then can you really go wrong with buttery salted caramel, tender pears, fluffy cake, caramelised edges and a spoonful or two of thick crème fraîche?


Finally, a quick little guide to fully lining a tin. I rarely think it's necessary to fully line (usually it's just the Christmas cake and similar things) but for this cake I wanted to make sure the caramel didn't leak out.

1.   Take your tin apart and roll out some baking parchment. Use a pencil to draw around the bottom circle of the tin. Cut it out.

2.   Align the side part of your tin with the edge of your roll of parchment paper. Roll the tin along the paper until you have a small overlap then mark the spot.

3.   Cut a strip of paper that's a bit wider than the height of your tin up to the mark - for this, mine was about 4"/10cm wide as my tin is 3"/7.5cm. On the edge that was the outside of the roll (as this is always straight) cut little slits into the paper that are about 0.5-0.75"/1.5-2cm deep all the way along.

4.   Flatten the paper and fold the tabs formed by the slits up on the side that was outwards on the roll (if the paper is put in the same way as it was rolled, it curls inwards). Curl it into the tin so that the tabs are flat on the bottom, then secure it with the circular middle.


Pear & Caramel Pudding Cake

For the top:
100g caster or granulated sugar
30g double cream
2 pinches fine sea salt
2 pears, just ripe, preferably Bosc

For the cake:
125g unsalted butter, room temperature
75g caster sugar
50g soft brown sugar
2 eggs
135g plain flour
1 tsp baking powder
pinch of fine sea salt
2 tbsp unsweetened plain yogurt (or milk)

Preheat the oven to 190C/375F. Fully line an 8"/20cm* tin (as above).

Sprinkle the sugar evenly over the bottom of a large, thick-bottomed pan. Turn the heat up to medium-high and watch carefully - after a few minutes, the sugar will start to liquify at the edges. Don't stir it - you can flick some of the crystals onto a liquid bit, but don't fiddle too much. Once it's nearly all melted and starts to caramelise, swirl it all together. Keep heating until you have a deep golden-bronze colour. Turn off the heat and stir in the cream and sea salt. Quickly scrape into the case and spread out carefully so that it covers as much of the base as possible. It will become hard once it has cooled.

Peel the pears, then chop in quarters and core. Slice each quarter into three. Arrange on top of the hard caramel in a fan shape.

Cream the butter and two sugars together until pale and fluffy, scraping down occasionally - this takes about 5 minutes. Beat the eggs together in a jug. Weigh the flour, baking powder and salt into a bowl. When fully creamed, start adding the eggs, bit by bit, beating all the time (I keep mine on 6 on my KA). About half way through adding the egg, add a tsp of flour, then again towards the end, scraping down each time. Sieve the flour bowl into the mixer bowl then mix together on a low speed. When it has come together, add the yogurt and mix until combined.

Dollop the cake mixture on top of the pears then spread out into an even layer - it won't seem like much mixture but it's fine. Bake for 20-26 minutes until deep golden brown and a toothpick or tester can be removed cleanly from the middle. Place on a wire rack to cool for 10 minutes then remove the side of the tin and the side paper. Flip onto a serving plate and remove the bottom part of the tin and the paper.

I think this cake is much better when warm or hot, so I recommend either eating it immediately or reheating it just before. Best on the day it's made, keeps two days overall. Serve with crème fraîche.

(Serves around 6-8)

Edit 24/10/15: I've changed the caramel to a cream caramel which solves the problems some were having in the comments below (which means the photo above is incorrect for the recipe, sorry). I've also changed the milk for yogurt in the cake.

*I've also started making this in a 9" tin - either is fine, though 9" tends to cook in more like 20 minutes.


Three more posts that involve making caramel:
Salted Caramel Brownies
Choco-Caramel Sundae Sauce
Cider Caramel, Sautéed Apples & Cinnamon Ice Cream

Thursday, 22 November 2012

Pear Pie & Raspberry Caramels


You know how sometimes everything you cook is just a little bit off? Not ruined, not inedible - just not what you'd expected. This week has been like that. Every day I wake up and think that today will be the day when I get my act together.

Maybe tomorrow.

After many experiments and accidents, I don't have a recipe for you this week. Instead, I have two ideas represented by two sets of photos. It seemed a shame to waste them. After writing about the hidden scaffolding of rules and habits behind this blog last week, it seems almost appropriate to break them.


First, I made a pear pie that had a bit of a soggy bottom (I dread to think what Mary Berry would have said).

My mum came to visit last weekend as there was a tiny slit of light in my schedule. The main reason the pastry went wrong was that I had to take the pie out of the oven early or she would have missed her flight home to Switzerland as she refused to leave without tasting it. I've also never made a pie with a pastry base in this ceramic dish - I think a metal one would be better.

You actually don't really need a recipe for this - just use your favourite pastry recipe (I used the one from the Apple and Quince Pie) and fill with chunks of firm but ripe pear. I mixed a tablespoon of brown sugar with half a teaspoon of ground ginger and sprinkled it between each layer of pears. The pears were concordes and were some of the best I've ever tasted.


I also tried to make some freeze-dried raspberry fudge, inspired by some I ate on my trip to Edinburgh a few weeks ago. It was my first attempt at fudge. I appear to have made caramels. Absolutely gorgeous, vanilla-flecked, raspberry-studded, salted caramels.

But as they're not what the recipe was meant to make and I can't test it again today to check, I don't feel comfortable giving you the recipe. I think the pastry gods were trying to tell me something - caramels appear to be an even better place for the raspberries than fudge.

If you can't wait for me to do more testing, you could try finishing a tin of salted butter caramels from David Lebovitz with a handful of crushed freeze-dried raspberries (I stirred some in, too, hence the slightly weird bumps). It's quite different from the recipe I used but I think it would give you a similar taste and texture.


A few related posts:
Banoffee Pies
Ginger Bourbon Pecan Pie
Dusky Caramel and Raspberry Crêpe Cake

Saturday, 28 July 2012

Pear and Chocolate Loaf 2.0


Despite being a humble loaf, this cake always finds a way to be the centre of attention.

It was the cake this blog was named after (as well as the combination being one of my favourites - I often have a bowl of freshly chopped pear laced with melted dark chocolate for dessert) as it was the first recipe I created from scratch that I loved. It was alluded to in my very first post.

It was the cake I chose for my first blog anniversary post in 2010. In the post I admitted and announced to the world (and to myself, really) that I wanted to make baking my career and train as a pastry chef.

It was also the cake my agent, Juliet, picked to try when we were first talking about a book - thankfully she liked it.


At the beginning, it showed me that I could bake.

Ever since it has taught me that I'm human and that I have to accept my mistakes.

The first time I posted about it, on my blog anniversary, it sank. I'd foolishly opened the door early on, momentarily forgetting the consequences of alpine air on rising cake batter. I posted about it anyway, sunken pictures and all.


Then there was last week.

We've been doing lots of decorating in the past few weeks (painting several rooms, sanding and varnishing wood floors, moving heavy furniture etc etc). It's chaotic. Though the kitchen isn't being decorated, it's full of furniture from other rooms. To open the oven I have to crawl underneath my desk. So when I came to check this cake, I was on my knees on the hard tiles, head bashing against my desk, face in the oven. I realised I didn't have a toothpick or cake tester with me (and couldn't face untangling myself from the desk to find one), so I tried pressing the top and looking for the springback.

It sprang back as required, so the cake came out of the oven. It hadn't risen much but it was golden brown. After a few minutes, I messily transferred it to the wire rack, causing it to crack slightly. I cut a slice from the end and went off to sit on the floor amongst the paint pots, balancing my tea on the stepladder.

Then I went back to the kitchen. There was a pool of liquid cake under the rack, swirled with drops of melted chocolate. The middle hadn't cooked. I swore.

So. I, er, recommend checking that you get a clean tester from the middle before removing it from the oven.


When I was working from the original recipe last week everything seemed a bit confusing and jumbled up. Instead of replacing the recipe in the orignal post (which I'd like to keep for nostalgic reasons but would rather you didn't actually bake from) I thought I'd test and write a new one. I tried it again yesterday (the loaf you see in the pictures) and made a few small changes. I've enjoyed updating my hot cross bun recipe each year (v.3 is here) so it seemed like a good plan.

To be honest, it's also because I'm achey and exhausted from all the decorating and proposal-writing and my kitchen is full of shelves and desks and chairs and my cookbooks are randomly piled under dust sheets and who knows where my notebooks are and I simply couldn't face making something new.

Hopefully it'll all be done soon (final draft of the proposal is in, so close now) and I'll have more time to bake and catch up with all the internet things that backlog so quickly (emails, comments, my google reader, etc etc). I might even have a little holiday.

(And yes, that is a Bayeux tapestry mug. I love it.)


Pear and Chocolate Loaf 2.0

1 small ripe pear
60g dark chocolate (around 70%)
125g unsalted butter, at room temperature
75g caster sugar
50g light brown sugar
2 eggs, beaten
135g plain flour
1 & 1/2 tsp baking powder
pinch of fine sea salt
1 tbsp plain yogurt

Preheat the oven to 190C/375F. Line a 8-9" loaf tin with baking parchment (or one of those liners) - fold the corners in so it fits. Peel the pear over a bowl, catching any juices. Chop into small cubes - you should have roughly 100-125g of chopped pear. Chop the chocolate up into rough chunks. Weigh the flour, baking powder and salt into a bowl.

Place the butter and both sugars into the bowl of a stand mixer (or use a mixing bowl and electric hand whisk) and cream them together until fluffy and pale. Scrape down the sides then add 1/4 of the beaten eggs and beat well until smooth. Add the next 1/4 and beat well. With the final two 1/4 additions, add a teaspoon of flour from the bowl too (this helps stop it curdling). Take the bowl off the mixer and scrape down.

Toss the pears and chocolate in the flour mixture (this helps them stay up in the mixture rather than sink as it bakes). Add to the mixer bowl and fold together until you have a stiff but uniform mixture. Add the yogurt and any leftover pear juices and fold again until combined. Spoon into the lined loaf tin and smooth over.

Add a sheet of baking parchment or foil over the top (to stop it overbrowning) then place into the oven. Bake for 30 minutes then remove the paper. Bake for a further 7 to 10 minutes until a cake tester can be removed cleanly from the centre. Leave to cool in the tin for 5 minutes then remove to a wire rack to cool - but do try a warm slice while the chocolate is gooey. The cake keeps in a tin for 2 days.

(Makes 1 loaf - about 10 slices)


Thursday, 5 April 2012

Poires Belle Helene


Sometimes the plate is empty. Sometimes it feels like you've got nothing left to give.

The last few weeks have been a wild tumble of brilliant and bad news, huge life decisions, multiple lifelong medical diagnoses and many hours at the doctors, almost constant house guests - all in the midst of plenty of work. Last night I got back from a 38hr round trip to the UK. It's been bone-achingly exhausting.


On Saturday this blog turned three. I had this post planned - the dish was made, photographed and eaten. I wanted to write something cheery and celebratory. I typed and typed but I couldn't find the words.

Usually the kitchen is a solace - a calming, healing environment. At the moment I'm finding cooking stressful. Hopefully this will ease as we settle into our new lives, irrevocably changed by these past few weeks. The horizon is very bright - but different.

The many hours of journeying in the past two days were useful. I had time to just sit and think. Process. To mourn what is lost and get excited about the new. To make lists, imagine how things will work out. To adjust to change.


Though blogging is usually something I really enjoy and find rewarding, sometimes it can be frustrating and dispiriting. An exciting new recipe doesn't work. Testing takes time, ingredients you might not have. You get an iffy comment that makes your heart sink. It's ok to acknowledge that.

But when I look back over these three years to the things I've learnt, the people I've met, the opportunities that have arisen, I'm amazed. Every time I've got frustrated and lost heart but not quit I've learnt something - even if it's just that I can keep going and that it is worth it.


So here is a true 'poires au chocolat' recipe for everybody - as healthy as I get and gluten and dairy free.

The sweetness of the pears is tempered by the lemon and the spices. The sauce still feels creamy and rich despite being made with the poaching juices.

You can jazz it up with ice cream - as in the classic French recipe - or leave it plain. I think I prefer it simple.


Poires Belle Helene
(a Poires au Chocolat original, based on the classic French dessert)

4 small pears - I used conference
water to cover (approx 2 ltrs)
2 strips of lemon zest + juice of whole lemon
1 cm fresh ginger, cut into 2 rounds
2-3 whole cloves
4 cardamon pods
1/2 stick of cinnamon, crushed
1/2 vanilla pod, split
1 tsp mild runny honey
100g dark chocolate (70%)
vanilla ice cream to serve (optional)

Select your pears carefully - though a few scratches won't matter, you don't want them to be badly bruised. They should still be firm to the touch - any riper and they'll disintegrate.

Fill a big pan with water and add the lemon zest, lemon juice, ginger, cloves, cardamon, cinnamon and vanilla pod. Fold a square of baking paper bigger than the pan into 2, then 4, then 8. Place the pointy tip in the middle of the pan and cut the bottom off so that it fits into the pan. Cut a cm or so off the pointy tip then unfold - it should look like a doughnut with a tiny hole in the middle. This is your cartouche.

Bring the water up to a boil then reduce to a gentle simmer. While the water is heating up, prepare the pears. Use your peeler/a corer/a knife to take out the bottom crown and the seeds inside - leave the stem. Peel the pears from the stem down in strips (this keeps the pretty shape). As you peel, dip them into the lemony water to reduce browning. Immerse in the simmering water. Repeat with the others. You need to work fairly quickly so the cooking time isn't staggered- if you'd rather go slowly (or have increased the number of pears), get a bowl of cold water and add some more lemon and leave them in there until you're ready to add them to the pan.

Top the water with the cartouche (so the pears don't poke out of the water and brown). Leave on a gentle simmer for roughly 15 minutes or until the pear gives to a toothpick but still firmly keeps shape. Remove the pears to a bowl then tip some of the water in so they're covered. Leave to cool while you make the sauce (if you're making them ahead, keep in the fridge once cool then reheat gently so they're not icy cold).

Chop the chocolate into small chunks and place into a medium bowl. Strain the remaining poaching water into a jug and measure out 150ml. Return to the pan and add the honey. Reduce by half over high heat - you can check it is about 75ml by pouring it back into the measuring jug. Leave to cool for a minute (it'll be boiling hot and would scorch the chocolate - but don't let it cool too far), then pour over the chocolate. Leave for a few minutes then whisk until smooth. Leave to thicken and cool for 10 minutes or so.

When you're ready to serve, remove the pears from the poaching liquid. Cut a slither off the bottom of each one so that it has a flat surface to stand on. Serve with the chocolate sauce in a jug and an optional scoop of ice cream.

(Serves 4)

Wednesday, 30 November 2011

Porridge


You're probably looking a bit confused right now. Porridge, Emma? Really?

My friend Elly (of Nutmegs, Seven) recently wrote a wonderful article about porridge. It really inspired me and I've been eating porridge for breakfast ever since. She sells it well: it's healthy, cheap and delicious.

When I was a little girl, porridge was a great wintertime treat. On a special morning mum would stir up a pot of oats then we would eat it drowned in double cream and brown sugar. I hadn't even considered adding spices to the mix.


This new, sexy porridge is amazing - full of flavour. I've tried lots of combinations and toppings. Elly inspired me to roast plums with orange juice and stem ginger and spoon them on top and from there I've experimented. The only things I've tried that were a little off were roasted figs on top and lemon zest in the porridge itself.

Writing a recipe for porridge seems a little ridiculous but I've put a sort of rough guide below. You can use your own basic recipe but do try adding in some spices and playing with toppings - it's fantastic.

(Also, if you're interested - top is fresh blueberry & toasted pecan, then raisin & pear, bottom is apple & sultana.)


My Porridge

about 1/3 to 1/4 of a tumbler of porridge oats (I use a small Nutella glass)
roughly 2/3 to 3/4 of the same tumbler of a mixture of water and milk, about half-half
handful of dried fruit (raisins etc), blueberries, grated apple
good sprinkle of cinnamon and ground ginger
fresh grind of sea salt and of nutmeg
optional splash of vanilla extract or dab of paste
fruit to top - chopped pear/apple/banana/roasted plums etc etc
nuts to top, toasted - I love pecans
Spoonful of brown sugar to finish (could use honey, maple syrup, golden syrup etc etc)

Measure the oats in the cup, then toss them in the saucepan. Measure the milk and water in the same glass, then pour in. Add the dried fruit/blueberries, spices & flavourings and stir. Put over a low heat and stir occasionally as it thickens. While it cooks, make a cup of tea and chop fruits/toast nuts. When it's thick enough (this changes with my mood), pour into a bowl and sprinkle your toppings on.

(Makes one bowl)


Tuesday, 11 October 2011

200: Pear and Chocolate Crumble


This is my 200th post.

I had a pear, chocolate and hazelnut tart recipe stashed away for the occasion (well, actually, for the 2 year marker I totally missed in March) but when I actually tried it on Sunday it wasn't anything special. So instead of sharing that, I decided to delve back into my old notebooks and pull out an early recipe for pear and chocolate crumble. Maybe I should have gone for a showstopper (like the Butterfly Fleur de Sel Caramel Cake I made for my 100th), but this humble crumble (heh) is what I felt like eating.

Poires au Chocolat is named after a few recipes I created back in 2009 that gave me my first feelings of satisfaction while recipe testing. Though the cake was the real eureka moment, I love this crumble too. I have a necklace with a little gold pear pendant to remind me of that feeling and of where this whole dream came from.


The post I wrote for my first blog birthday was special. It was in that post that I first revealed to the world that I wanted to train as a pastry chef. 21 months later and here I stand as a student. I still can't quite believe that my dreams are coming true all around me.

I want to share my experience at culinary school with you all in some way. I can't share the recipes or go through explaining all the techniques so instead I've decided to keep a photo diary of everything I make on Instagram, the photo app. At the end of each practical session I'll snap a photo and upload it - my account is poiresauchocolat if you're on Instagram or I will be tweeting a link every time. The photos for my first two practicals and a few other shots are on there already. In this way I hope I can share my highs and lows with you all.


I like the progression of these photographs (to ruin the surprise) and the idea that a grayscale world turns colour after some rejuvenating pudding. Pudding has incredible powers of restoration. Tired? A steaming bowl of crumble will put you back on your feet. I ate mine with greek yogurt this time but proper custard is perfection.

Here's to 200 posts, my 186th recipe and following your heart! (Imagine you have a glass of champagne at this point. Chink!)


Pear and Chocolate Crumble
(crumble recipe adapted from Delia's Complete Cookery Course)

For the crumble:
75g plain flour
40g unsalted butter
30g soft brown sugar
1/8 tsp ground cinnamon
1/8 tsp ground ginger
1/8 tsp ground nutmeg

For the filling:
3 medium pears, slightly unripe and firm to touch
1 tsp maple syrup
sprinkle of cinnamon and nutmeg
30g dark chocolate.

Preheat the oven to 180C. Sieve the flour into a bowl. Add the butter and rub in until you have fairly uniform crumbs. Stir in the sugar, cinnamon, ginger and nutmeg.

Peel the pears and chop them into medium chunks. Place into a medium saucepan and just cover with cold water. Add the maple syrup and a dusting of the spices. Put over a medium heat and cook until the pears are just turning soft. Remove the pears to a small baking dish or tin (I used a loaf tin this time as I didn't have a dish). Keep the remaining water over the heat till it reduces to about 2/3 of its original depth.

Pour the syrup over the pears in the dish. Roughly chop the chocolate and stud the pears with the chunks. Stir any little pieces of chocolate into the crumble mix, then top the pears with it. Bake for 30 minutes or until browned and bubbling.

(Serves 3-4)

Tuesday, 24 August 2010

Spiced Caramel and Pear Bundt Cake


As my blog title suggests, I love pears. Pears with caramel is a combination I've tried before (see Pear and Caramel Cakes) and I've poached pears before (see Rosé Poached Pears) but I've never made anything quite like this. I think it's really a dessert cake, but it's pretty yummy at any time of day.

This cake started when mum came home with these absolutely gorgeous corella pears. They sat in the fruit bowl looking pretty while I deliberated for ages over what to do with them. In the end I googled corella pear recipes and came up with this.  I felt awful peeling them - the skins are just so pretty.


The original recipe calls for four big sponge cakes sandwiched with whipped creme fraiche and cream, topped with the pears.  Instead I decided to give my new bundt tin a whirl and arrange the pears in the centre. I served it with a good dollop of creme fraiche instead of including another element.

A few days before I decided to make this cake, I bought a jar of star anise. This provided the perfect opportunity to try it out - I don't think I'd even smelt it before - though I know aniseed as a flavour from things like aniseed balls.

Before I saw this recipe I had never thought of turning a poaching sugar syrup into a caramel. I hadn't even made or tasted a spiced caramel before. Both were great - I'll be using them again.  

Instead of using dessert wine in the caramel I used pear juice. I didn't want it to be alcoholic and I thought it would be nice to increase the pear aspect. I switched the volumes around - there was more dessert wine than cream. I might slightly decrease the liquids added to make a thicker caramel - if you want to do the same, I'd recommend using 100ml of cream instead of 120ml. 


The cake itself was nice, but mainly served as a base for the rest of the dessert. I halved the original recipe and I ended up with far too much - I had another whole tin full. I've therefore put a quarter recipe below, which should be about right. 

Overall, this made for a lovely dessert with friends. I'm very glad I made it and discovered the various methods below - the caramel and pears were fantastic. 


Spiced Caramel and Pear Bundt Cake
(Adapted from Australian Gourmet Traveller, see here)

For the pears:
375g granulated sugar
juice and rind of a lemon
juice and rind of an orange
1 cinnamon quill
1 star anise
1/2 vanilla bean
500 ml water
3 corella pears

Put all the ingredients except the pears into a big saucepan. Put over medium heat, stirring occasionally, until the sugar has dissolved. Meanwhile, peel the pears, split them in half and then use a melon baller to scoop the pips etc out. When the syrup is ready, put the pears into the saucepan. Cover with a circle of parchment paper and weigh down with a plate. Turn heat down to medium-low and cook for 20 minutes until the pears are tender.

120 ml double cream
90 ml pear juice
15g butter

When you are ready to make the caramel, remove the pears from the syrup to another bowl. Strain the liquid into a deep sided pan (or the same big saucepan). Heat over medium-high until the mixture turns a deep golden caramel - this takes about 20 minutes or so. Whisk in the cream, then the pear juice, then the butter. Put the pears back into the pan and glaze for a few minutes. Remove to a bowl to cool.  


For the cake:
3 eggs
25g caster sugar
55g brown sugar
seeds of half a vanilla bean
75g plain flour, sifted
1/4 tsp baking powder
30g butter, melted

Preheat the oven to 180C. Prepare a bundt tin by buttering and flouring. Put the eggs, sugars and vanilla seeds into a mixer and beat until it has tripled in volume and holds a trail - this took me about 8 minutes. Meanwhile, melt the butter and set aside to cool. When ready, sift over the flour and baking powder and fold until just combined. Finally add the butter and fold in carefully. Pour into the tin and put into the oven. Bake for about 25-30 minutes or until golden brown and springy to touch. Remove from the oven and let cool in the tin for ten minutes before turning out. Brush the whole cake with some of the caramel to glaze. Serve slightly warm with the caramel pears spooned into the middle and the spare caramel on the side in a jug. 

(Serves 6 with some cake leftovers)

ShareThis