

On the night of the Guild awards, mum and I booked an early table at Honey & Co. A particularly fantastic dessert - a just-set milk pudding topped with syrupy poached peaches and rose - and the meal in general affirmed that I definitely needed to buy a copy of their book, which came out two weeks later.
The day I received it, I went straight into the kitchen to try out the honey parfait. If you don't have lolly moulds the book suggests making cones out of greaseproof paper and propping them up in the freezer. I made some out of my favourite foil lined parchment (it's stiffer, which I thought would be useful), using the technique for making paper piping bags but securing them with a staple. I didn't have any lolly sticks either so I used some cotton thread to secure a few chopped up pieces of wooden skewer together. Though I enjoyed the honey flavour, the texture and technique were the things that really captured me.

To play with the technique, I decided to try substituting the honey. I toyed between caramel and maple syrup before, predictably, picking caramel. The only problem with caramel is that once you've got to the caramel stage of a sugar syrup, it's not at the right stage to pour onto the egg yolks (I was 99% sure it wouldn't work but decided to check anyway - it was a mess). I found that adding a little cold water to the caramel when it reaches the right stage brings it back down to roughly 100-110C. The resulting syrup then works beautifully. I want to see if the same technique works for Italian meringue, too - does caramel meringue sound good?
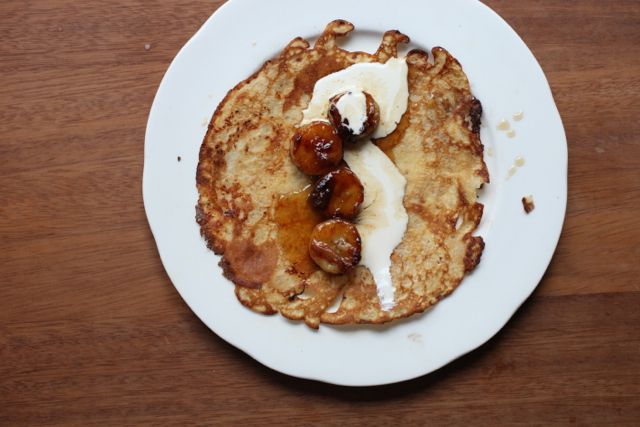
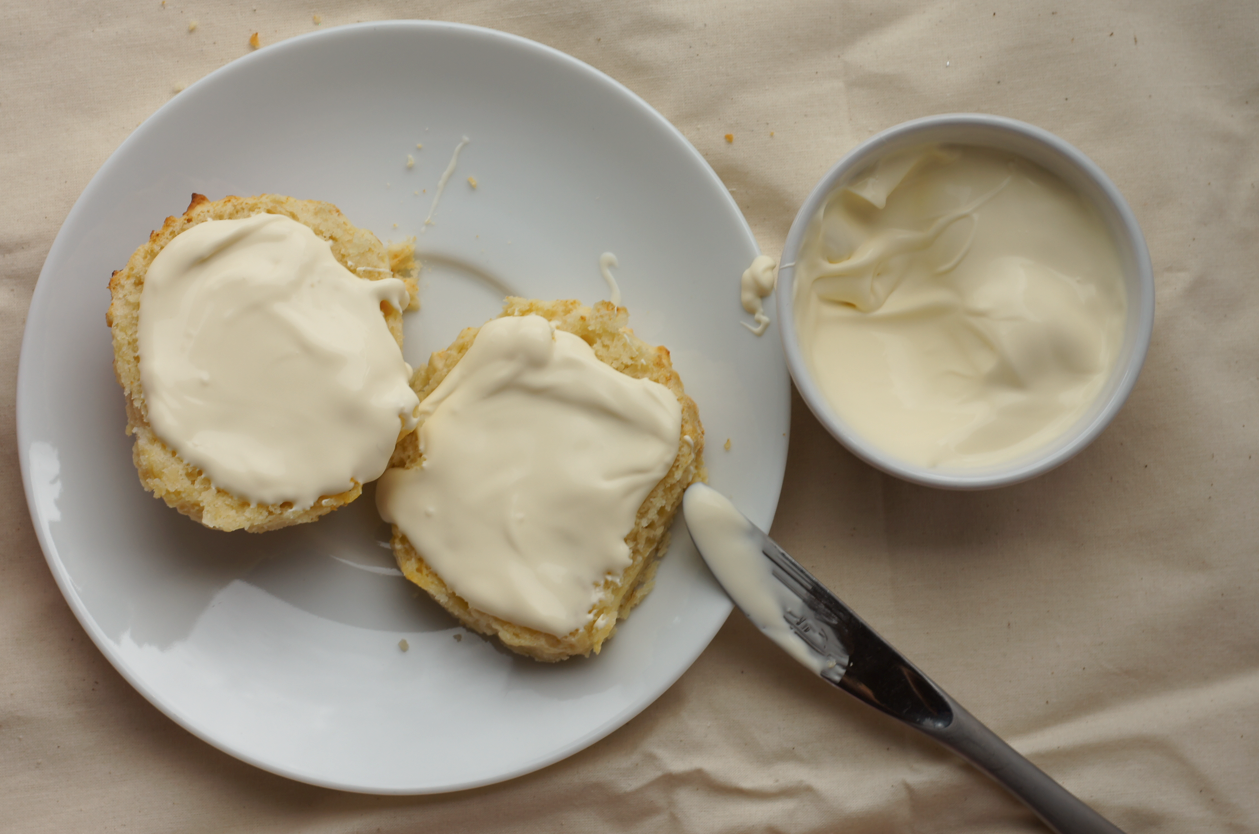
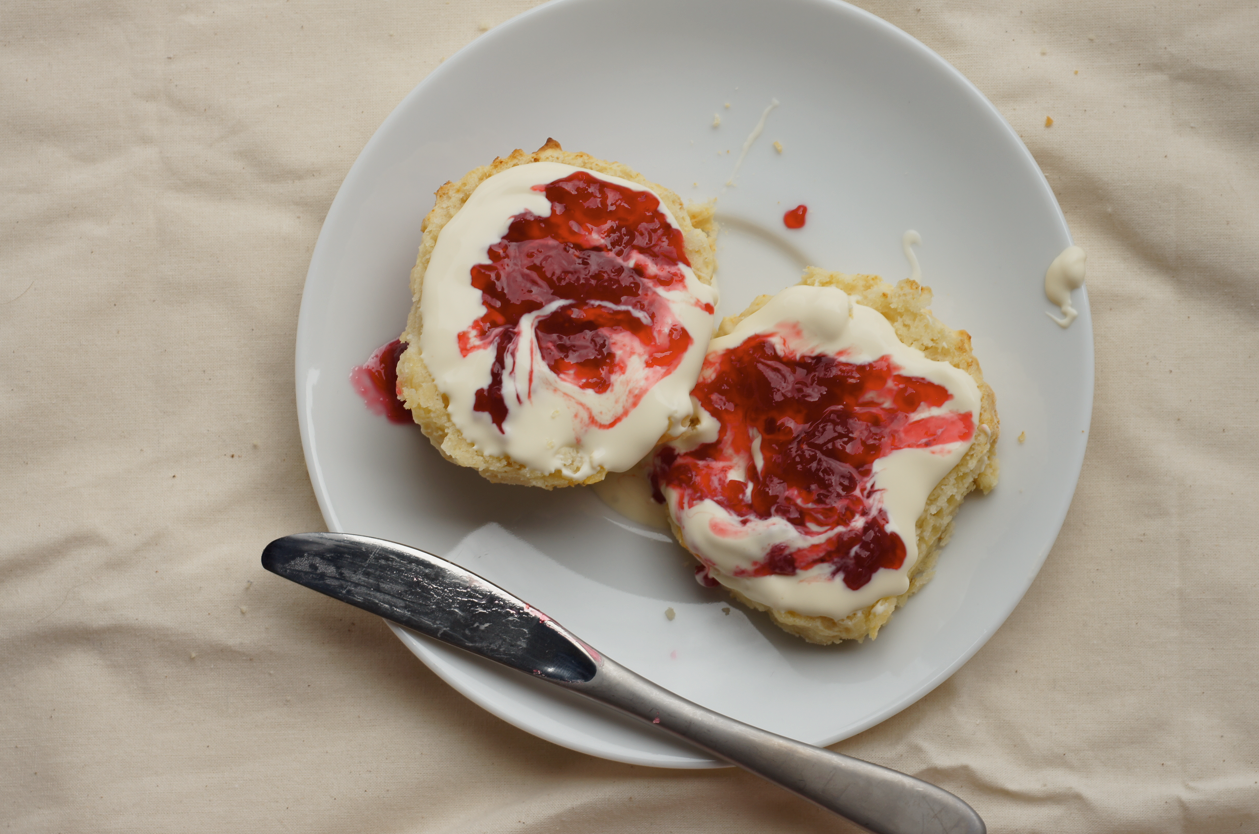
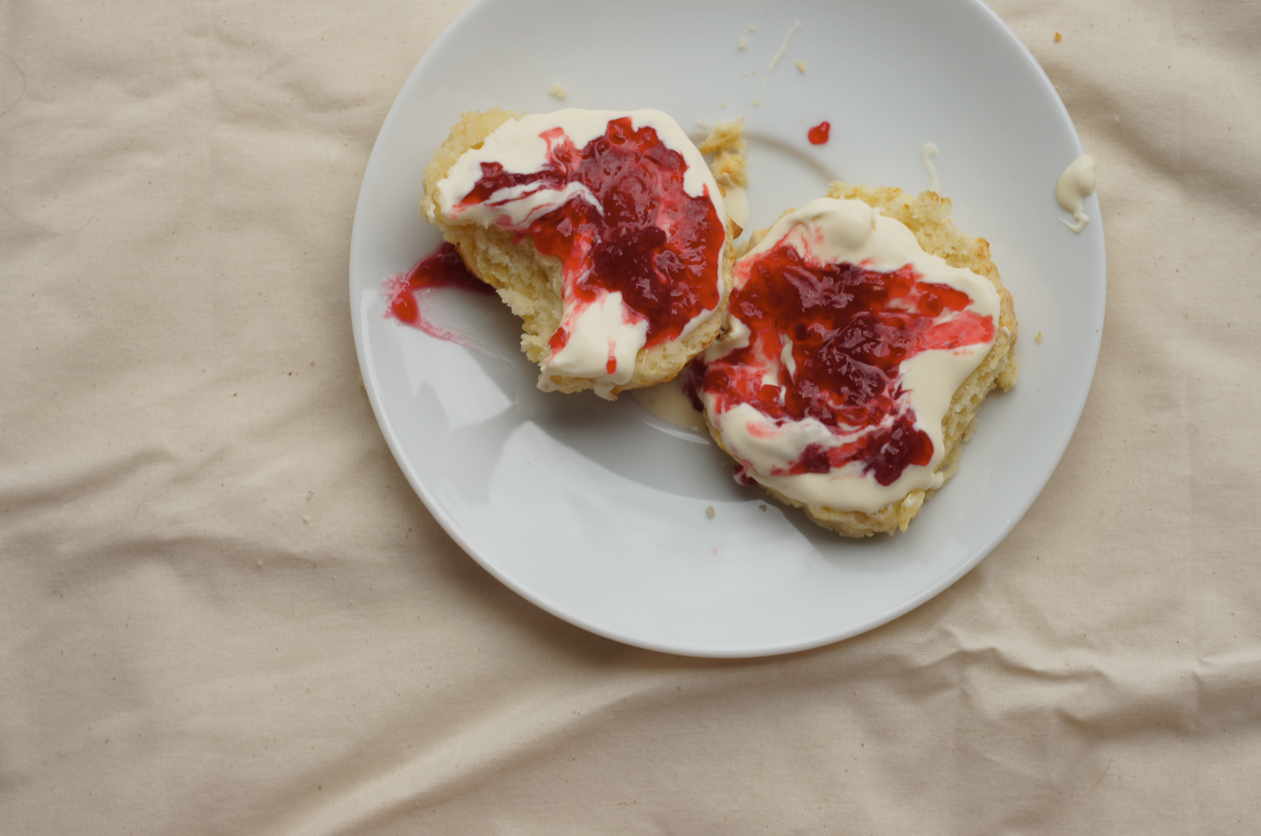
I've been shaping the parfait into a little loaf, which I then serve in tiny slices. It's very rich. I've also added some caramel pieces to boost the flavour and to provide a bit of textural contrast. The caramel pieces liquify a little at the edges and soften - though they still crunch - in the freezer. I have salted the caramel, but only lightly - you could increase it a touch for a more pronounced flavour.
Parfait has a different texture to ice cream or gelato or any other creamy frozen dessert I've tried. It's like very cold, smooth mousse, as it doesn't become particularly hard when it freezes and has quite a bit of air incorporated - it's almost foamy (in a good way). Definitely worth trying, anyway, whether you choose honey or caramel, loaf or lolly.

Caramel Parfait
(inspired by Honey & Co's Honey Parfait)
For the caramel pieces:
25g white sugar (caster or granulated)
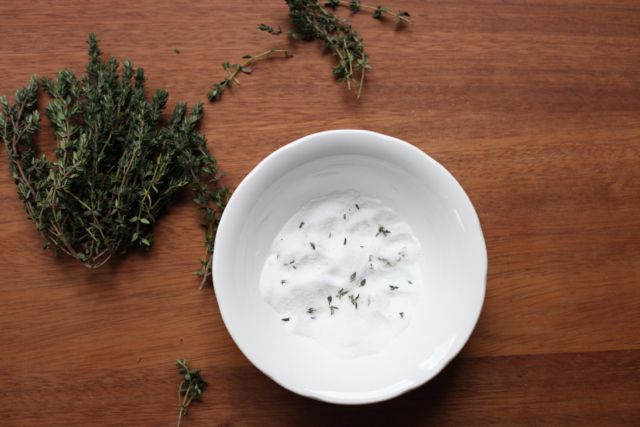
pinch of fine sea salt
For the parfait:
2 large egg yolks
25ml cold water
pinch of fine sea salt
50g white sugar (caster or granulated)
140ml double cream
Start with the caramel pieces. Tear off a bit of baking parchment and place on a worktop near the stove. Spread the sugar (25g) evenly over the bottom of a small pan. Place over a medium-high heat and watch carefully - after a few minutes, the sugar will start to liquify at the edges. Don't stir it - you can flick some of the crystals onto a liquid bit, but don't fiddle too much. Once it's nearly all melted and starts to caramelise, swirl it all together. Keep heating until you have a clear liquid with a deep golden-bronze colour, then swirl in the salt and quickly pour onto the parchment. Leave to cool. When it has solidified, chop into tiny pieces with a knife (and watch out, it tends to splinter and fly off the board - it can be quite sharp at this point).
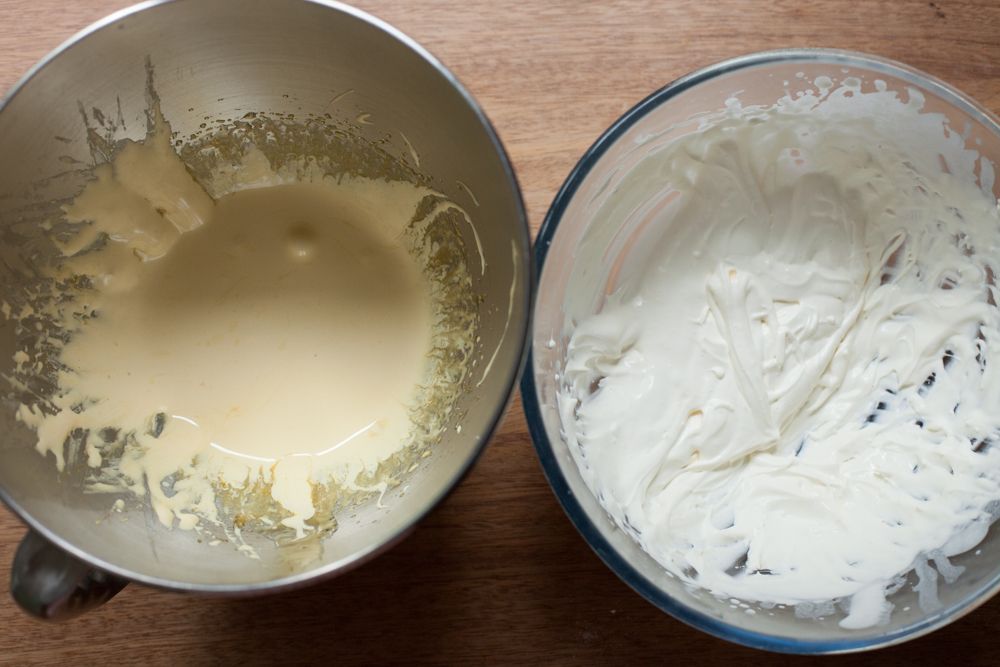
Line a baby loaf tin or small box (roughly 6" x 3") or another shape (perhaps a small bowl for a bombe shape?) with a big piece of clingfilm. Place the egg yolks into the bowl of a stand mixer with the whisk attached. Combine the water and salt and put them near the stove. Don't bother to wash the caramel pan - just sprinkle in the sugar for the parfait (50g). Make the caramel as before, but when it is ready, turn the heat off and immediately pour in the salty water. It will react quite wildly, steaming and bubbling, but after the first few moments, start stirring and keep going until the mixture is smooth. It should still be bubbling away (if not, or if the pieces aren't dissolving, turn the heat back on for a moment). Turn the mixer with the egg yolks in up to medium high, then carefully pour the hot caramel down the side of the bowl into the whisking yolks (see this video). Turn the mixer up to full speed and leave to whip.
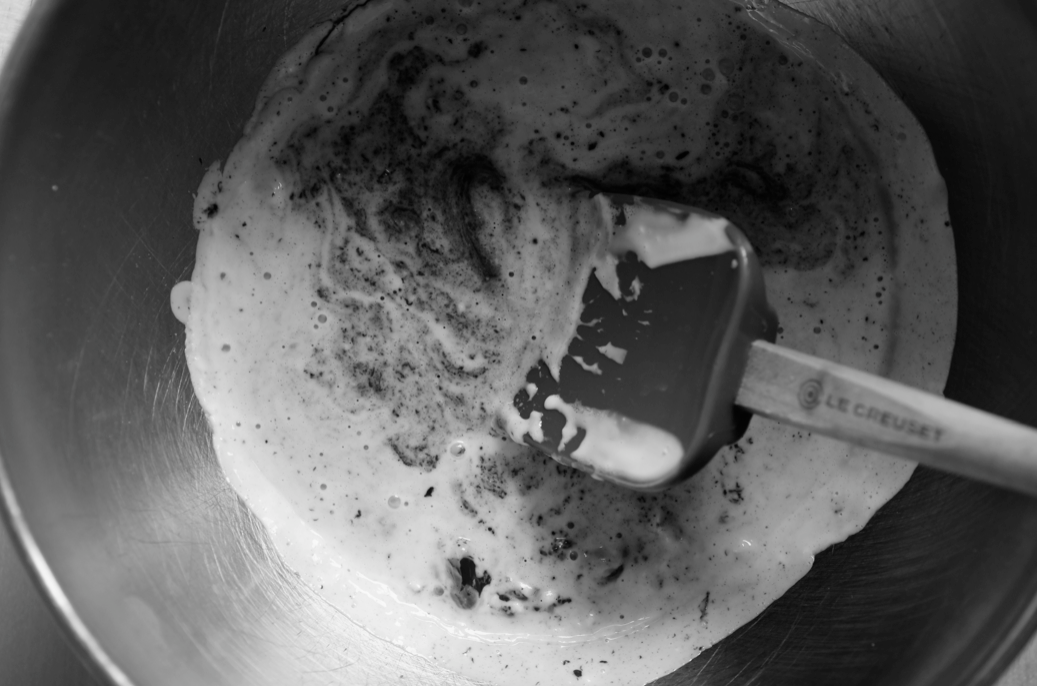
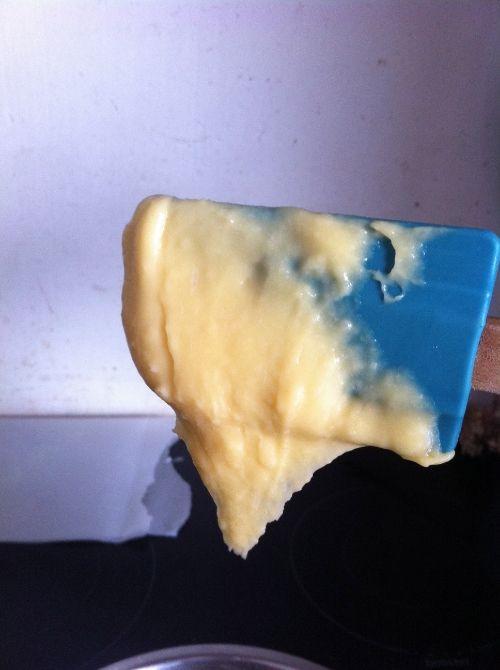
While it whips, start whipping the double cream until it thickens and starts holding shape in very soft peaks - it's important to not overwhip it (see this photo for the way both the cream and caramel mixture look when ready). The caramel mixture should be pale yellow and very thick and when you lift the whisk out the trail should stay on the surface for at least the count of five.
Scrape the caramel mixture into the cream bowl and fold in with a big spoon (see this video for technique, though these mixtures are the same consistency). When the mixture is uniform, add the caramel pieces and fold them though. Scrape into the lined mould, level off, pull the clingfilm over the top and put in the freezer. It's best left overnight but will have hopefully firmed up enough after 5-6 hours.
(Makes about 6-8 very small slices)

Three more recipes that involve whipped cream:
2010: Eton Mess
2011: Coconut Cream Cake
2013: Caramelised White Chocolate Éclairs


