Showing posts with label oranges. Show all posts
Thursday, 4 October 2012
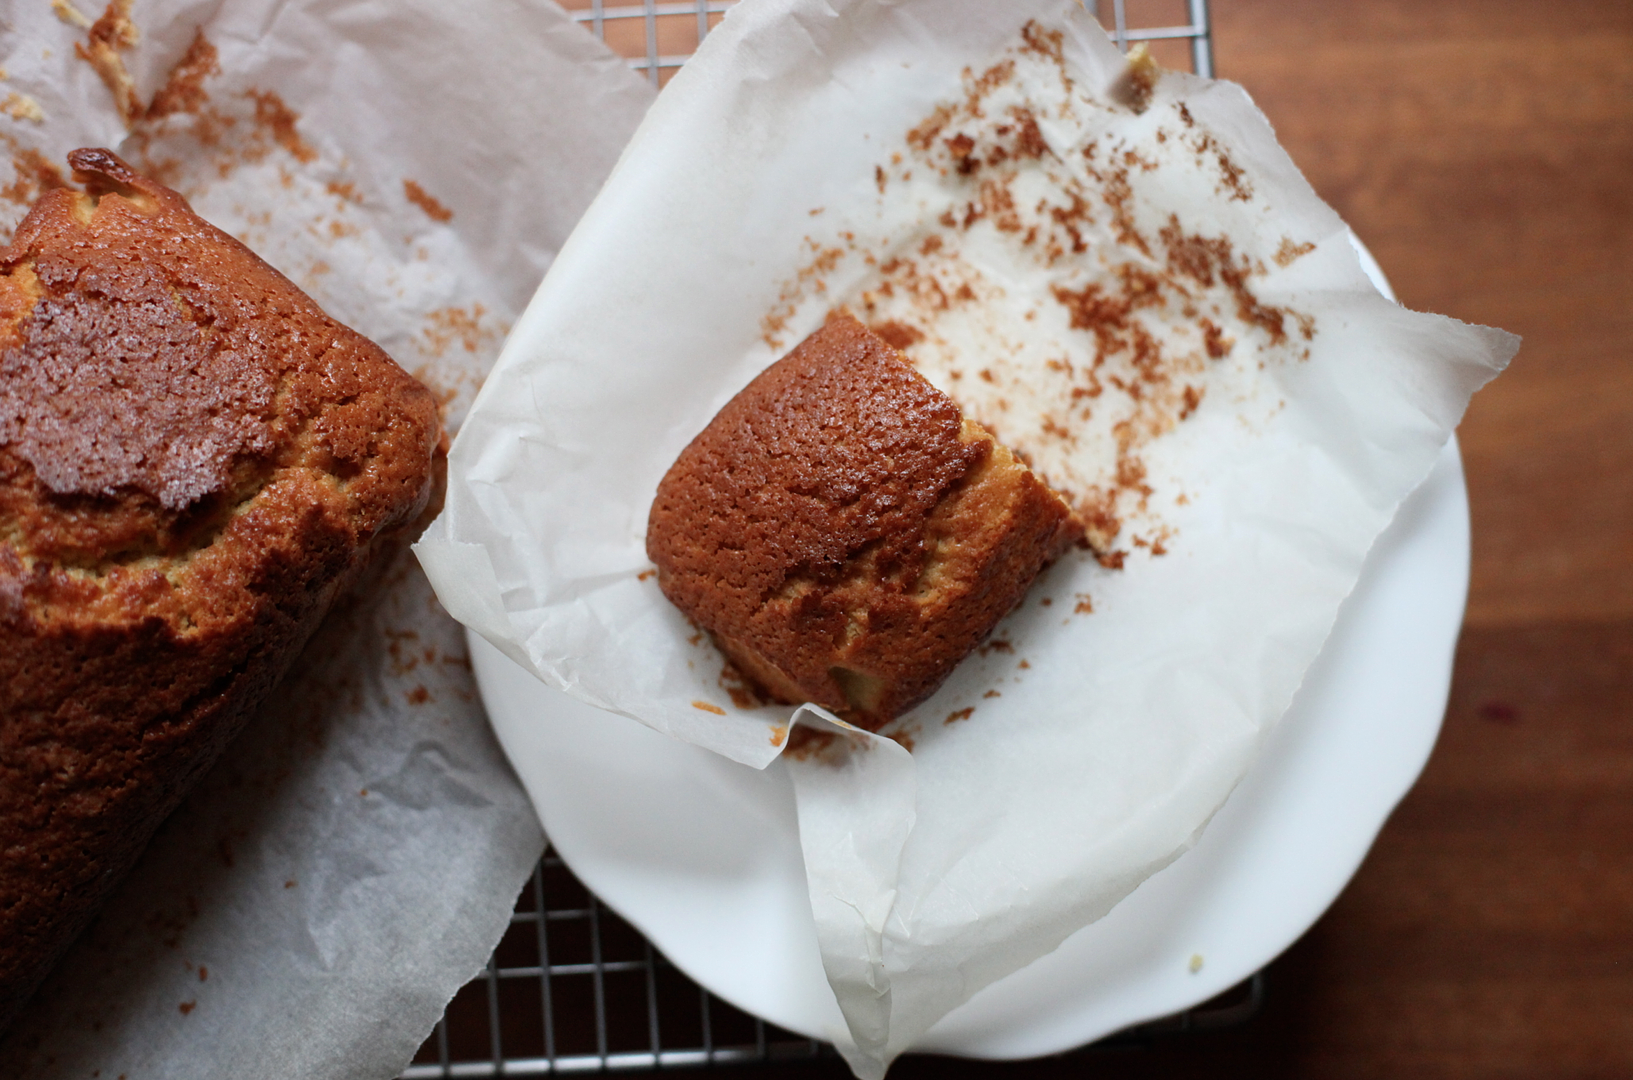
Cardamon & Orange Pound Cake
This cake is part of my continuing search for the perfect snack to eat outside the library.
It needs to be:
a/ robust enough to handle being bashed around in my bag.
b/ self-sufficient - i.e not need anything else to go with it (including tea).
c/ filling enough to fuel reading.
d/ able to keep well so I can have it for several days.
e/ tempting enough to be used to reward/bribe myself.
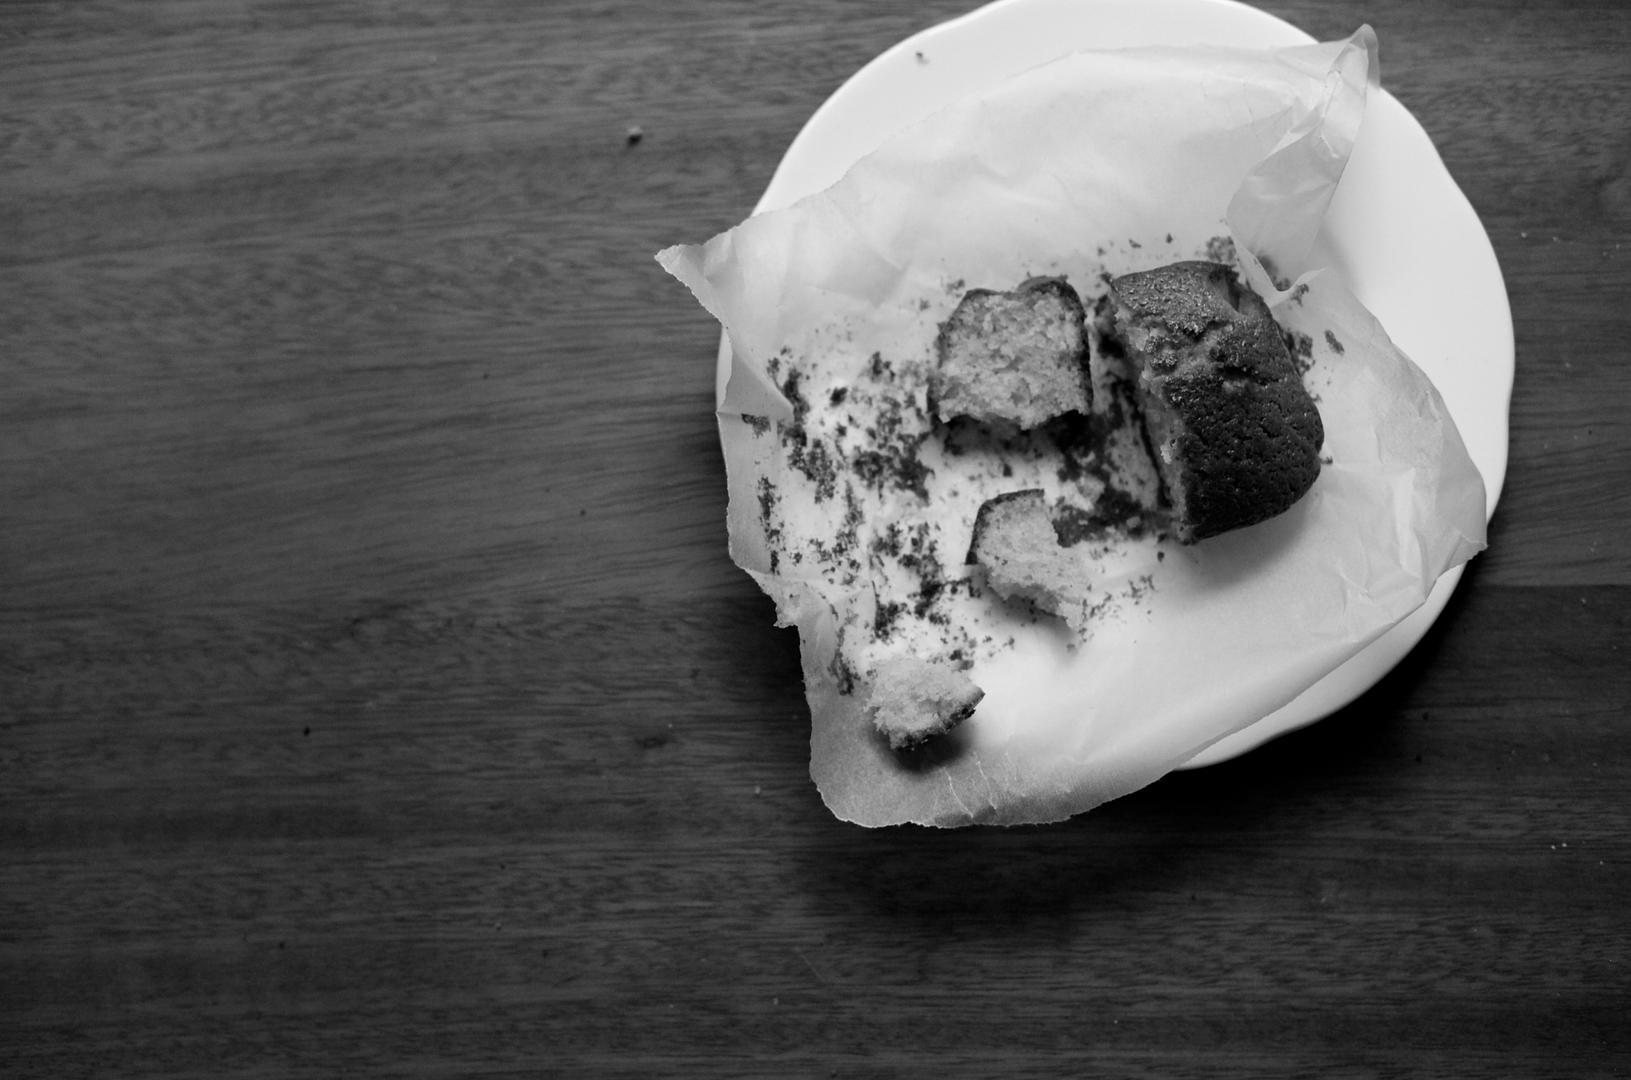
This recipe fulfils all my criteria.
Pound cake is a term for a traditional creamed sponge, so named because they used to make huge cakes involving a pound (around 450g) each of butter, flour, sugar and eggs. This is a slightly different recipe - with the oil and milk and so on - but its roots lie in that tradition.
I flavoured the cake with orange zest and freshly ground cardamon. I wanted the flavours to be subtle instead of punchy - as I'm eating it unadorned, there aren't any other flavours competing, so it doesn't need to hit you over the head.
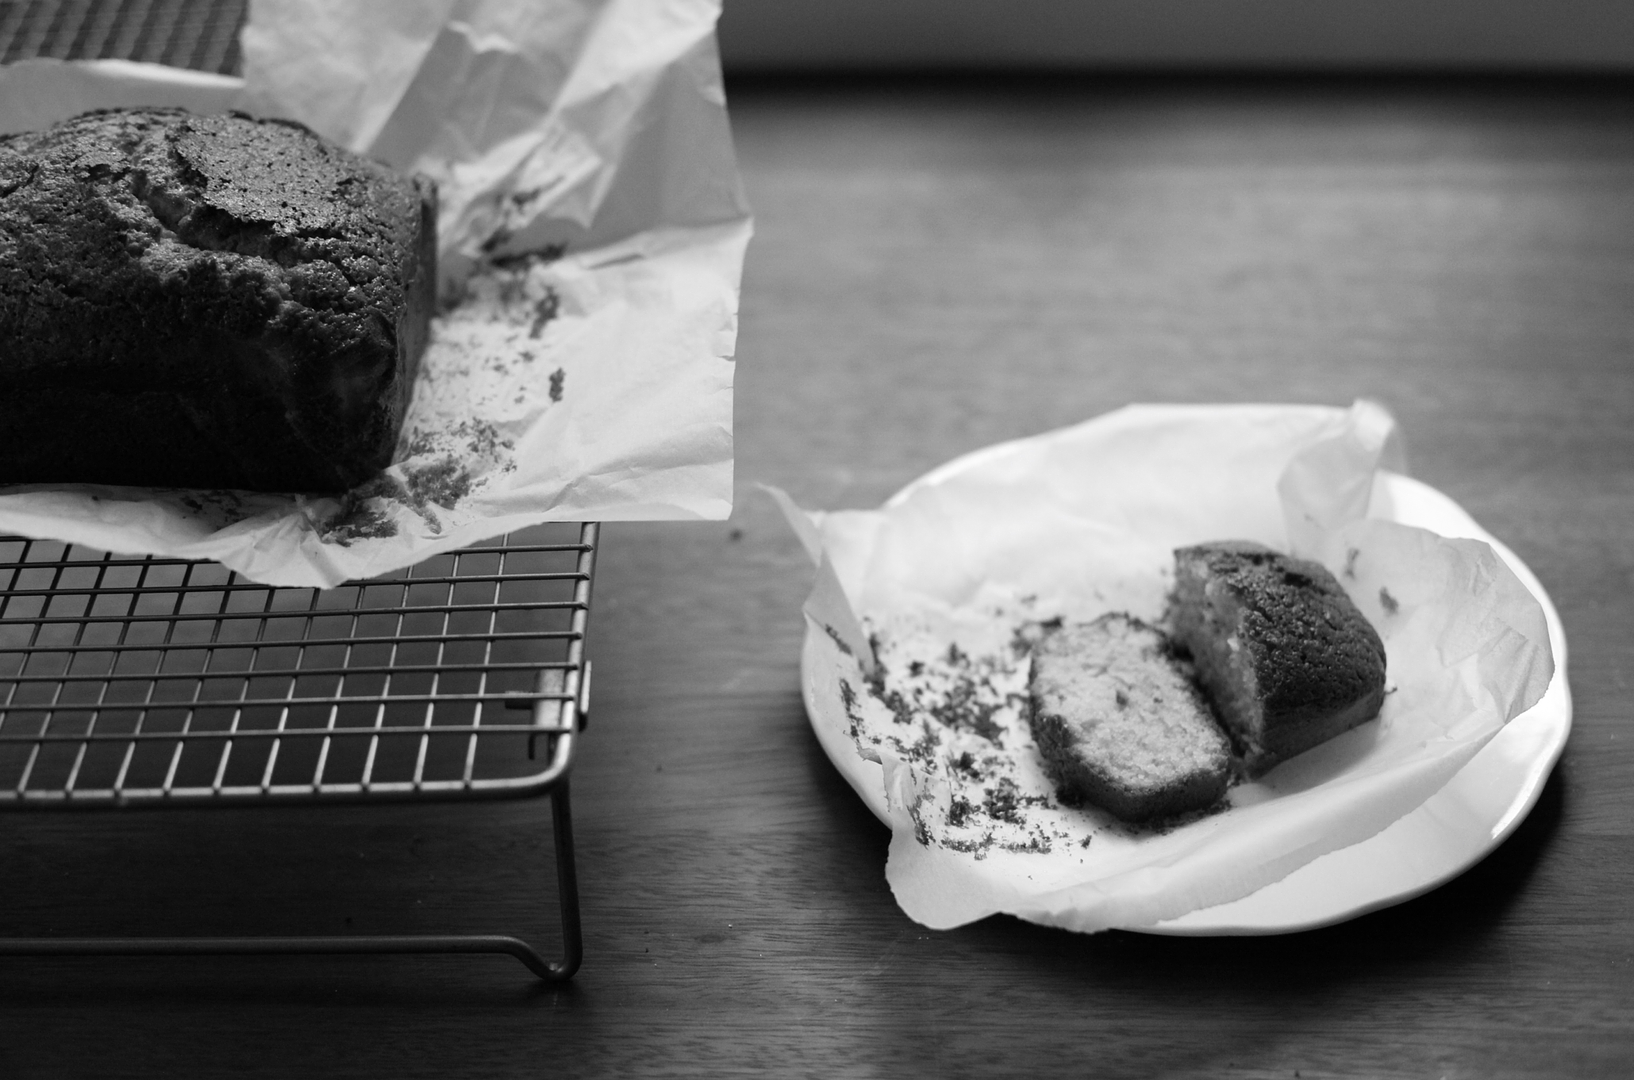
I had a friend coming round the evening I made the cake, so I siphoned off a bit of the mixture into a tiny loaf tin so it would bake faster and we could eat it earlier. Alas, my genius plan was flawed - I had to wait for the big cake to nearly finish baking so it didn't sink because I'd opened the door. So yes. It's not a shortcut.
Also - if your kitchen starts smelling very strongly of orange cough syrup while the cake bakes, do not panic. The cake itself does not smell of orange cough syrup and it does not taste of orange cough syrup. It freaked me out. I don't like orange cough syrup.
P.S. I'm getting glammed up and heading to the Cosmopolitan Blog Awards tonight - wish me luck!
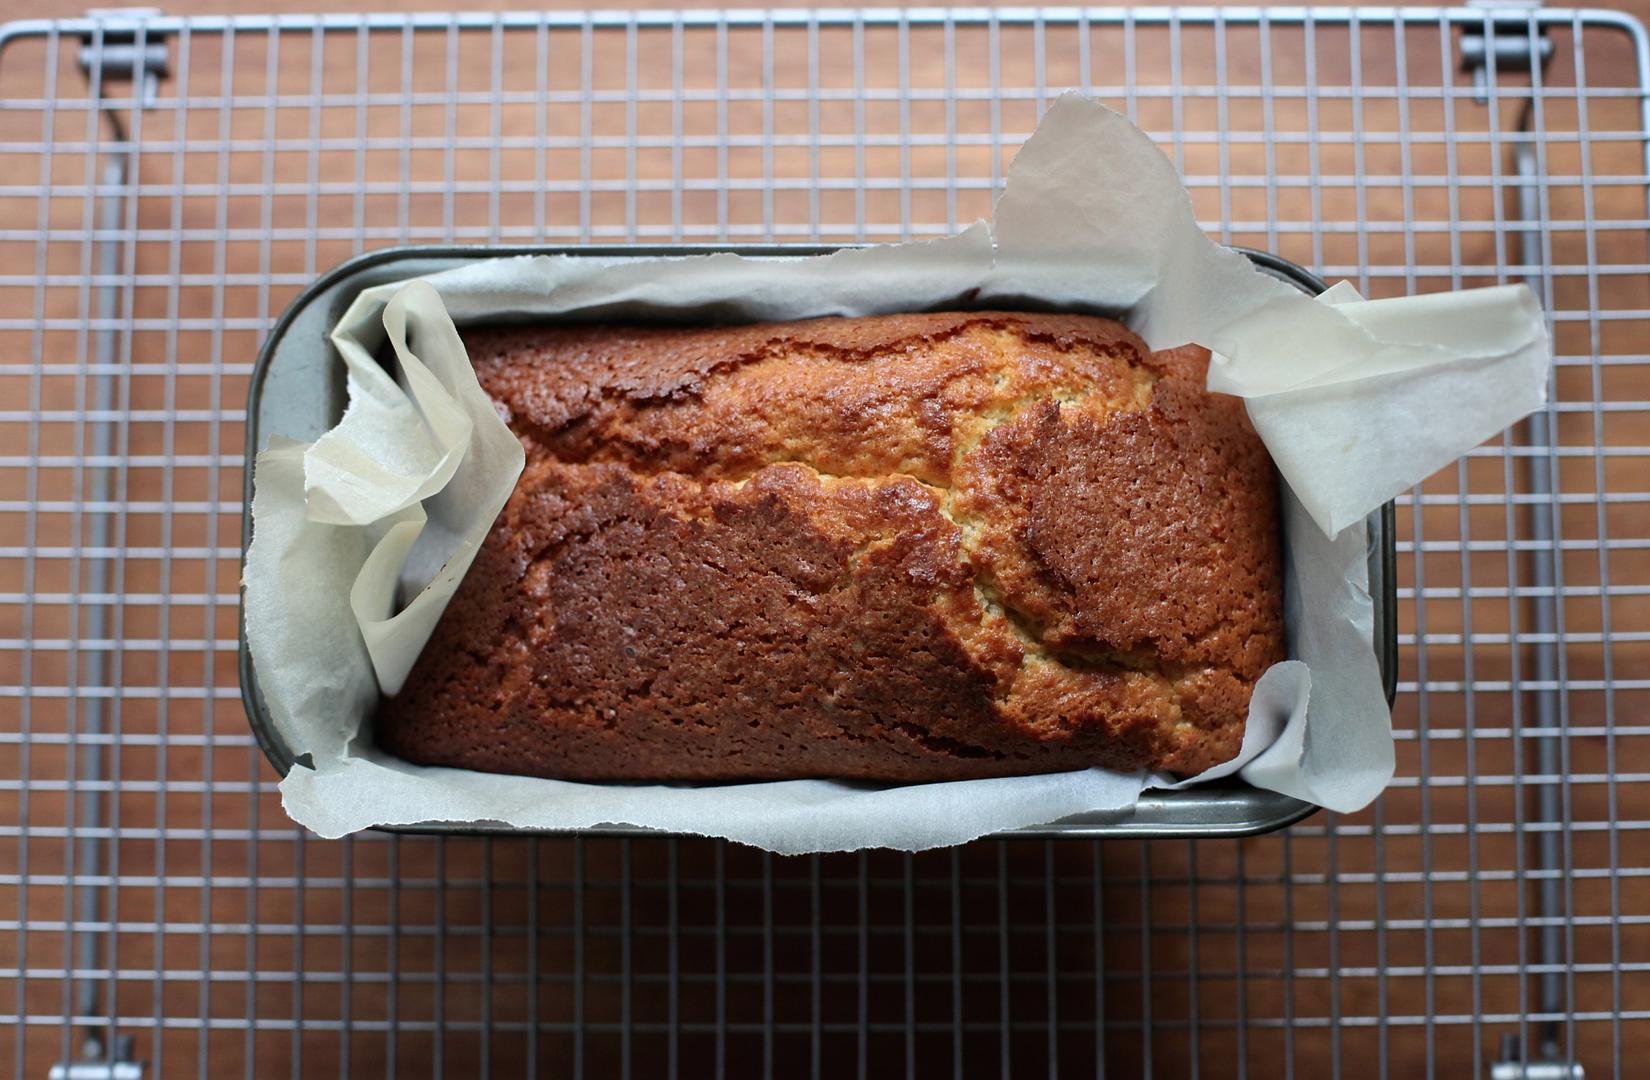
Cardamon & Orange Loaf Cake
(adapted from Alice Medrich's Olive Oil Pound Cake in Sinfully Easy Delicious Desserts)
zest of an orange
200g caster sugar (I used golden)
4 whole cardamon pods
165ml extra virgin olive oil
big pinch of fine sea salt
3 eggs, cold from the fridge
200g plain flour
1 and 1/4 tsp baking powder
165ml milk
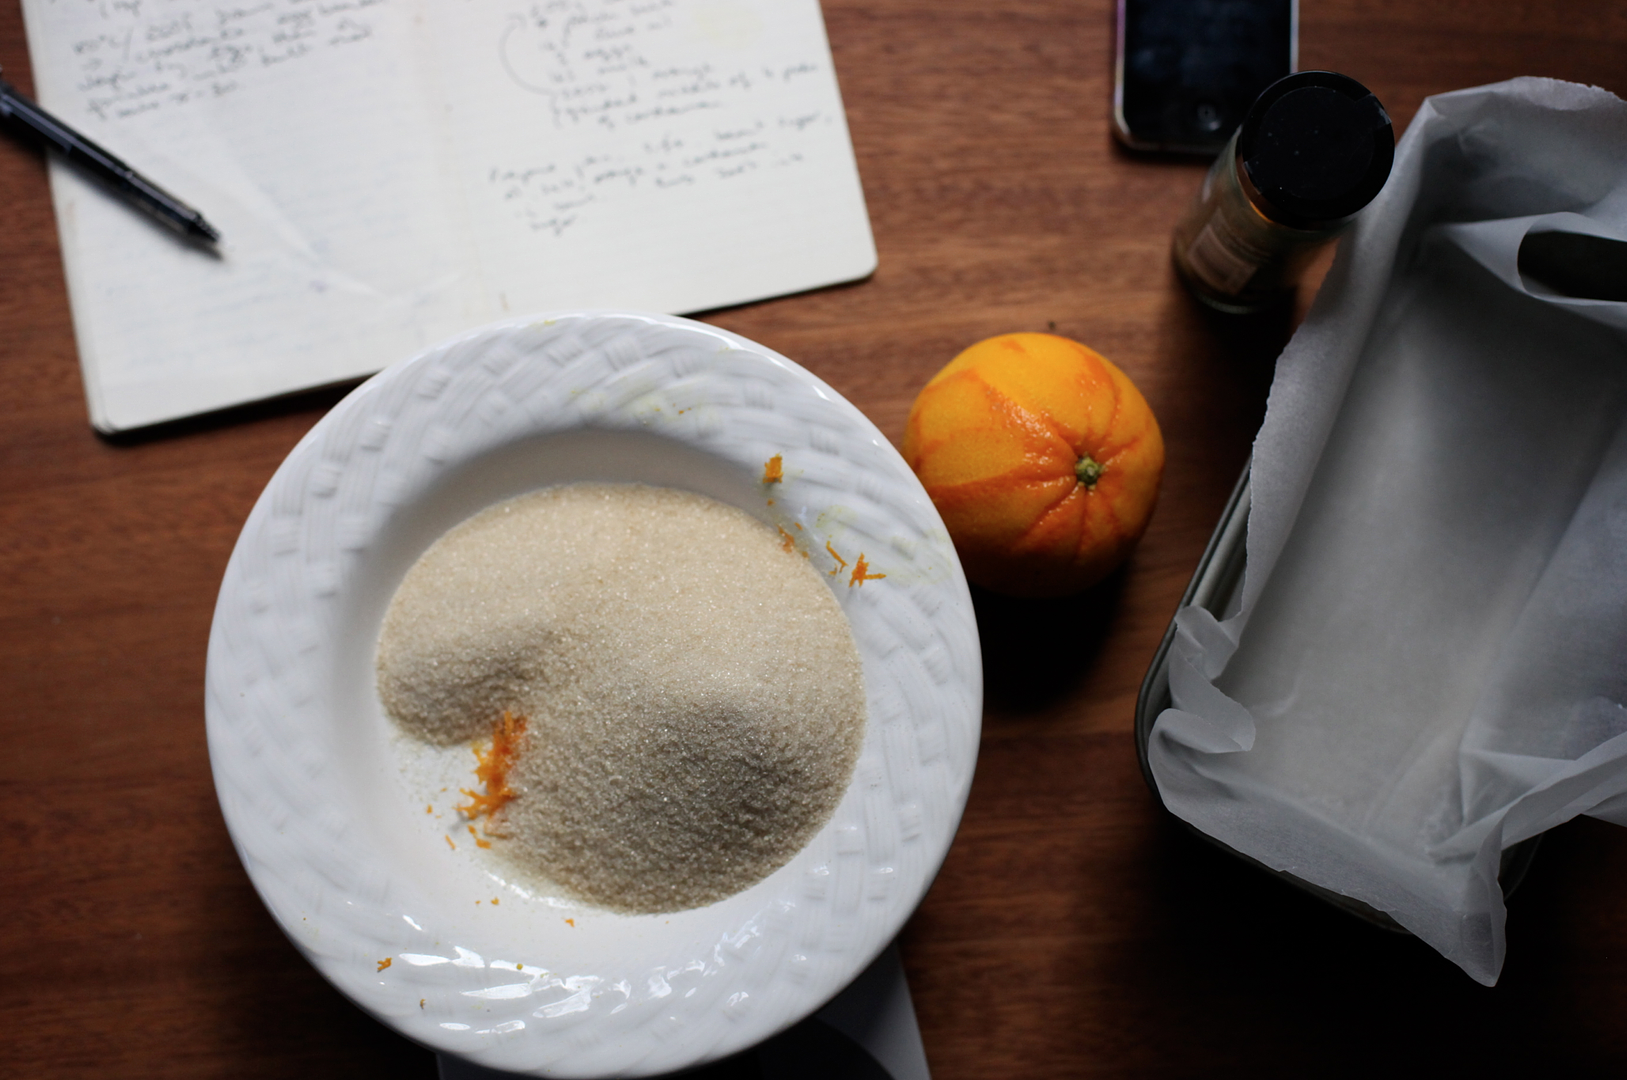
Preheat the oven to 180C/350F. Line a 9x4" (23x10cm) loaf tin with baking parchment. In the bowl of a stand mixer (ignore my other bowl above, this will save on your washing up), rub the zest into the sugar with your fingers until the sugar has turned orange (this releases the oils in the zest). Crack the cardamon pods by crushing them with the side of a knife. Remove all of the little black seeds and discard the shells. Grind the seeds up with a pestle and mortar. Add the cardamon, olive oil and salt to the mixer bowl. Beat with the paddle attachment until combined. Add the eggs one by one, mixing well between each addition. Beat on medium-high for 5 minutes - the mixture should look paler and thicker.
Sieve the flour and baking powder into a bowl. Add a third of the flour to the mixer, stirring on low until combined. Add half the milk, then another third of the flour, the rest of the milk and the rest of the flour, mixing until uniform in between each addition. The mixture will be pretty liquid. Scrape the beater and the sides down and fold in. Pour into the prepared tin and place in the bottom third of the oven. Bake for 60 to 70 minutes until well risen, golden brown and a knife/cake tester can be removed cleanly from the middle. Cool on a wire rack for 10 minutes then remove from the tin. Keeps well for four or five days in airtight tin/box and freezes well.
(Makes one loaf)
Sunday, 19 February 2012
Crêpes Suzette
Do you like to play with fire? If so, this is the recipe for you.
Do you like soft and wispy crêpes? Buttery caramel sauces? Bright and seasonal citrus? If so, you should make this dish.
It's pancake day or Strove Tuesday this week. As I've already written about my favourite brown butter crêpe recipe and made a Dusky Caramel and Raspberry Crêpe Cake, I thought I would try something new.
Crêpes Suzette is a traditional French dish. Depending on who you believe, it was either developed in 1896 for the Prince of Wales and his female companion 'Suzette' by the chef Charpentier at Monte Carlo or - more likely - discovered at Restaurant Paillard in Paris in 1889 and named after an actress.
They're also made by Mrs Patmore in Downton Abbey, which adds a little glamour and yet another excuse to try them.
I served these with homemade cinnamon ice cream. I use David Lebovitz's fantastic recipe - you shatter a load of whole cinnamon quills into the base and steep it all overnight. The flavour is incredible. It works really well with a lot of wintery desserts so I try to keep a tub in the freezer.
I haven't written the recipe out as this is already a long one and I've probably written about too many Perfect Scoop recipes as it is. I really recommend you buy the book, I love it and use it all the time. (But, ahem, you can find the cinnamon recipe online in both US and metric here).
I know the recipe seems very long. It's not actually that complicated but I wanted to make sure everything was clear and you could work quickly and smoothly through it. If you prepare everything in advance - I made the crêpes and measured everything else - it's really easy to do with guests and they'll love the dramatic flames.
I've tried this using bought orange juice with a squeeze of lemon instead of fresh juice and it was nearly as good (I still served it with a slice of orange). The first batch of crêpes were half wholemeal but I preferred them with just plain for this. I've also tried it with both navel and blood oranges - both were delicious. I've made two batches of crêpes and four sets of the dish in the last three days - it's that good.
I don't think it's traditional to serve this with slices of orange or with ice cream but I think they finish the dish beautifully. The fresh orange brightens the taste and adds texture. The ice cream gives a creamy temperature contrast and the cinnamon melds beautifully with the caramel and citrus.
Crêpes Suzette
(Crêpes adapted from Delia's Complete Cookery Course, sauce adapted from Matthew Fort and Raymond Blanc here)
For the crêpes:
15g butter
55g plain flour
1 egg
100ml milk
25ml water
extra butter for frying
For the sauce & to serve:
2 big oranges
1/4 lemon
60g caster sugar
50g butter
good splash of Cointreau or Grand Marnier
2 scoops of cinnamon ice cream (optional)
Melt the butter in a big, heavy-bottomed frying pan. Keep heating until the butter foams up and dies down and is full of rusty flecks. Pour into a bowl to cool.
Weigh the flour into a mixing bowl and whisk it to get rid of any lumps. Make a well in the centre and break the egg into it. Start whisking the egg into the flour, slowly incorporating more from around the edges. Once you have a thick paste (about half the flour will still be there), start adding the milk. Keep whisking and incorporating splashes of milk and more of the flour until you have a smooth batter. Whisk in the cooled butter. Add most of the water, reserving a little to adjust if needed.
Heat the frying pan up again and add a little bit of butter. Either transfer the crêpe mix to a jug or find a ladle. Once the pan is smoking hot turn the heat down a bit. Pour some of the mix into the pan at an angle and swirl quickly. Flip when starting to brown at the edges. Once browned on the bottom too, remove to a plate lined with a piece of kitchen paper. Repeat until you've got four crêpes you're happy with (you should have batter for about 6). You can now keep them covered in cling film in the kitchen paper (I dampen the top piece) for a few hours or proceed immediately.
Slice one of the oranges so that you have two slices from the middle to serve fresh, and two ends to juice. Carefully pull the peel off the two slices and set aside. Juice the rest of the orange, the other orange and the lemon into a measuring jug. You should have about 150ml of liquid.
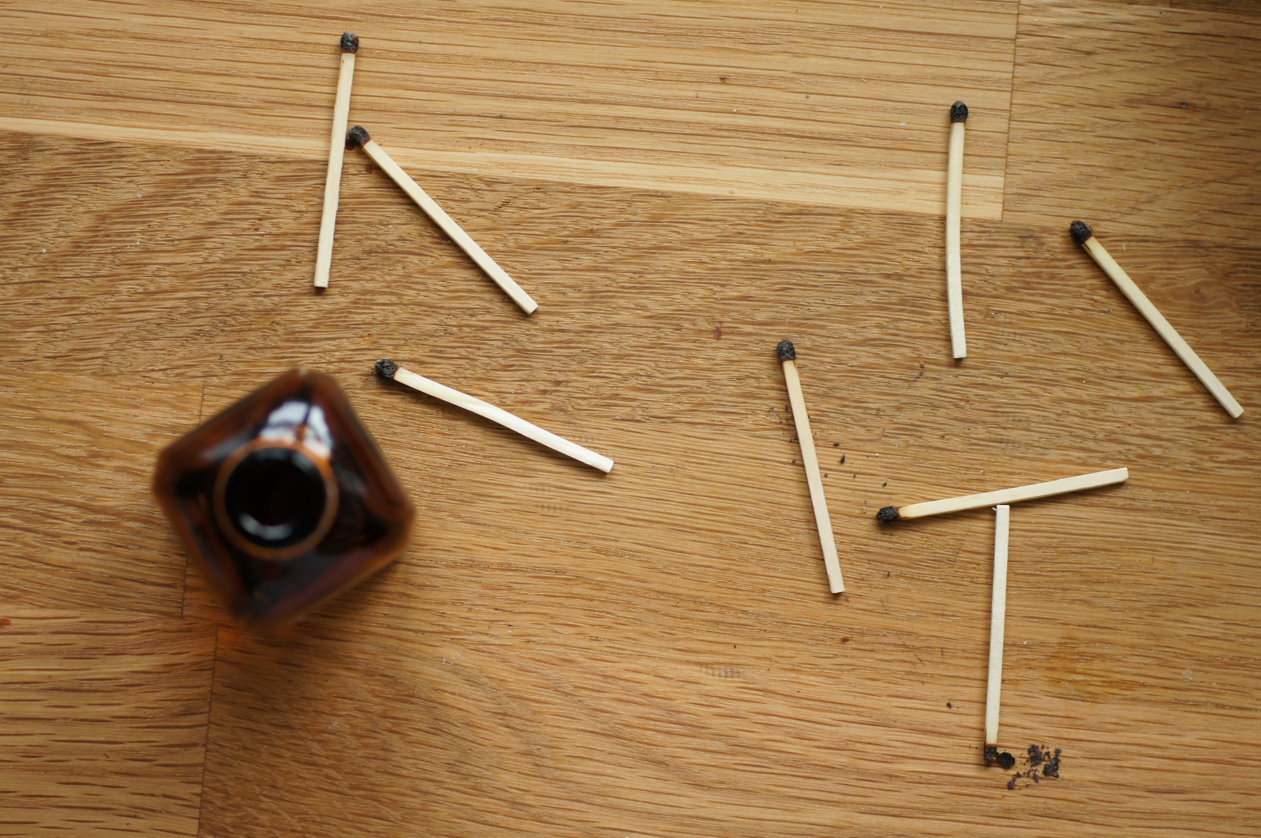
Clean the pan that you made the crêpes in. Have everything ready - a whisk, some tongs or a fork to maneuver the crêpes, the butter, the juice, the crêpes, the alcohol, a small frying pan to heat it, matches, the garnishes, plates.
Scatter the sugar evenly over the surface of the pan. Heat over medium-high heat, shaking the pan slightly every now and then to maintain an even layer. Once the sugar has melted and begins to caramelise, scrape the sides down and swirl lightly so that the sugar colours evenly. Once it has reached a deep golden colour, take off the heat, add the butter all at once and whisk until smooth and frothy. Add the juice in two goes, whisking well between each - it may clump up a bit but will melt down in a minute. You'll have quite a bit of liquid.
Return to the heat. Add the first crêpe to the pan, then carefully turn it over with the tongs/fork, making sure it's totally soaked. Fold in half, then into quarters and move to the side of the pan. Repeat with the next three crêpes until the pan is full of the four quarters. Let the crêpes soak and the sauce reduce a little over the heat for about 1 minute, until you have a deep golden syrupy sauce. Transfer the crepes to the plates with some extra sauce. Add the orange slice and ice cream.
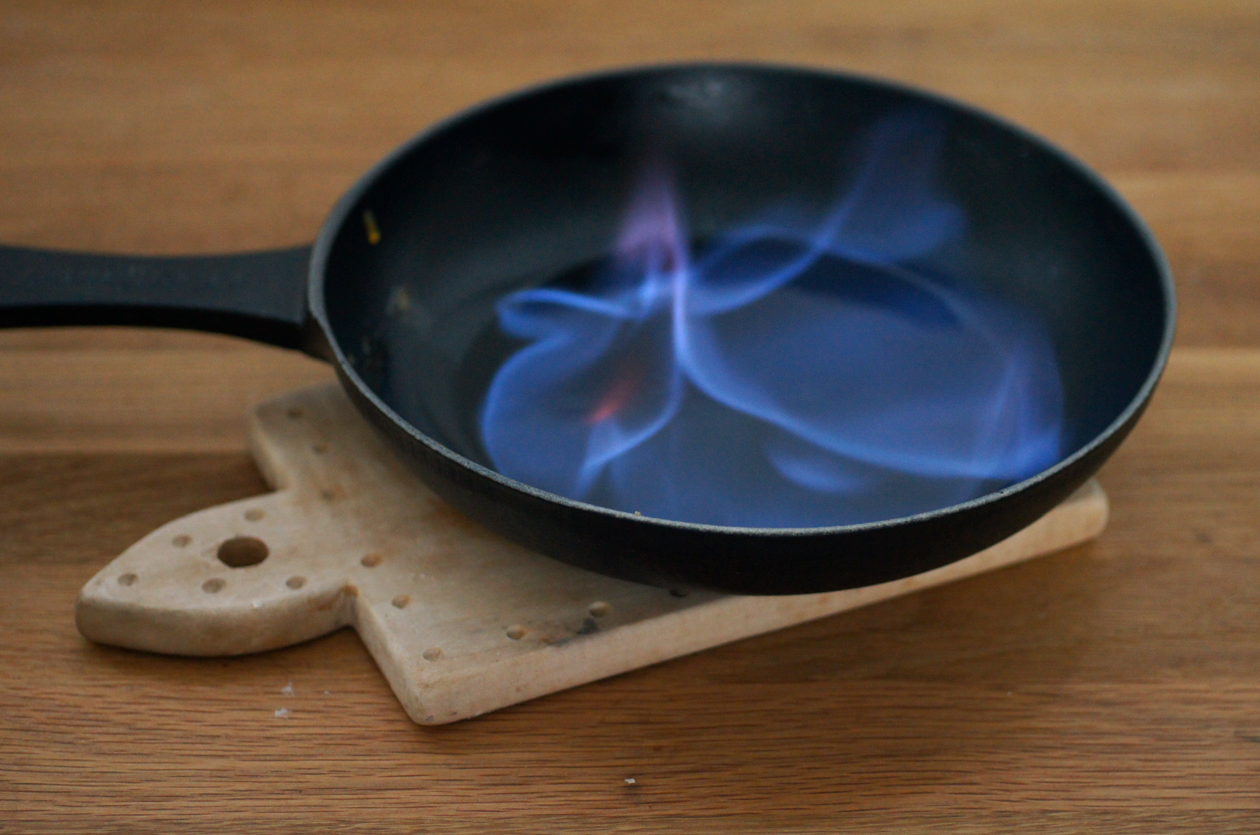
Turn off most of the lights in your kitchen. Quickly add a splash of alcohol to the small frying pan and heat until vapours start rising. Light a match and touch it just inside the pan. Blue flames will erupt - watch for the flickers of gold. Pour over the two plates while still flaming and serve immediately.
(Serves 2)
Labels:
blood oranges,
caramel,
crepes,
french,
oranges
Thursday, 26 January 2012
Seville Orange Marmalade
On a quiet rainy morning last week, I pulled out my biggest pan and made marmalade. I'd found seville oranges a few days before at the market and knew it was finally time to try it out.
I went to four wise ladies for advice: Constance Spry, Jane Grigson, Delia Smith and Fiona Beckett. There are quite a few ratios of pulp-liquid-sugar you can use depending on how strong you want your marmalade - I went for a fairly weak one that used all of my liquid.
Before I discovered a much faster method of separating the pulp from the pith, I sifted through it by hand. My fingertips puckered as if I'd spent hours languishing in the pool.
By the time dusk fell, I had just about finished hand shredding the mountain of soft peel. It's not the quickest of processes.
It's all worth it when you line up the finished jars and then take the first bite.
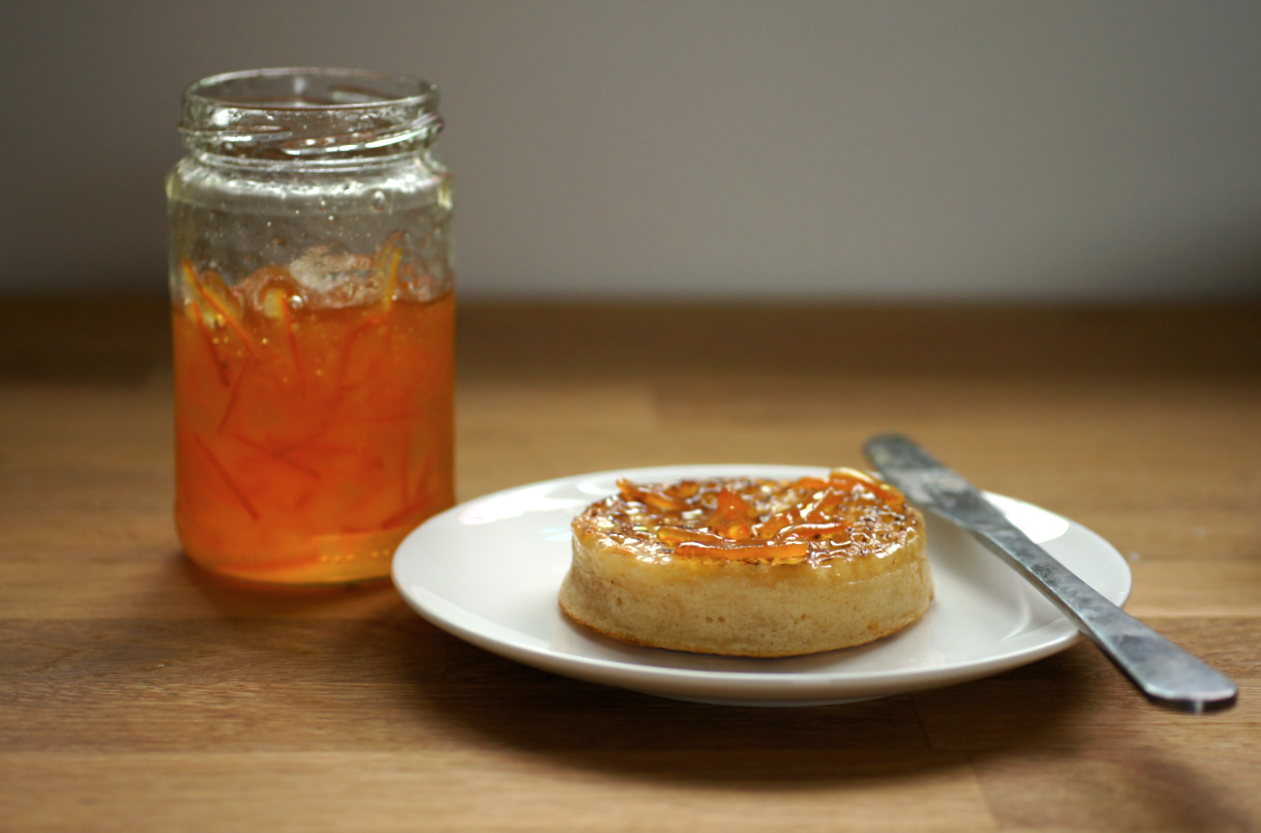
Marmalade has a great affinity for melted butter. The best container for melted butter is, of course, a toasted crumpet.
(Is my nationality really that obvious?)
Crumpets are one of the only things I buy rather than make - I haven't worked out a recipe that is better than bought.
A slick of marmalade completes the picture - silky sweet, a touch of bitter, a little chew.
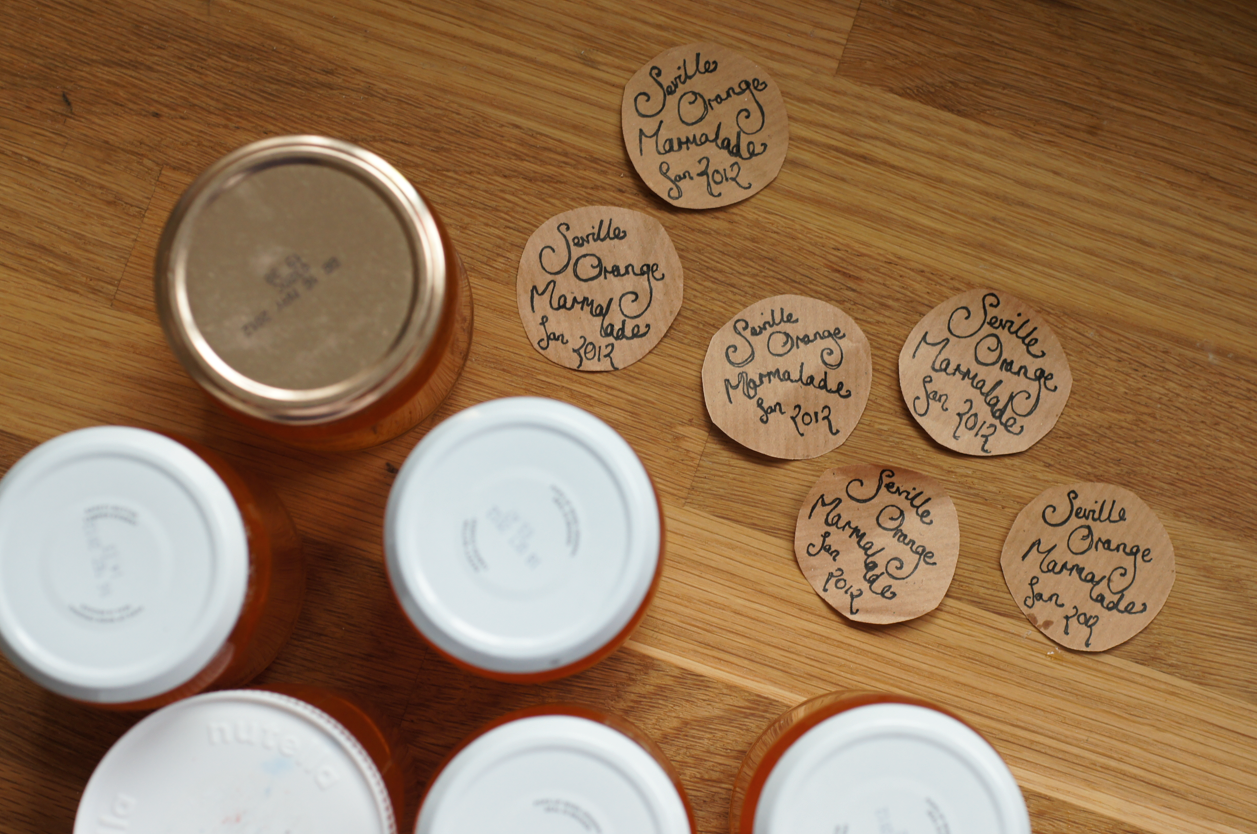
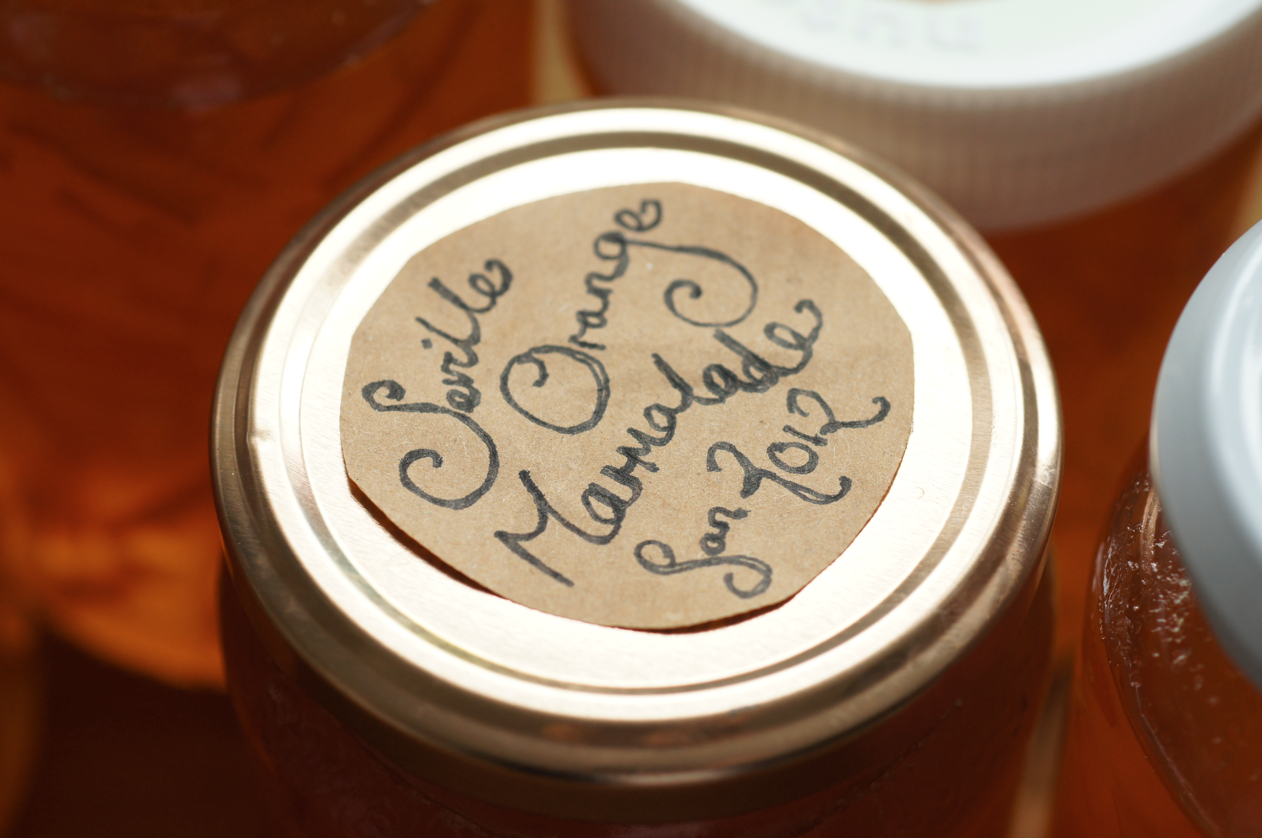
I found the idea for the labels on Tea & Cookies. I stuck them on the lids with a bit of double sided sellotape.
Nothing brightens a grey, rainy day like marmalade you've made by hand glowing brightly in its jar. I don't have a fireplace to kindle some bright flames this winter - but I do have my marmalade.
Seville Orange Marmalade
(adapted from Jane Grigson's English Food)
8 seville oranges (about 1.2kg)
2 litres water
2kg sugar
Prepare the jars (about 6-7 big jars or 11-12 small 250ml ones - it's roughly 2.75 litres total) by running them through the dishwasher. Put a few saucers in the freezer (for testing the set).
Wash the oranges in cold water to remove any dirt, remove the stalk buds and slice off any funny marks. Pour the 2 litres of water into a big pan and add the oranges. Bring to the boil then reduce to a simmer. Keep simmering for 1-1.5 hours until the oranges are soft and tender - a knife should easily slide in. Fish them out and leave to cool - make sure you keep the liquid.
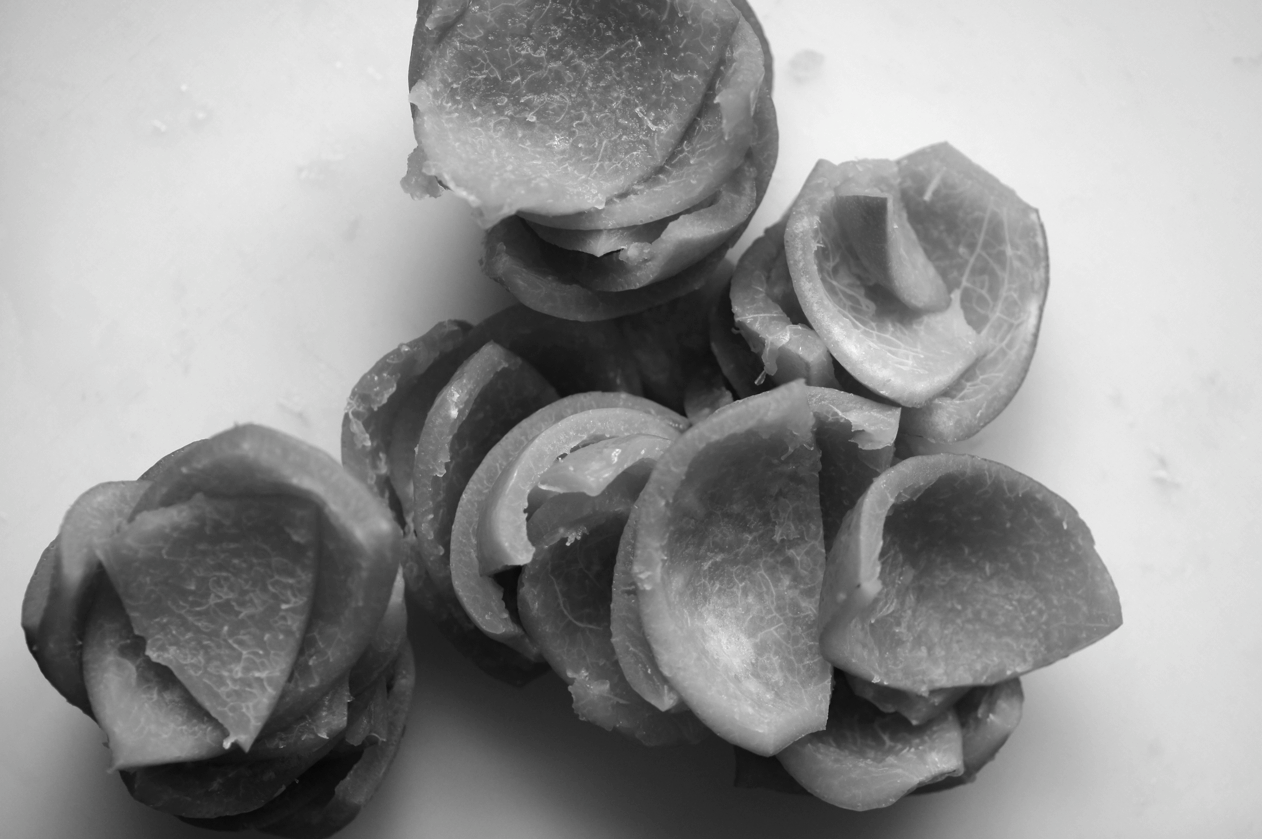
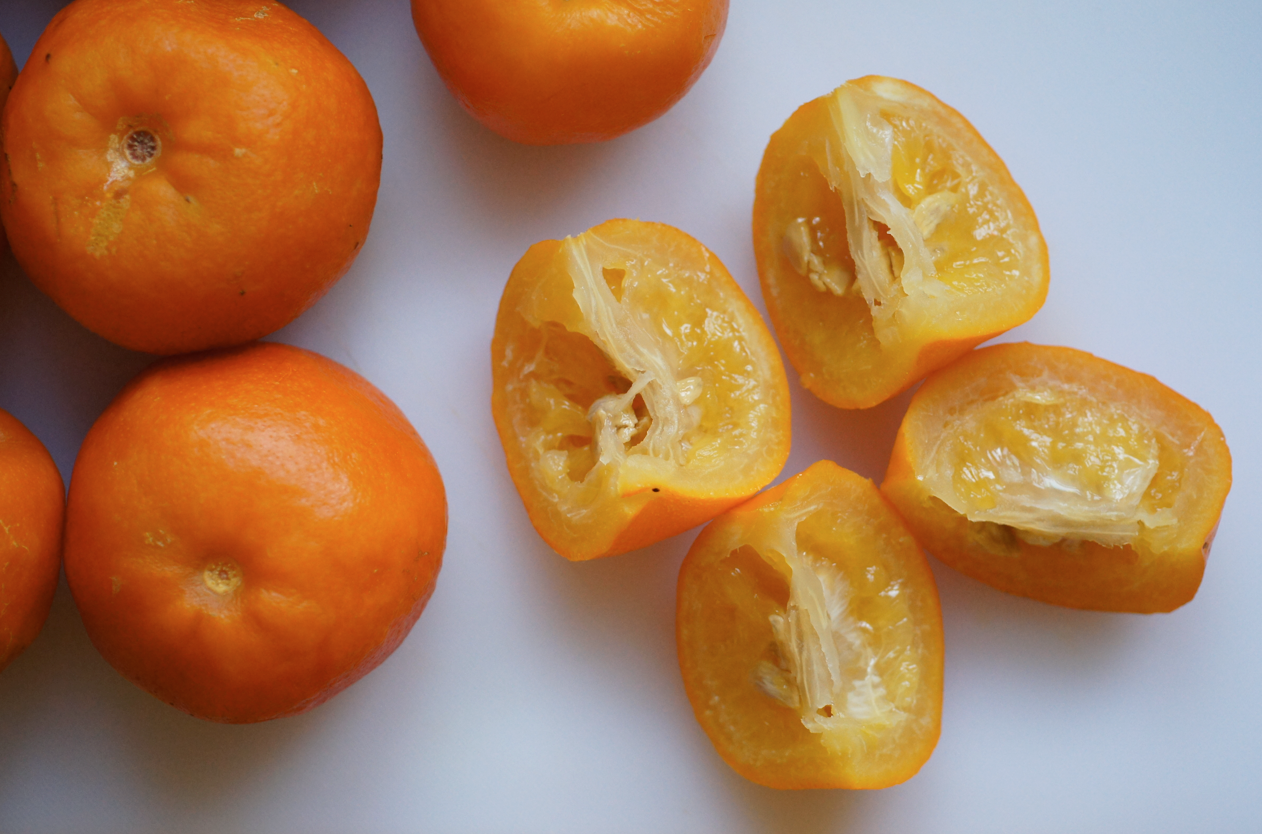
Once they're cool, cut the oranges into quarters (they look like this). Use a spoon to scoop the insides out into a sieve placed over a bowl. Squish the insides through the sieve until the pulp has all come out into the bowl and only the pips* and white sectioning bits (for want of a better word!) are left. Put the pulp/juice to the side.
Take the soft peels and get ready to shred. Scrape/slice the peels slightly so there isn't too much pith and slice off any funny bits (including any bit that haven't cooked through and are still hard and white). I then sliced each quarter lengthwise into two and then very thinly sliced each one - I made them about 1mm thick. It does take a long time so music/company/film/tv is recommended... (you could also slice them a bit thicker but it will be chunky in the marmalade).
When you're done, put the pulp and shreds back into the reserved cooking liquid - quite a bit should have evaporated during the initial boiling - about 2/3 is left. Put the sugar into a big tin and warm it up a bit in a cool oven. Start warming up the pulp/peel, then add the warm sugar and stir over a low-medium heat until the sugar all dissolves. Turn the heat up and boil for 20-25 minutes, testing the set towards the end. It will foam up but should die away later - if not, skim it off.
To test the set, take out a frozen saucer and put a little spoonful of marmalade onto it and place it back in the freezer for a few minutes. Run a finger into the marmalade - if it thickly crinkles in ripples in front of your fingertip, it is set.
When you're happy with the set, take the pot off the heat and leave to cool for 10-15 minutes (this helps stop the peel sinking). While you wait warm the jars up in the oven on a tray. Either find a jam funnel or prepare a paper version**. When ready, either use a jug or ladle to pour the marmalade into the warm jars through the funnel.
If you don't have any waxed discs to place on top of the marmalade, I used a trick I found on Fiona's blog - I popped the lids on just after filling them then wrapped a towel around and quickly flipped it over so that the jam covered the sides and lid and then back again - this seals the jar. Leave to cool and the little buttons on the lids should click down after a few hours.
Once cool, add labels of your choice. Enjoy the glow!
(Makes 6-7 jars)
* I no longer bother to gather the pips up and dip them into the marmalade - I've found it sets up just as well without.
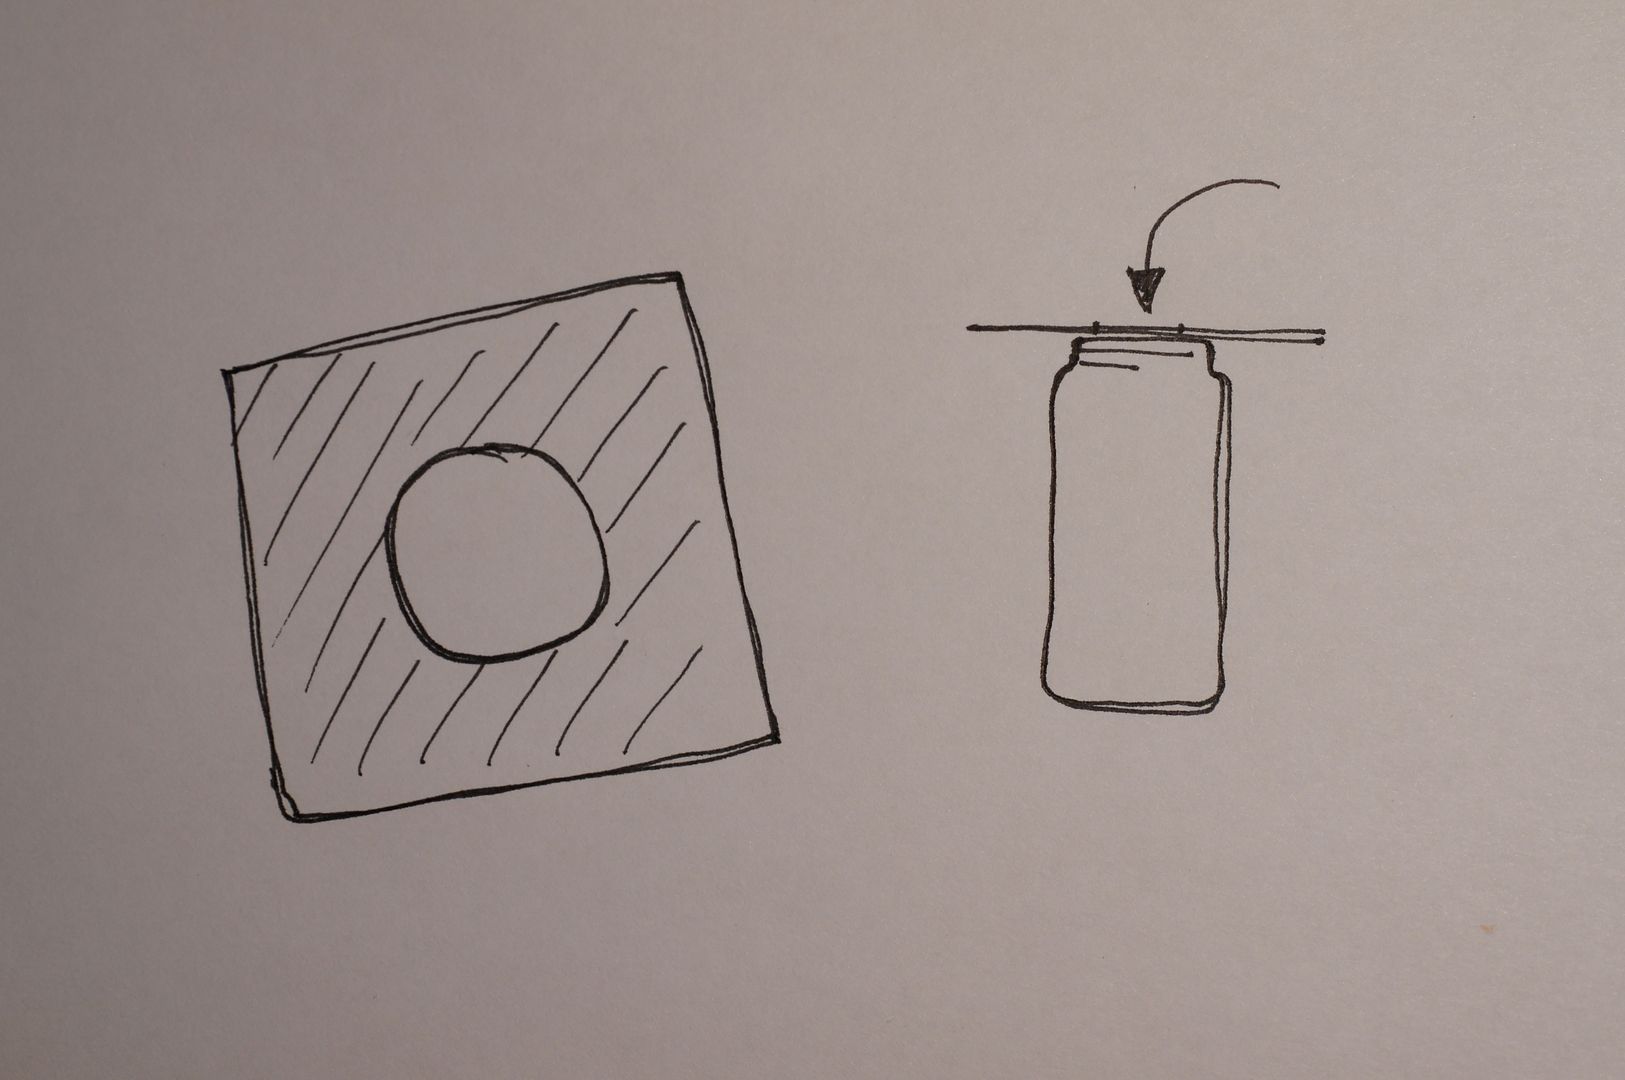
**As I didn't have a jam funnel I improvised one out of some thick paper - it stops the drips on the jar - see here for a diagram. Actual jam funnels are much easier to use and a worthwhile investment if you make jam/preserves with any regularity.
Sunday, 20 February 2011
Ginger, Orange and Chocolate Biscotti
I got back from my little change of scene late on Friday night after a series of annoying delays. Time seems to have curiously expanded since then - I can't believe my journey was only two days ago and that yesterday I was eating these after carefully transporting a few in my luggage.
It was a wonderful trip - lots of lovely food, old movies and relaxing with my mum and dogs (and lots of work on my essay, unfortunately). These were one of the things we baked from a book I gave my mum for Christmas and have been lusting after ever since - Green & Black's Ultimate.
The recipe is quite different to the Dark Chocolate and Almond Biscotti I made a few months ago and behaved very differently too. This one doesn't have any butter added. I made a few changes which are reflected below - mainly swapping in zest/juice and orange blossom water for orange essence and not adding things to the chocolate. I halved the recipe too which is reflected below, though I would definitely recommend doubling for the full batch! I found my loaf wasn't fully cooked inside at the recommended time so I've increased it - as mine were already cut I increased the second time instead.
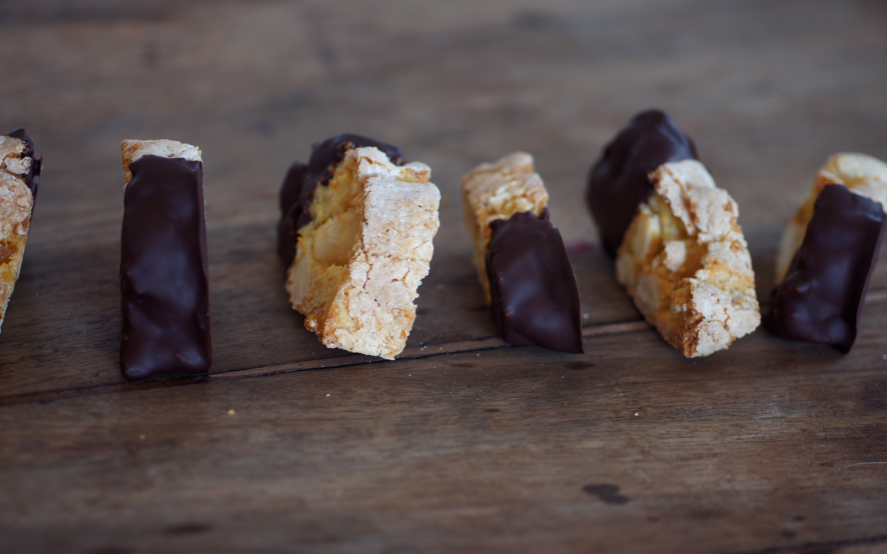
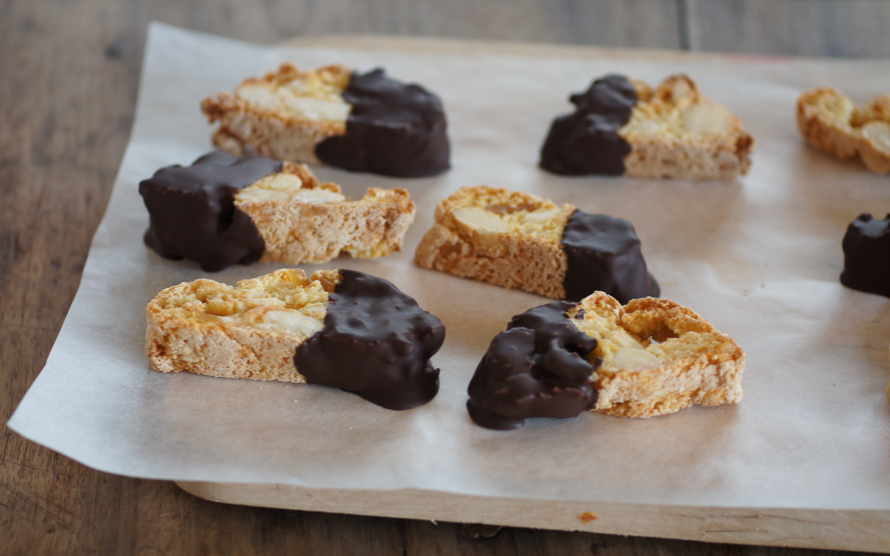
I really enjoyed these - they're chewier than other biscotti I've tried but I liked that. The flavours are delicious and the dark chocolate contrasts beautifully (though I loved them plain too). I adore the stem ginger with orange blossom water - such a beautiful pair, both in taste and smell.
Ginger, Orange and Chocolate Biscotti
(adapted from Green & Black's Ultimate: Chocolate Recipes)
75g whole blanched almonds (done yourself or bought)
125g plain flour (00 if possible)
1/2 tsp baking powder
45g caster sugar
30g soft brown sugar (or all caster)
25g stem ginger in syrup, chopped
1 egg, lightly beaten
1/2 tsp orange blossom water
1 tbsp orange juice (+ 1 tsp if needed)
zest of 1/2 an orange
75g dark chocolate
Preheat oven to 180C. Line a tray with baking parchement. Sift flour, baking powder and sugar into a bowl and mix. Stir in almonds, ginger, egg, zest, blossom water and orange juice until thick dough (I had to beat it to make it come together). Sprinkle a surface with icing sugar and roll into a log in the sugar (or two if doubled). Place onto the tray and squish slightly. Place in the oven for 25 minutes until golden brown. Leave to cool for five minutes then slice with a sharp knife into 1cm bits (I used serrated) - you can cut at an angle the traditional way or straight. Place back onto the baking tray and bake for 3-5 minutes. Take out and leave to cool on a wire rack.
To coat with chocolate, melt in a bowl over a bain marie or in the microwave until smooth. Spoon and smooth the chocolate over half of each biscotti. Place onto greaseproof and leave until it has set.
(Makes about 15)
Labels:
dark chocolate,
ginger,
oranges
Friday, 10 December 2010
Candied Orange Peels
A few days ago I finally got home for the holidays. After just a day, I felt quite different in the kitchen. It's amazing how much residual stress builds up over a term and how it affects creativity. I just couldn't think straight or let things flow while I was in Oxford.
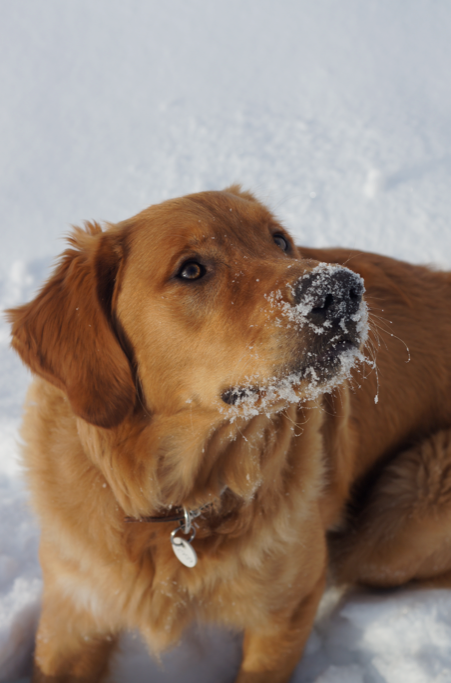
It's wonderful to be home and just bake, chat to mum and play with the puppy. He's grown so much while I've been away but he's still very playful and loving. He's sitting on my feet as I type, attempting to nibble my socks without me noticing.
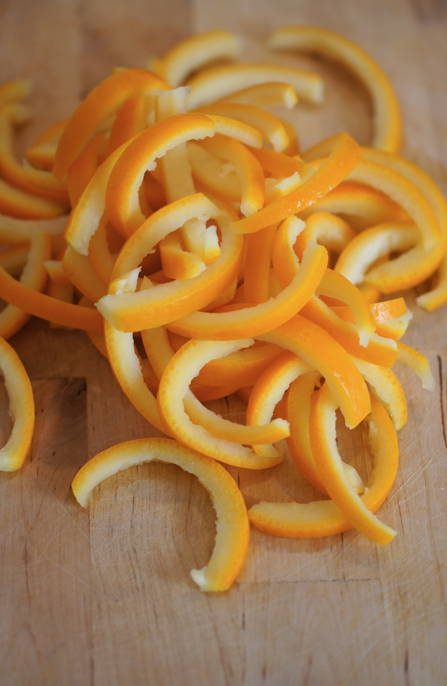
I've never been a fan of the candied peel that comes in little plastic tubs and is used in loads of different Christmas baking. Mum and I have always substituted other things in for the peel. This Christmas I decided to try making my own to see if we liked them.
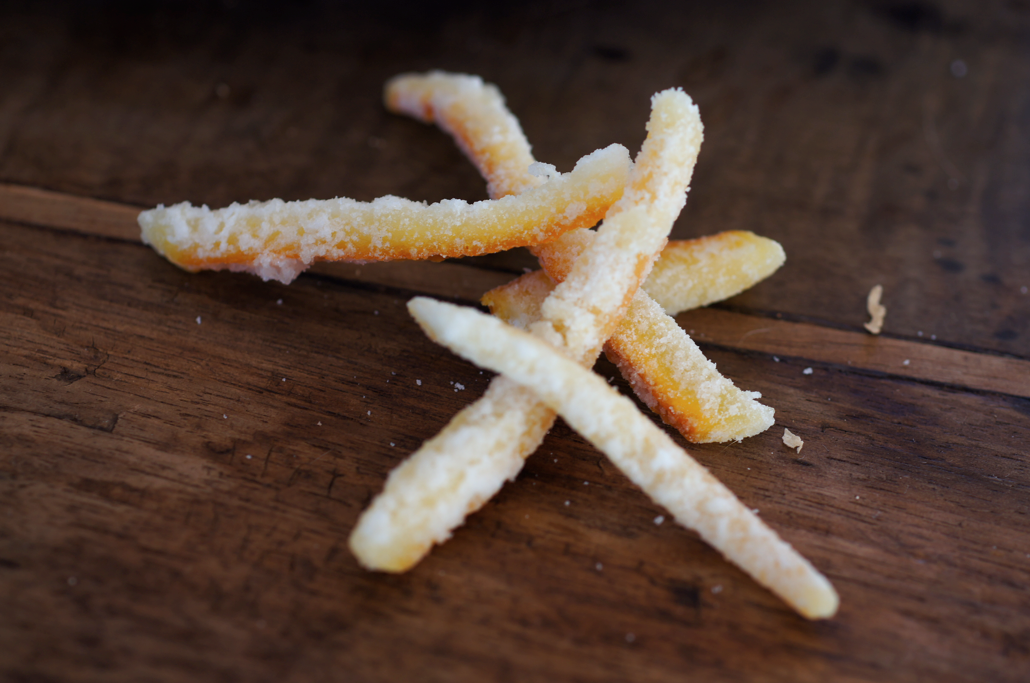
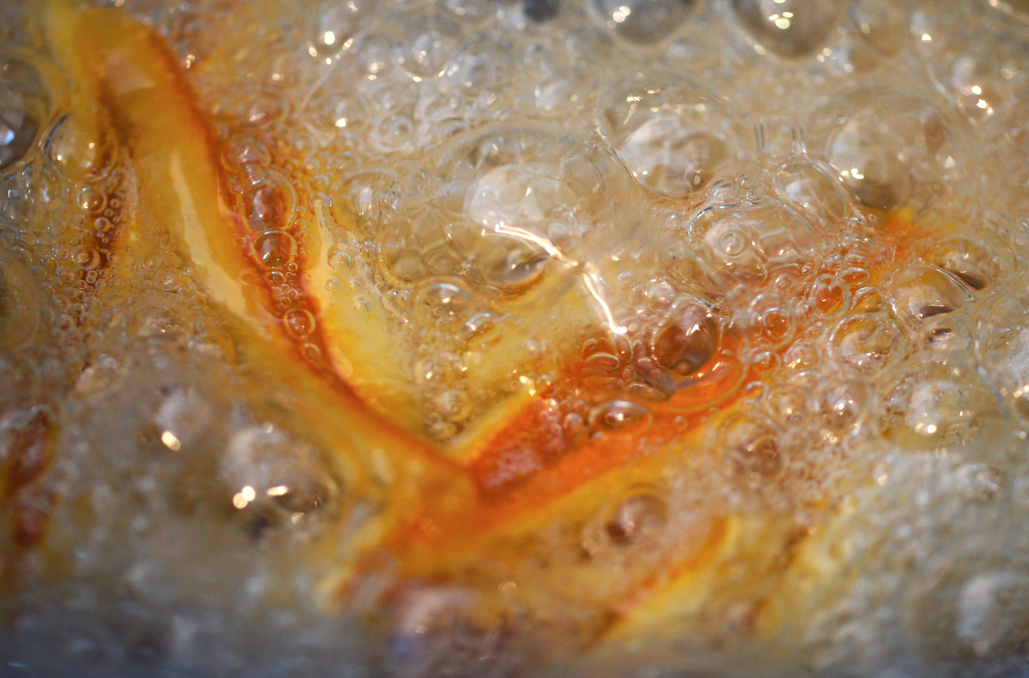
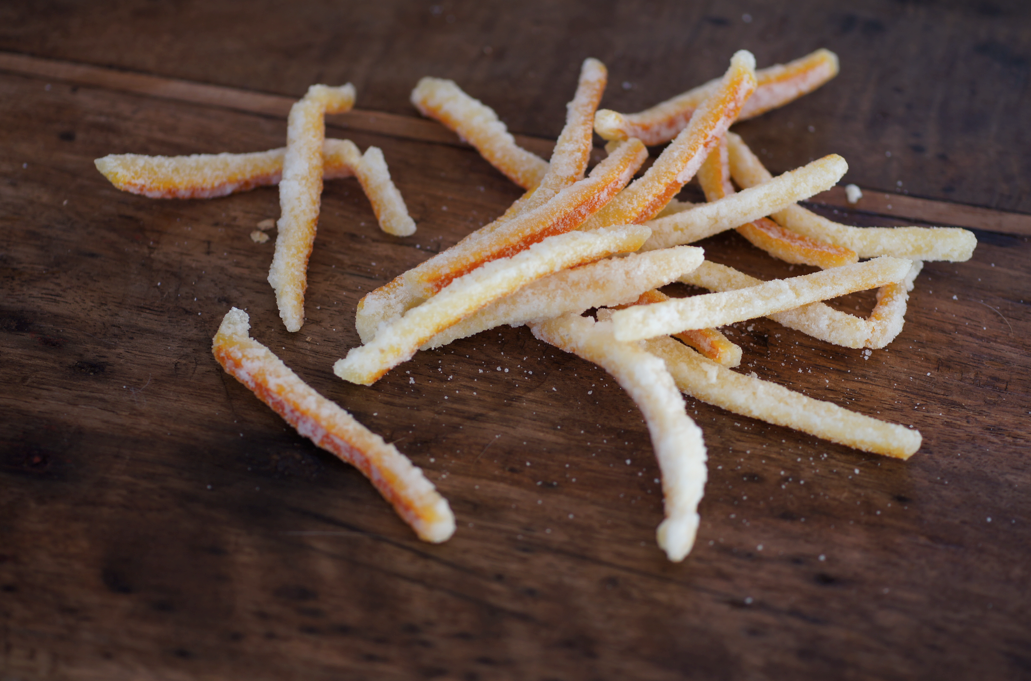
I'm not sure exactly what happened but just as my peels were becoming translucent, the sugar started to crystallize and dry up. By the time I realised it was happening, the whole pot had dried up. As a benefit, they were done and covered in sugar without me needing to roll them, but I'm not sure why this happened. Maybe the heat was too low? Or high?
I thought they came out pretty well, especially considering the weird ending. They're taste good - perhaps not the best thing ever, but much better than the stuff I've come across before. Perhaps I'm just not a candied peel person, especially in pure form. Still, I'm looking forward to seeing how they work in other projects...
Edit: I've removed the recipe as I use a different method now.