Showing posts with label french. Show all posts

Thursday, 21 February 2013

Caramelised White Chocolate Éclairs


I like white chocolate but I wouldn't normally choose to eat it. But if you roast it until it caramelises and add a touch of salt? I can't leave it alone.

Though I have a faint memory of reading David Lebovitz's post about caramelised white chocolate in 2009, I didn't try making it until the day Food 52 published an article about it. It felt like the first time I tried brown butter - a whole new set of possibilites opened up and I couldn't stop thinking about it.


I have to admit that I still haven't tried it with the original Valrhona Ivoire. I didn't get around to ordering any before I left England last week and I haven't been able to get my hands on any here in Switzerland.

However, I have had great success with Green & Black's White (twice) and Lindt Blanc. I've also tried a bar of Cailler Blanc Vanille but it quickly seized. I tried combining it with a bit of oil and blending it (as advised on Food 52) but it was still gritty and tasted oily. After buying some Felchlin couverture from a local bakery, I was very surprised when it seized instead of melting. Instead of trying to blend it, I left it in the oven until it reached a similar caramel colour. The tiny nuggets of chocolate tasted just as good and I think if you melted them down with a touch of cream, they might liquify.


After a few spoonfuls of the caramelised chocolate, I decided that I needed to make éclairs.

Choux pastry and I have history. Three years ago, after I started building croquembouche shaped like presents with chocolate ribbons, I became obsessed with choux pastry. I spent hours filling out spreadsheets with dozens of recipes, comparing ratios, temperatures and methods.

Then it turned up at Le Cordon Bleu. Éclairs were one of our three exam dishes in my first term. Though I'd been warned about having a favourite, I thought that I had a much better chance of a good mark with one of them. I was convinced that I would pick the right slip out of the bowl of folded papers as I stepped into the exam room. But I didn't - I picked the éclairs.


My focus blurred and for the first time in my life, I didn't rise to an exam. I tried to reason with myself that it couldn't possibly be harder than finals but once it had started to get messy and out of sync, I couldn't claw it back. Looking around, I compared my work to my classmates even though I knew it wouldn't help. Somehow I managed to cut myself on a plastic d-scraper and had to go out to patch it up. Struggling to breathe, I moved around in slow motion, time running out despite every minute feeling like an eternity. I screwed up the elements I was best at and left the room feeling sick.

The feeling lingered on, even though I passed and my other marks pulled me up to a good grade overall. I was embarrassed that I had let it get to me, that I'd cracked instead of rising to the occasion. To be honest, I still am.

The experience coupled with the type of éclairs we made (filled with cloying coffee pastry cream, topped with super-sweet fondant) clouded my love of choux pastry. I stopped making it, even though fresh éclairs filled with softly whipped cream and topped with melted chocolate are one of life's great pleasures.


In general, my experience at Cordon Bleu pushed me away from neat pâtisserie towards the simple, the not-so-sweet, the seasonal and the slightly messy. I like the odd drip of golden chocolate sneaking down the side, streaking the escaping cream.

I can't think of a better way to use the caramelised white chocolate and - while I worry about hyperbole - they're one of the tastiest things I've ever made.

Though the general consensus seems to be that you should make the chocolate in big batches of 350 - 450g, I like smaller batches so I can try different things out. The recipe below makes just enough to cover the six éclairs with a bit extra for tasting - you could easily make more and use it for other things. When I was taking these photos, I was making a double batch of the choux, so the amounts you see are a bit bigger than you'll get from the recipe below. I weigh the liquids for the pastry as they're small amounts and need to be accurate.

If you don't often use a piping bag or want some tips, I recommend this excellent tutorial on BraveTart. I use disposable bags like these.

Finally, I really recommend tasting and smelling the chocolate as it roasts and sensing how it develops each time you take it out. The colour is a good guide but it's far more fun to eat it. Do try it before and after the salt, too - the difference is quite spectacular.


Caramelised White Chocolate Éclairs
(chocolate adapted from Valrhona via Food 52)

For the caramelised white chocolate:
100g white chocolate (30%+ cocoa butter)
pinch of fine sea salt (I use fleur de sel)

For the choux pastry:
25g butter
35g water
25g whole milk
pinch of salt
30g plain flour
1 large egg

For the whipped cream:
150g double cream
1/4 tsp vanilla paste (or extract)

Preheat the oven to 120C/250F for the chocolate. Break up the chocolate and place it in a small baking tray. Put into the oven. After five minutes, take it out and stir with a spatula - it may be stiff at first but should smooth out. Repeat every five minutes until it is a lovely deep caramel brown (mine took about 40-50 minutes*). Stir in the salt. Scrape into a small bowl or jar and leave to cool. This should keep for months - it will cloud once it cools but don't worry.

Preheat the oven to 200C/390F for the choux. Prepare a piping bag with a plain tip (not sure of the number but mine has a diameter of 1.3cm), push the bag into the tip and sit upright in a tall glass. Grease a baking tray. Cut the butter into cubes and add it to a small saucepan (mine is 15cm) with the water, milk and salt. Sieve the flour onto a big sheet of baking parchment, fold in two to make a shoot and put near the hob.

Put the saucepan over a low heat until the butter melts. Turn up to medium-high and bring just to the boil - when it's steaming and you see the first bubbles in the middle, take off the heat and immediately shoot the flour in off the baking parchment and stir with a wooden spoon until it comes together. Put back onto the heat and stir for 1-2 minutes - you should have a stiff ball of paste that sizzles and leaves the sides of the pan clean. Tip into a mixing bowl and squish up the sides to help it cool.

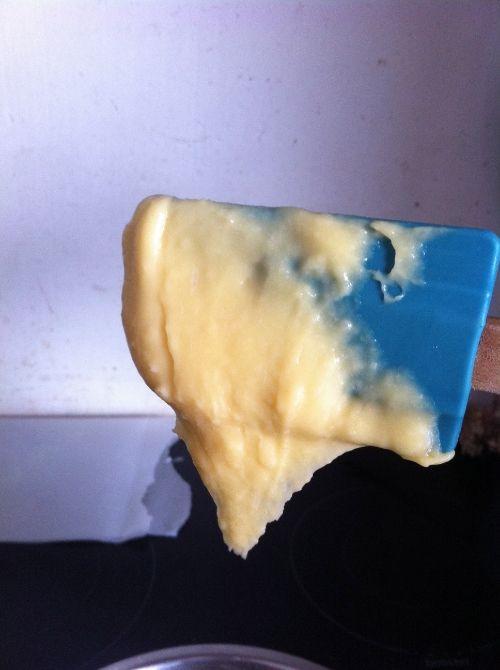
Leave to cool for a few minutes until it's warm - not hot - to the touch. While it cools, beat the egg lightly together. Add a dribble of egg to the bowl and beat into the paste (it goes slimy and looks like it won't incorporate but if you keep going it will). Keep adding small amounts of egg until it is all incorporated - around 6 inclusions. If you scoop up the mixture and turn the spoon to the side it should hesitate, then fall off in thick ribbons, leaving a hanging tail. Scrape into the piping bag and seal. Pipe 11-12cm lines onto the tray, flicking back onto the éclair to finish, leaving a few cm in between. There should be enough for 7, which gives you one spare in case of accident (or for a few profiteroles...). Add a dash of milk to the eggy bowl, then dip a pastry brush into it and lightly brush in opposite direction to your piping, smoothing down the flick.

Bake for 20 minutes at 200C without opening the door, then turn down to 180C, use a wooden spoon to jar the oven door open and bake for 10 minutes. They should be deep golden brown all over and crispy. Cool on a wire rack. (You can store them for a day in a sealed tin, but they're best fresh).

Place the chocolate over a pan of barely simmering water and melt. Leave to cool and thicken slightly. Pour the cream into a mixing bowl and add the vanilla. Whip until you have soft peaks (or whip in a stand mixer but be careful not to overwhip). Slice the éclairs lengthways with a serrated knife. Spoon the whipped cream into the bottom half then place the other half on top. Use a blunt knife/small palette knife to spread the chocolate on top. Serve quickly - they're best within an hour. You can keep leftovers for 24 hours in the fridge, but they're not as good.

(Makes 6 éclairs, can multiply up)

* Several commenters have told me that theirs took longer to caramelise - it seems to depend on the oven and the brand of chocolate. If you get fed up waiting, it seems you can increase the oven temperature a little and it should start to turn. I haven't tried it on a higher temperature myself, however.


A few more posts that involve whipped cream:
Coconut Cream Cake
Brandy Snaps
Hervé's Two Ingredient Chocolate Mousse

Friday, 28 September 2012

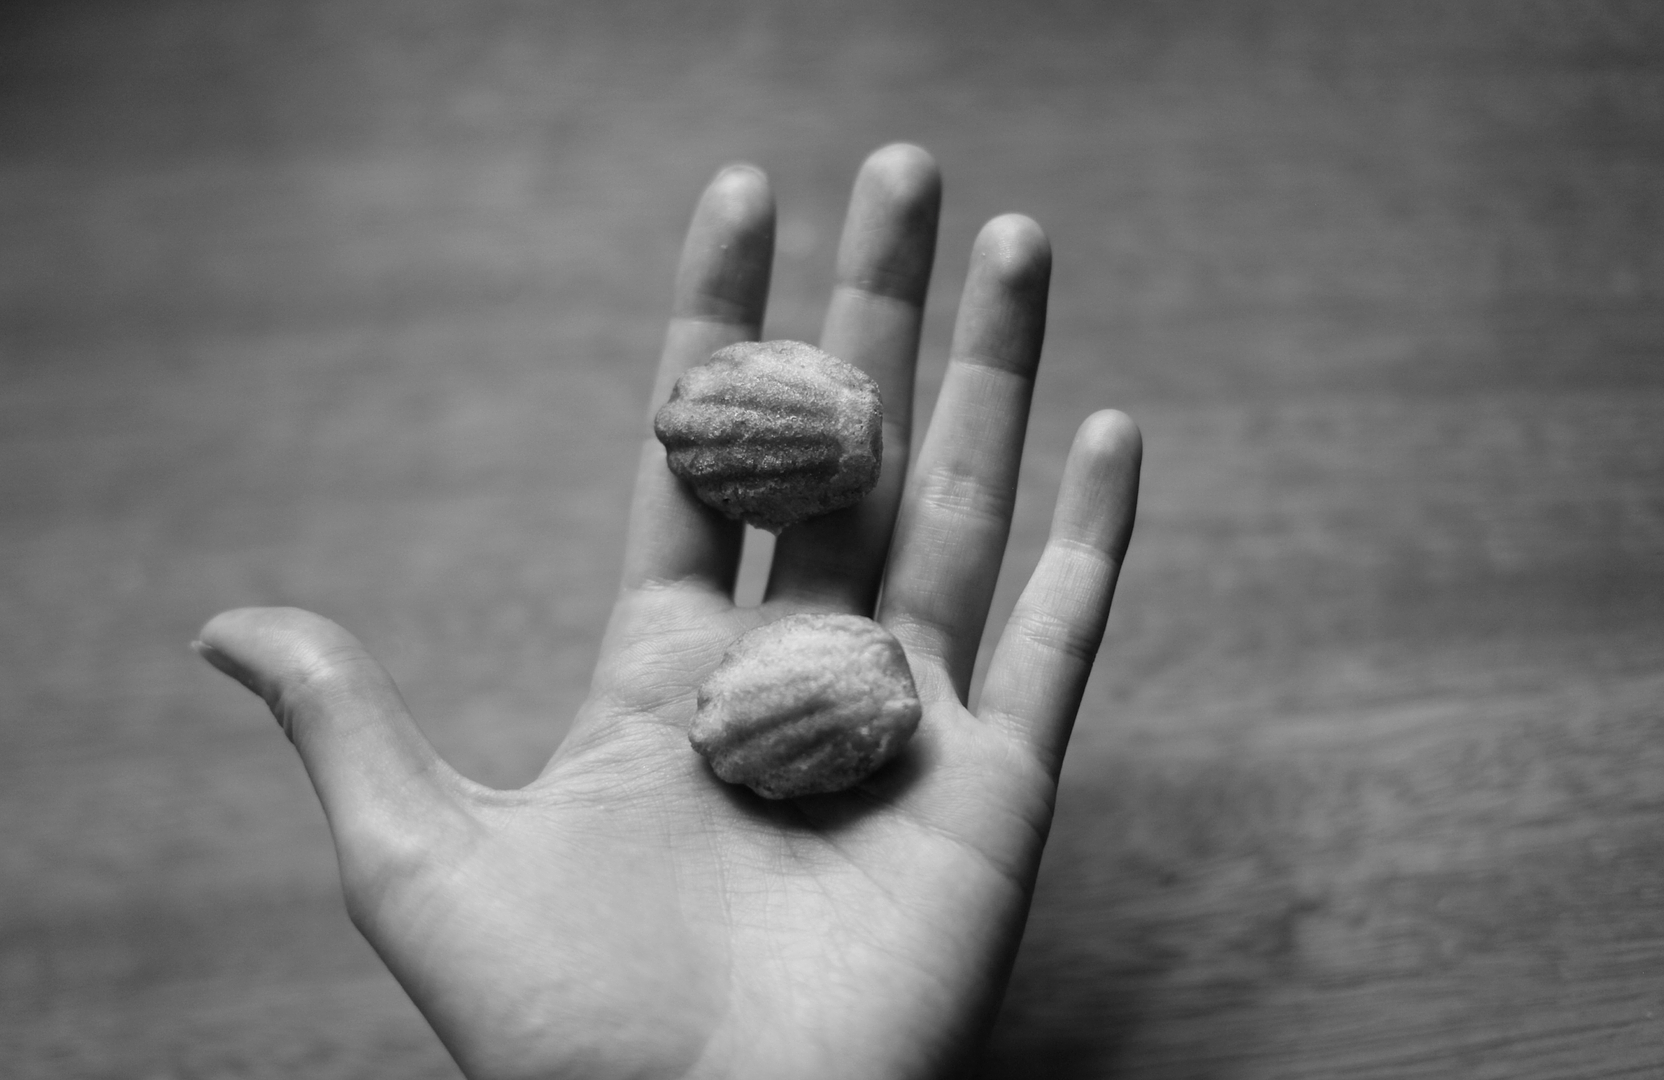
Maple Nutmeg Mini Madeleines


The leaves are starting to turn red in the garden, my hands keep getting cold as I cycle into town and the heating has been turned on. Autumn has arrived in Oxford, heralding the new academic year.

The combination of maple syrup and nutmeg is one I've been trying to find a home for since last year, when I baked some Maple Nutmeg Biscuits. They didn't bake up particularly well but I loved the flavouring in the dough. It's warm and nutty (especially with the brown butter in this recipe), sweet but complex and balances well with some sea salt - a perfect autumn pairing.


The recipe these madeleines are based on is from Heston Blumenthal - he says they were his way of treating his wife when she'd had a long day. They're not typical madeleines as the mixture is more of a financier batter (like these almond ones).

The first time I made his recipe was the day I handed in my extended essay in my third year. The essay - my only non-medieval paper - was on taste and memory in Joyce, Woolf, Proust and modern food memoirs, so it seemed appropriate.

(Did you notice the sneaky Proust reference? I don't think it's possible to write a blog post about madeleines without at least one. I'm guessing you don't need it to be quoted to know what I mean.)


The traditional recipe is based on a génoise batter. I've made David Lebovitz's recipe for Lemon-Glazed Madeleines in my normal sized tin a few times and I highly recommend it.

I've come to the conclusion that I like the more traditional recipes in the normal madeleine tin. I prefer this denser recipe for mini madeleines, as you get crispy edges and a damp, flavourful middle. The traditional recipes are lighter and the cake seems almost non-existent in such small quantities.


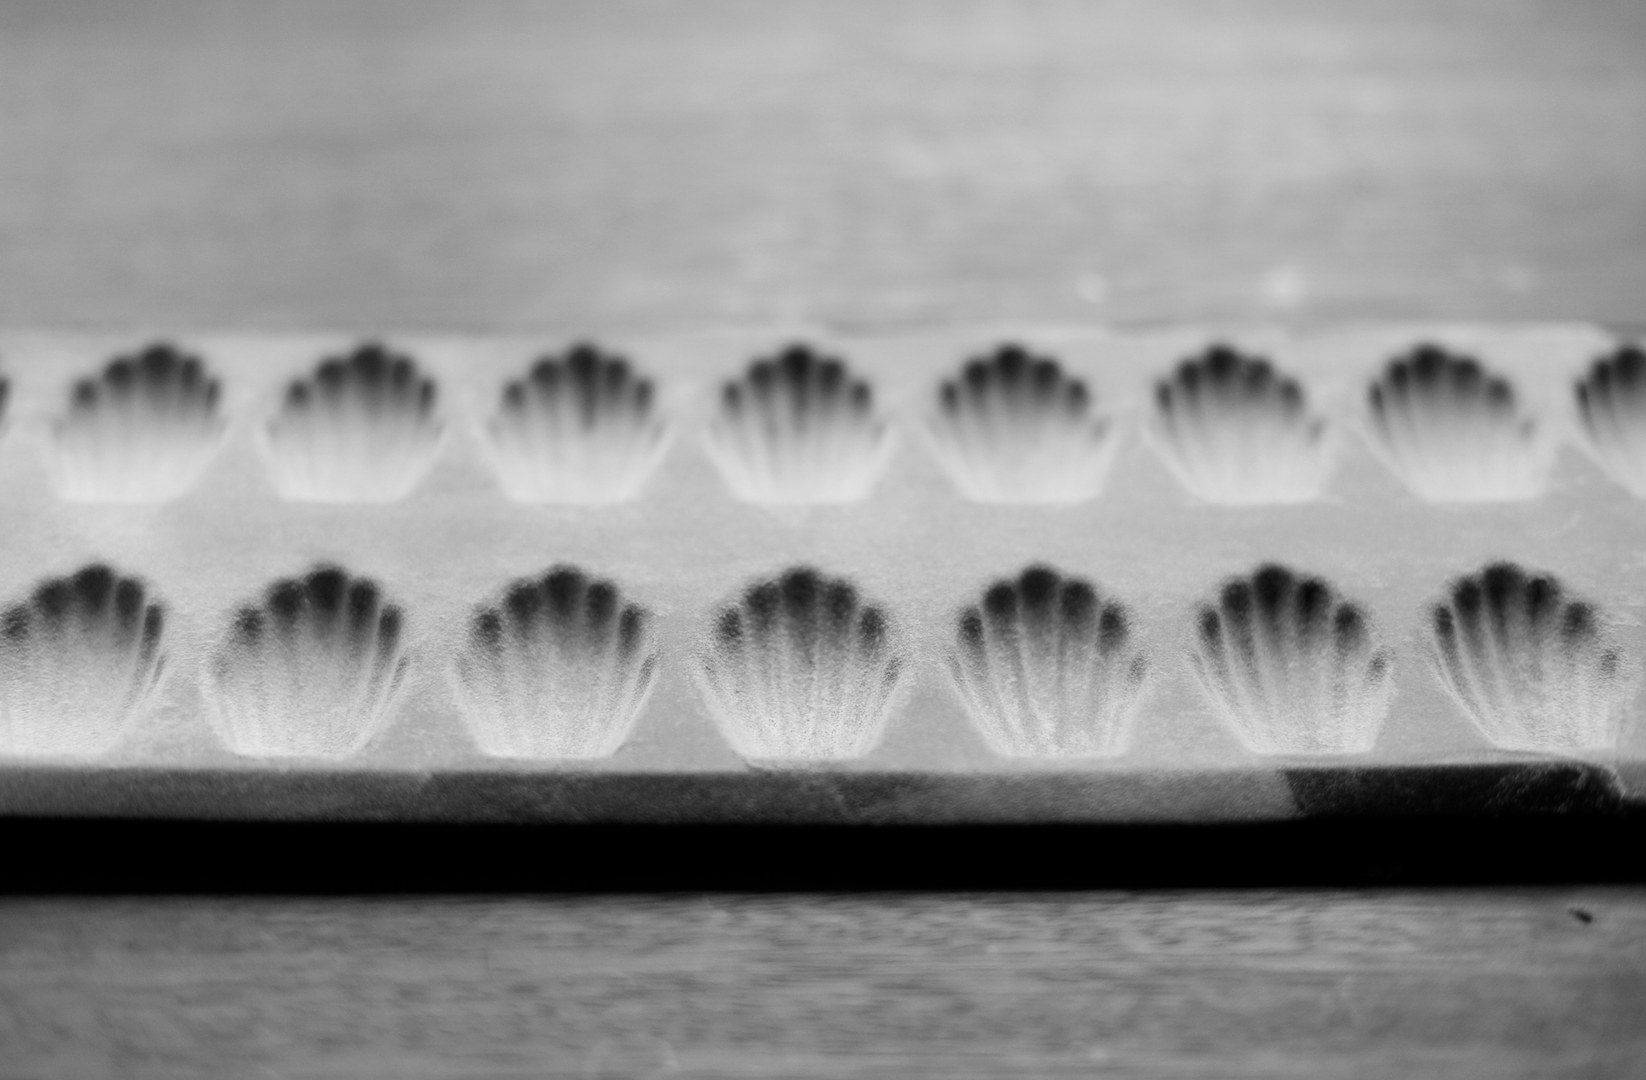
I bought my tin in France from a little kitchen shop in Dinan when we were visiting Brittany last year. It's a Gobel mini madeleine tin with the non-stick coating. The cheapest UK source I've found is here, and I also found it at Williams Sonoma (which ships to many countries beside the US). Obviously it's an expensive luxury to buy a tin with one purpose, but I thought I'd link it in for fellow baking tin enthusiasts. I also have a plan to butter the tin, coat it with lots of cocoa powder and pour in a ganache to set. I'll let you know if I end up with pretty shell chocolates.

I baked half the batter on one day and then baked the rest the next. It worked well but I wouldn't leave it for more than 24 hours. I made a half batch of my original adapted recipe, which I've put below.  A little goes a long way. You can double it if you need more or you'd rather not have half an egg white lying around - I used mine in some scrambled eggs with the yolks.


It is a faff but do make the effort to chill the mixture. I tasted it before and after chilling and the difference in the strength of the flavours is huge. It also helps the cakes rise and produce the signature hump - it's a bit smaller in little tins, but it should still be noticeable.

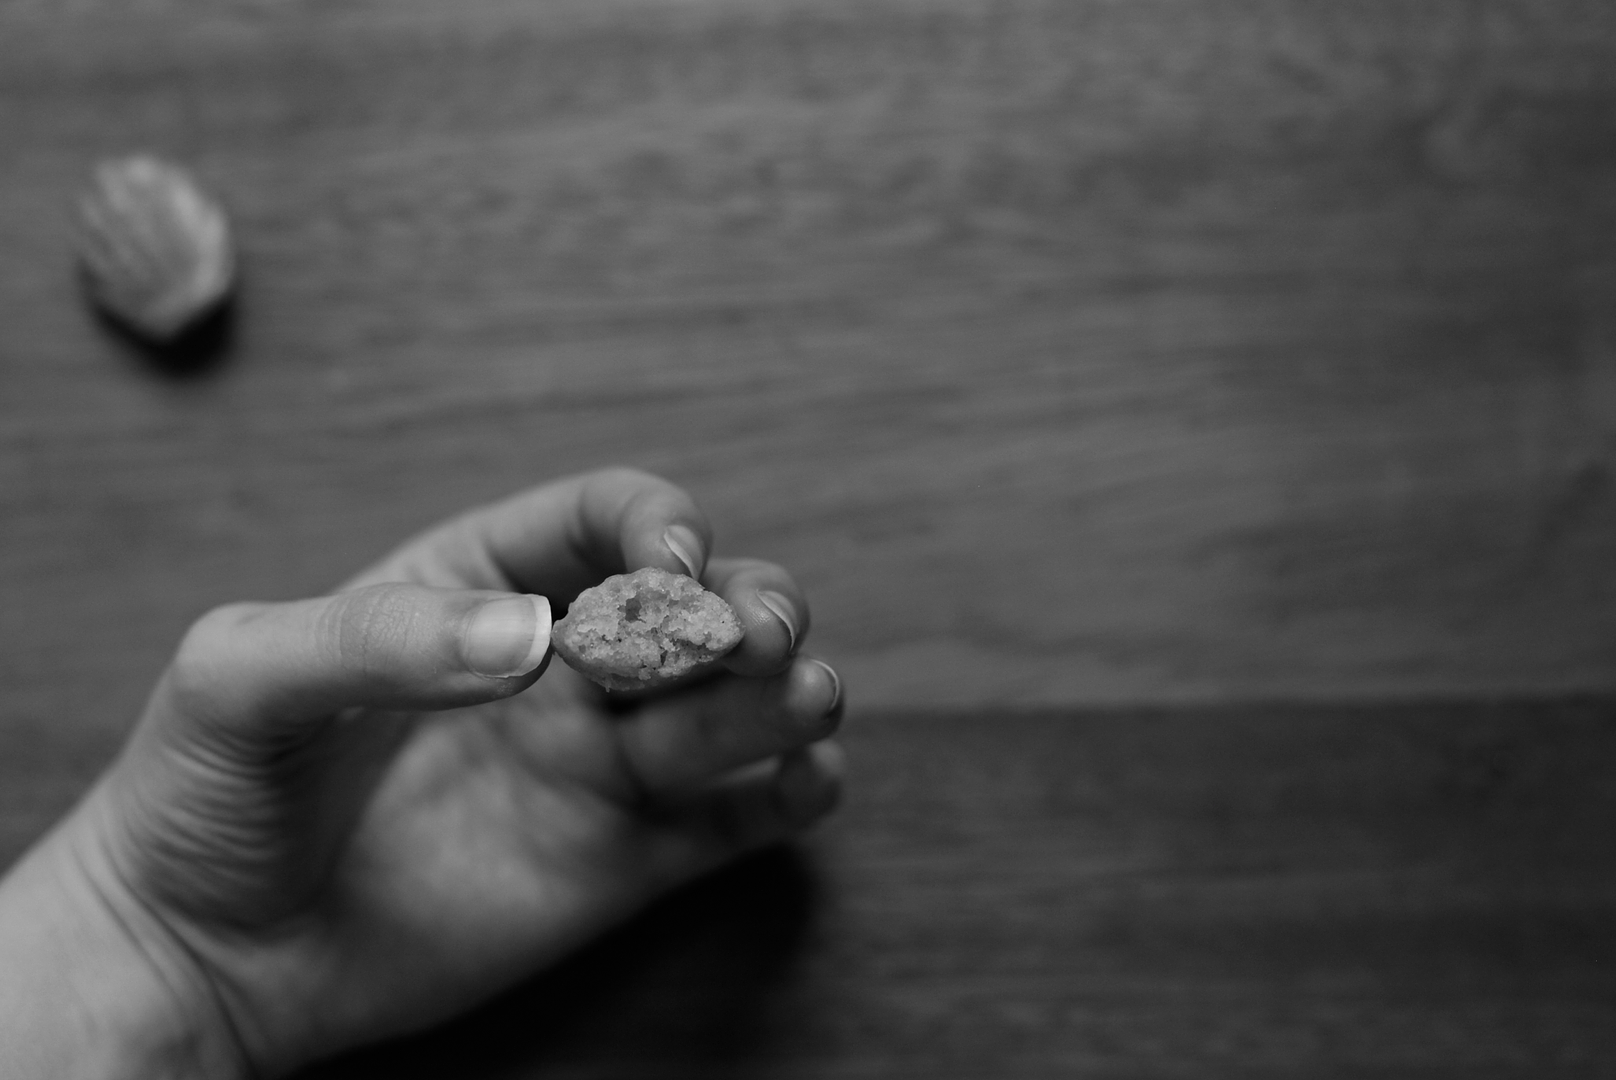
I took a batch of these, still hot from the oven, across the road to my friend's house. We balanced the plate on the arm of the sofa and curled up with cups of tea next to it. Sharing small things is somehow more satisfying that just having a slice of cake each.

They would also be great to serve with coffee at the end of a dinner party or celebration meal. You could have the mixture chilling in the tin and then just pop it in to bake when you're ready - they only take ten minutes.


Maple Nutmeg Mini Madeleines
(adapted from this recipe by Heston Blumenthal in The Sunday Times)

65g unsalted butter
50g icing sugar
20g ground almonds
20g plain flour
45g egg white (1.5 eggs worth)
1 1/2 tsp maple syrup (Grade B if possible)
1/8 tsp freshly ground nutmeg
1/8 tsp fine sea salt

Cut the butter into slices and place into a small pan. Melt then heat until the butter smells nutty and is full of light brown specks. (If you haven't browned butter before, try my Foundations post for instructions/photos/video). Pour into a bowl to cool. Sieve the icing sugar, almonds and flour into a mixing bowl. Add the egg white then whisk to combine. Finally whisk in the maple syrup, nutmeg, sea salt and warm (not hot) brown butter. Cover the bowl with cling film and chill in the fridge for at least an hour.

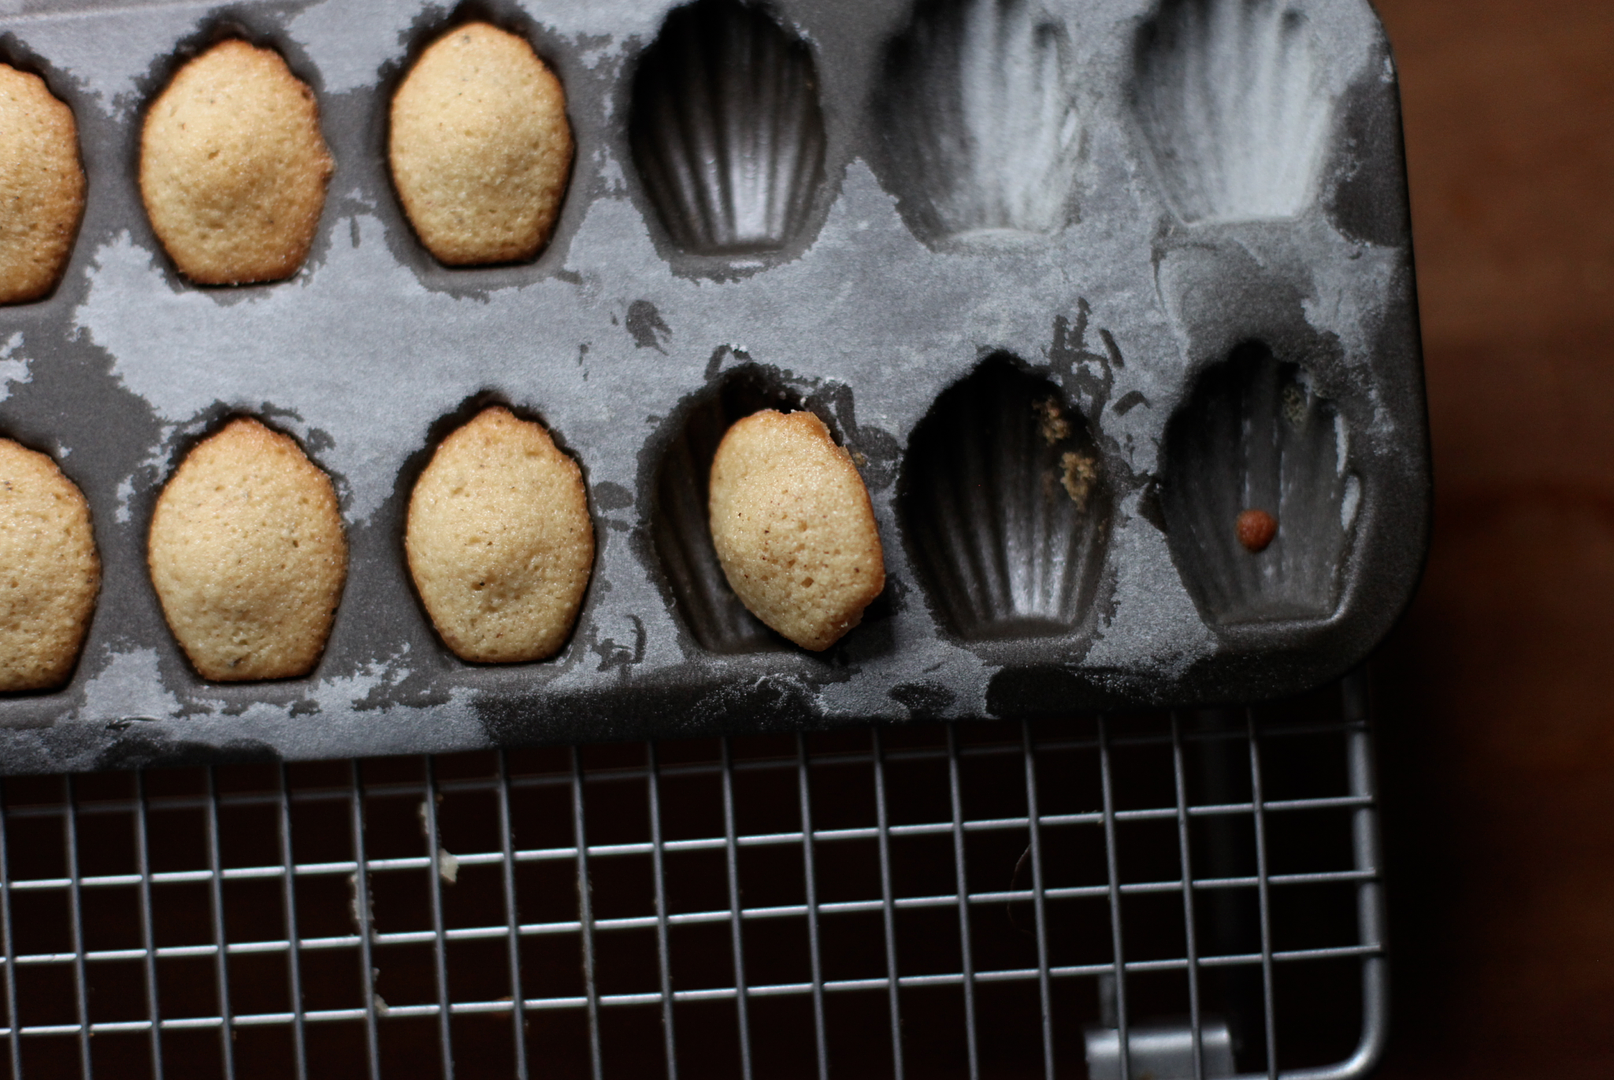
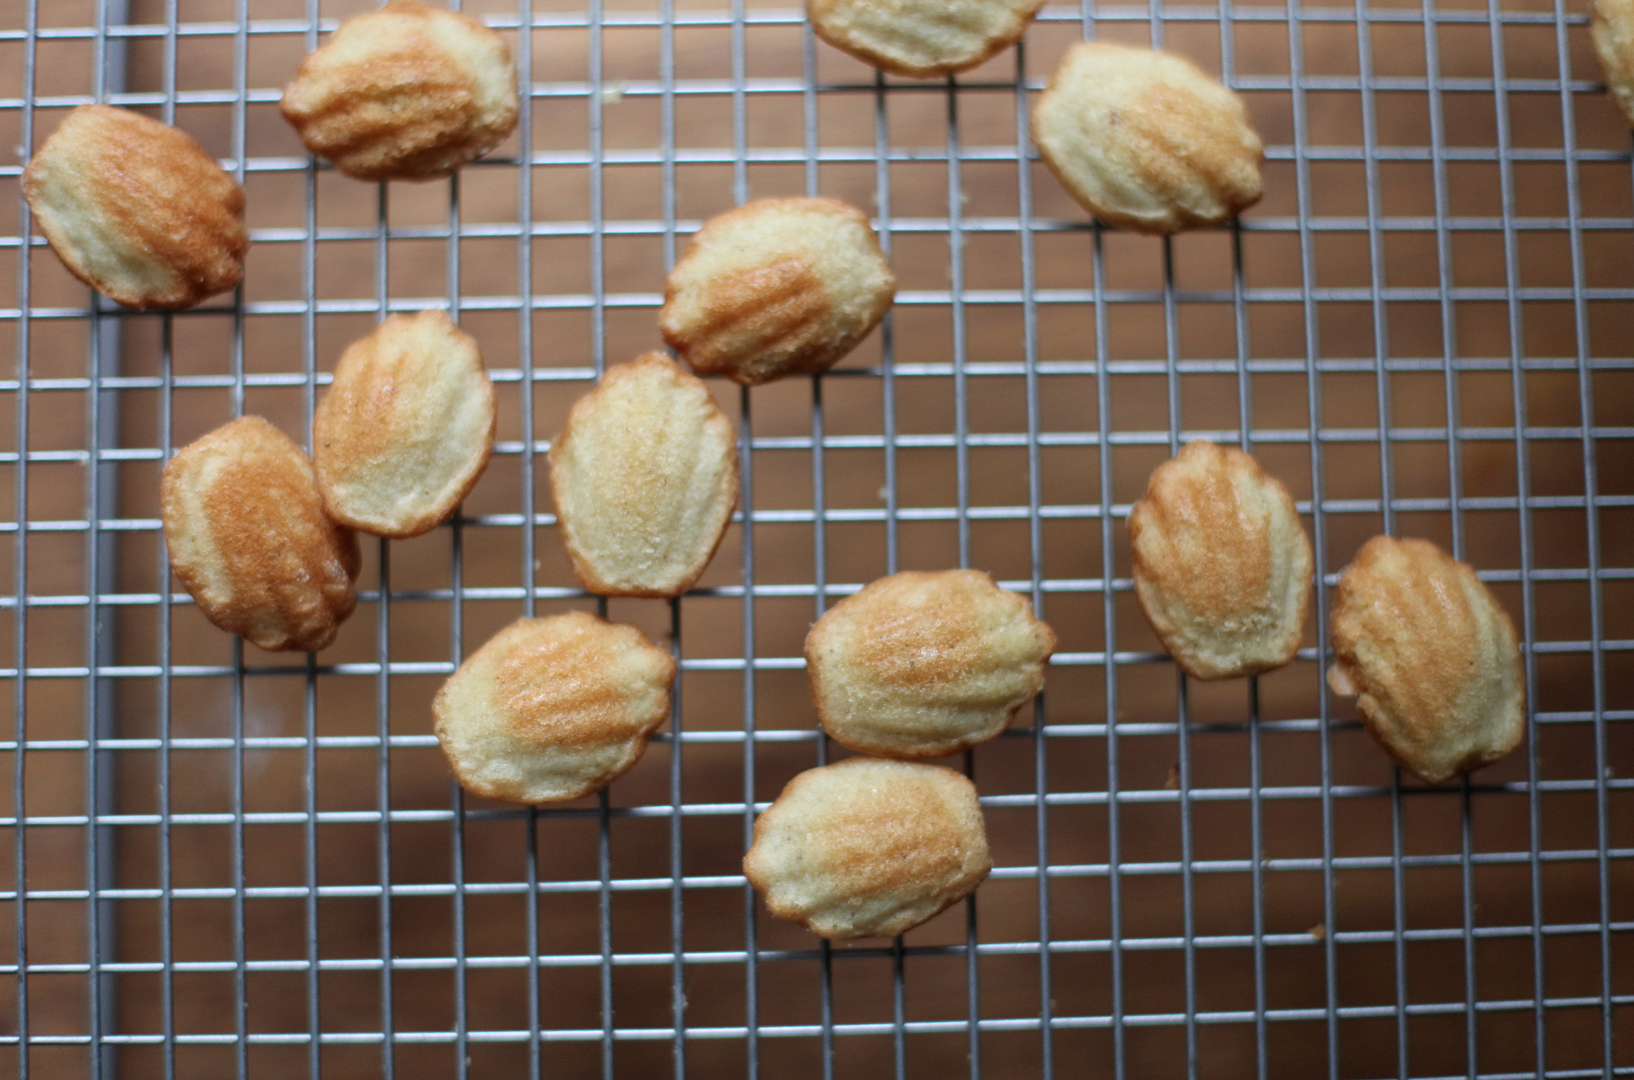
Carefully butter the tray, making sure you get into all the ridges. Sift/scatter over some flour and tap until the butter is evenly coated with a fine dusting. Spoon in a little of the chilled mixture - about a teaspoon - so the mould is 2/3 to 3/4 full (as in the picture above). Put back into the fridge to chill for another 15 minutes (or longer). Preheat the oven to 170C. Bake the madeleines for 8-10 minutes - they should rise up with little humps in the middle and be a golden brown with slightly darker edges. Leave in the tray to cool for a minute, then ease them out of the tray (sometimes they need loosening around the edges but mostly they pop out easily). Leave to cool for five minutes then eat warm. They're best within an hour of so of baking and definitely on that day. The mixture keeps in the fridge for up to 24 hours.

(Makes 35-40 bite-size madeleines)

Thursday, 5 April 2012

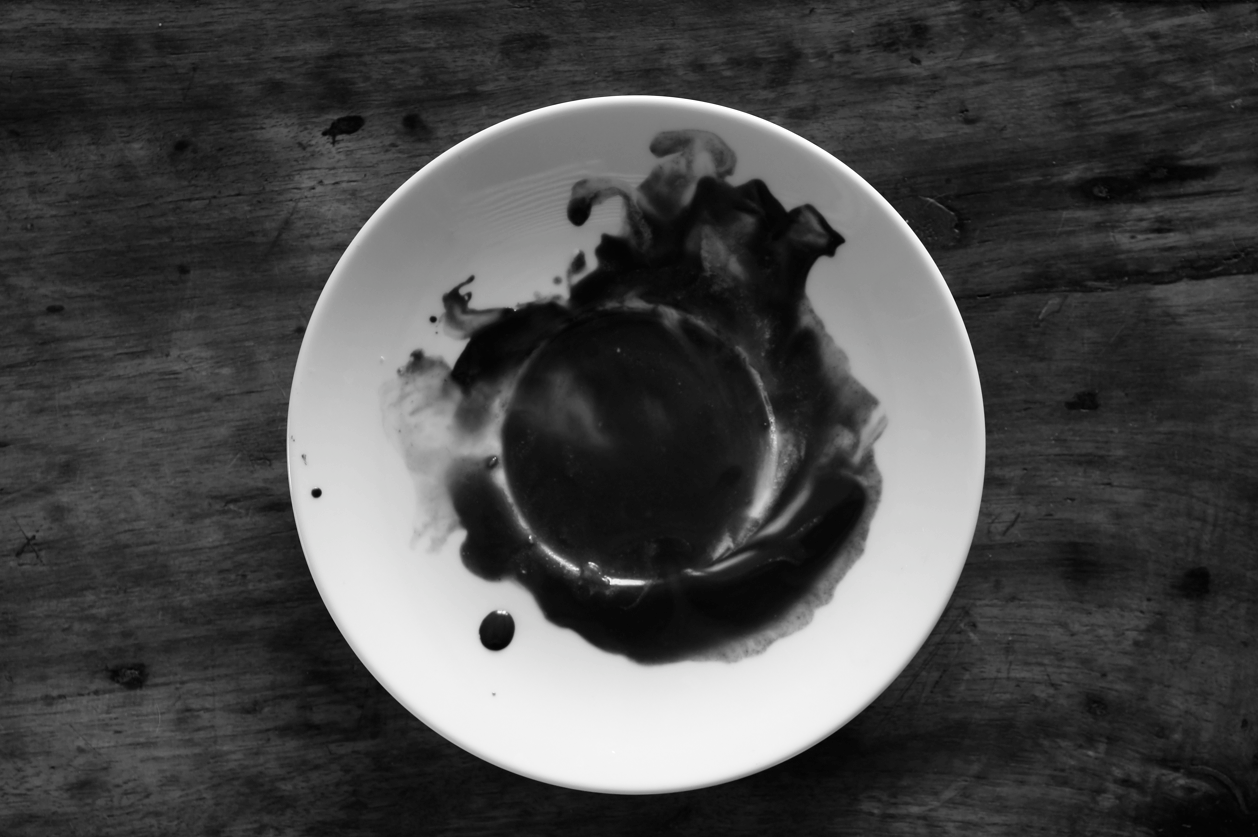
Poires Belle Helene


Sometimes the plate is empty. Sometimes it feels like you've got nothing left to give.

The last few weeks have been a wild tumble of brilliant and bad news, huge life decisions, multiple lifelong medical diagnoses and many hours at the doctors, almost constant house guests - all in the midst of plenty of work. Last night I got back from a 38hr round trip to the UK. It's been bone-achingly exhausting.


On Saturday this blog turned three. I had this post planned - the dish was made, photographed and eaten. I wanted to write something cheery and celebratory. I typed and typed but I couldn't find the words.

Usually the kitchen is a solace - a calming, healing environment. At the moment I'm finding cooking stressful. Hopefully this will ease as we settle into our new lives, irrevocably changed by these past few weeks. The horizon is very bright - but different.

The many hours of journeying in the past two days were useful. I had time to just sit and think. Process. To mourn what is lost and get excited about the new. To make lists, imagine how things will work out. To adjust to change.


Though blogging is usually something I really enjoy and find rewarding, sometimes it can be frustrating and dispiriting. An exciting new recipe doesn't work. Testing takes time, ingredients you might not have. You get an iffy comment that makes your heart sink. It's ok to acknowledge that.

But when I look back over these three years to the things I've learnt, the people I've met, the opportunities that have arisen, I'm amazed. Every time I've got frustrated and lost heart but not quit I've learnt something - even if it's just that I can keep going and that it is worth it.


So here is a true 'poires au chocolat' recipe for everybody - as healthy as I get and gluten and dairy free.

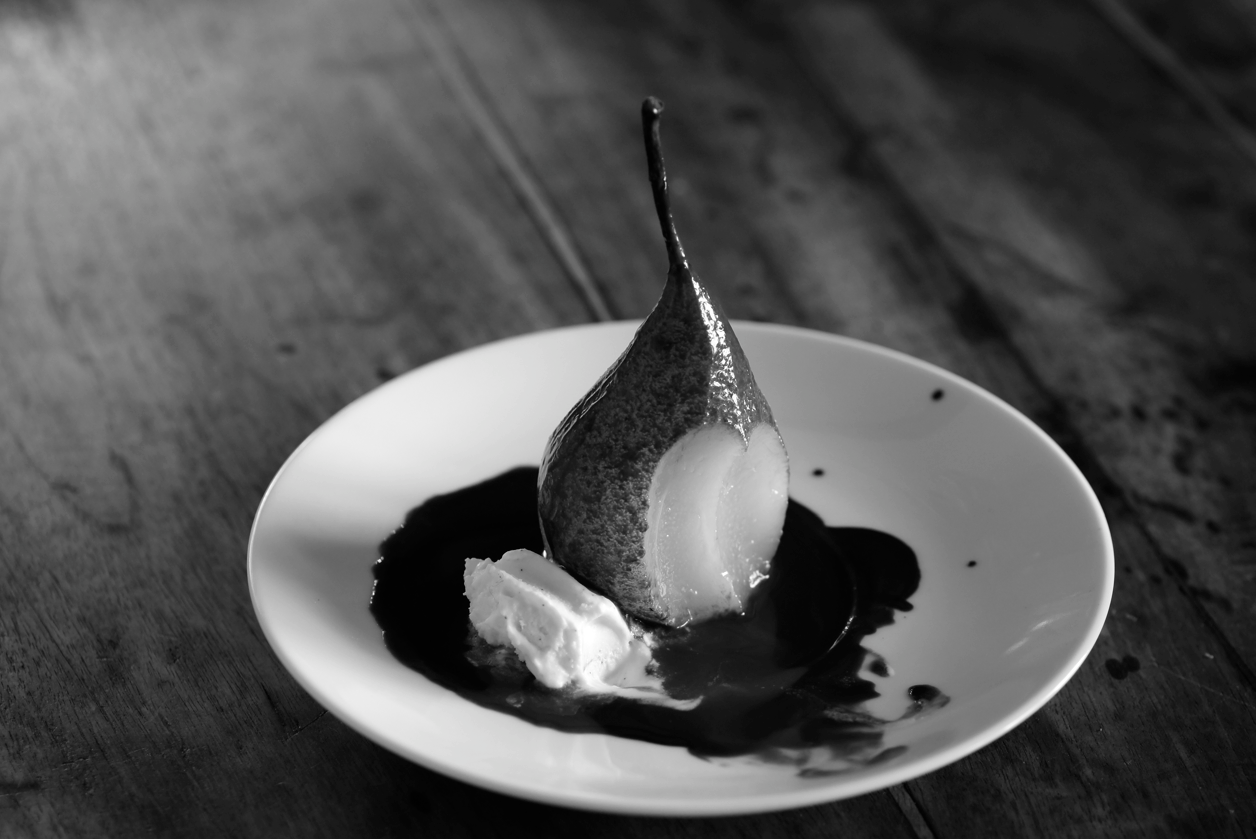
The sweetness of the pears is tempered by the lemon and the spices. The sauce still feels creamy and rich despite being made with the poaching juices.

You can jazz it up with ice cream - as in the classic French recipe - or leave it plain. I think I prefer it simple.


Poires Belle Helene
(a Poires au Chocolat original, based on the classic French dessert)

4 small pears - I used conference
water to cover (approx 2 ltrs)
2 strips of lemon zest + juice of whole lemon
1 cm fresh ginger, cut into 2 rounds
2-3 whole cloves
4 cardamon pods
1/2 stick of cinnamon, crushed
1/2 vanilla pod, split
1 tsp mild runny honey
100g dark chocolate (70%)
vanilla ice cream to serve (optional)

Select your pears carefully - though a few scratches won't matter, you don't want them to be badly bruised. They should still be firm to the touch - any riper and they'll disintegrate.

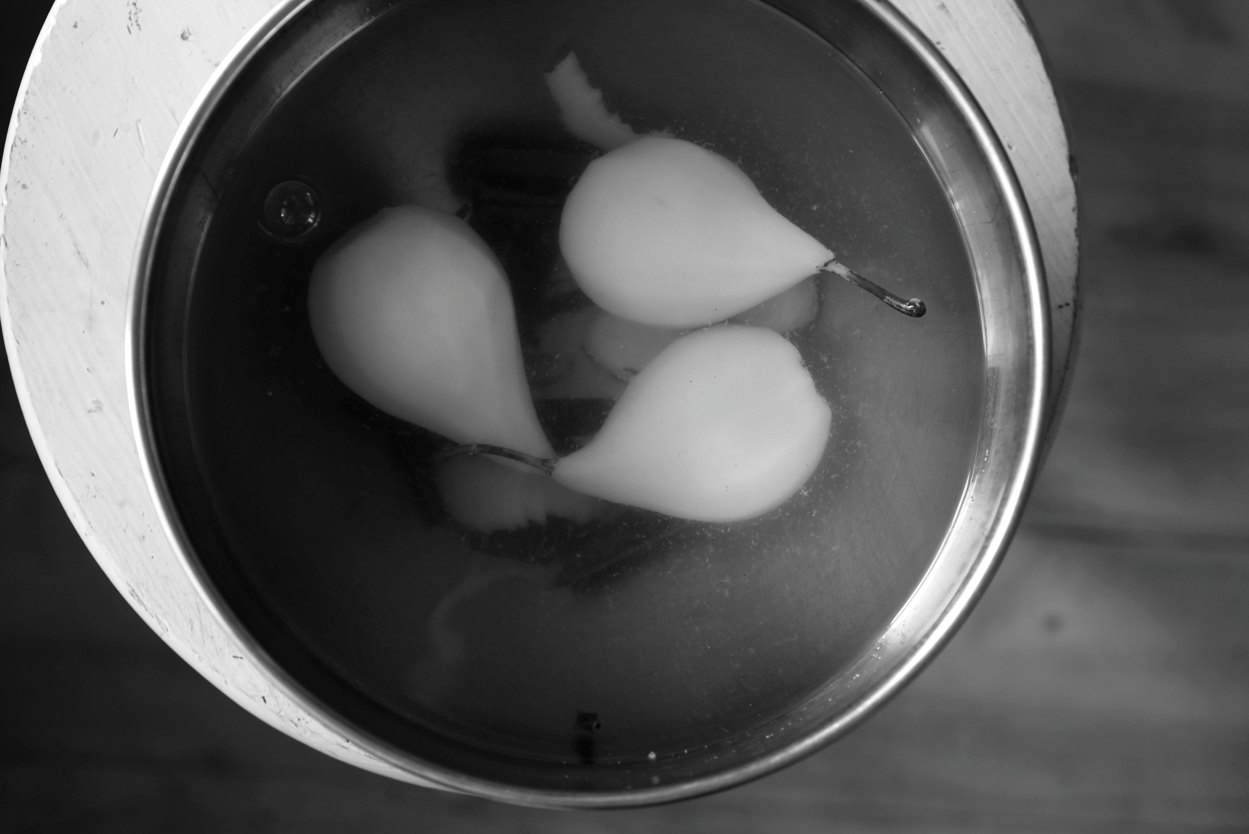
Fill a big pan with water and add the lemon zest, lemon juice, ginger, cloves, cardamon, cinnamon and vanilla pod. Fold a square of baking paper bigger than the pan into 2, then 4, then 8. Place the pointy tip in the middle of the pan and cut the bottom off so that it fits into the pan. Cut a cm or so off the pointy tip then unfold - it should look like a doughnut with a tiny hole in the middle. This is your cartouche.

Bring the water up to a boil then reduce to a gentle simmer. While the water is heating up, prepare the pears. Use your peeler/a corer/a knife to take out the bottom crown and the seeds inside - leave the stem. Peel the pears from the stem down in strips (this keeps the pretty shape). As you peel, dip them into the lemony water to reduce browning. Immerse in the simmering water. Repeat with the others. You need to work fairly quickly so the cooking time isn't staggered- if you'd rather go slowly (or have increased the number of pears), get a bowl of cold water and add some more lemon and leave them in there until you're ready to add them to the pan.

Top the water with the cartouche (so the pears don't poke out of the water and brown). Leave on a gentle simmer for roughly 15 minutes or until the pear gives to a toothpick but still firmly keeps shape. Remove the pears to a bowl then tip some of the water in so they're covered. Leave to cool while you make the sauce (if you're making them ahead, keep in the fridge once cool then reheat gently so they're not icy cold).

Chop the chocolate into small chunks and place into a medium bowl. Strain the remaining poaching water into a jug and measure out 150ml. Return to the pan and add the honey. Reduce by half over high heat - you can check it is about 75ml by pouring it back into the measuring jug. Leave to cool for a minute (it'll be boiling hot and would scorch the chocolate - but don't let it cool too far), then pour over the chocolate. Leave for a few minutes then whisk until smooth. Leave to thicken and cool for 10 minutes or so.

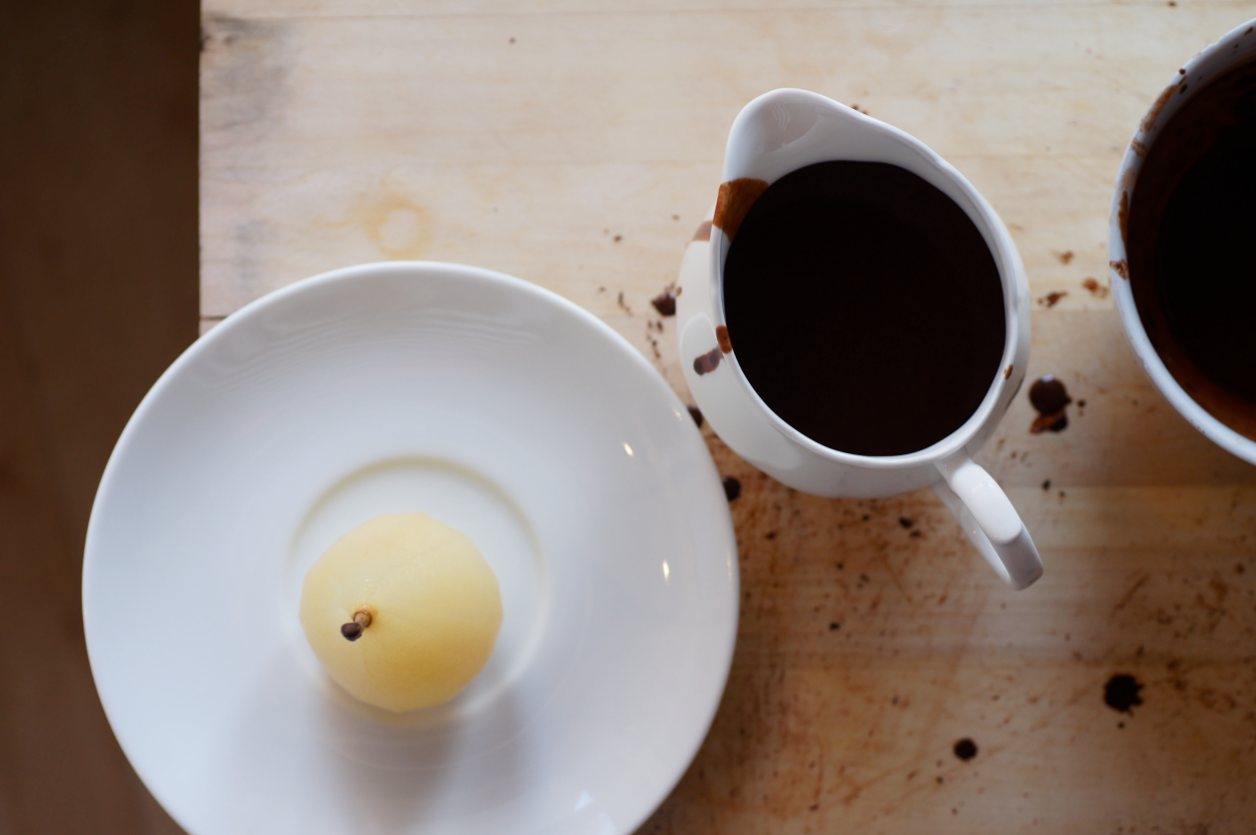
When you're ready to serve, remove the pears from the poaching liquid. Cut a slither off the bottom of each one so that it has a flat surface to stand on. Serve with the chocolate sauce in a jug and an optional scoop of ice cream.

(Serves 4)

Sunday, 19 February 2012

Crêpes Suzette


Do you like to play with fire? If so, this is the recipe for you.

Do you like soft and wispy crêpes? Buttery caramel sauces? Bright and seasonal citrus? If so, you should make this dish.


It's pancake day or Strove Tuesday this week. As I've already written about my favourite brown butter crêpe recipe and made a Dusky Caramel and Raspberry Crêpe Cake, I thought I would try something new.

Crêpes Suzette is a traditional French dish. Depending on who you believe, it was either developed in 1896 for the Prince of Wales and his female companion 'Suzette' by the chef Charpentier at Monte Carlo or - more likely - discovered at Restaurant Paillard in Paris in 1889 and named after an actress.

They're also made by Mrs Patmore in Downton Abbey, which adds a little glamour and yet another excuse to try them.


I served these with homemade cinnamon ice cream. I use David Lebovitz's fantastic recipe - you shatter a load of whole cinnamon quills into the base and steep it all overnight. The flavour is incredible. It works really well with a lot of wintery desserts so I try to keep a tub in the freezer.

I haven't written the recipe out as this is already a long one and I've probably written about too many Perfect Scoop recipes as it is. I really recommend you buy the book, I love it and use it all the time. (But, ahem, you can find the cinnamon recipe online in both US and metric here).


I know the recipe seems very long. It's not actually that complicated but I wanted to make sure everything was clear and you could work quickly and smoothly through it. If you prepare everything in advance - I made the crêpes and measured everything else - it's really easy to do with guests and they'll love the dramatic flames.

I've tried this using bought orange juice with a squeeze of lemon instead of fresh juice and it was nearly as good (I still served it with a slice of orange). The first batch of crêpes were half wholemeal but I preferred them with just plain for this. I've also tried it with both navel and blood oranges - both were delicious. I've made two batches of crêpes and four sets of the dish in the last three days - it's that good.

I don't think it's traditional to serve this with slices of orange or with ice cream but I think they finish the dish beautifully. The fresh orange brightens the taste and adds texture. The ice cream gives a creamy temperature contrast and the cinnamon melds beautifully with the caramel and citrus.


Crêpes Suzette
(Crêpes adapted from Delia's Complete Cookery Course, sauce adapted from Matthew Fort and Raymond Blanc here)

For the crêpes:
15g butter
55g plain flour
1 egg
100ml milk
25ml water
extra butter for frying

For the sauce & to serve:
2 big oranges
1/4 lemon
60g caster sugar
50g butter
good splash of Cointreau or Grand Marnier
2 scoops of cinnamon ice cream (optional)

Melt the butter in a big, heavy-bottomed frying pan. Keep heating until the butter foams up and dies down and is full of rusty flecks. Pour into a bowl to cool.

Weigh the flour into a mixing bowl and whisk it to get rid of any lumps. Make a well in the centre and break the egg into it. Start whisking the egg into the flour, slowly incorporating more from around the edges. Once you have a thick paste (about half the flour will still be there), start adding the milk. Keep whisking and incorporating splashes of milk and more of the flour until you have a smooth batter. Whisk in the cooled butter. Add most of the water, reserving a little to adjust if needed.

Heat the frying pan up again and add a little bit of butter. Either transfer the crêpe mix to a jug or find a ladle. Once the pan is smoking hot turn the heat down a bit. Pour some of the mix into the pan at an angle and swirl quickly. Flip when starting to brown at the edges. Once browned on the bottom too, remove to a plate lined with a piece of kitchen paper. Repeat until you've got four crêpes you're happy with (you should have batter for about 6). You can now keep them covered in cling film in the kitchen paper (I dampen the top piece) for a few hours or proceed immediately.

Slice one of the oranges so that you have two slices from the middle to serve fresh, and two ends to juice. Carefully pull the peel off the two slices and set aside. Juice the rest of the orange, the other orange and the lemon into a measuring jug. You should have about 150ml of liquid.

Clean the pan that you made the crêpes in. Have everything ready - a whisk, some tongs or a fork to maneuver the crêpes, the butter, the juice, the crêpes, the alcohol, a small frying pan to heat it, matches, the garnishes, plates.

Scatter the sugar evenly over the surface of the pan. Heat over medium-high heat, shaking the pan slightly every now and then to maintain an even layer. Once the sugar has melted and begins to caramelise, scrape the sides down and swirl lightly so that the sugar colours evenly. Once it has reached a deep golden colour, take off the heat, add the butter all at once and whisk until smooth and frothy. Add the juice in two goes, whisking well between each - it may clump up a bit but will melt down in a minute. You'll have quite a bit of liquid.

Return to the heat. Add the first crêpe to the pan, then carefully turn it over with the tongs/fork, making sure it's totally soaked. Fold in half, then into quarters and move to the side of the pan. Repeat with the next three crêpes until the pan is full of the four quarters. Let the crêpes soak and the sauce reduce a little over the heat for about 1 minute, until you have a deep golden syrupy sauce. Transfer the crepes to the plates with some extra sauce. Add the orange slice and ice cream.

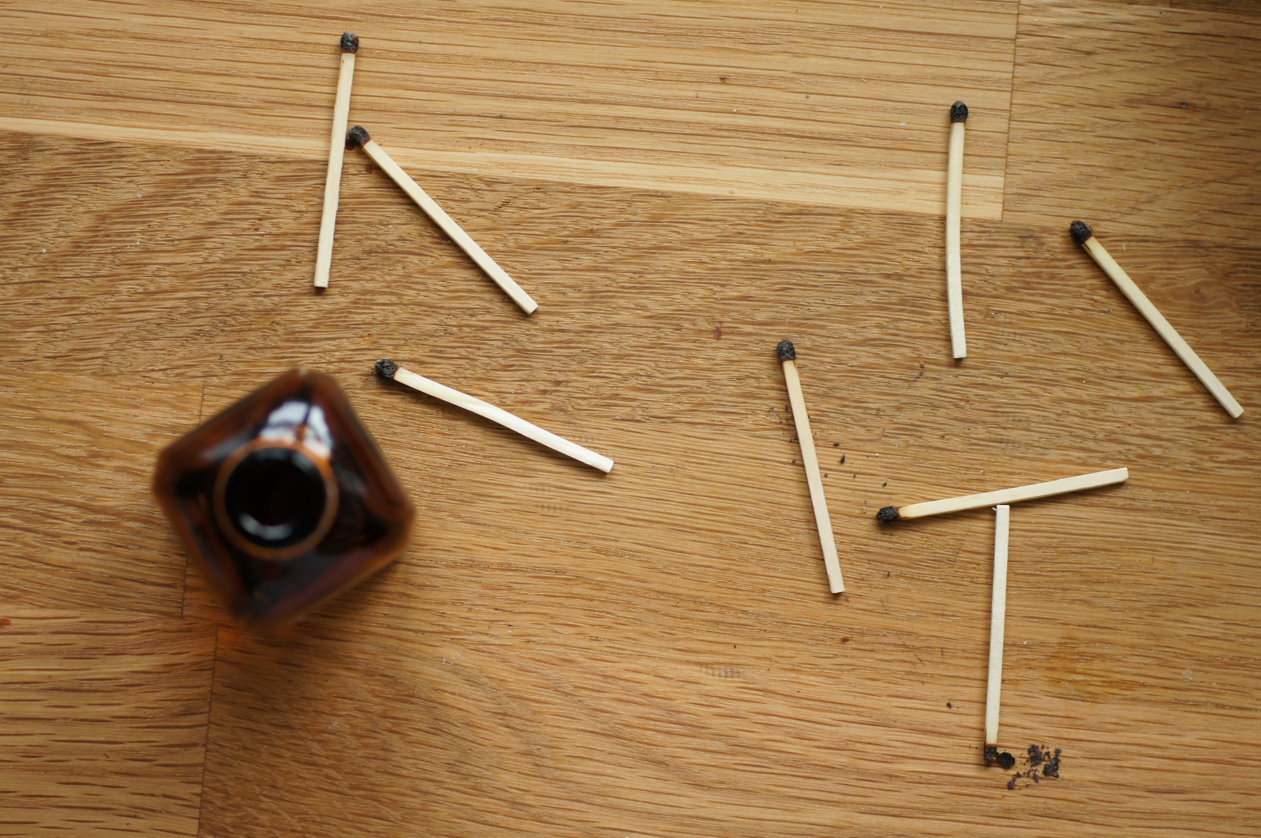
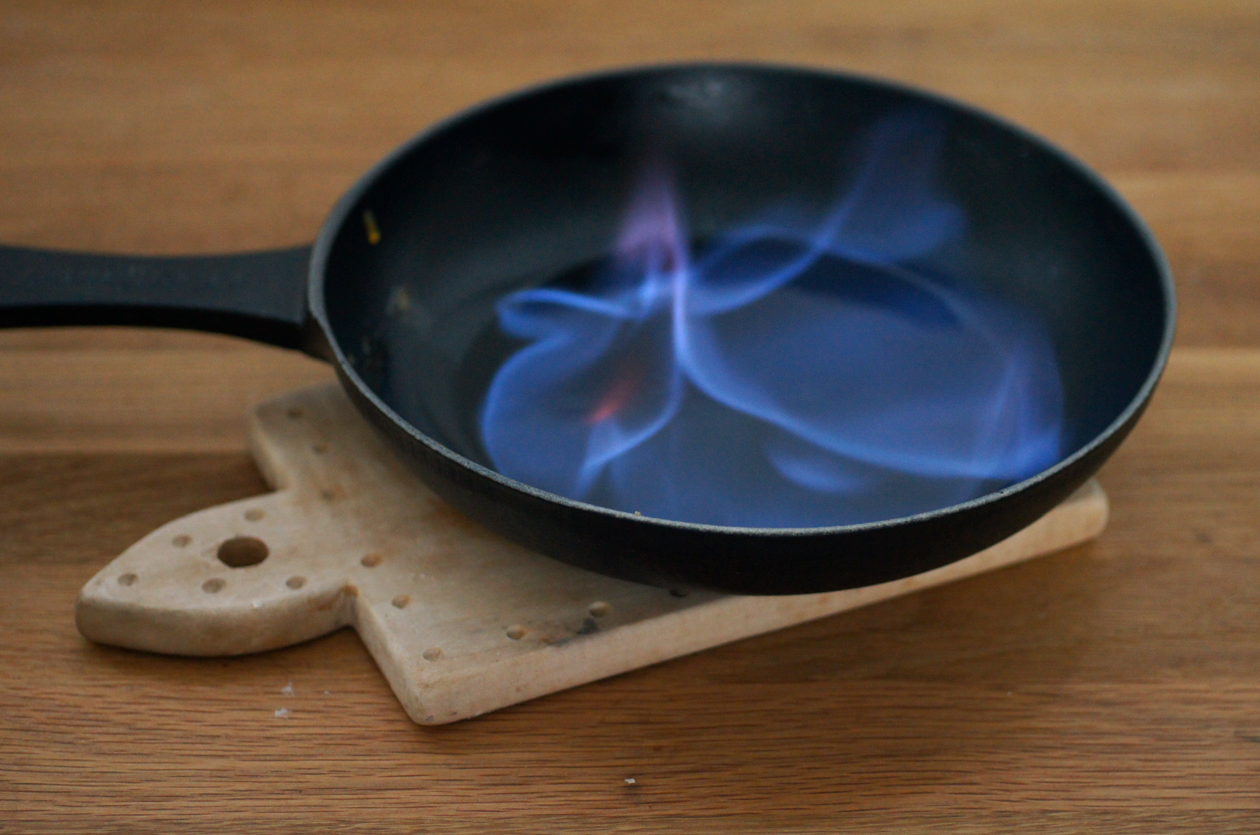
Turn off most of the lights in your kitchen. Quickly add a splash of alcohol to the small frying pan and heat until vapours start rising. Light a match and touch it just inside the pan. Blue flames will erupt - watch for the flickers of gold. Pour over the two plates while still flaming and serve immediately.

(Serves 2)

Wednesday, 21 December 2011

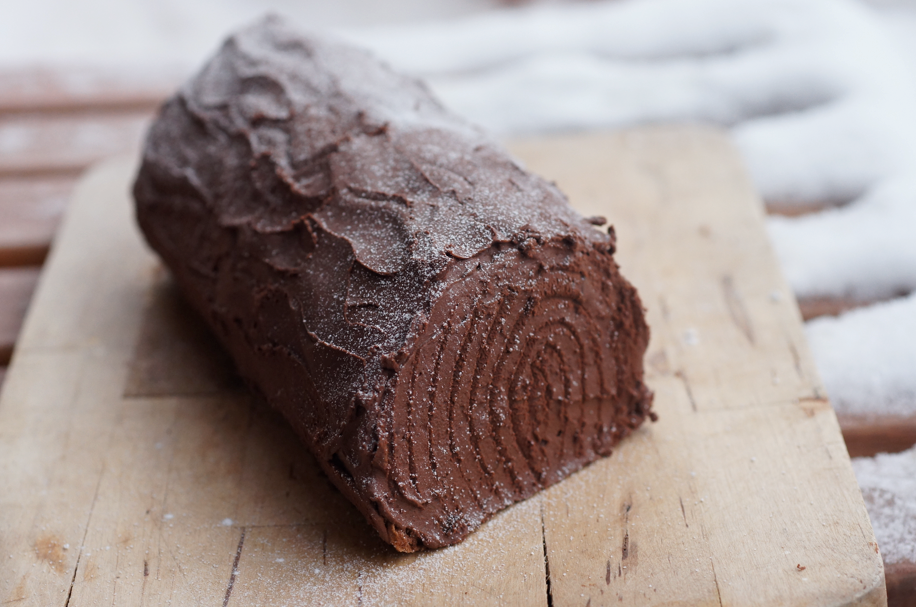
Bûche de Noël


Three things I learnt yesterday about the highly specialized field of sub-zero food photography:

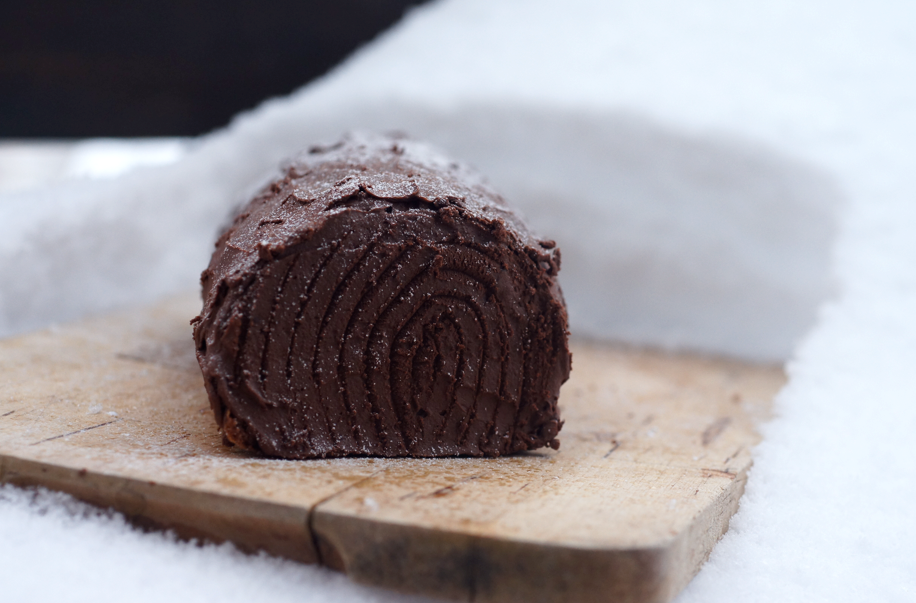
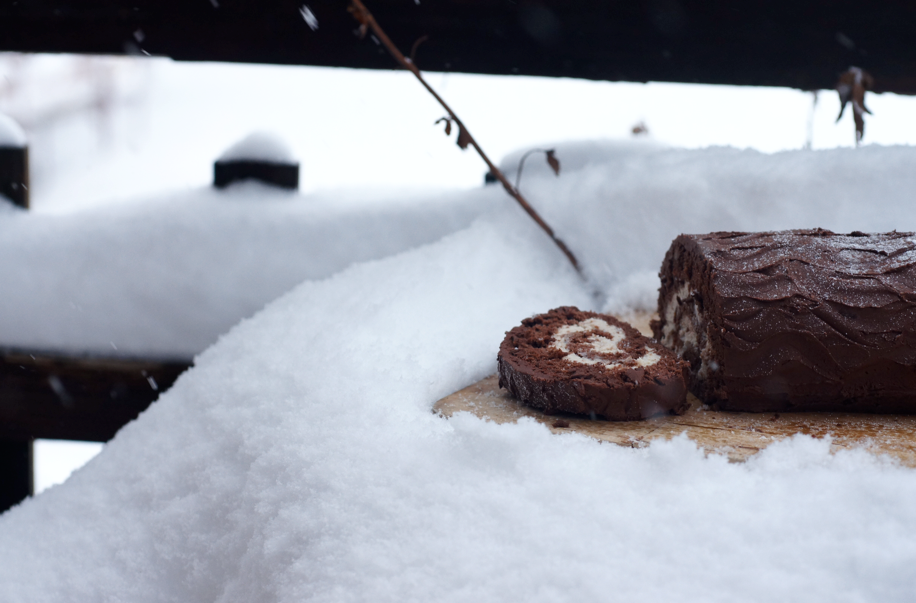
1/ Icing sugar to simulate snow-on-a-log is pretty pointless when you also have actual snow on your yule log.

2/ Forget tables - plant pots with a drift of snow perched on top or sun loungers (oh the irony) make excellent surfaces.


3/ 'Shoot and run'. It's -6 C. No fancy moves, just a bit of exposure tweaking. Or your hands will fall off (gloves get in the way). Wrap up as if you're going skiing or taking the dogs for a walk. Yes, that means thermals (sexy, I know). Food photography is just another activity that has to be adapted to snow (and therefore darkened houses) when it just keeps on falling for days and days on end.


I decided to keep this simple: light chocolate sponge (the one I used to make the chocolate & peanut butter mousse swiss roll), a chestnut-marscarpone filling and whipped dark chocolate ganache swirled over the top. It's a delicious combination. The chestnut gives a smoky depth and graininess to the filling.

Also - I passed basic patisserie! Despite a very stressful and frustrating practical exam my other marks pulled me up to a credit - I was so happy when I opened the envelope at graduation.


Edit: The lovely Felicity Cloake tried out this recipe in her Perfect column in The Guardian! You can still see it online: 'How to cook the perfect yule log'.


Bûche de Noël
(sponge recipe adapted from David Lebovitz's Ready for Dessert)

For the sponge:
60g plain flour
30g cornflour
20g cocoa powder
1/2 tsp baking powder
pinch of salt
3 eggs, separated
35ml cold water
120g caster sugar

For the chestnut cream:
200g mascarpone
125g sweetened chestnut puree*
1 tsp icing sugar
1/2 tsp vanilla extract

For the whipped ganache:**
150g dark (70%) chocolate, very finely chopped
150g double cream
2 tsp light brown sugar

Preheat the oven to 170C. Line an oven tray with parchment paper. Sift the flour, cornflour, cocoa powder, baking powder and salt together three times - the mixture should be a uniform pale brown. Place the 3 egg yolks and the water into the bowl of a stand mixer. Whisk on high for 1 minute then sprinkle the caster sugar over the frothy mixture. Put back onto high and whisk for 5 minutes until the mixture reaches ribbon stage (i.e. if you lift the whisk, the ribbon coming off it stays on the surface for a few seconds) and is very pale.

In another clean bowl whip the egg whites to stiff peaks. Steady the bowl of whipped yolks on a damp cloth and sieve over a 1/5 of the flour mixture. Fold in with a rubber spatula, swirling around the edge of the bowl and flicking into the middle. Repeat with the next 1/5 and so on until you have incorporated all the flour mixture. Fold in 1/3 of the whites to loosen, then fold in the remaining 2/3. Scrape out of the bowl onto the tray then with bold strokes use a palette knife to spread out into a rectangle roughly 20x30cm (this post about another swiss roll has videos on spreading and a slightly different filling/rolling method).

Bake for 12-15 minutes until the sponge springs back when touched in the middle. While it bakes lightly grease two sheets of parchment bigger than the cake. Lay one on a table and sprinkle with a little granulated sugar. When the cake comes out of the oven, let it rest for 1 minute then flip it out onto the parchment. Slowly peel the baking parchment off the top. Trim a small amount off each side with a serrated knife. Lightly score a line about 1cm from the end of one of the shorter sides with the back of a knife. Top with the clean parchment sheet then start rolling up from the scored end, tightly tucking in as you go. Once you get to the end, wrap the whole roll in a tea towel and leave to cool a little.

While it cools, beat the mascarpone until smooth in a bowl. Add the chestnut puree and sugar and beat again, then finally add the vanilla and combine until uniform.

When the wrapped roll is no longer hot to touch but is still warm, carefully unwrap it. Spread the inside with the chestnut mascarpone mix and then roll up again, using the outer parchment but discarding the inner. Place in the fridge to firm up.

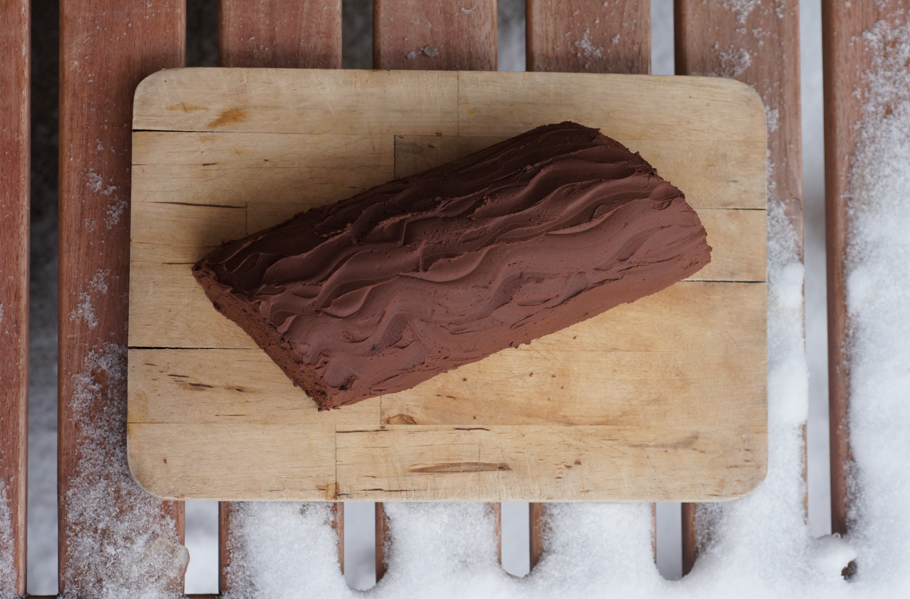
Put the chopped chocolate into the bowl of a stand mixer. Place the cream and sugar into a small saucepan and heat until steaming, then pour over the chocolate. Leave for a minute then stir until smooth. Place into the fridge to firm up - you want it to be thick but not solid. When it's ready, fit the bowl into the mixer and whip until fluffy and a bit lighter. Dollop some of the icing onto the chilled roll and spread over the entire roll with a palette knife. Style the icing to your liking - I used an icing comb to create a bark-esque effect on the top, then a serrated knife to create the rings on each end. The roll keeps really well in the fridge - in fact we preferred it after it had chilled for a few hours.

(Makes about 10-12 slices)

*In Switzerland they sell tubes of prepared sweetened chestnut puree - it's 68% chestnuts, which is I think a little more than most pastes (like the Crème de Marrons from Clément Faugier that seems to be most common in the UK) and some of them have vanilla, so I think if I was using a paste like that I'd exclude the extra icing sugar and the vanilla. (updated 15/12/15)

Update 21/12/16 - This year I tried it with unsweetened chestnut paste as that's what was in the supermarket - I added 2 tsp of icing sugar. I think I prefer it with the sweetened paste I normally use, but it's an option.

**I also used less ganache and didn't whip it - didn't cover the ends and used a fork to make waves along the log. I used 50g/50g/1 tsp for the ganache amounts.


Three more Christmas recipes:
Mince Pies
Moulded Gingerbread Cookies
Galette des Rois

ShareThis