
Did you know that you can whizz up an entire vanilla bean and use it in baking?
I first came across the idea in July in a
101 cookbooks recipe for vanilla bean cookies. It had never occurred to me before. Usually I scrape the seeds out and then use the bean itself to infuse ice creams, custards and syrups or to make vanilla sugar. I bookmarked the post and finally got around to making the recipe this week.
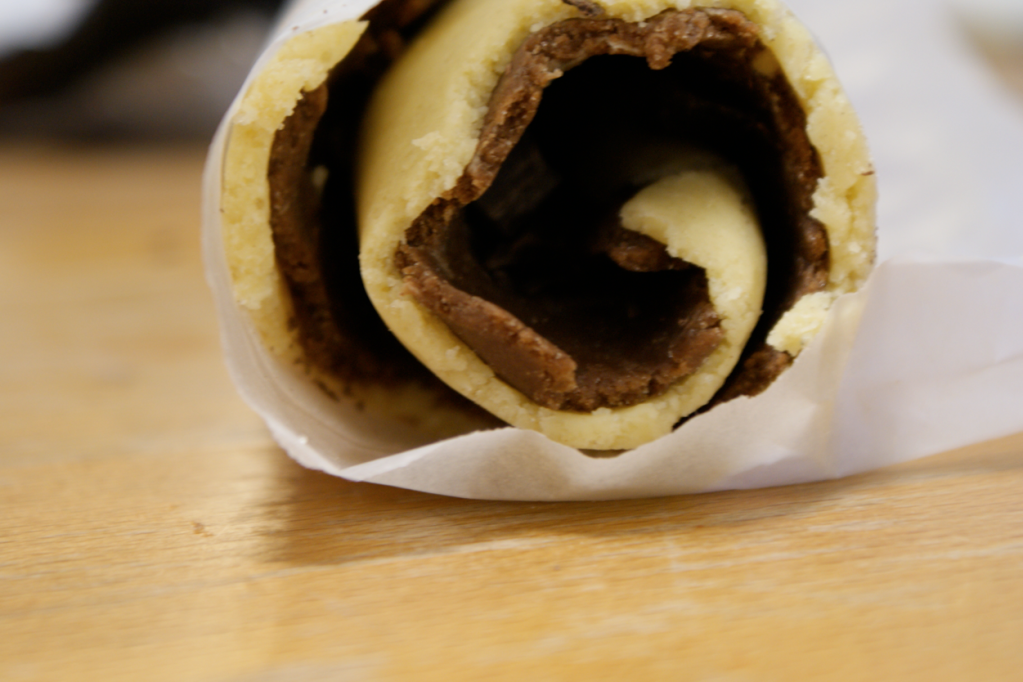
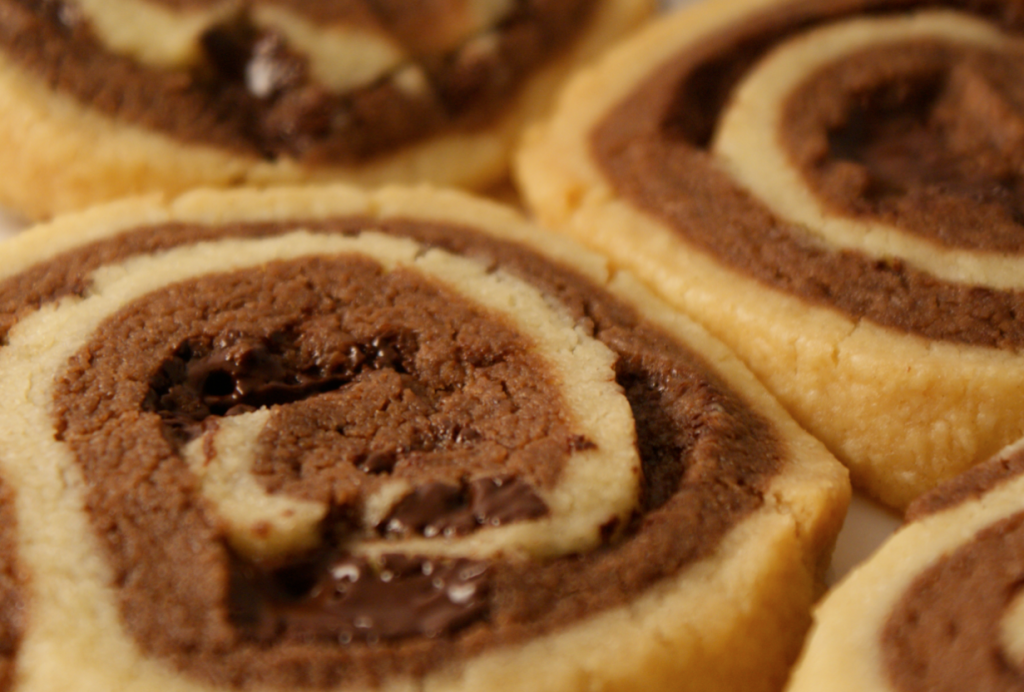
The food processor chops the bean up into tiny pieces and releases all the seeds and oils into the sugar. The tiny chunks you get have a similar texture to fragments of raisin. Vanilla often gets overlooked as just another basic ingredient to slosh into everything, so it's lovely to be able to put it in the spotlight. I'm definitely going to experiment to see where else I could use this technique. I've also been trying to work out what you could do if you don't have a food processor. Perhaps chop the bean as small as possible then grind it in a pestle and mortar?
Try to use a high quality, plump vanilla bean - you want it to be soft, as I imagine a tough bean would be difficult to blend and the little bits would be chewier. I did wonder if you could briefly soak a harder bean in some boiling water, like soaking raisins or dried fruit to plump them up, but I haven't tried it.
Though I loved the punchy vanilla, I thought - much to my surprise - that the cookies were too sweet. To me, it seemed that a short, delicate biscuit would be better than a crunchy one.
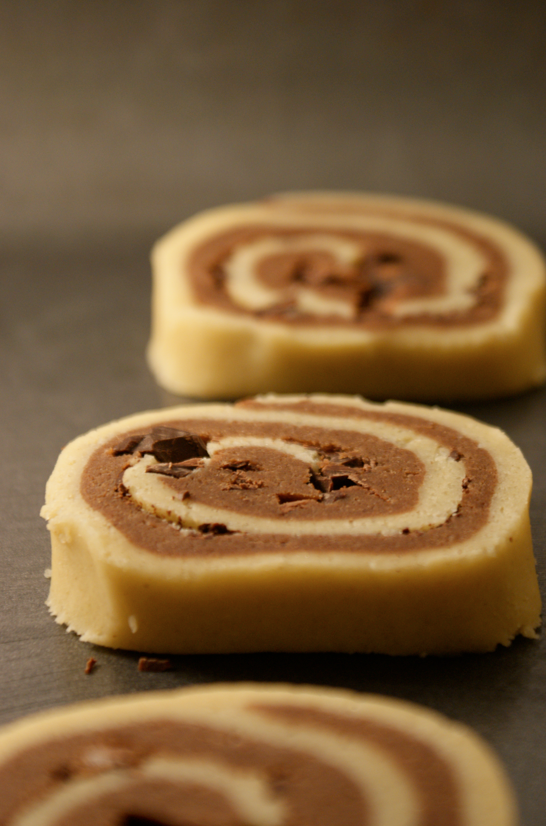
Fork Biscuits, a staple of my childhood, are nearly the texture I was going for, so I compared the ratios of butter : sugar : flour (Heidi = 1 : 1 : 1.08, Fork = 1 : 0.48 : 1.38 ) and came to a new one = 1 : 0.5 : 1.25. Which, I then realised, isn't far off shortbread.
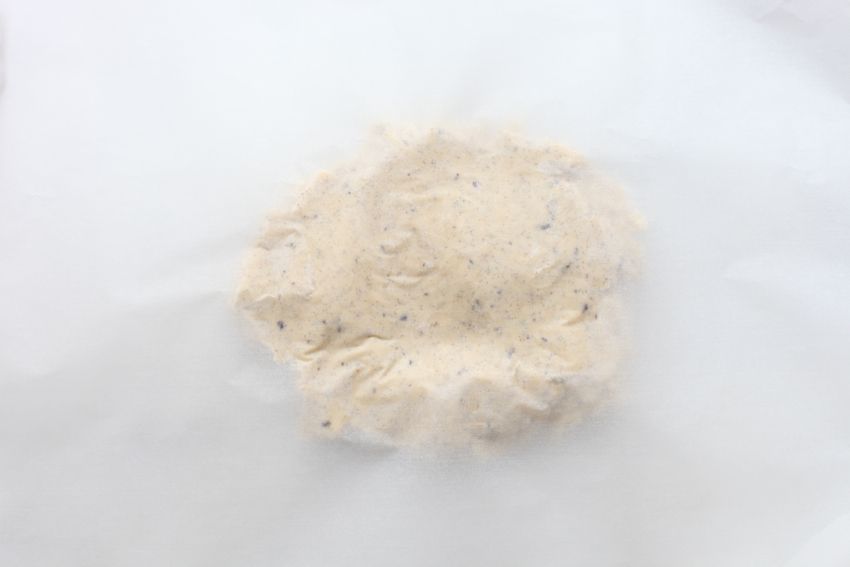
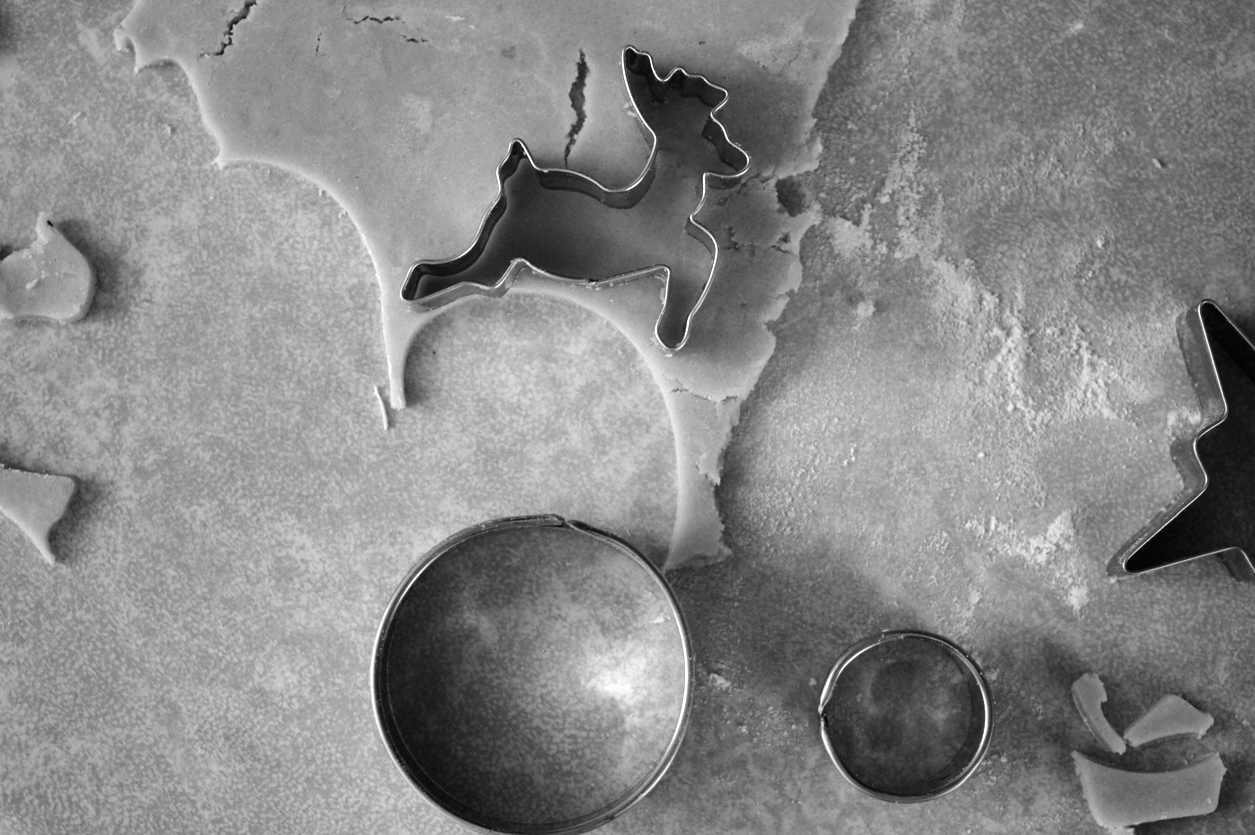
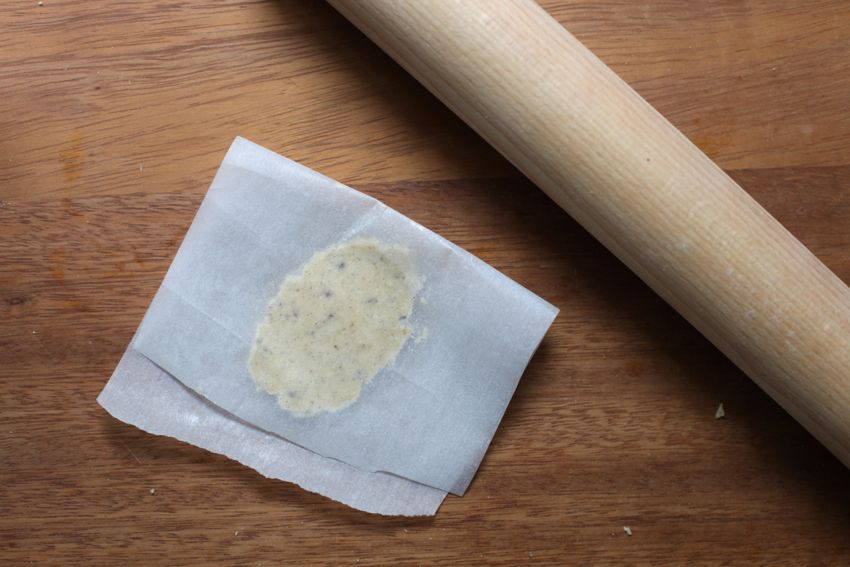
(This slightly ghostly bit of biscuit dough hiding behind parchment is as close to spooky/spidery baking as I'm going to get this year. Happy Halloween!)
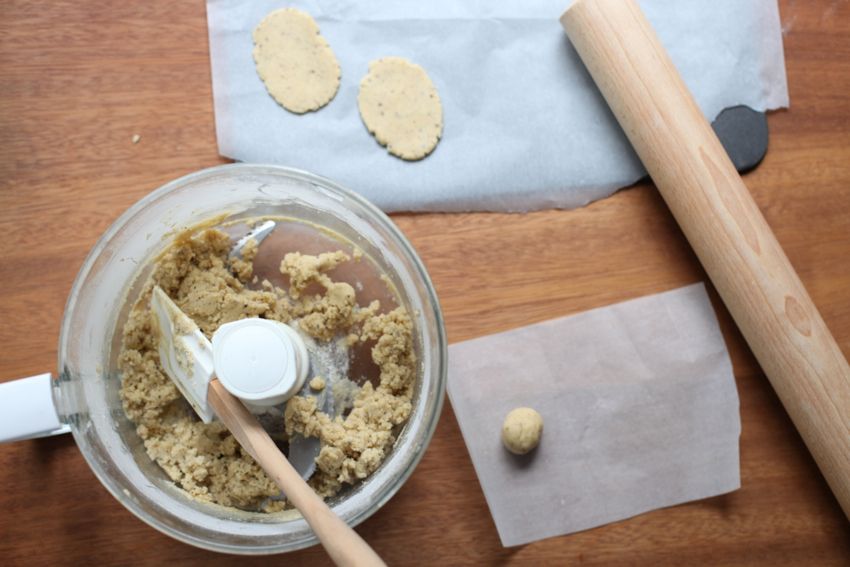
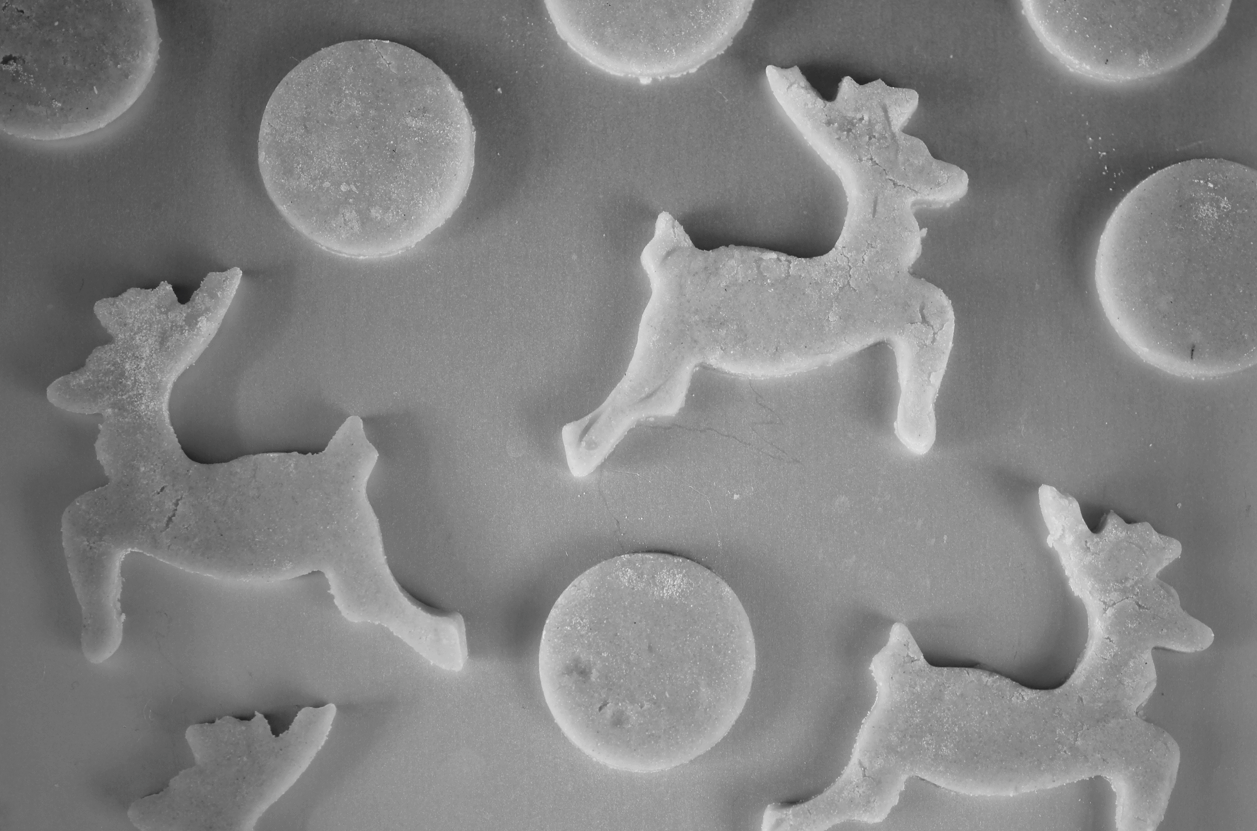
The photo above is from the Heidi recipe, where you roll all of the dough out between two pieces of parchment, chill it, then stamp the cookies out afterwards. I decided to adapt this by combining it with the fork biscuit method of making balls and squishing them with (surprise!) a fork: I took some dough, formed a little ball, put it between parchment and then
rolled it out into an oval shape. It naturally flutes the edges a little and means that you don't have any dough that you have to re-roll after cutting, so it all stays very tender.
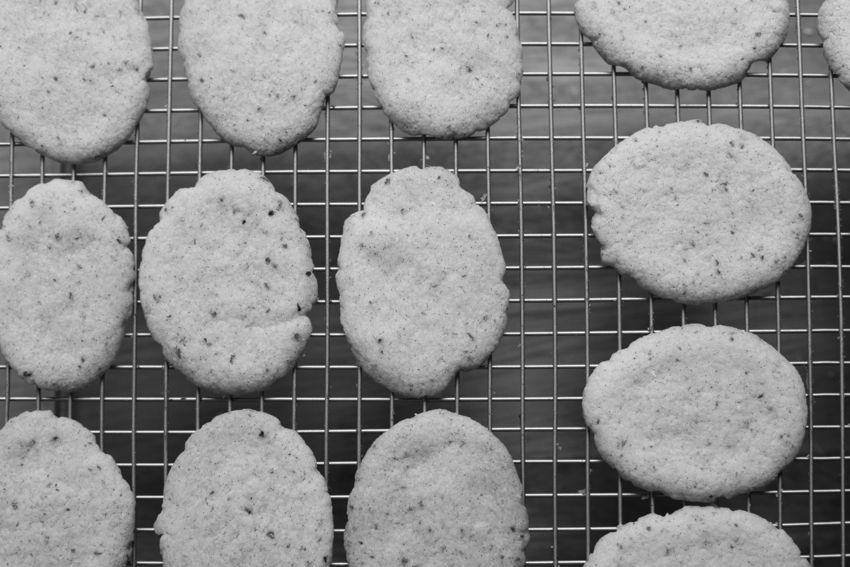
The resulting biscuits are beautifully light and - this is such a cliché, but true in this case - they seem to melt in your mouth.
They might not look as dramatic or exciting as some of my last posts but I am very, very excited about this recipe. My childhood favourite has grown up.
P.S. I'm sorry that this post is a day late and that I've been so useless at replying to comments on the past few posts - I've been ill (lost nearly an entire week to a horrid bout of flu, I was not amused) and between catching up with work and still being pathetically weak and tired I've been struggling to keep everything in the air. Replies will be up soon.
 Whole Vanilla Bean Biscuits
(adapted from
101 Cookbooks and my family
Fork Biscuit recipe)
1 soft, plump vanilla bean*
50g caster sugar
100g unsalted butter, cold but not rock solid
125g plain flour
1/4 tsp baking powder
a big pinch of fine sea salt
a few pinches of sea salt flakes or fleur de sel (optional)
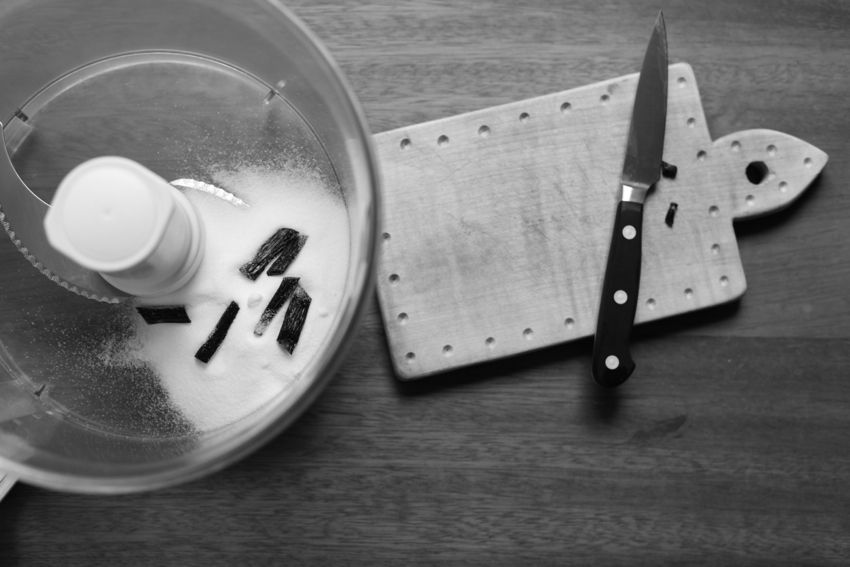
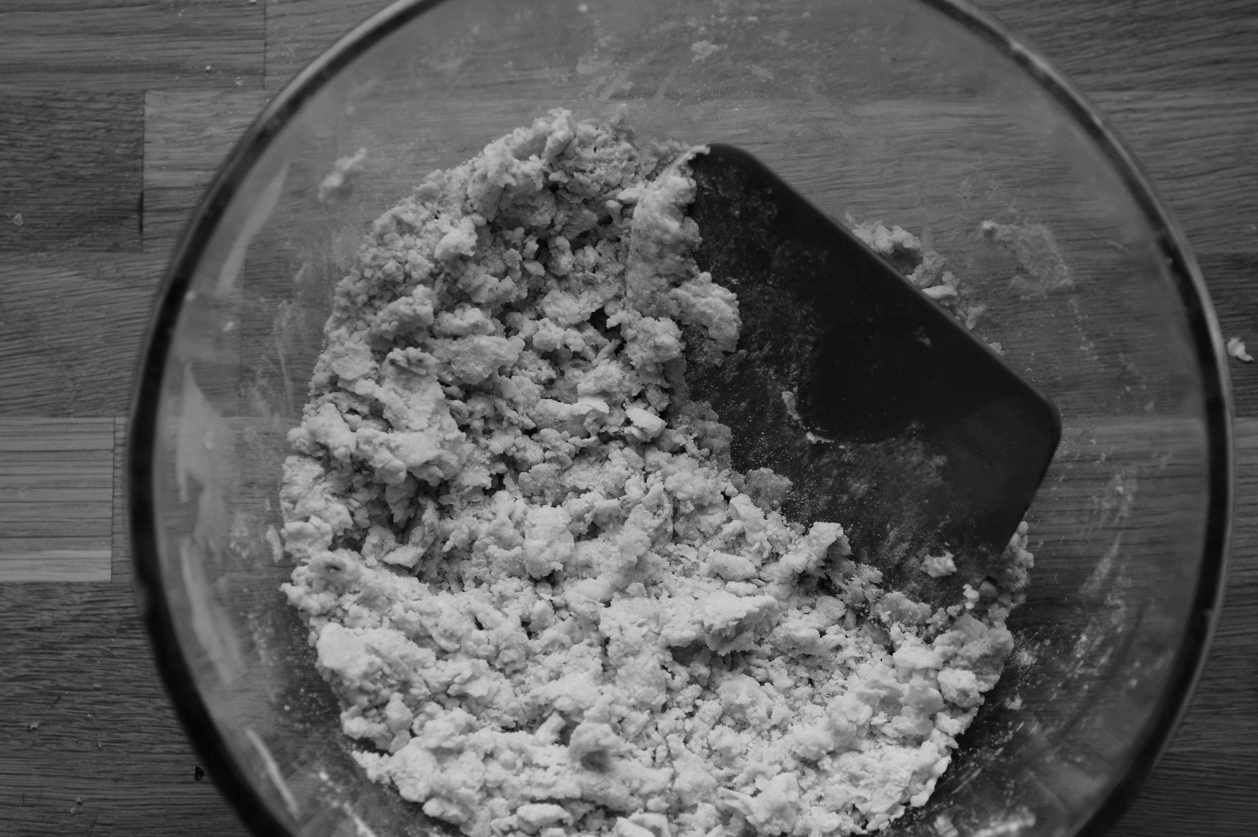
Cut the hard tips off the vanilla bean then chop it into small chunks. Place in the bowl of a food processor with the caster sugar. Throughout the processing you'll need to stop and scrape the sides and bottom down fairly regularly. Blend until the bean has been broken down into seeds and tiny dark flecks and the sugar has turned light brown (
see this photo) - this takes a few minutes. Add the butter and blend, stopping as soon as you have a uniform creamy paste. Tip in the flour, baking powder and pinch of sea salt and pulse until the mixture starts forming bigger clumps and cleans the sides.
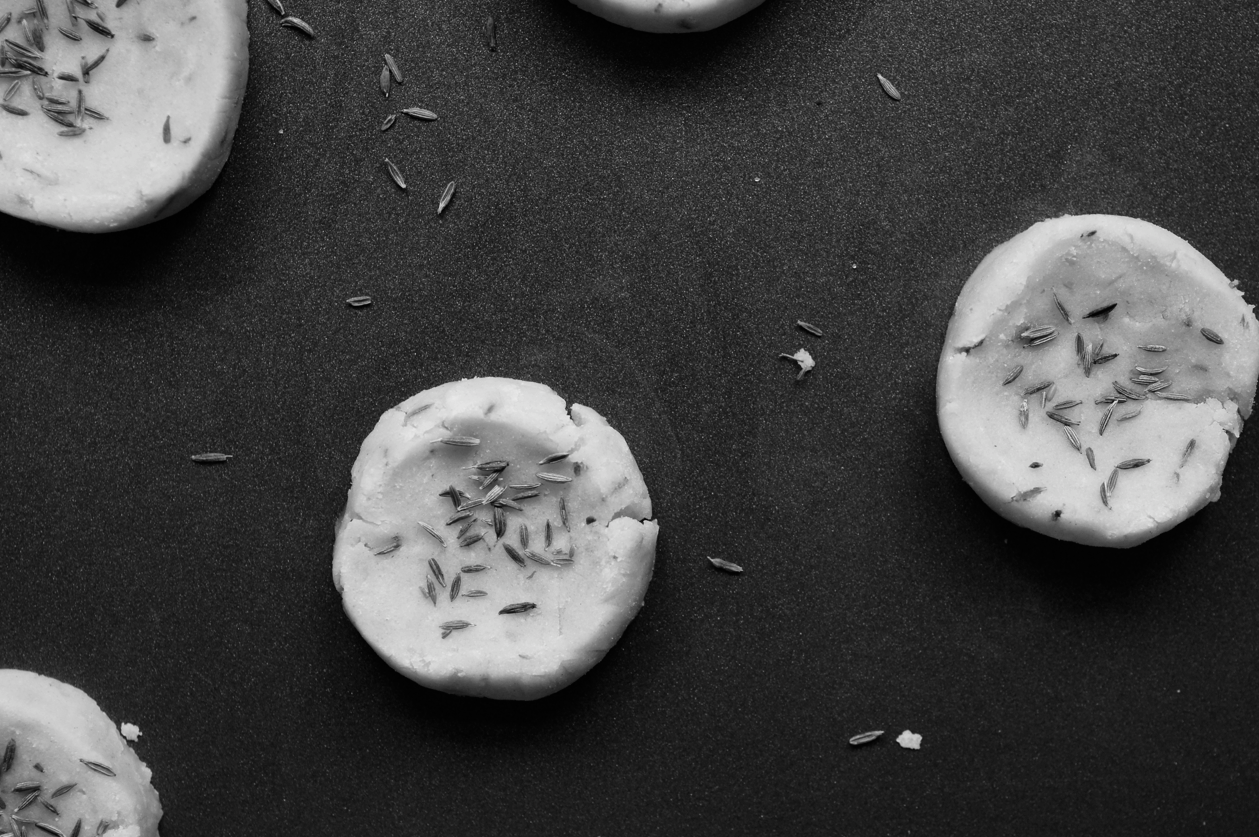
Take little balls of the mixture (in between the size of a cherry and a walnut). Don't worry about forming perfect spheres - you don't want to work the dough too much or warm it up. Place the ball on one side of a small rectangle of baking parchment (or two squares, if it's easier). Fold the other side over and use a rolling pin to flatten the ball into an even oval shape about 5-7mm thick. Peel off the parchment and place onto a parchment-lined baking tray. Repeat for the rest of the mixture - I place them in close formation on one sheet as I don't have much space in my fridge, then move after chilling. Chill for 30 minutes.
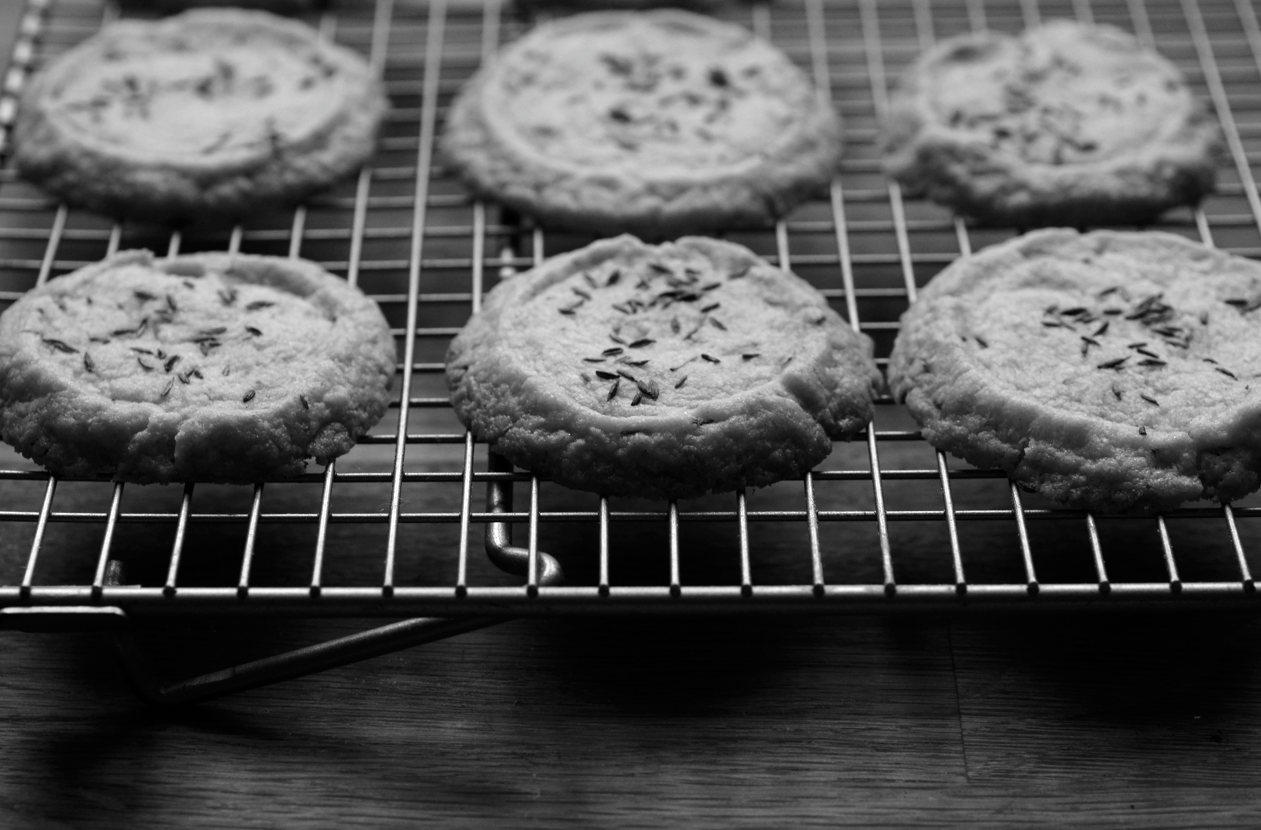
While they rest, preheat the oven to 170C/340F. Move half of the biscuits onto another baking tray and put back into the fridge. If desired, crush a few sea salt flakes over the biscuits you're baking, then place the tray into the oven. Bake for 8-10 minutes - I turned my trays at 6 to ensure an even bake. The biscuits should have risen slightly then fallen a little and be pale gold with ever-so-slightly darker edges. Cool on the tray for two minutes then transfer to a wire rack. Repeat with the rest of the biscuits chilling in the fridge. They're at their best when they've just cooled down but keep well for a few days in an airtight tin. The unbaked biscuits keep for a day in the fridge and a few weeks in the freezer, separated by parchment.
(Makes 15-17, depending on how much dough you eat *coughIhad15cough*)
Edit 11/01/16: * I recently made these with one of those extra intense ndali vanilla beans and only used half as it was so plump and strong and that was perfect. The mixture was quite pink (got me worried!) but it baked well.
A few related posts:
Gingernuts
Peanut Butter Biscuits
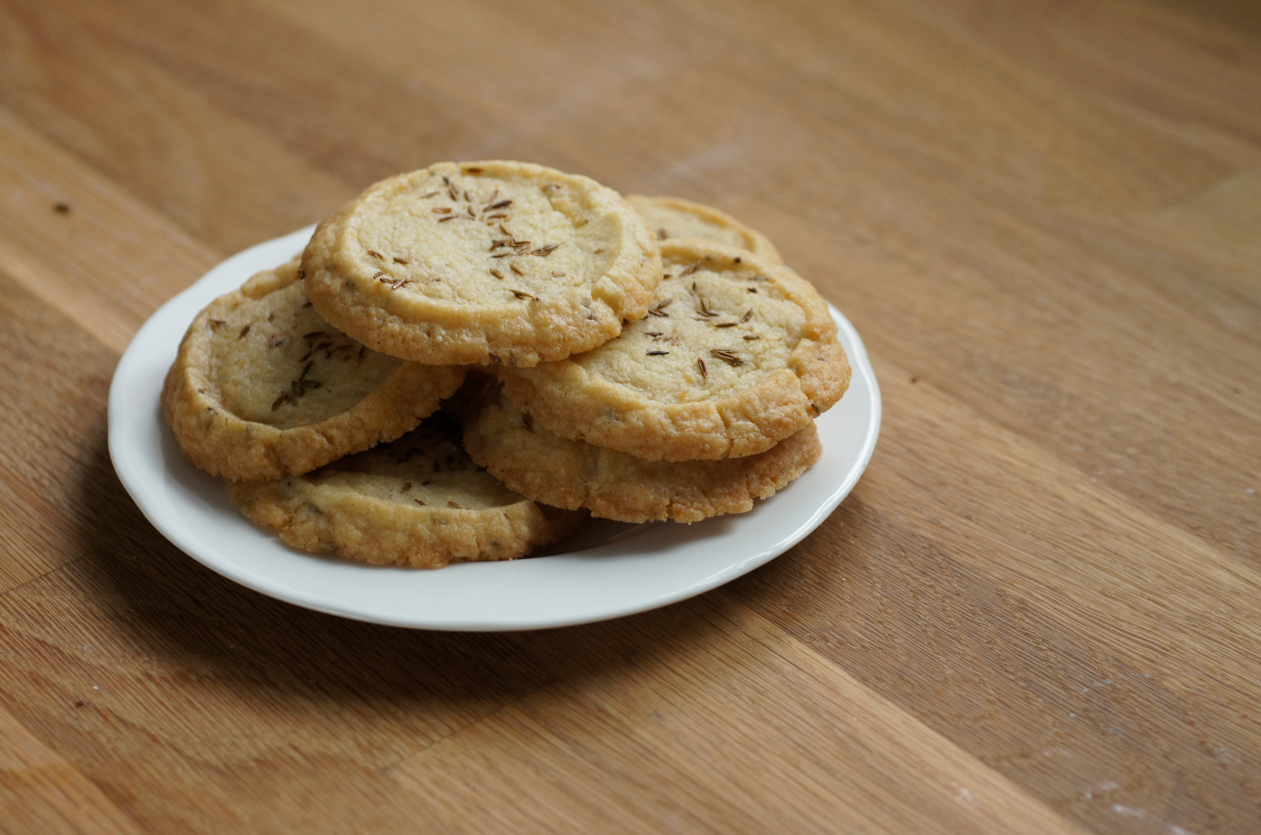
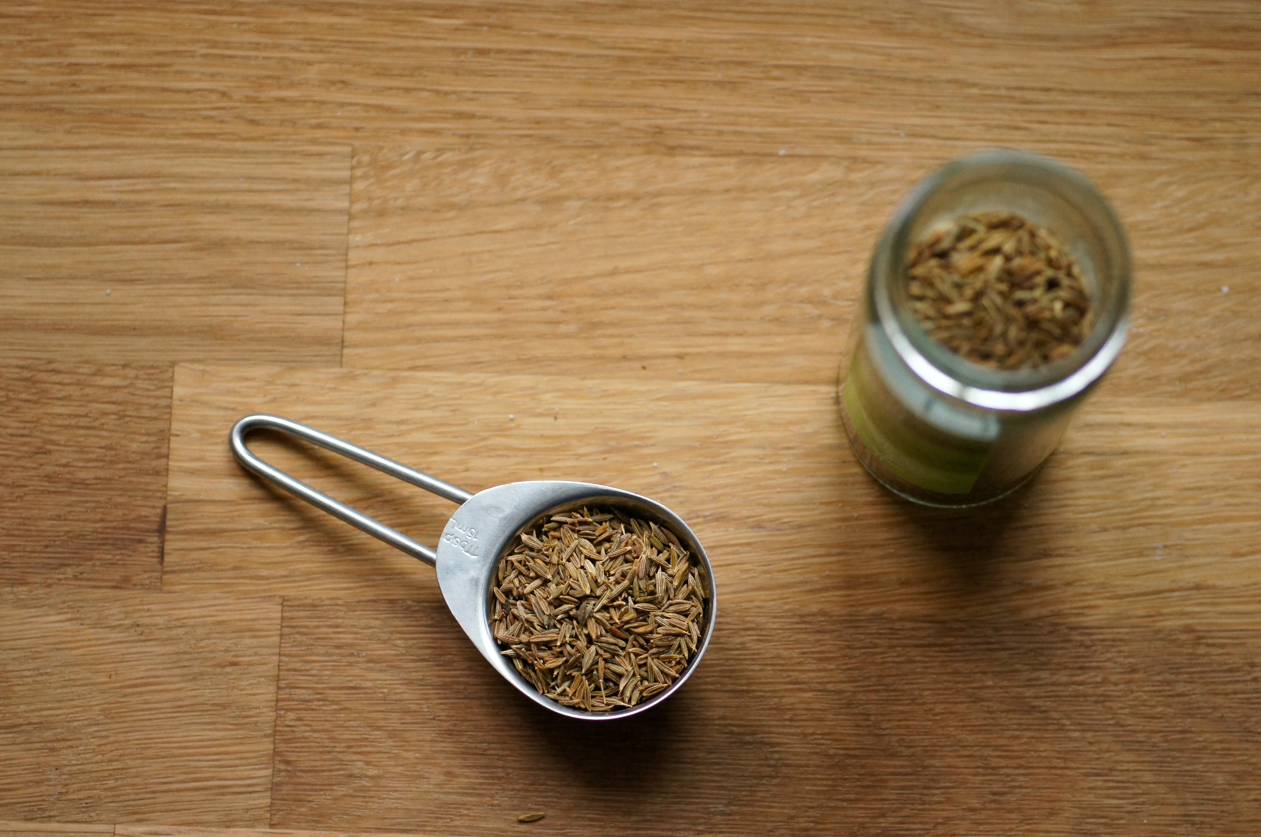
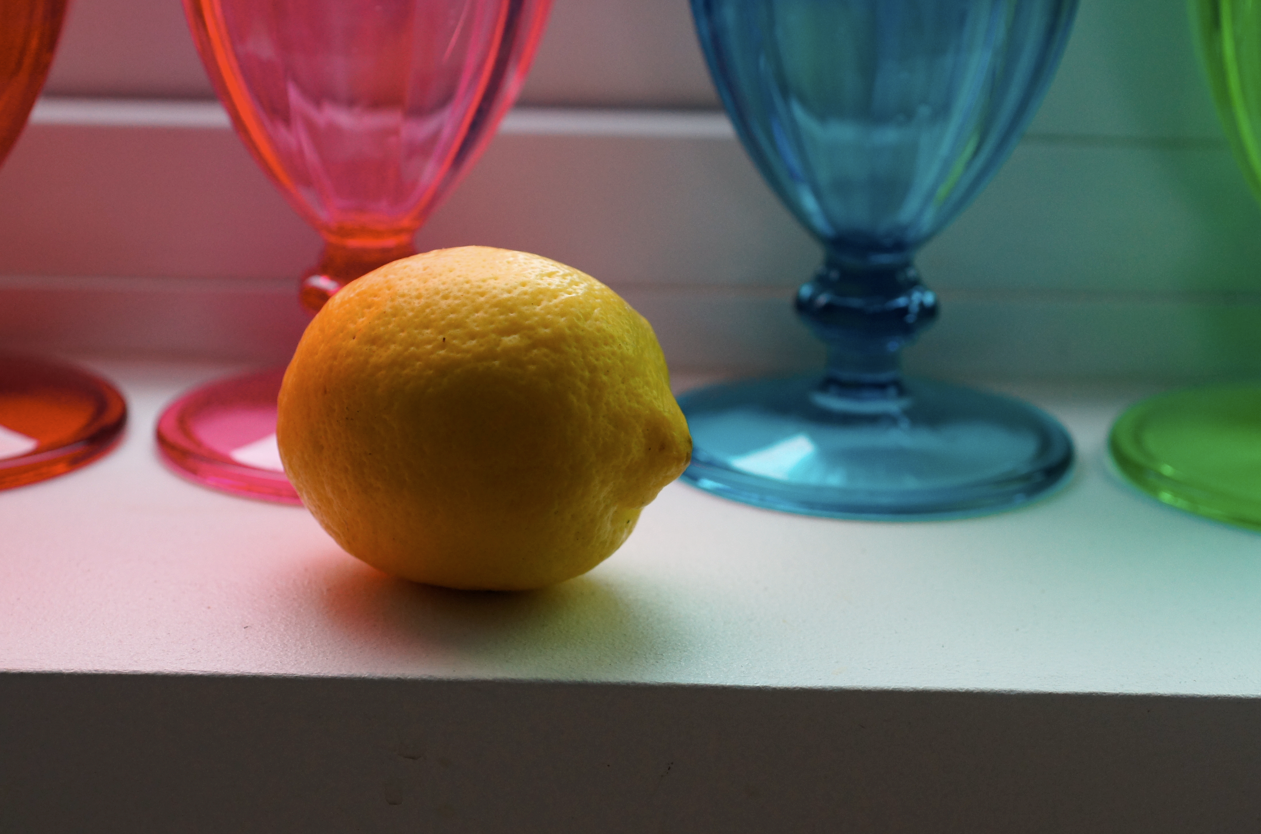
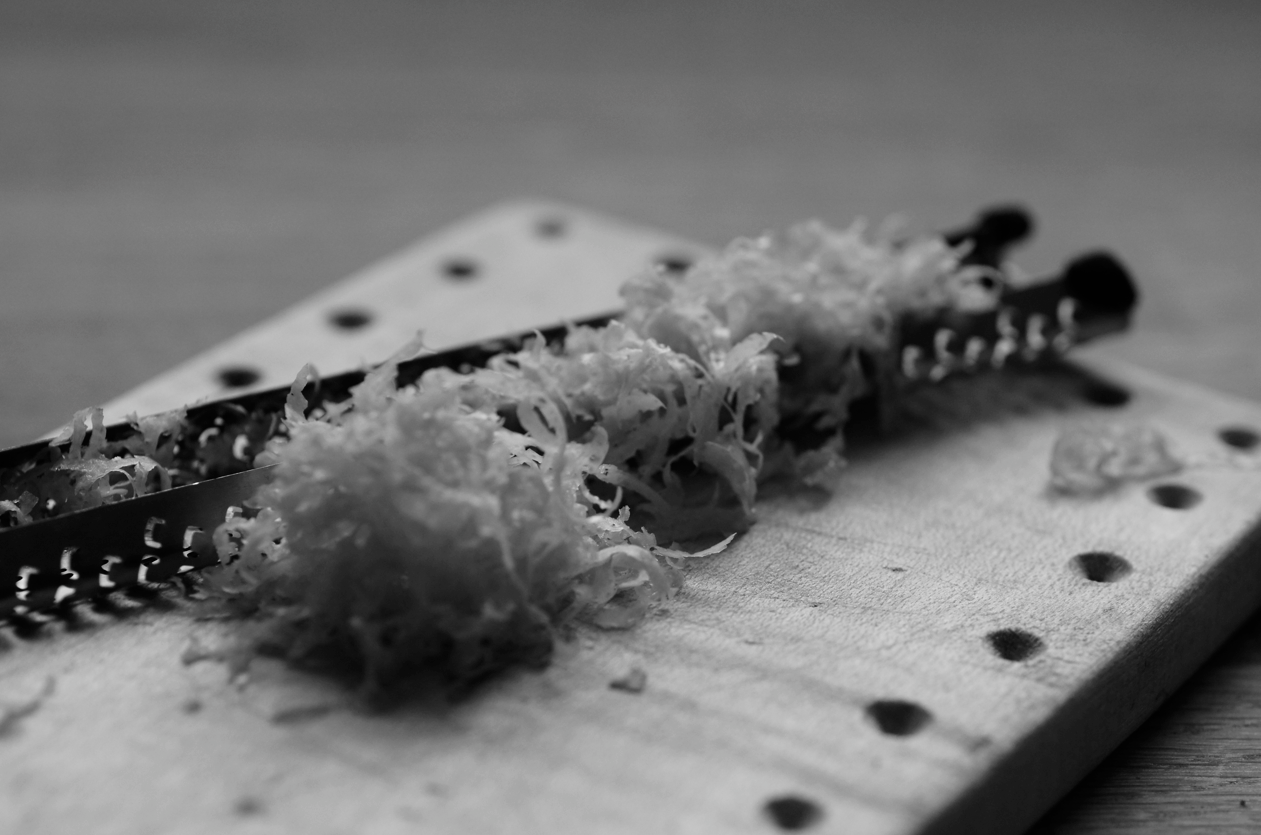
Cumin and Lemon Cookies


