Showing posts with label walnut. Show all posts

Thursday, 16 May 2013

Coffee & Walnut Cake v.2


Four years ago, when I first posted about this cake, I had a tempestuous relationship with the icing.

Behind the scenes, the icing in that post caused a fit of frustrated weeping (which was very embarrassing, as my then-brand-new-now-ex boyfriend was staying with me at the time - and let's face it, I was probably trying to impress him). Luckily I left it mixing and a few minutes later, it had whipped itself back.

Mum and I had been making the cake for years - it was my granny's favourite - but because we didn't understand the reasons and techniques behind the recipe, the icing was always nerve-wracking to make.


Delia calls the icing 'mousseline' (which appears to be a catch-all term for various things enriched with butter or whipped cream) but I think it's more accurate to call it French buttercream. One of our first exam dishes at Cordon Bleu involved French buttercream - it's a lot like Italian meringue buttercream except it's based on egg yolks instead of whites. I didn't realise the icings were the same until I made the cake for the first time in a few years for mum's birthday in April. I also found that my old recipe was too brief and not very clear, so I thought this was a good opportunity to talk about French buttercream and rewrite it.

The first step is getting the syrup to the right temperature. I'd recommend testing with a thermometer because it's easier and the finger test takes time. Having said that, if you don't have a thermometer or want to try it out, it's quite fun. The test for thread stage is to spoon a bit of the syrup onto a plate, then wait for it to cool. Squidge some syrup between your thumb and first finger then pull them apart slowly until you have a gap of about a centimetre - a thread of syrup should stay linking the two.


One of the problems is that different recipes take the syrup to different temperatures. It doesn't help that the temperatures stated for the stages seem inconsistent too - for instance, we were taught that soft ball was 116-122C but McGee says it's 113-116C. Thread, similarly, is 105-110C or 102-113C. Though others go to soft ball, Delia recommends 103-5C for this - I've been taking it up to 110C and that has been working well, so I've settled for that.

The second step is to pour the syrup down the bowl into the whisking egg yolks. I found it quite hard to visualise at first and mum used to get into a tangle by pouring the syrup into the whisk and it spinning everywhere, so I decided to do a little video for you. Excuse the little slip of the pan near the end - I'd recommend using a smaller saucepan with a long handle as they're easier to control.


After that, you leave it to whisk until cool. It's really important that the mixture is room temperature before you start adding the butter or it'll melt and create a mess.

Once it has cooled, you add the butter bit by bit. To illustrate the speed to add it (and because I find watching the mixer going round mesmerising), here's a clip of the middle of the step. Also note that I often squish the cube I'm about to add to give it a last minute bit of warmth and pliability. The butter needs to be room temperature but not melting or greasy.


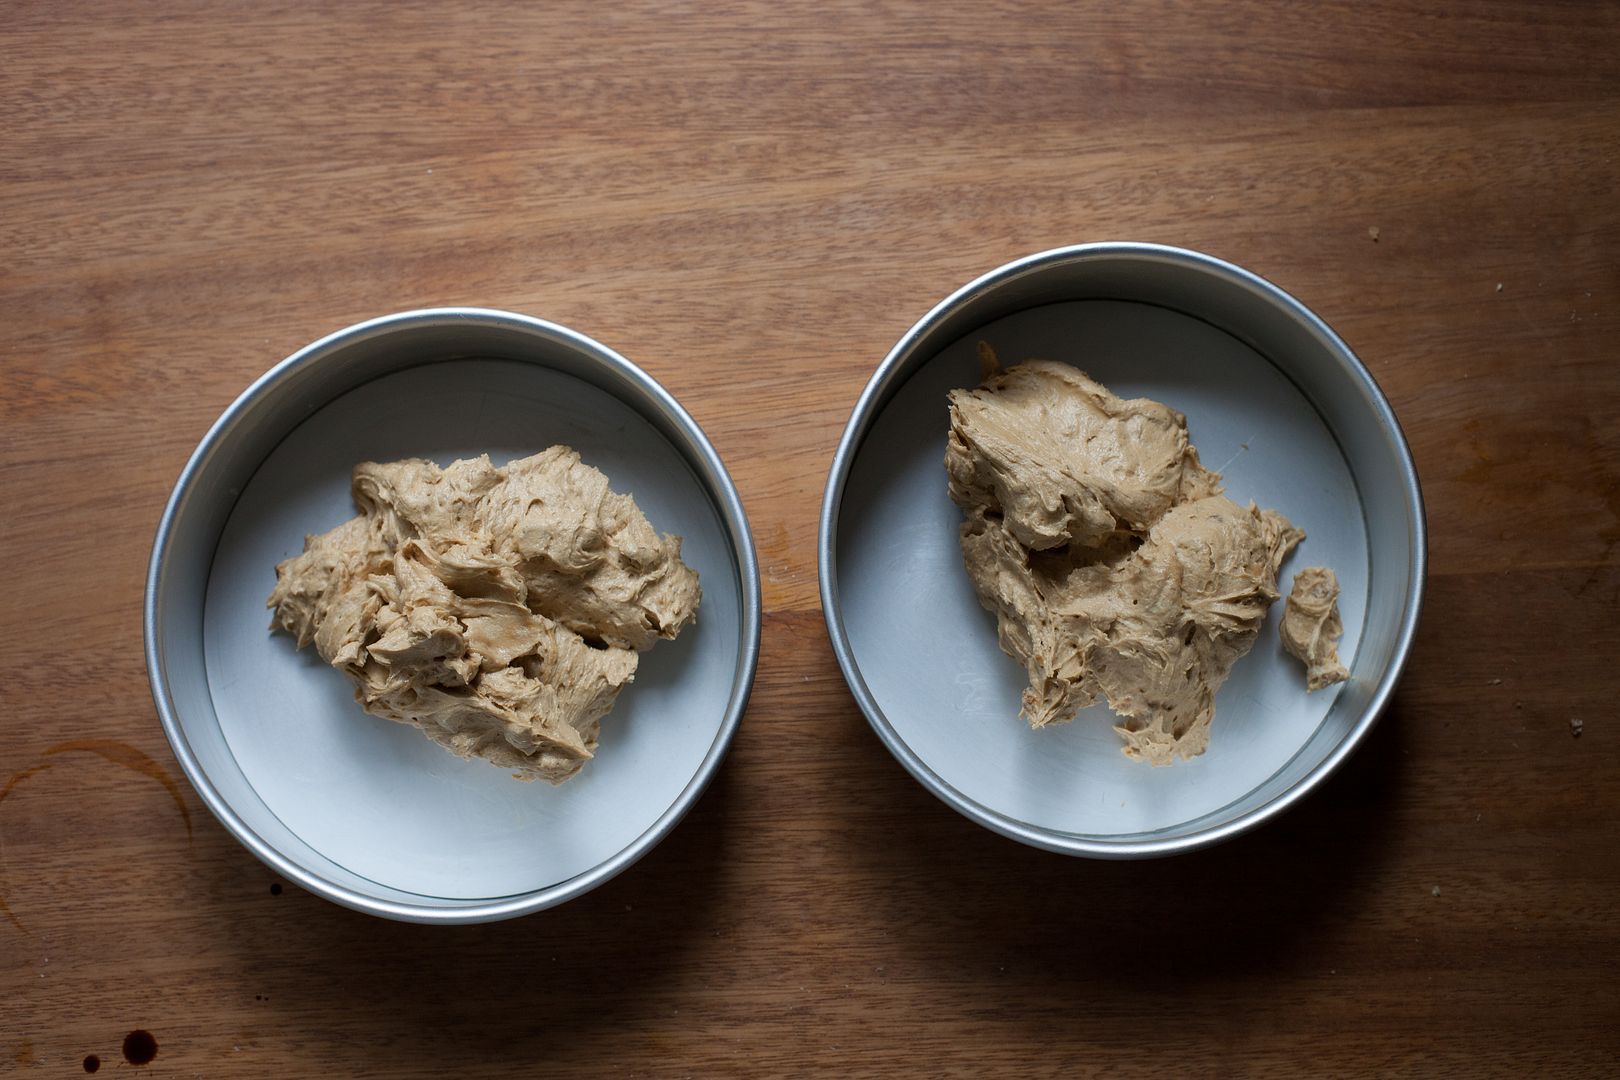
Once the butter is all in, give it few more moments to whip. Finally, you can add flavourings - in this case, coffee.

If it goes a bit curdled towards the end, this can usually be fixed by whipping it for longer. If not, try putting it in the fridge for 15 minutes then whipping again.

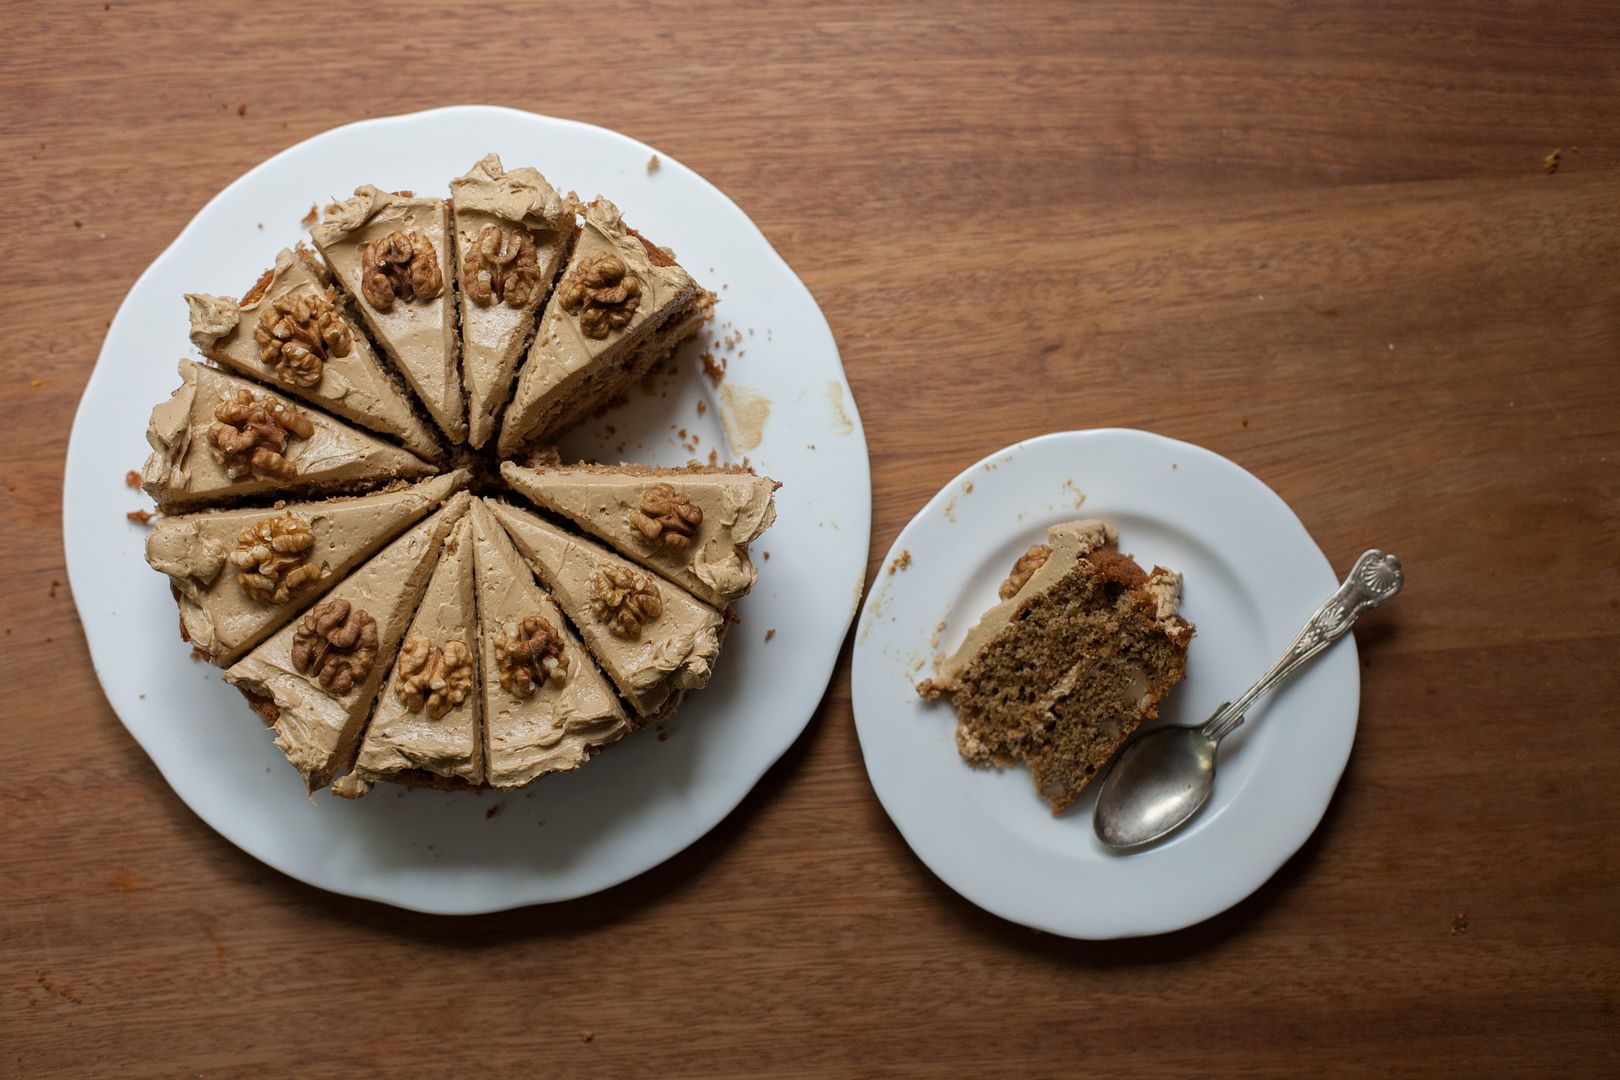
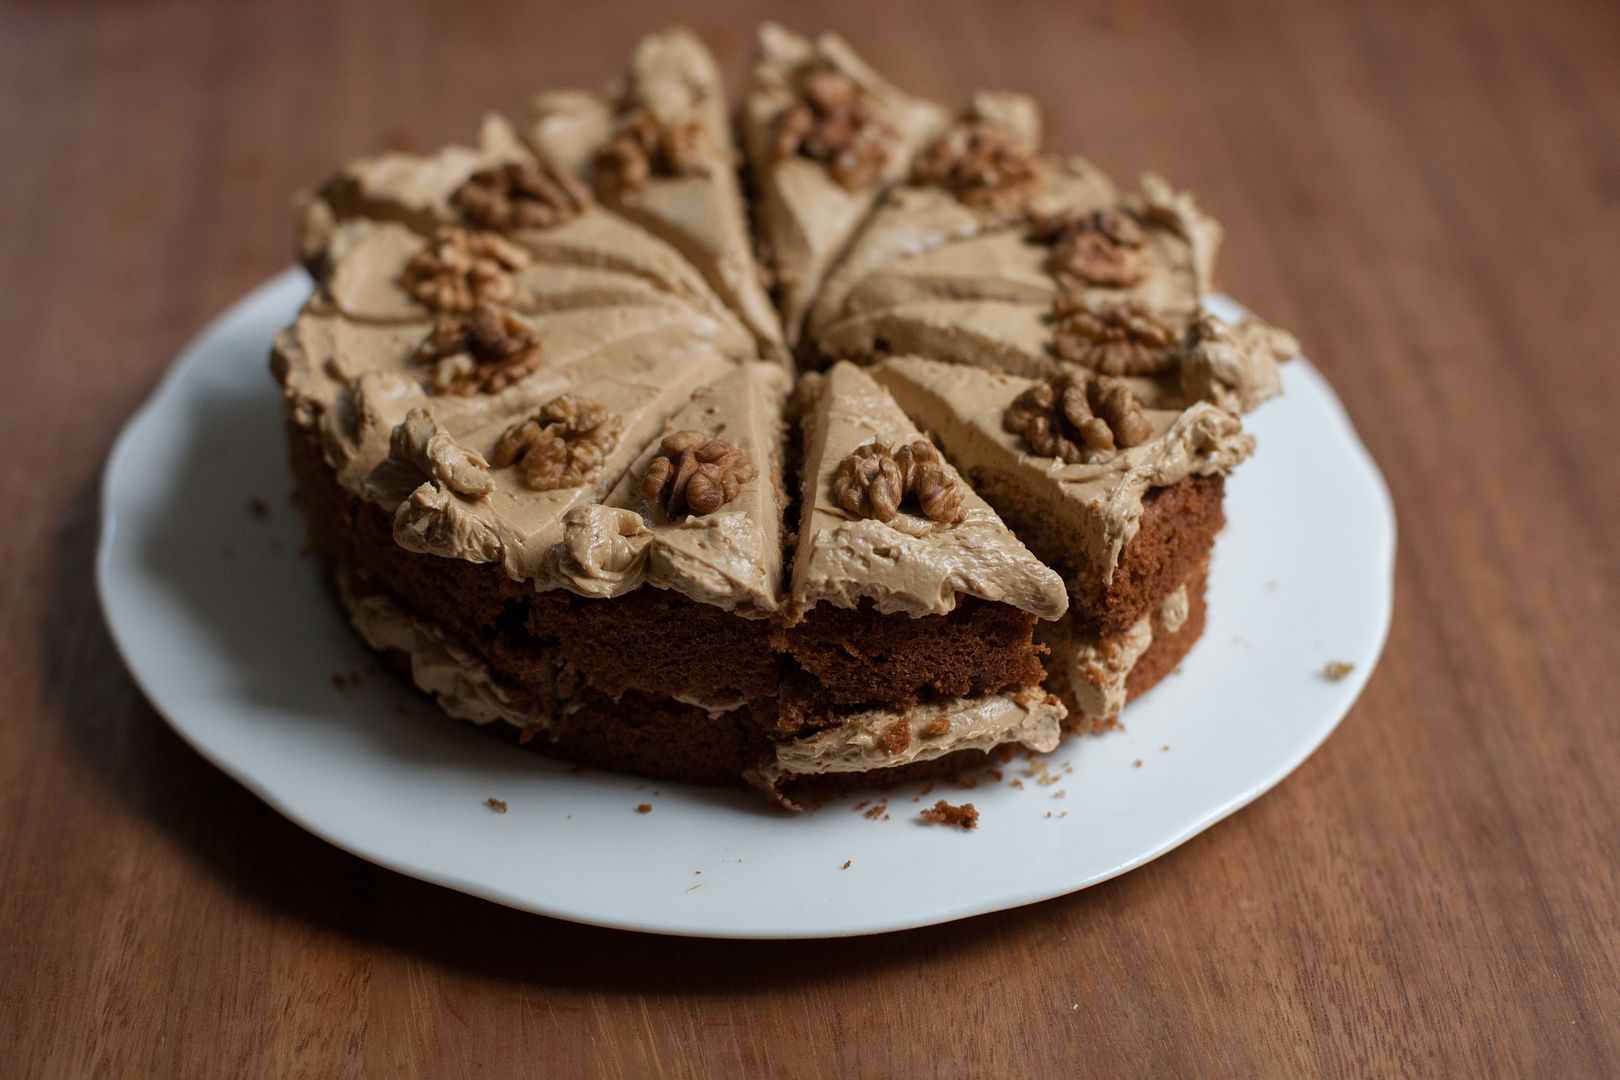
Though the icing is rich, I like it much more than normal buttercream. The bitterness of the coffee and touch of salt cuts through the limited sweetness. It's also very smooth and thick, which is particularly lovely against the crispy-edged cake and toasted walnuts.
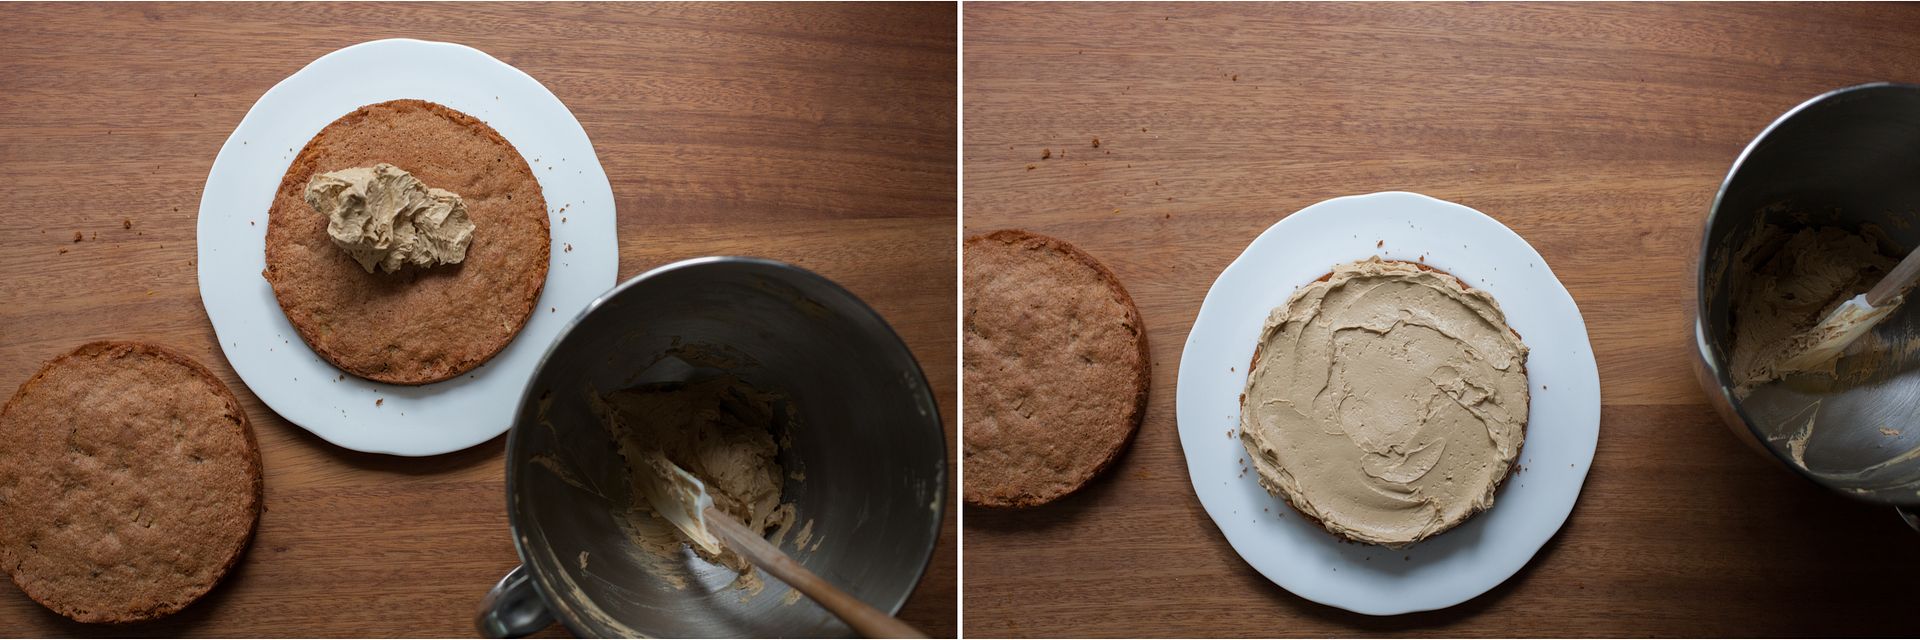


When I was making the cake in the photos the other day, I realised I'd run out of unsalted butter when I needed to start warming it up for the icing. I had some salted in the fridge so I decided to try it. The icing finally tasted exactly like I remember it.

It reminded me that mum always used to use salted butter for her baking - partly because that was what was in the fridge - but also because it was apparently harder to buy unsalted when I was little. It made me wonder if something got lost in translation as unsalted became more popular, as many modern baking recipes use unsalted and don't add salt. Perhaps it's because people weren't used to having to add extra salt to sweet dishes as traditionally the butter was salted to preserve it. I guess it's also because of health concerns.

Generally the reason unsalted is preferred is so that you can control the amount of salt. I think a pinch of sea salt improves nearly all baking and desserts. It's useful to have the control as packets vary - my salted butter had 1.8% salt, which is therefore 2.7g in the 150g butter I used. It is quite a bit and while I personally think it tastes amazing in the icing, it would be too much in some other recipes.
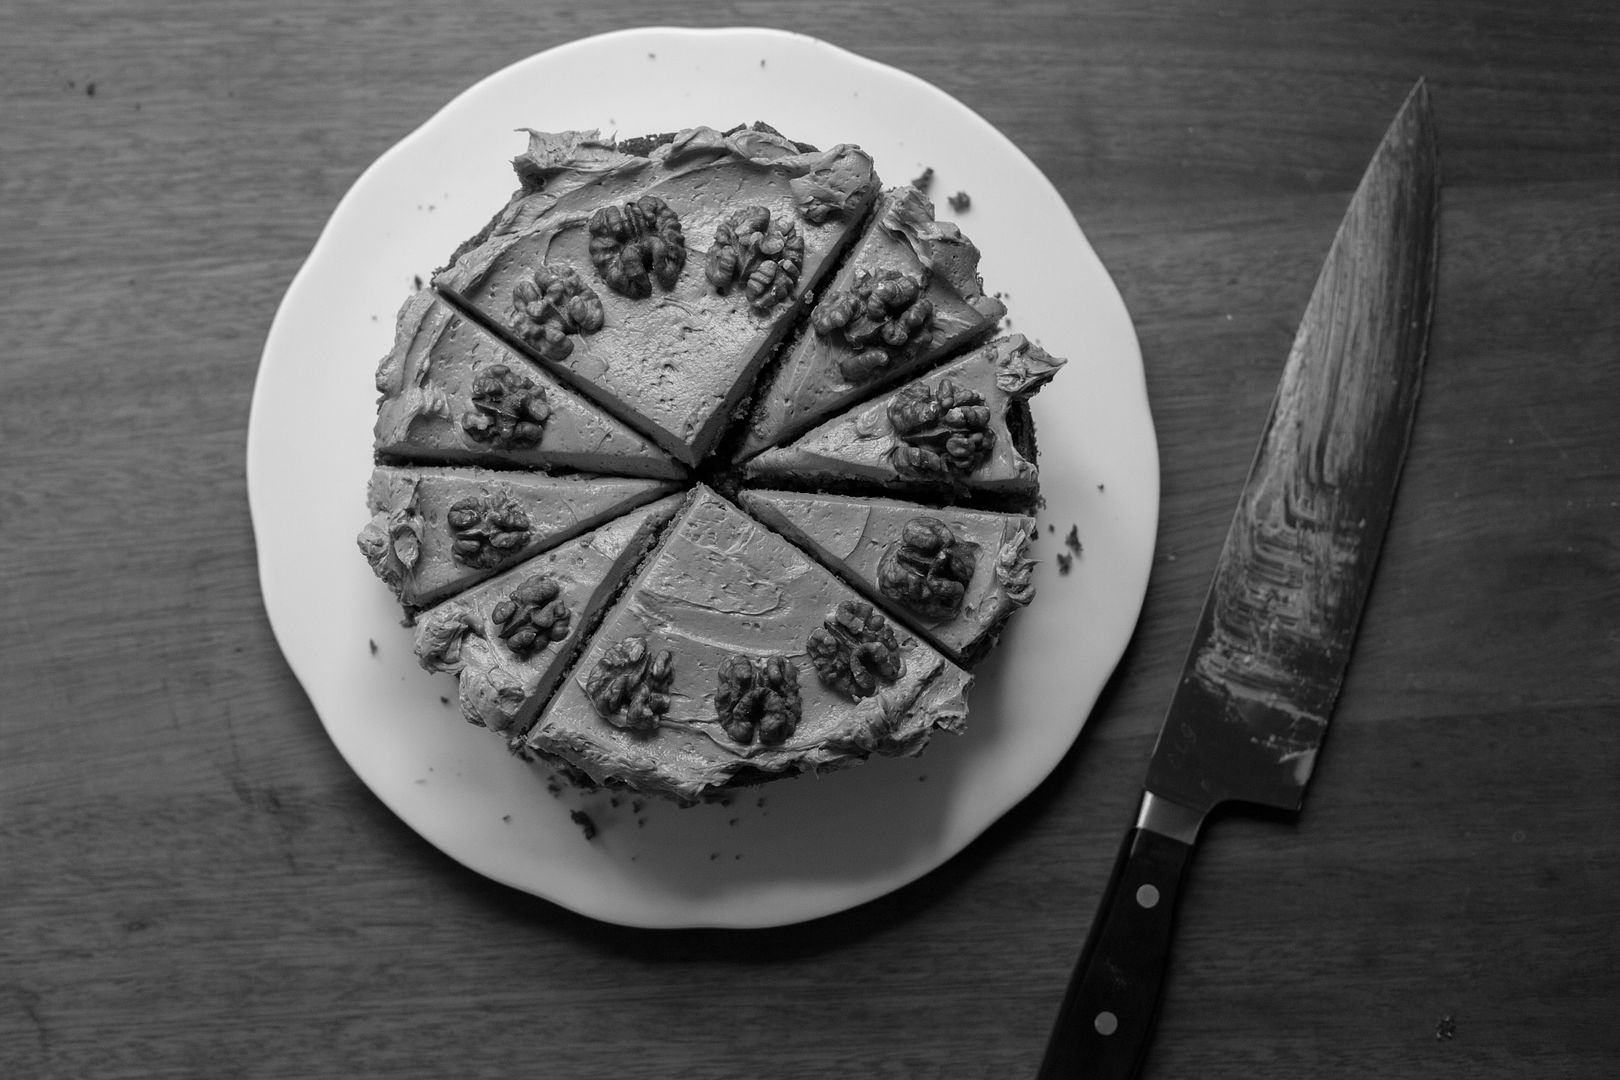


Coffee and Walnut Cake
(adapted from Delia Smith's Book of Cakes)

For the cakes:
60g walnut halves + 12 for decoration
1 tbsp instant coffee* + 1 tbsp boiling water
110g unsalted butter, at room temperature
110g caster sugar
2 eggs
110g plain flour
1.5 tsp baking powder
pinch of fine sea salt

For the icing:
2 egg yolks
pinch of salt (or a little more, to taste, or use salted butter)
60g caster sugar
60g/ml water
150g unsalted butter, cubed, at room temperature
1 tbsp instant coffee* + 1 tbsp boiling water

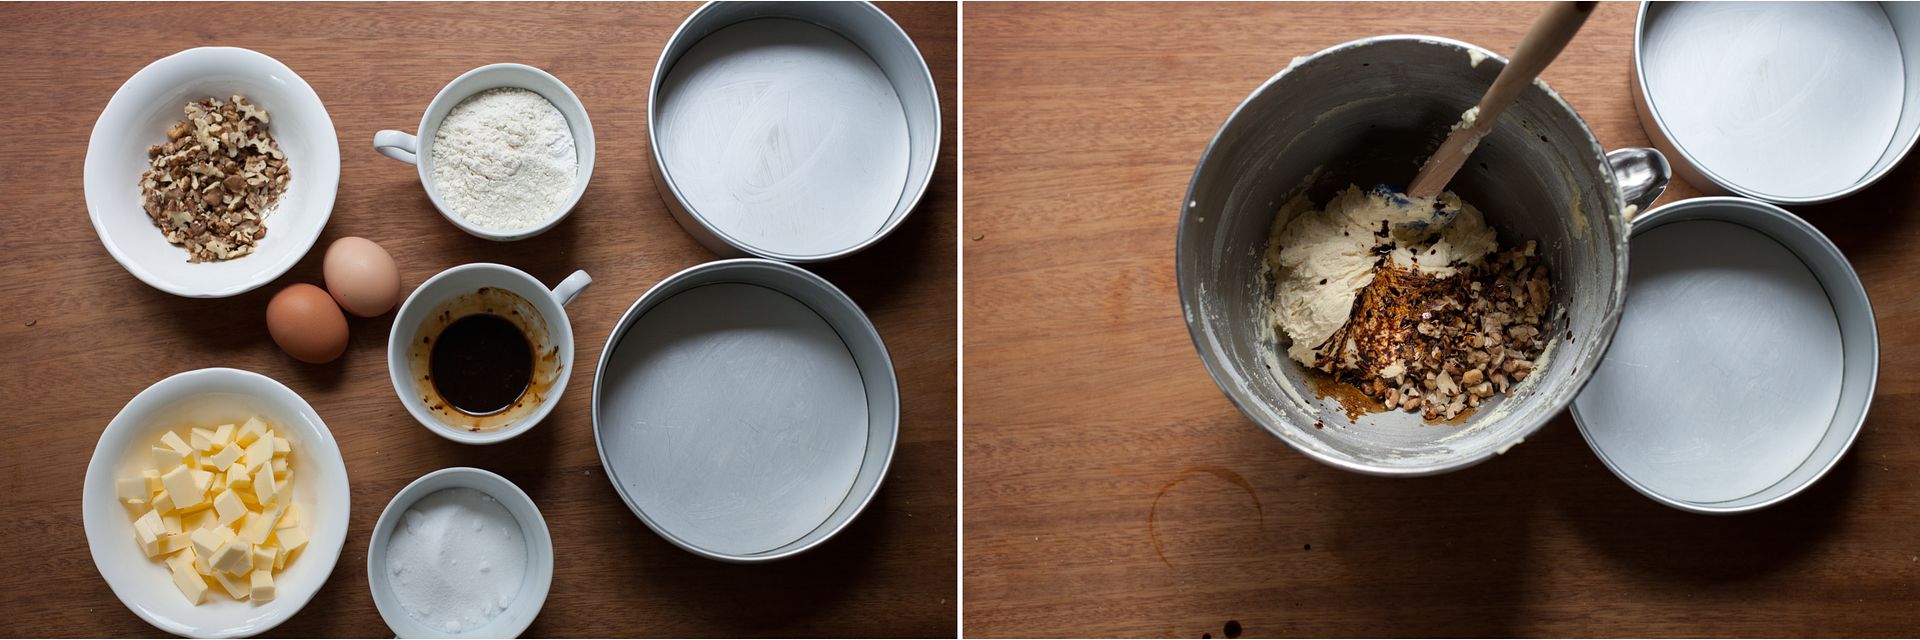
Preheat the oven to 170C/340F. Toast all of the walnuts for 5 minutes then remove the 12 halves for decoration and chop the rest roughly. Grease then line the bottom of two 7" round tins. Combine the coffee and water in a bowl or mug. Cream the butter and sugar together for several minutes until very pale and fluffy. Meanwhile, sift the flour, baking powder and salt together. Beat the eggs lightly together in a jug or bowl then add small amounts to the mixer, beating well in between each addition. When all the egg is incorporated, add the flour and mix on low until combined. Add the chopped walnuts and coffee and fold through. Divide between the tins and smooth out - it will feel like there isn't much mixture but don't worry. Bake for about 25 minutes until a deeper, rich brown and a toothpick can be removed cleanly from the middle. Leave to cool for 5 minutes then turn out of the tins and leave to cool on a rack.

For the buttercream, put the egg yolks and salt into the bowl of a stand mixer with the whisk attached and whisk briefly until broken up and a bit frothy, then turn off. Place the sugar and water into a small saucepan and place over medium heat with a sugar thermometer attached. Once the sugar has dissolved, turn up to medium-high, occasionally giving it a gentle swirl, until it reaches 110C/230F. This takes me about 5-6 minutes (the last 10 degrees are often the slowest). The moment the temperature hits, turn the yolks up to medium speed then steadily pour the hot syrup down the side of the bowl, resting the lip of the pan on the top of the bowl (see video above).

Turn the mixer up and leave to whip until you can't feel any heat in the mixture - this takes about 7 minutes (check if it is cool by touching the outside of the bowl, then if that is room temperature, testing the mix itself with a finger). If it is cool, start adding the butter, which should be soft and pliable but not greasy. Add the butter cube by cube, letting each piece disappear before you add the next. At stages it might start looking weird or curdled but just keep whipping and slowly adding the butter - this all takes about 7 more minutes. When you've added all the butter and have a thick, glossy buttercream, whip in half the coffee, followed by the other half.

Place one of the cakes on a serving plate. Spread half of the buttercream over the cake then place the other cake on top. Spread the remaining buttercream over the top then decorate with the remaining walnut halves.

(Makes 12 small slices)

* This cake tastes weird to me with anything other than cheap instant coffee as that's what I grew up with. Feel free to try using very strong proper coffee, though I'm not quite sure how you'd get a thick concentrate like this.

Thursday, 18 April 2013

(Nearly-)Whatever-You-Want Chocolate Cookies


Spring seems to have finally, finally sprung.

I'm having to adjust to taking pictures with sunlight streaming into my kitchen instead of the beautiful muted light we've had all winter. I went out yesterday without a coat or thick scarf or boots or socks. The woollen throw has been tossed off my bed. The violets are flowering in every nook and cranny of my little garden and the buds on my apple tree are bursting open.

To celebrate, I've made cookies.


About ten years ago, mum bought a simple, magazine-style cookbook from the Australian Women's Weekly series. She spent a year working in Melbourne before I was born and I think she came across the series at that point. We've only ever made one recipe from the book: the chocolate cookies. They've evolved over the years but they're still essentially the same - thick, crispy-on-the-edges, squidgy-middled and wonderfully deep with muscavado and plenty of cocoa powder.

I've made them to say thank you. I've made them for picnics. I've made over a hundred for a catering job. I've made them when friends have come to stay. Mostly, I've made them when I really wanted a chocolate cookie.


Since I first posted about them in 2009 (they were the eighth recipe I posted on here), they've got a little lost in the archives. I wanted to talk about them again, so I thought I'd see what else you could fold through the dough. I usually use pecans with whatever other chocolate I have on hand - usually dark. So I could try a few different things, I split one batch of dough into three: Crystallized Ginger & Dark Chocolate, Double Chocolate & Walnut and Freeze Dried Raspberry & White Chocolate.

I used:
80g dark chocolate
25g crystallized ginger pieces

40g dark chocolate
30g milk chocolate
45g toasted walnuts

100g white chocolate
7g crushed freeze dried raspberries

I haven't tried baking freeze dried raspberries into anything before and sadly it didn't work here - any bits on the outside burned and I wasn't happy with the flavour (so the recipe went from whatever-you-want to nearly-whatever-you-want). Despite that, the ginger variation was great (though I might add a little more ginger next time - I was nervous as this packet seems extremely fiery) and I'm always a massive fan of the nut-chocolate combination.

What combination would you try?


(Nearly-)Whatever-You-Want Chocolate Cookies
(adapted from an Australian Women's Weekly book - I'm not sure which as I can't find the book)

125g unsalted butter
200g soft brown sugar
1 egg
1 tsp vanilla extract or paste
185g plain flour
50g cocoa powder
1 tsp bicarbonate of soda
1/2 tsp baking powder
1/4 tsp fine sea salt

Mix in:
350g of assorted chocolate, nuts etc

Preheat the oven to 160C/320F. Put the butter into the bowl of a stand mixer and briefly beat to soften it up. Add the sugar, egg and vanilla and beat until smooth. Add the flour, cocoa, bicarbonate, baking powder and salt and mix on the lowest setting to combine. Stir through the mix-ins. Use a couple of teaspoons to create smallish heaps of dough on a lightly greased baking sheet. Place into the oven and bake for 10 minutes (12 if from frozen). Leave to cool on the sheet for 5 minutes then remove to a wire rack.

The dough can be chilled for about 24 hours and frozen for a few months. I freeze formed ready-to-bake cookies on a tray then transfer them to a zippy bag. You can then bake them straight from the freezer whenever you want fresh cookies.

(Makes about 25-27 small cookies)


Three more posts about cookies/biscuits:
2012: Cranberry Oatmeal Cookies
2011: Sesame Wafers
2010: Peanut Butter Biscuits

Monday, 5 March 2012

Remedy Quarterly & Tarte aux Noix


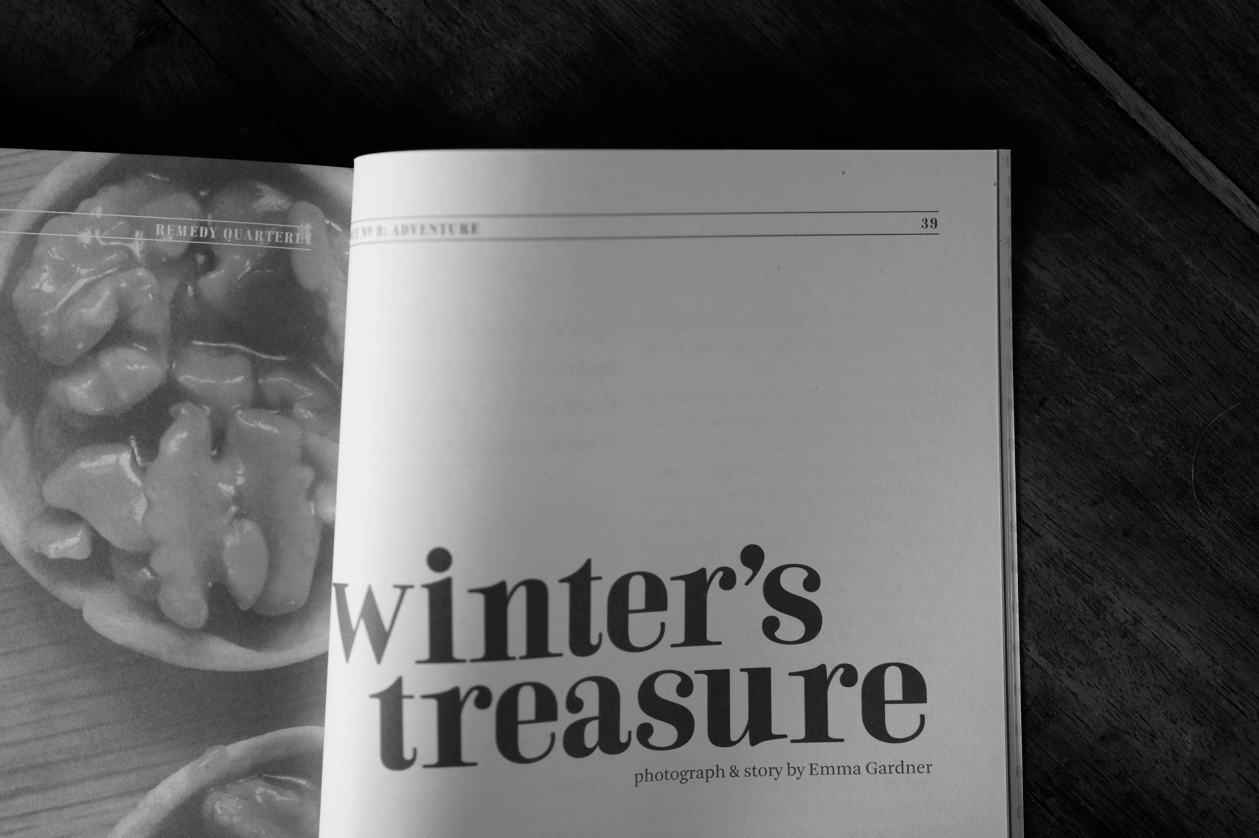
I came across Remedy Quarterly on Design Sponge last summer.

Remedy is an independent ad-free food magazine run by the lovely Kelly Carámbula of eatmakeread. It's filled with stories, memories, recipes and little interviews. It's a great read and has cheered up many a miserable tube ride. I've made several of the recipes - these Cranberry Oatmeal Cookies were adapted from there.


I knew immediately that I wanted to contribute a story or two of my own. Submissions for this issue, Adventure, were open at the time. So I wrote in with a story idea based on my memories of skiing as a little girl (I spent 10 months on skis before I was 5) and the sweet treats we ate up the mountain - including Chez Simon's Apple Tart.

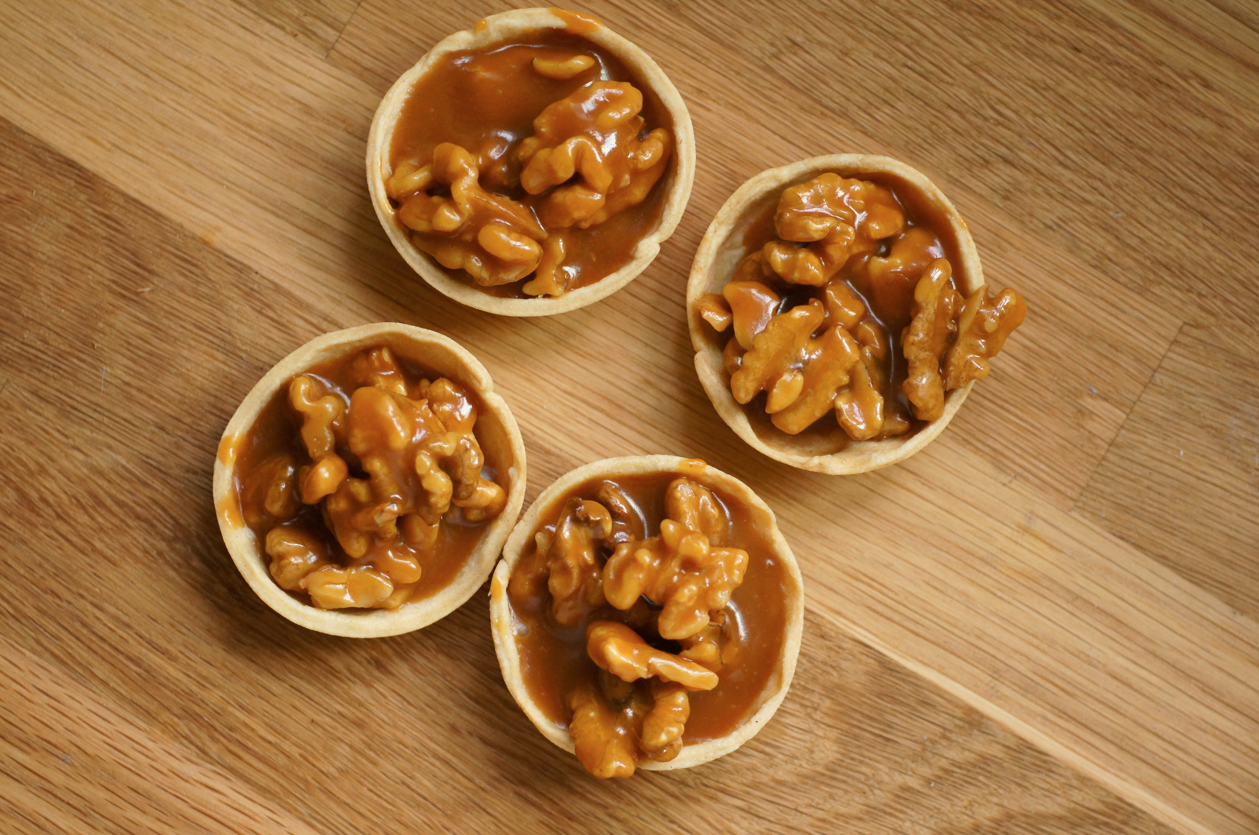
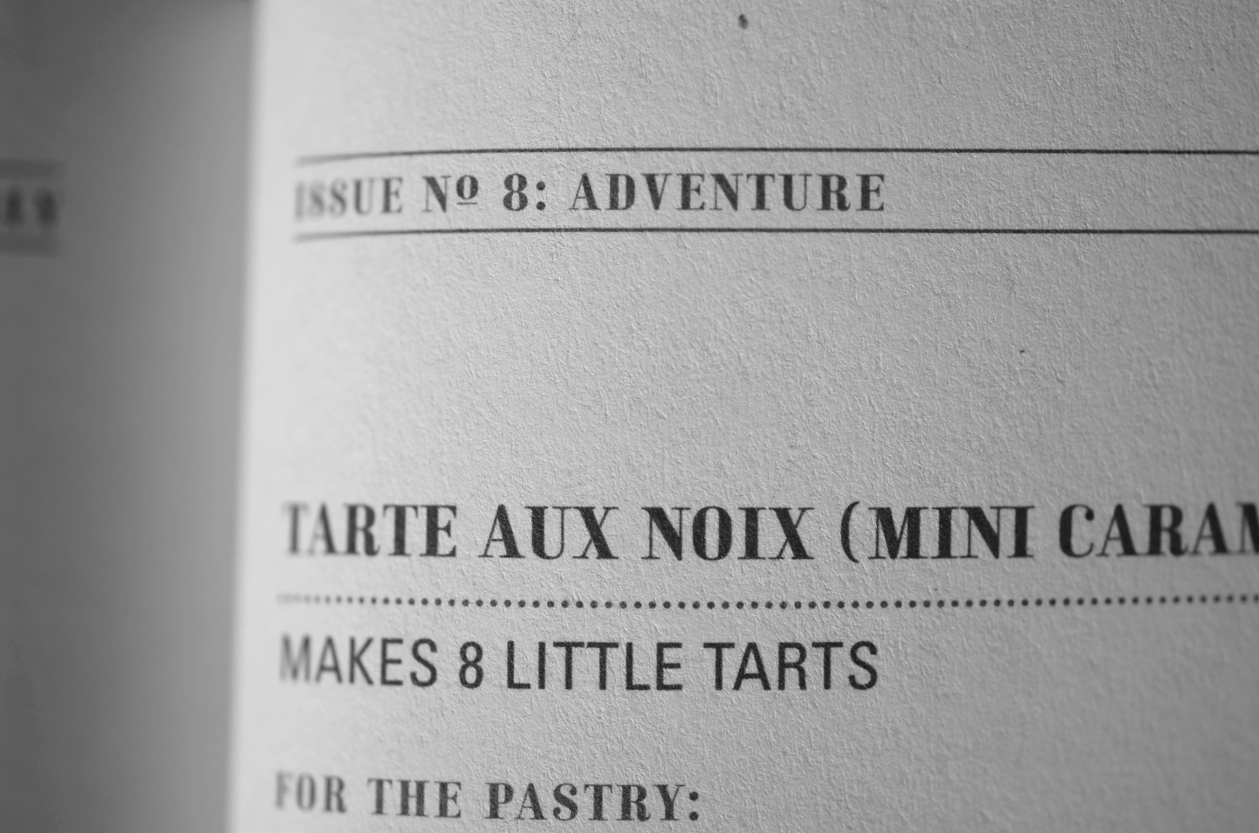
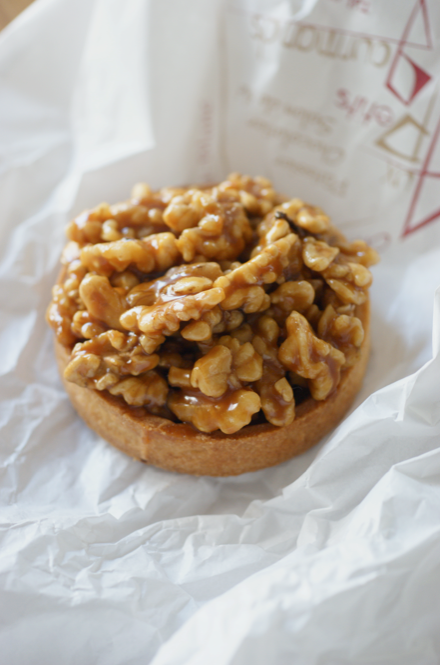
The recipe I wrote for the piece is for Tarte aux Noix - little pastry cases filled with toasted walnuts drenched in soft caramel. They're a delicious local speciality (they actually inspired the Salted Caramel and Walnut Coffee Bread too - note that the bakery have quite a different filling-to-pastry ratio to me!).


So I highly recommend you head over to their shop and purchase this issue - it's well worth the $7.50 - or a subscription or two. They're currently in between submission periods but keep an eye out for the next one!

PS. I'm writing this because I love Remedy (and because I want to squee with you about seeing my name in print...) not because I've been asked to/am being paid etc.

Sunday, 27 March 2011

Salted Caramel, Walnut and Meringue Coffee Cake

From the beginning I enjoyed this Daring Bakers challenge due to the charming origin of the recipe (Jamie found it in her dad's collection of recipes, handwritten on a piece of yellowing paper with no source/date etc). I've got various similar recipes written by my granny and great-grandmother but none so far have turned out as well as this. 

The March 2011 Daring Baker’s Challenge was hosted by Ria of Ria’s Collection and Jamie of Life’s a Feast. Ria and Jamie challenged The Daring Bakers to bake a yeasted Meringue Coffee Cake.

Jamie and Ria suggested that we look to national specialities for inspiration, as they had with their All-American and Indian versions. I spent ages trying to think of something delicious to fill this bread with. Eventually I hit upon a good idea. 

In my town in Switzerland, Verbier, the boulangerie/patisseries all sell 'Tarte aux Noix' (photo below). I haven't seen them anywhere else and nothing similar pops up on google. Essentially they're little shortcrust cases filled with walnut halves drenched in soft creamy caramel. I've been meaning to recreate them in their original form for ages. 


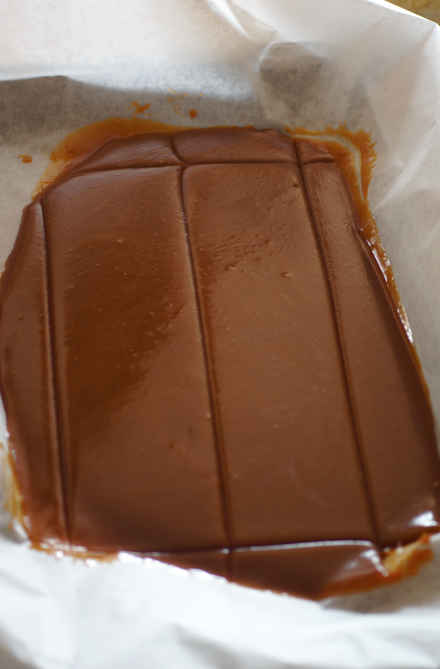
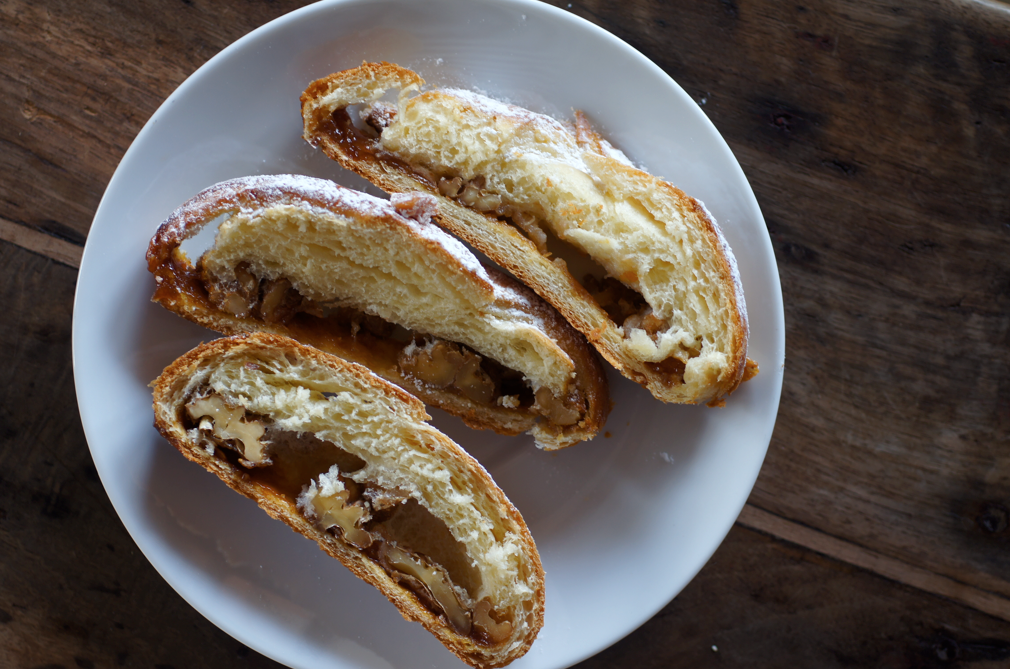
To try and recreate the tarts in bread form, I filled the bread with caramel, walnuts and the requisite meringue. For the caramel I decided to make a salted caramel sauce with about half the cream, so that it set softly. In the end it was like a just-too-soft batch of caramels that you cut up. 


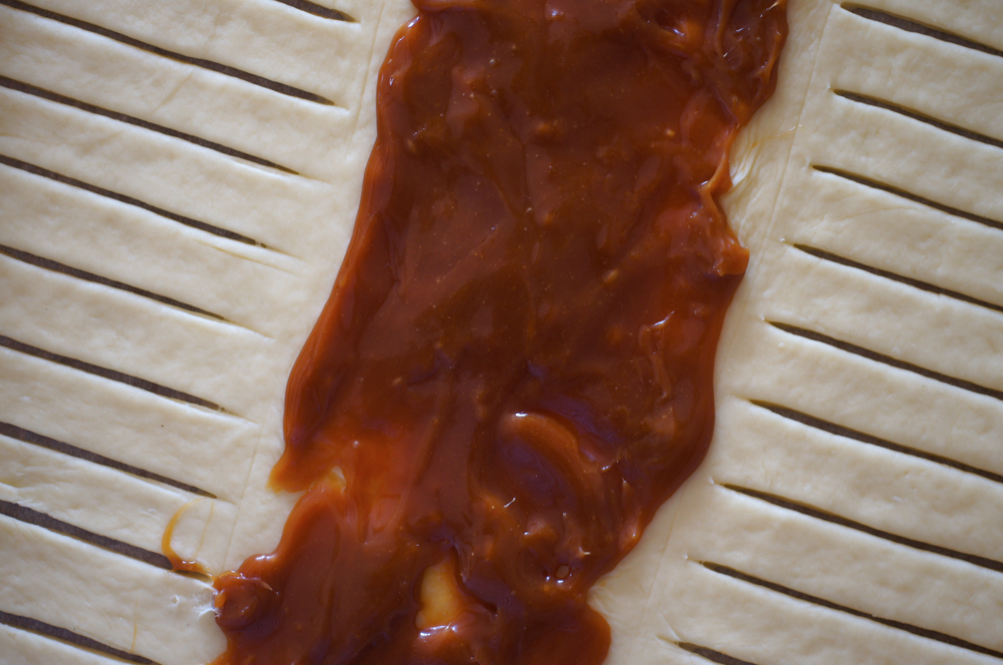
Then I tried to cut and transfer the caramel. It wasn't set enough to do so cleanly, but I managed to spread and tease it into shape. 

I made about double the amount of caramel that I needed. What a shame. I've put a half recipe below but you can double to its former glory if you want extra for guzzling separately. 

Then the caramel was topped with the meringue and then the toasted walnuts. When I make this again I think I'll either stir the walnuts into the caramel while still liquid or put the nuts on before the meringue as they didn't mingle as much as I would have liked. 


I'd read on the forums that the dough is better if the first rise/punch down step is repeated, so my dough rose three times in total. It's a lovely dough to work with, I'll definitely use it again. 

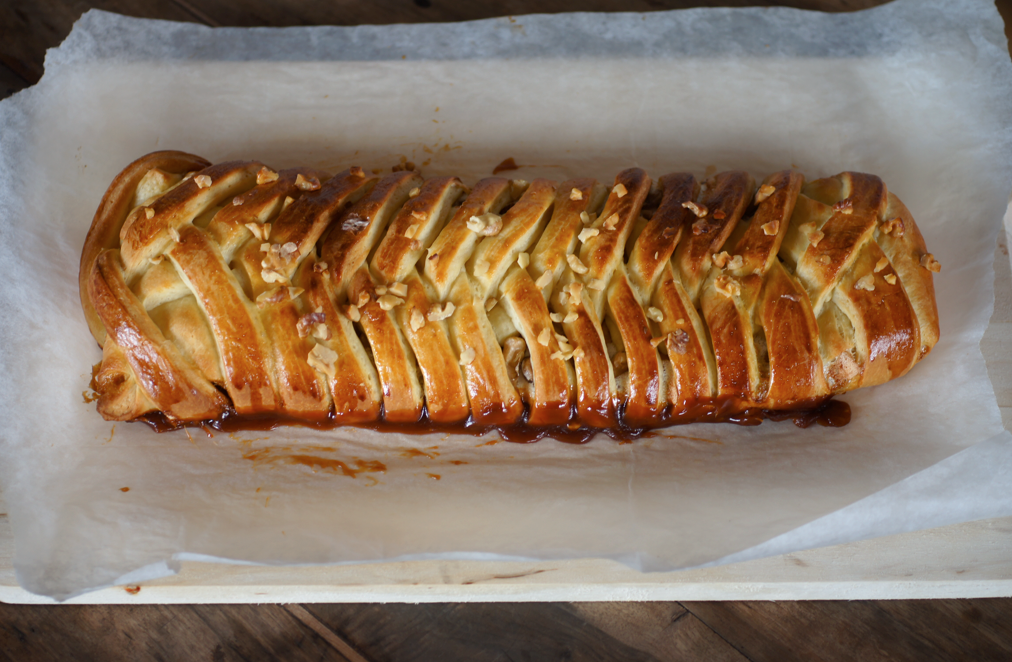
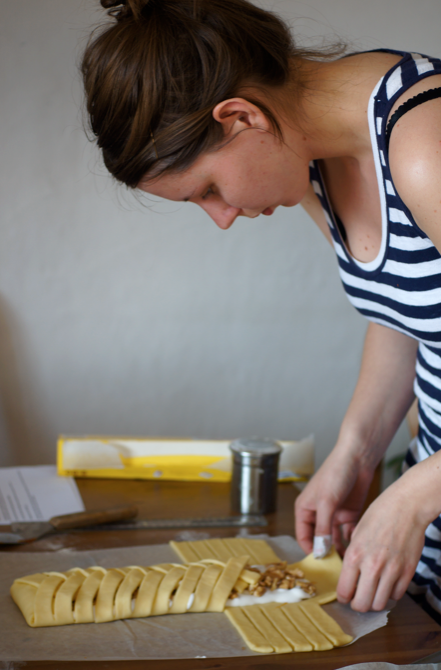
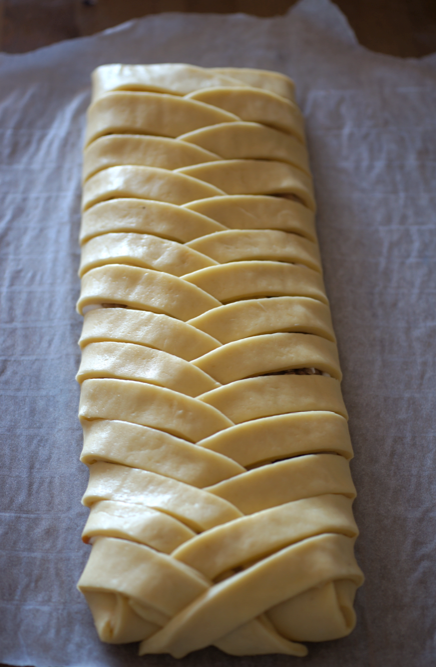
I decided to braid the bread rather than form it into a wreath as I wasn't sure how the caramel would behave if I tried to roll it up. I learnt to braid filled breads when I made this Braided Lemon Bread from Smitten Kitchen.


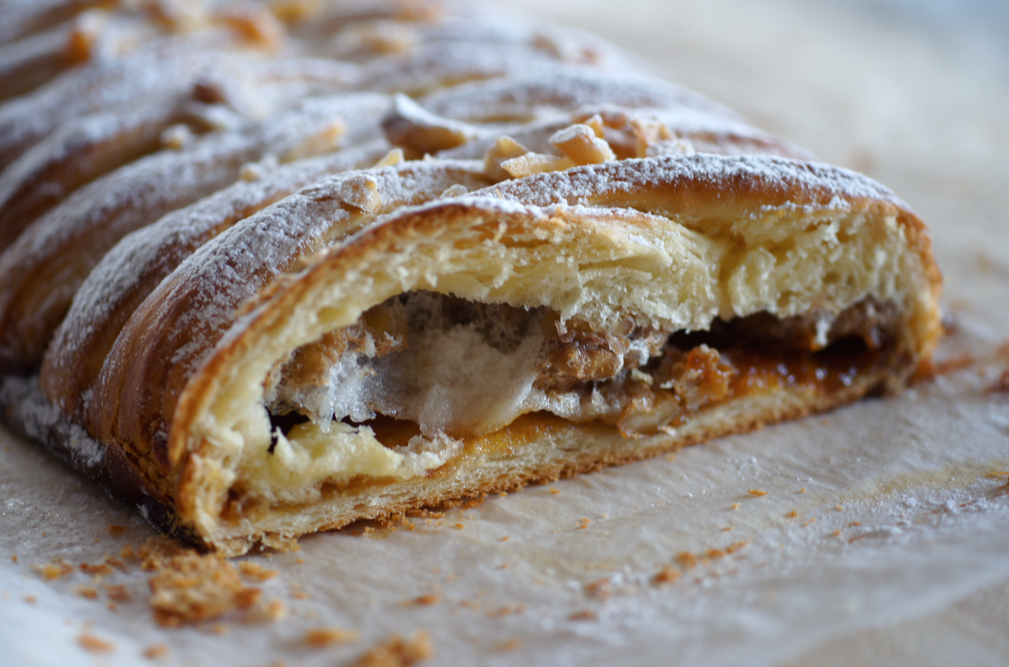
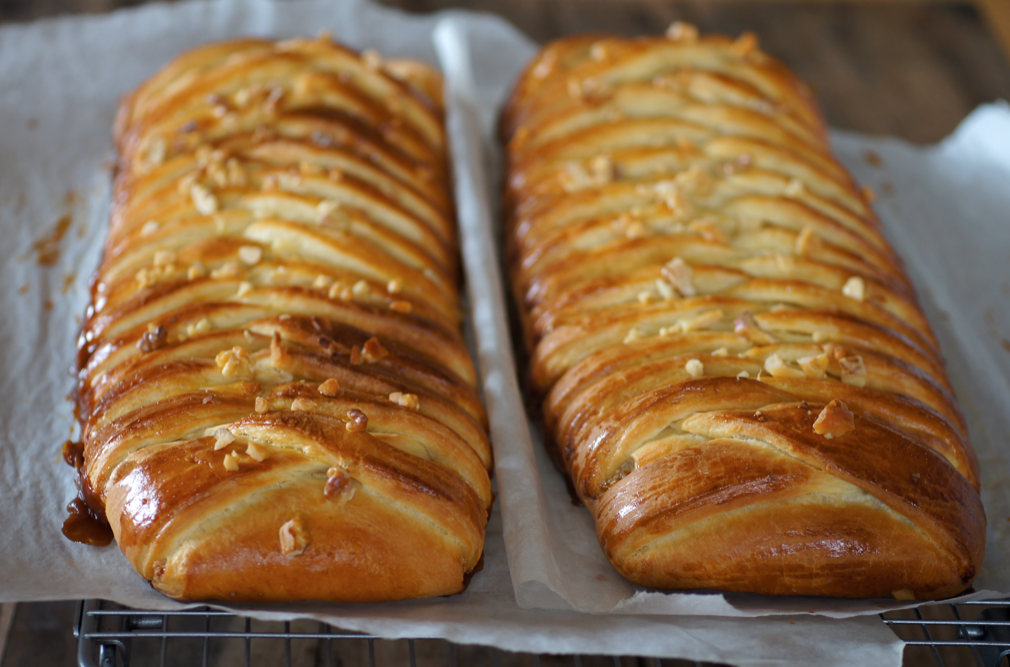
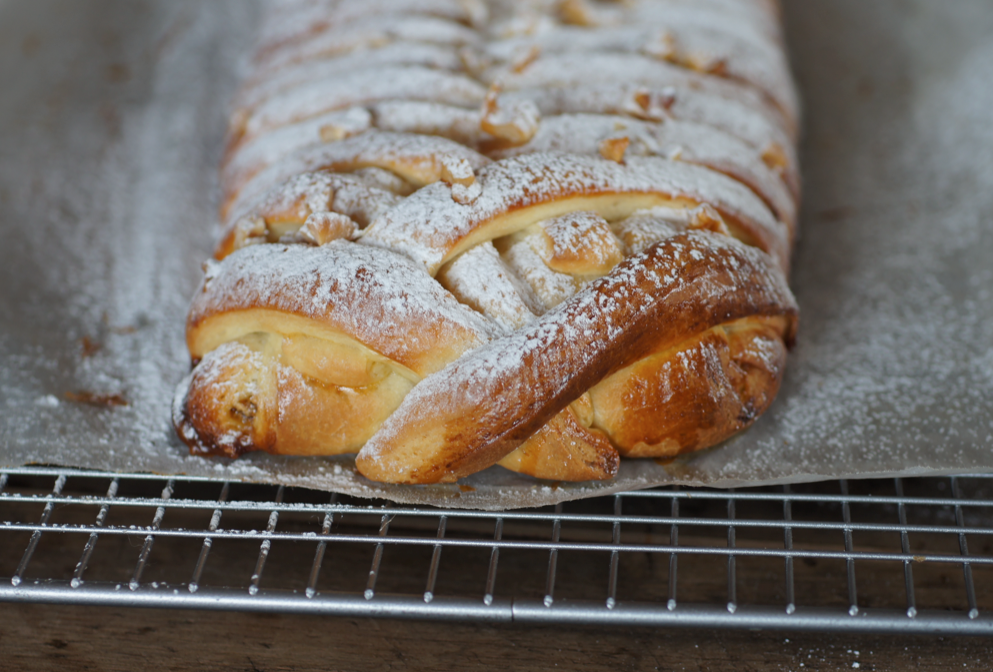
When I baked the braids, some of the caramel escaped and bubbled away on the pan. Next time I'm going to make sure I pull up the sides a little when braiding so it doesn't escape through the gaps. I did this without realising on one side of one of the braids and it didn't leak as much. There's still plenty in the middle of these, though, and the escaped caramel on the sides went delightfully crunchy. 

I thought the meringue was going to disappear into the bread as mentioned but some of mine remained. I think it looks a bit like cobwebs (see the 2nd photo up top). I'd be interested to try this recipe without the meringue and see how it affects the result. 

I'm really pleased with how this came out and the flavours I chose. Definitely a keeper and I'm glad I managed to fit in a version of the lovely Tarte aux Noix. 

Salted Caramel, Walnut and Meringue Coffee Cake
(caramel adapted from David Lebovitz's The Sweet Life in Paris)

I made the dough as stipulated in the challenge pdf except I used 15g fresh yeast instead of dried (see here). I then filled it with 2/3 of the required meringue recipe (in pdf) and the caramel (below). I've put a little how-to on for the braiding/assembling below too. 

For the caramel:
200g granulated sugar
100ml double cream
15g salted butter
1/8 tsp fleur de sel or good sea salt

Line a tray with greaseproof paper. Spread the sugar in an even layer in a big saucepan and set over medium - high heat. Wait until the edges start to liquify then start to move the sugar around onto the wet spots to try and get it to melt evenly. Don't worry if it starts to clump a little, it will melt down later. Keep everything moving until you have a liquid. Keep cooking until a deep bronze, the colour of a penny. Take off the heat and whisk in about 1/3 of the cream. Keep pouring and whisking until all the cream is incorporated. I wear a small oven glove while whisking as it can get pretty hot. Stir in the butter and salt. Pour into the tray and put in the fridge to set. 

To assemble:
215g walnut halves
2/3 recipe of the meringue (from pdf)
1 egg, beaten

Toast the walnuts in the oven until golden. Reserve 15g and chop finely. Prepare the meringue. Punch down the dough and divide it into two equal pieces. Cover one piece with clingfilm. Start rolling the other piece out into a rectangle on a floured work surface. When it reaches 50cm x 30cm, transfer to a big sheet of parchment paper. Roll briefly again to make sure it's smooth. Have the rectangle with the long side facing you. Use a ruler and a knife to lightly score the dough into thirds lengthwise. Mark out the final 5cm on each end. Cut each corner out by pressing down with your knife (don't drag). Then mark the long side flap closest to you into 2cm strips and then cut them. Turn the bread around so the the other long flap is closest and repeat the marking/cutting. 

Now cut a strip of the caramel and transfer to the central rectangle, spreading it into shape gently so you don't tear the dough. I topped it with the meringue and then walnuts, but I suggest you cover the caramel with 100g of the walnuts and then spread over half of the meringue. Fold the two small end flaps over onto the filling. Swivel the braid so the short side is closest to you. Take the top strip on the right and fold it over the flap, across the middle. Fold the left strip over the top of the right. Repeat all the way down the braid. When you get to the last few strips, it may be best to trim the final pair so that you don't have a big mound at one end. Fold any strips underneath. Transfer carefully to a baking tray and cover with lightly greased clingfilm. Repeat the whole process with the other piece of dough. 

Put both trays in a warm place and leave to rise for the final time (about 45-60 minutes). When ready to go into the oven brush with the beaten egg and sprinkle the reserved walnuts over the top. Bake for about 25-30 minutes until golden brown. Cool then dust with icing sugar before serving. 

(Makes 2 braids - each about 16 slices)

Monday, 20 July 2009

Coffee and Walnut Cake


Coffee and Walnut cake was my late grandmother's favourite: every year my mum and I would make one for her birthday. I can't quite separate it from her. She taught me a lot about cooking - not only many fun and exciting things - but also how much hard work can go into creating food. She (and her many helpers) organised a massive fruit and vegtable garden with literally acres of produce that had to be planted, tended, picked and then often blanched and frozen or made into jams and preserves. Not to say she didn't also show me how cooking could be a pleasure - but the reality of creating so much from scratch couldn't be rose-washed.

I spent at least a day a week at their house when I was little, helping out - but mainly eating. My favourite haunt had to be the fruit cage in summer - raspberries, loganberries, strawberries, redcurrants, blackcurrents, blackberries and so much more would fall off into my little hands.

And so this is Delia's stalwart recipe that came out at least once a year to much appreciation. It doesn't really need playing with in my opinion - it's always wonderful. For this version I made double the mixture to make a four layer cake in four tins, rather than splitting two - I love the crunchy edges in contrast to the smooth mousseline. Which is also why I didn't cut them off to make a 'prettier' cake.


*** Please use this updated recipe instead of this one to make this cake. I've left the one here because I think it's fun to see the difference in my recipe writing... ***

Coffee and Walnut Cake
(From Delia Smith's Book of Cakes)

For the cake:
110g self raising flour
1 tsp baking powder
110g butter at room temperature
110g caster sugar
2 eggs
50g walnuts, finely chopped
1 tbsp instant coffee
1 tbsp boiling water

Preheat oven to 170C. Grease and line two 7" sponge tins. Mix the coffee with the boiling water to form an essence. Cream the butter and sugar and then add eggs, beaten, slowly with the occasional spoon of flour. Fold in the coffee essence and walnuts. Transfer to tins and bake for thirty minutes.

For the mousseline:
150g butter
60g caster sugar
2 egg yolks
4 tbsp water
1 tbsp coffee, dissolved in 1 tbsp boiling water.

Put the 4 tbsp of water and sugar in a small saucepan and slowly bring to the boil - make sure sugar has dissolved before it boils. Let it simmer for 10 to 15 minutes until it forms a thread. The temp should be between 103C and 105C. Whisk the egg yolks in a stand mixer, then pour the sugar syrup over the eggs in a steady stream as you keep whisking. Then whisk the butter in bit by bit until it is smooth and fluffy. Whisk in the dissolved coffee.

To assemble spread the mousseline between the cakes and over the top and decorate with walnut halves.

ShareThis