Showing posts with label video. Show all posts

Thursday, 17 April 2014

Hot Cross Buns v.5


"Morel, as usual, was up early, whistling and sawing in the yard. At seven o'clock the family heard him buy threepennyworth of hot-cross buns; he talked with gusto to the little girl who brought them, calling her "my darling". He turned away several boys who came with more buns, telling them they had been "kested" by a little lass. Then Mrs. Morel got up, and the family straggled down. It was an immense luxury to everybody, this lying in bed just beyond the ordinary time on a weekday. And Paul and Arthur read before breakfast, and had the meal unwashed, sitting in their shirt-sleeves. This was another holiday luxury. The room was warm. Everything felt free of care and anxiety. There was a sense of plenty in the house."

Sons and Lovers, D. H. Lawrence, 1913, Chapter 7 (describing Good Friday).


After last year, I wanted to look at another element of the history of hot cross buns. I did start looking at the Elizabeth I decree a few weeks ago but sadly it seems I've run out of time (I blame the ebook). I have made some buns today, though, and I thought the Sons and Lovers quote was worth sharing.

The things I did differently this year:
- Switched the caster sugar for brown sugar.
- Put the dough in the fridge overnight for the first rise.

I also experimented with using a gluten free flour mix for the crosses, to see if it stopped it clumping up a bit. It wasn't a good idea - it was hard to pipe and went a bit weird in the oven.

The recipe from last year still stands - rather than writing it out with so few (and not especially big or essential) changes this year, it seems simpler to direct you back: Hot Cross Buns v.4.


Finally, Poires won the Best Use of Video award at the SAVEUR Best Food Blog Awards 2014! Thank you so much for your votes - I never thought I'd win a Readers' Choice award. They're flying me to Las Vegas for the awards party next month, which should be an excellent adventure.

To celebrate, I made a little video of the bun shaping process I use (the one I explained with words and pictures in v.3). Normally I avoid direct sunlight for photos & videos but the buns needed to be shaped so I thought I'd go outside my comfort zone a little. I'm not sure I like it but I can't really resent a sunny spring morning.

Thank you, once again, for your support - it means a lot.


The other versions:
Four
Three
Two
One

Tuesday, 1 April 2014

The Saveur Best Food Blog Awards 2014 - Best Use of Video Finalist


I'm thrilled to say that I've just found out that I'm a finalist in the Best Use of Video category in the SAVEUR Food Blog Awards 2014! I'm so excited to be nominated again and I'm particularly touched that it's for this category.

I started using videos for my Foundations Series in 2012, as I thought they would help to illustrate techniques. Some things are very hard to describe with pictures and words - they need the movement. Though I am interested in the videos looking good and telling a story, my main aim is to create something useful.


If you'd like to vote to pick the winners or to see all the nominees, click here - if you don't have a SAVEUR account already then I'm afraid you have to sign up to vote but it doesn't take too long. Voting ends on the 9th of April.


I don't use sound as I think the visuals are the most helpful bit and - this might be weird - but personally, I find videos with music or sound intrusive and will often avoid playing them. So I go for silent moving pictures. I find them calming and I hope others do too.

The videos tend to focus on a single technique or a few in quick series rather than a whole recipe. I try to think of them as an additional part of a post, rather than a replacement for photos, words or the recipe. It also means that the clips or snippets are applicable to many recipes instead of one and that they generally don't take that long to watch. Having said that, I don't edit my videos down (except for the beginning & end when I'm reaching for the camera button) so they retain a sense of how long things take. I want to create something that reflects how things look in reality.

As they're hidden amongst all my normal posts, here are the three main video posts I put together in 2013:
- Foundations no.7 - Rough Puff Pastry
- Raspberry-Redcurrant Jam Swiss Roll
- Coffee & Walnut Cake v.2 (one video was also used again for Foundations no.8 - Swiss & Italian Meringue)

Since then, I've been making several new videos for my Glossary - I've put one of them above, which is to illustrate dropping consistency for cake mixtures. Just like my stills, the videos are a mixture of colour and black & white. I'm still relatively new to video and I'm learning all the time - which is partly why I'm so honoured that SAVEUR chose this category for me.


P.S. the little photo they chose to represent me on the voting form (at the top) is my Pear & Caramel Pudding Cake.

Thursday, 16 May 2013

Coffee & Walnut Cake v.2


Four years ago, when I first posted about this cake, I had a tempestuous relationship with the icing.

Behind the scenes, the icing in that post caused a fit of frustrated weeping (which was very embarrassing, as my then-brand-new-now-ex boyfriend was staying with me at the time - and let's face it, I was probably trying to impress him). Luckily I left it mixing and a few minutes later, it had whipped itself back.

Mum and I had been making the cake for years - it was my granny's favourite - but because we didn't understand the reasons and techniques behind the recipe, the icing was always nerve-wracking to make.


Delia calls the icing 'mousseline' (which appears to be a catch-all term for various things enriched with butter or whipped cream) but I think it's more accurate to call it French buttercream. One of our first exam dishes at Cordon Bleu involved French buttercream - it's a lot like Italian meringue buttercream except it's based on egg yolks instead of whites. I didn't realise the icings were the same until I made the cake for the first time in a few years for mum's birthday in April. I also found that my old recipe was too brief and not very clear, so I thought this was a good opportunity to talk about French buttercream and rewrite it.

The first step is getting the syrup to the right temperature. I'd recommend testing with a thermometer because it's easier and the finger test takes time. Having said that, if you don't have a thermometer or want to try it out, it's quite fun. The test for thread stage is to spoon a bit of the syrup onto a plate, then wait for it to cool. Squidge some syrup between your thumb and first finger then pull them apart slowly until you have a gap of about a centimetre - a thread of syrup should stay linking the two.


One of the problems is that different recipes take the syrup to different temperatures. It doesn't help that the temperatures stated for the stages seem inconsistent too - for instance, we were taught that soft ball was 116-122C but McGee says it's 113-116C. Thread, similarly, is 105-110C or 102-113C. Though others go to soft ball, Delia recommends 103-5C for this - I've been taking it up to 110C and that has been working well, so I've settled for that.

The second step is to pour the syrup down the bowl into the whisking egg yolks. I found it quite hard to visualise at first and mum used to get into a tangle by pouring the syrup into the whisk and it spinning everywhere, so I decided to do a little video for you. Excuse the little slip of the pan near the end - I'd recommend using a smaller saucepan with a long handle as they're easier to control.


After that, you leave it to whisk until cool. It's really important that the mixture is room temperature before you start adding the butter or it'll melt and create a mess.

Once it has cooled, you add the butter bit by bit. To illustrate the speed to add it (and because I find watching the mixer going round mesmerising), here's a clip of the middle of the step. Also note that I often squish the cube I'm about to add to give it a last minute bit of warmth and pliability. The butter needs to be room temperature but not melting or greasy.


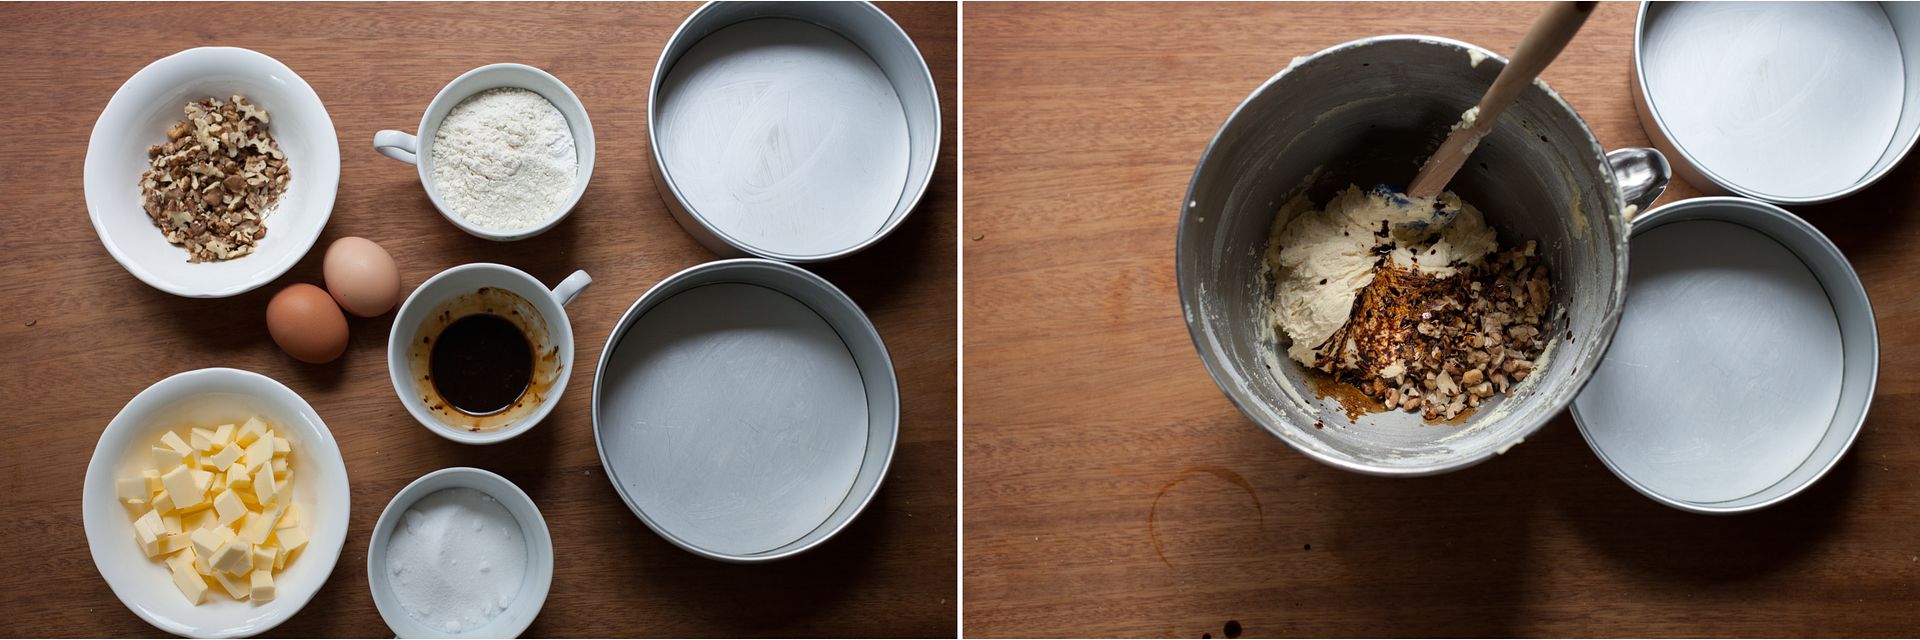
Once the butter is all in, give it few more moments to whip. Finally, you can add flavourings - in this case, coffee.

If it goes a bit curdled towards the end, this can usually be fixed by whipping it for longer. If not, try putting it in the fridge for 15 minutes then whipping again.

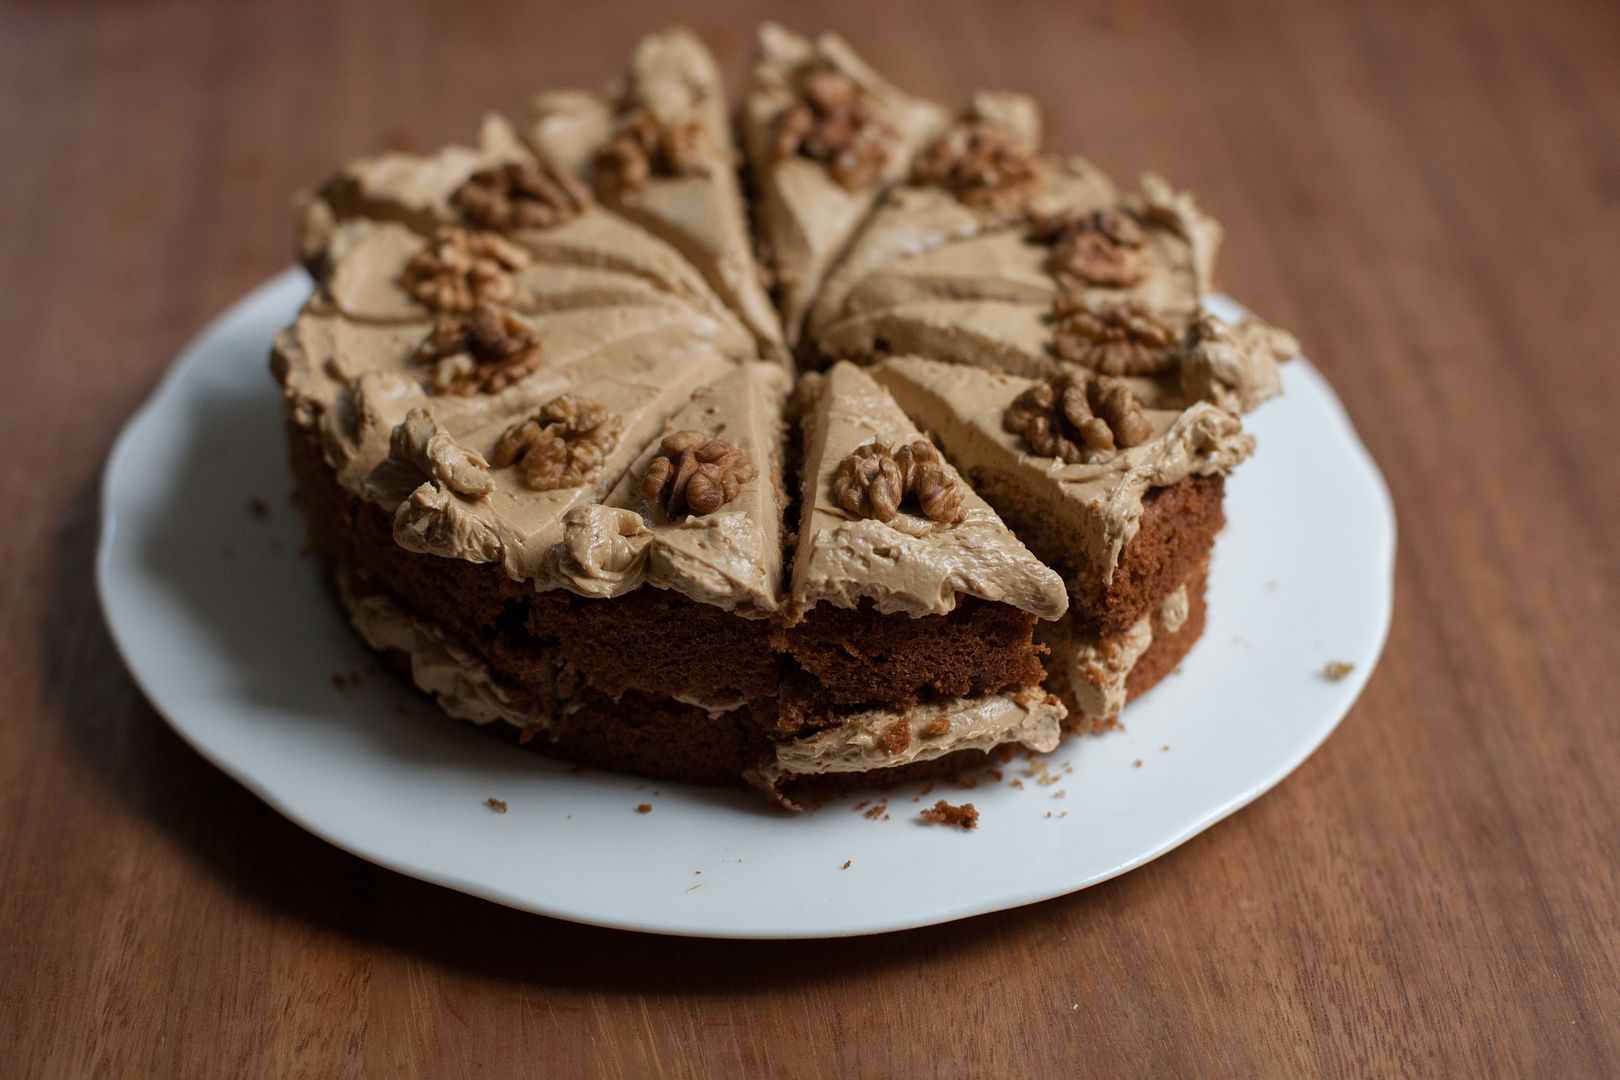
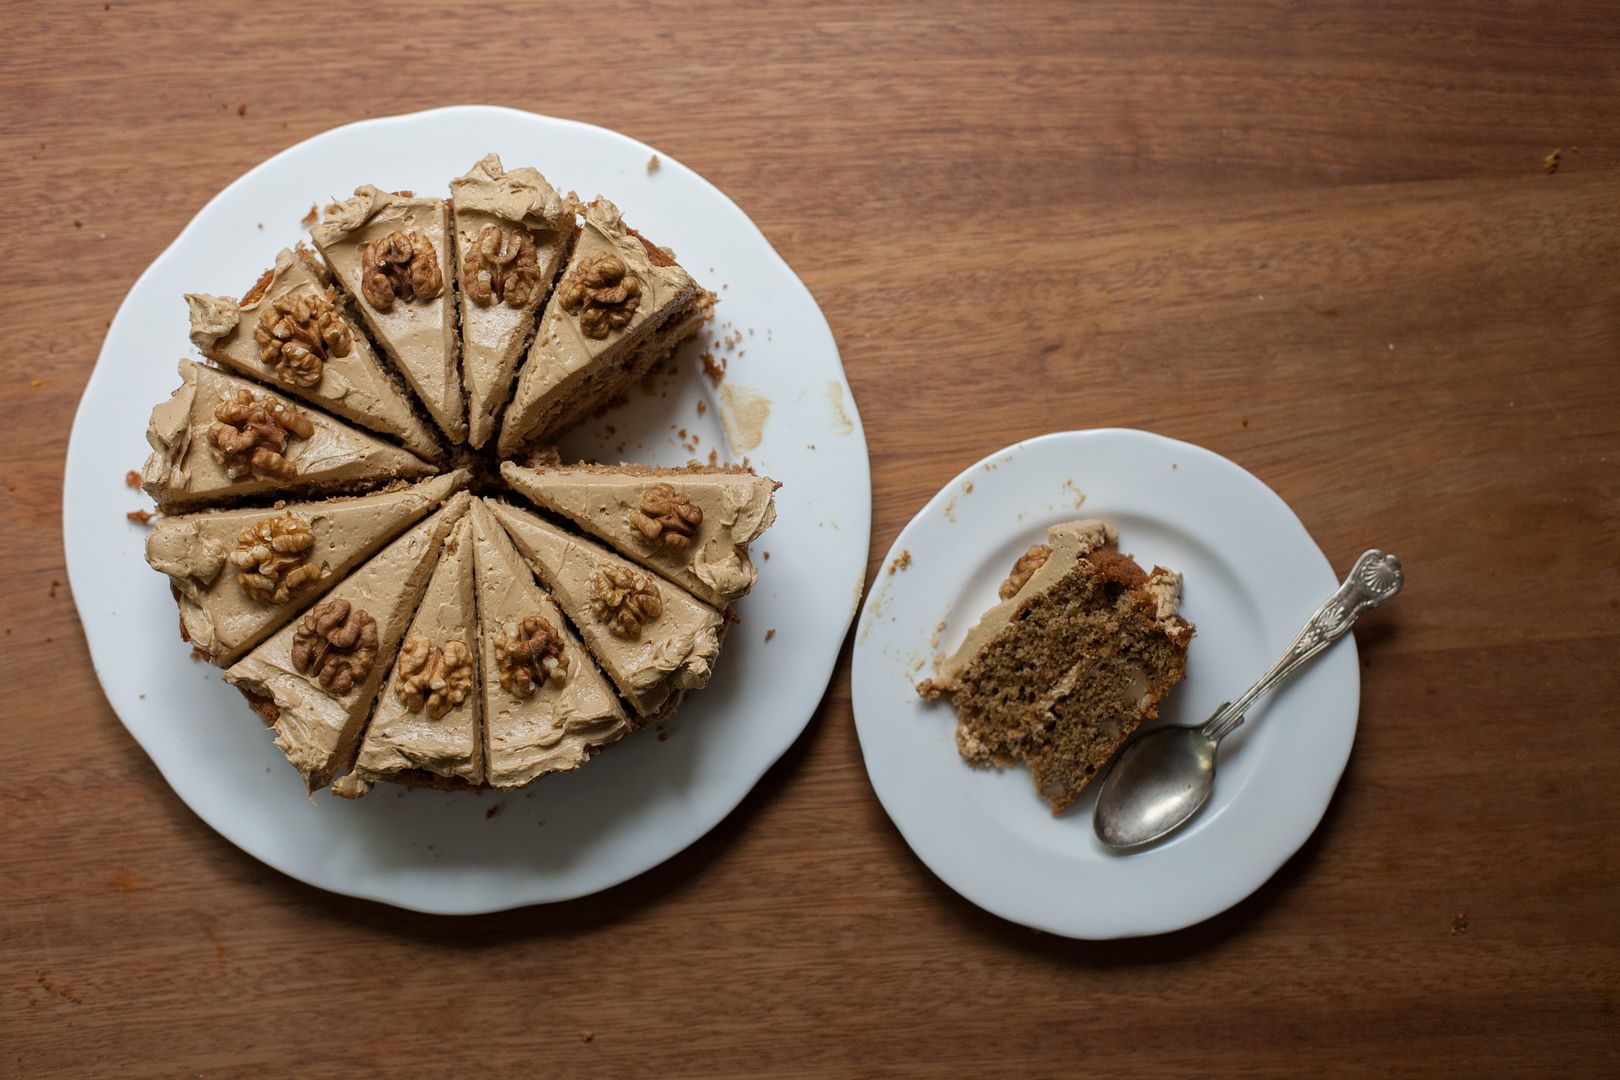
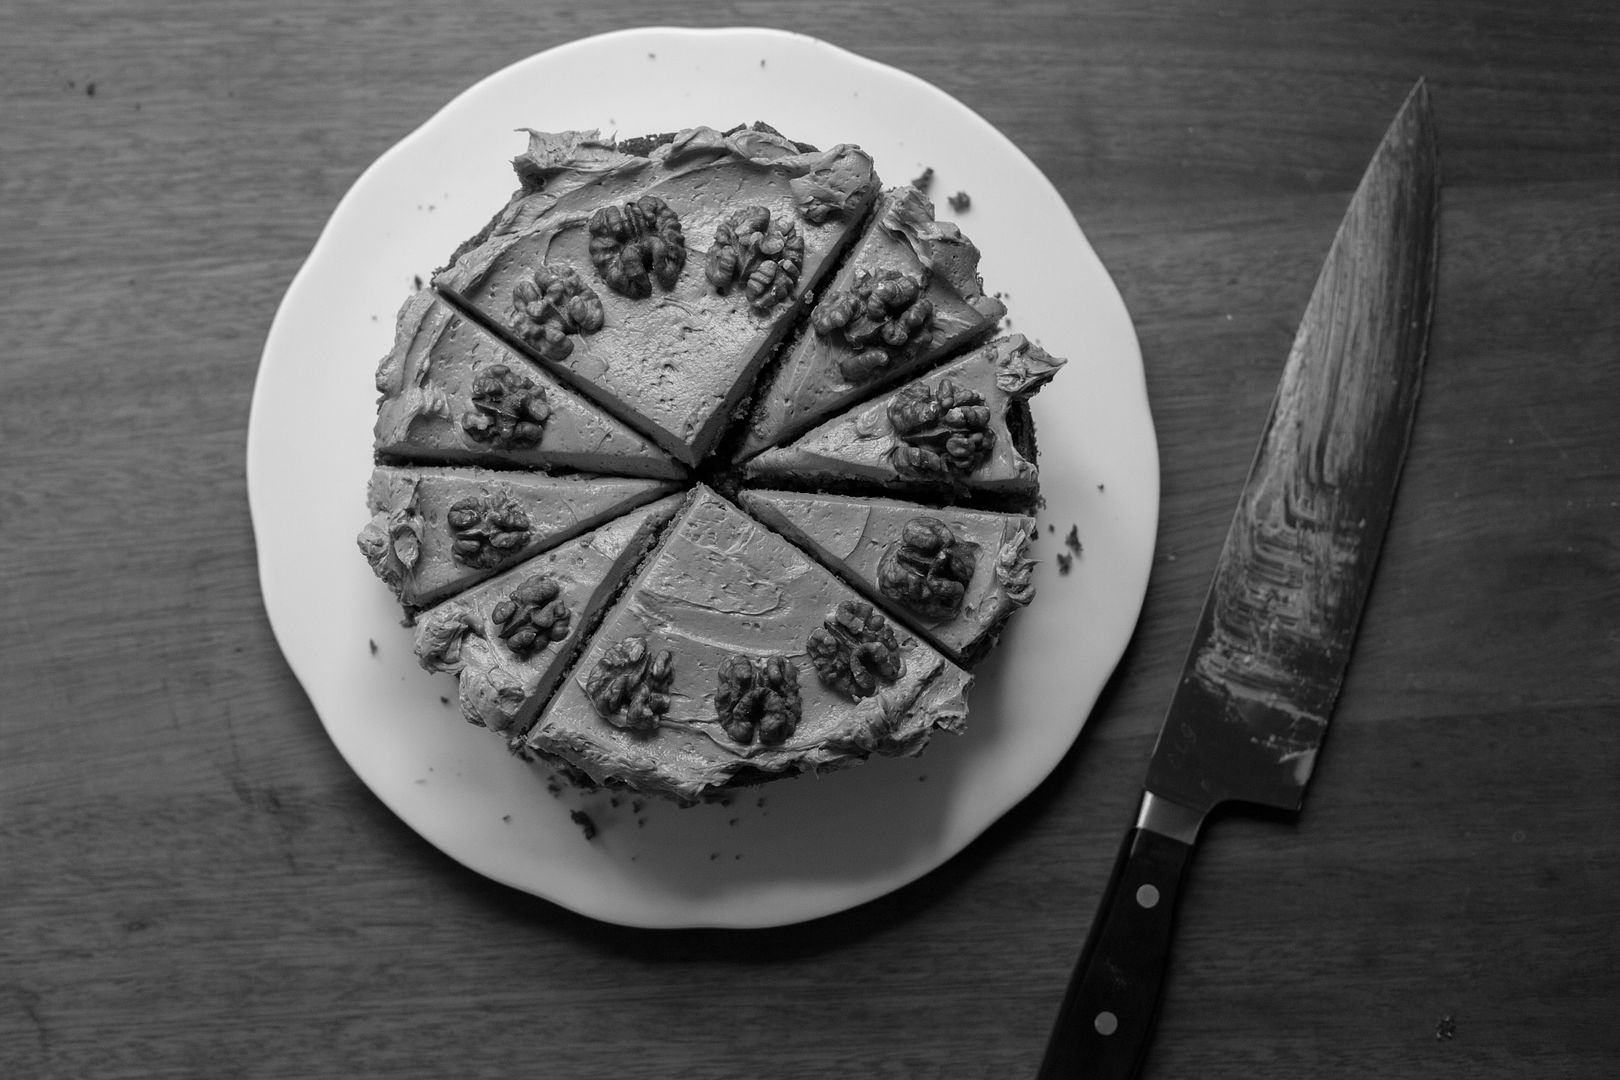
Though the icing is rich, I like it much more than normal buttercream. The bitterness of the coffee and touch of salt cuts through the limited sweetness. It's also very smooth and thick, which is particularly lovely against the crispy-edged cake and toasted walnuts.


When I was making the cake in the photos the other day, I realised I'd run out of unsalted butter when I needed to start warming it up for the icing. I had some salted in the fridge so I decided to try it. The icing finally tasted exactly like I remember it.

It reminded me that mum always used to use salted butter for her baking - partly because that was what was in the fridge - but also because it was apparently harder to buy unsalted when I was little. It made me wonder if something got lost in translation as unsalted became more popular, as many modern baking recipes use unsalted and don't add salt. Perhaps it's because people weren't used to having to add extra salt to sweet dishes as traditionally the butter was salted to preserve it. I guess it's also because of health concerns.

Generally the reason unsalted is preferred is so that you can control the amount of salt. I think a pinch of sea salt improves nearly all baking and desserts. It's useful to have the control as packets vary - my salted butter had 1.8% salt, which is therefore 2.7g in the 150g butter I used. It is quite a bit and while I personally think it tastes amazing in the icing, it would be too much in some other recipes.


Coffee and Walnut Cake
(adapted from Delia Smith's Book of Cakes)

For the cakes:
60g walnut halves + 12 for decoration
1 tbsp instant coffee* + 1 tbsp boiling water
110g unsalted butter, at room temperature
110g caster sugar
2 eggs
110g plain flour
1.5 tsp baking powder
pinch of fine sea salt

For the icing:
2 egg yolks
pinch of salt (or a little more, to taste, or use salted butter)
60g caster sugar
60g/ml water
150g unsalted butter, cubed, at room temperature
1 tbsp instant coffee* + 1 tbsp boiling water

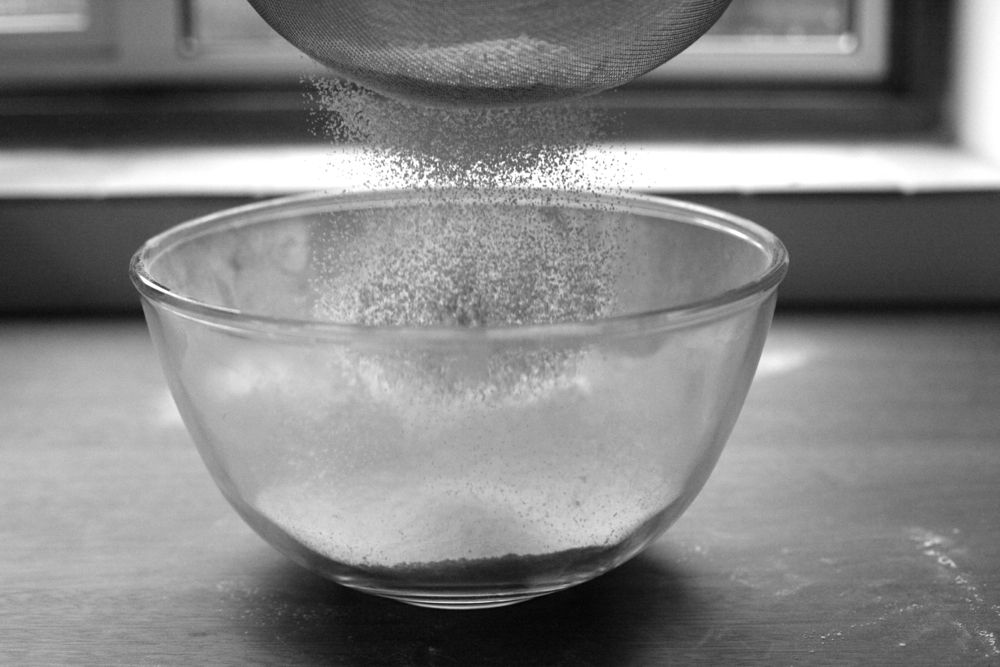
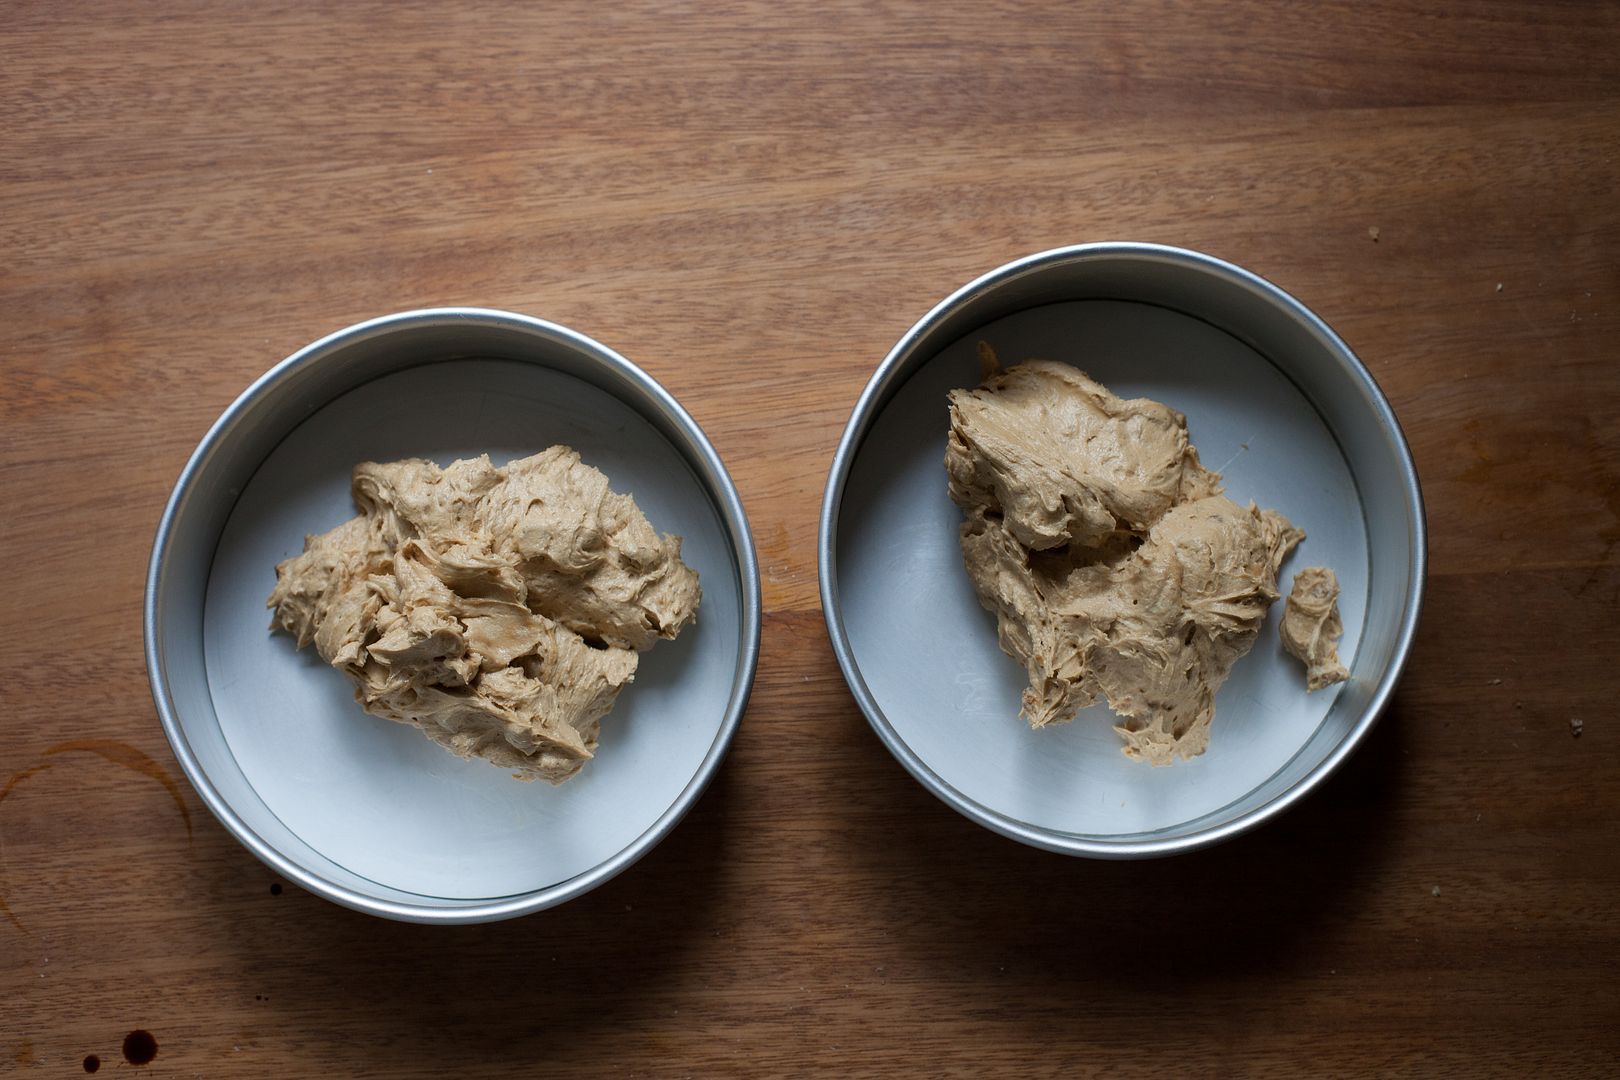
Preheat the oven to 170C/340F. Toast all of the walnuts for 5 minutes then remove the 12 halves for decoration and chop the rest roughly. Grease then line the bottom of two 7" round tins. Combine the coffee and water in a bowl or mug. Cream the butter and sugar together for several minutes until very pale and fluffy. Meanwhile, sift the flour, baking powder and salt together. Beat the eggs lightly together in a jug or bowl then add small amounts to the mixer, beating well in between each addition. When all the egg is incorporated, add the flour and mix on low until combined. Add the chopped walnuts and coffee and fold through. Divide between the tins and smooth out - it will feel like there isn't much mixture but don't worry. Bake for about 25 minutes until a deeper, rich brown and a toothpick can be removed cleanly from the middle. Leave to cool for 5 minutes then turn out of the tins and leave to cool on a rack.

For the buttercream, put the egg yolks and salt into the bowl of a stand mixer with the whisk attached and whisk briefly until broken up and a bit frothy, then turn off. Place the sugar and water into a small saucepan and place over medium heat with a sugar thermometer attached. Once the sugar has dissolved, turn up to medium-high, occasionally giving it a gentle swirl, until it reaches 110C/230F. This takes me about 5-6 minutes (the last 10 degrees are often the slowest). The moment the temperature hits, turn the yolks up to medium speed then steadily pour the hot syrup down the side of the bowl, resting the lip of the pan on the top of the bowl (see video above).

Turn the mixer up and leave to whip until you can't feel any heat in the mixture - this takes about 7 minutes (check if it is cool by touching the outside of the bowl, then if that is room temperature, testing the mix itself with a finger). If it is cool, start adding the butter, which should be soft and pliable but not greasy. Add the butter cube by cube, letting each piece disappear before you add the next. At stages it might start looking weird or curdled but just keep whipping and slowly adding the butter - this all takes about 7 more minutes. When you've added all the butter and have a thick, glossy buttercream, whip in half the coffee, followed by the other half.

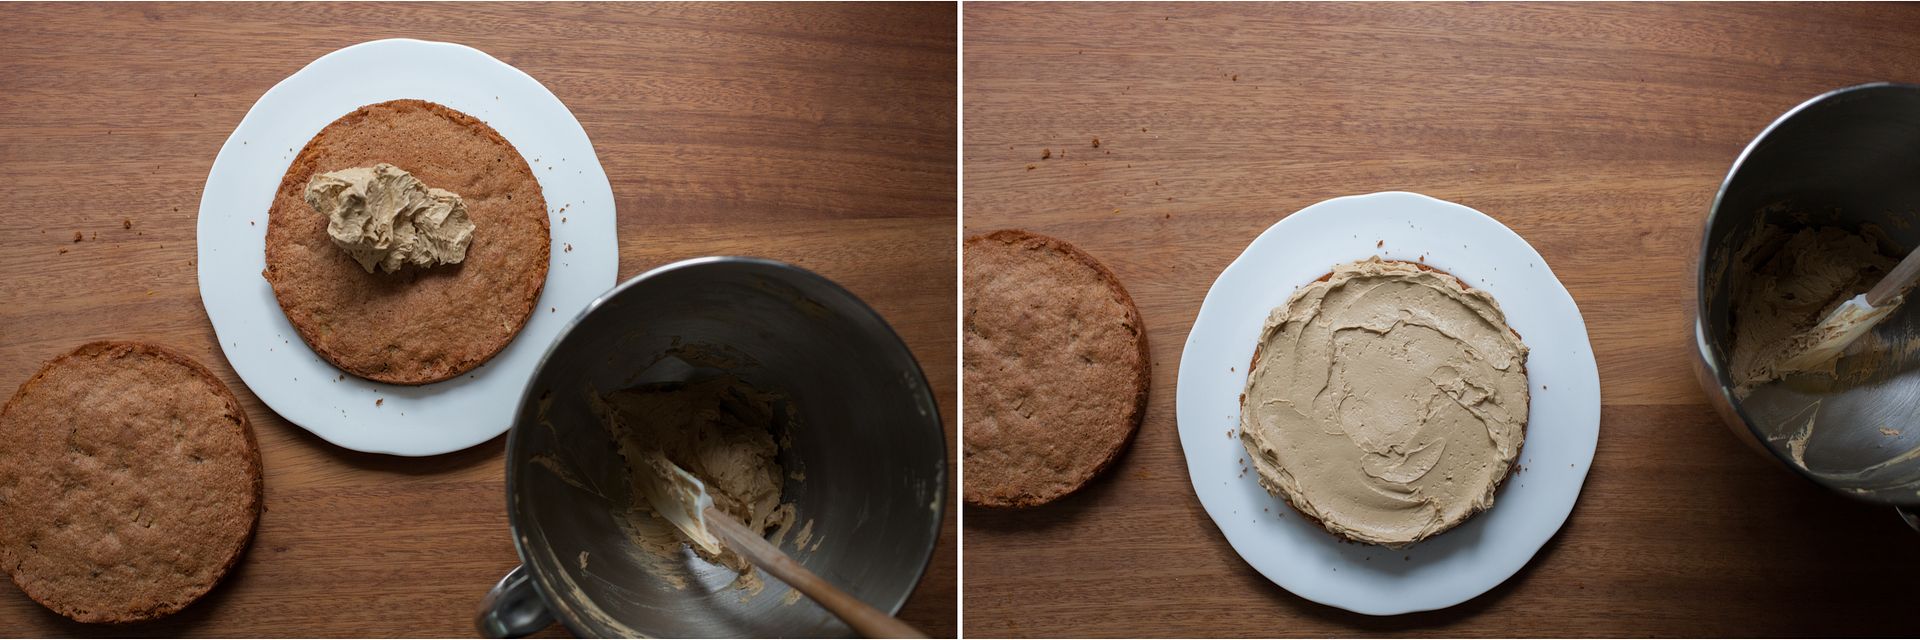
Place one of the cakes on a serving plate. Spread half of the buttercream over the cake then place the other cake on top. Spread the remaining buttercream over the top then decorate with the remaining walnut halves.

(Makes 12 small slices)

* This cake tastes weird to me with anything other than cheap instant coffee as that's what I grew up with. Feel free to try using very strong proper coffee, though I'm not quite sure how you'd get a thick concentrate like this.


Friday, 15 February 2013

Raspberry-Redcurrant Jam Swiss Roll


I love the simplicity of a jam roll. There's something very satisfying about a swirl of light, fluffy cake stained with fruity, slightly sharp jam.

Once you've got the hang of it, they're also very speedy, especially as the ingredients are the sort of things you might have to hand. I can usually go from thought to cake in under thirty minutes.


My first attempt at a Swiss Roll, back in 2010, didn't go well. It cracked badly and the sponge tasted bland and was somehow both sticky and dry. Now I have a much better recipe.

I also found it difficult to picture the techniques involved (and a few others have mentioned the same problem), so last week I decided to take some videos. The first is of me spreading the mixture (sounds absurd, but it is delicate and took me time to get right) and the second is of the whole flipping/trimming/rolling process. I hope they make it clearer.

I've also solved the problem of the cake sticking to the parchment by lightly greasing it with butter and using granulated sugar - the bigger crystals keep it off the parchment, don't turn syrupy or sticky and give the outer bites a satisfying crunch.


In recipes that fill the roll with anything heat-sensitive, like my Chocolate Swiss Roll with Peanut Butter Mousse or Bûche de Noël, you have to roll it up between sheets of baking parchment, let it cool, then unroll and fill as below. If I'm making a jam roll with a different flavour (the raspberry-redcurrant jam already has a slight sharpness), I stir in a touch of lemon juice to loosen the set and balance the sweetness.

I was flustered filming the second video as I knew I'd have to make the cake again if I made a mistake. Thankfully I'd already decided to cut the sound, so you can't hear me swear when the side of the sponge sticks to the tray. But, as Julia Child said - 'never apologise'. Just cut more of the side off and proceed as normal - with an extra snack for the chef...


Jam Swiss Roll
(sponge recipe adapted from David Lebovitz's Ready for Dessert)

80g plain flour
30g cornflour
1/2 tsp baking powder (optional*)
pinch of fine sea salt
3 eggs
25ml cold water
120g caster sugar
tbsp or so of granulated sugar
jam to fill (about 150g)

Preheat the oven to 170C/340F. Lightly grease and line a baking tray that's at least 30 x 40cm (the one above was a bit small). Sift the flour, cornflour, baking powder and salt together three times. Place the yolks and water into the bowl of a stand mixer and whisk on high for 1 minute. Sprinkle the caster sugar in and whip for 4 minutes until pale, thick and a ribbon of mixture stays on the surface for the count of five. Whip the whites until a peak on the end of the whisk stays stiff. Carefully fold a third of the flour into the yolks with a big metal spoon, then another third, followed by a third of the whites, the rest of the flour, then the rest of the whites. Carefully scoop out onto the tray (but don't scrape any gluey/unmixed bits off the spoon/bowl) and use a big palette knife to confidently sweep it out into an even rectangle of roughly 25 x 35 cm (see video above).

Bake for 10-12 minutes until light golden brown, slightly risen and springy to the touch in the middle. While it bakes grease a square of parchment bigger than the cake and sprinkle with the granulated sugar. Get a big knife, cake rack and the jam ready (I usually do this on the dining table for space). When it comes out, let it sit on the tray for 1 minute, then flip out onto the sugary parchment. Carefully peel the parchment off the bottom of the cake. Cut a thin slice off the edges to straighten them and stop it cracking as you roll. Spread the jam liberally over the sponge, leaving a cm gap around the edge. At one of the short ends of the rectangle, use the knife to dent (not cut) about 1 cm into the end. Use this to start rolling the sponge up, keeping it tight and peeling off the paper as you go. When you get to the end, tuck the end underneath. Trim the two swirly ends with a serrated knife to neaten them up and leave to cool for a few minutes before slicing.

Best eaten when just cooled. It keeps in a tin for a day and freezes well.

*The baking powder gives it an extra boost - you can easily make it without, but it helps if you're worried about losing too much air when you're folding and spreading.

(Makes 1 roll, 8-10 slices)


A few more posts that involve whipping egg whites:
Tiramisu
Pomegranate and Berry Pavlova
Old Fashioned Sponge Cake

ShareThis