Tuesday, 28 May 2013

Foundations no.7 - Rough Puff Pastry


Perhaps I'm odd, but I find rolling out puff pastry relaxing. There's something quietly satisfying about rolling back and forth, shaping, dusting, brushing and folding the smooth, cool dough. The whole process is calming - a bit like kneading your frustration into bread, but in a gentle way. As one of my chefs used to say, you have to treat her like a lady.

Puff is admittedly much easier to pick up in a supermarket, but as well as the therapeutic benefits, I think it tastes much better freshly homemade. Quite a few of the supermarket brands - certainly all the ones I could find yesterday - are made with margarine instead of butter and need several preservatives so they can sit on the shelf. If you're making it fresh, you only need four ingredients: flour, butter, water and salt.
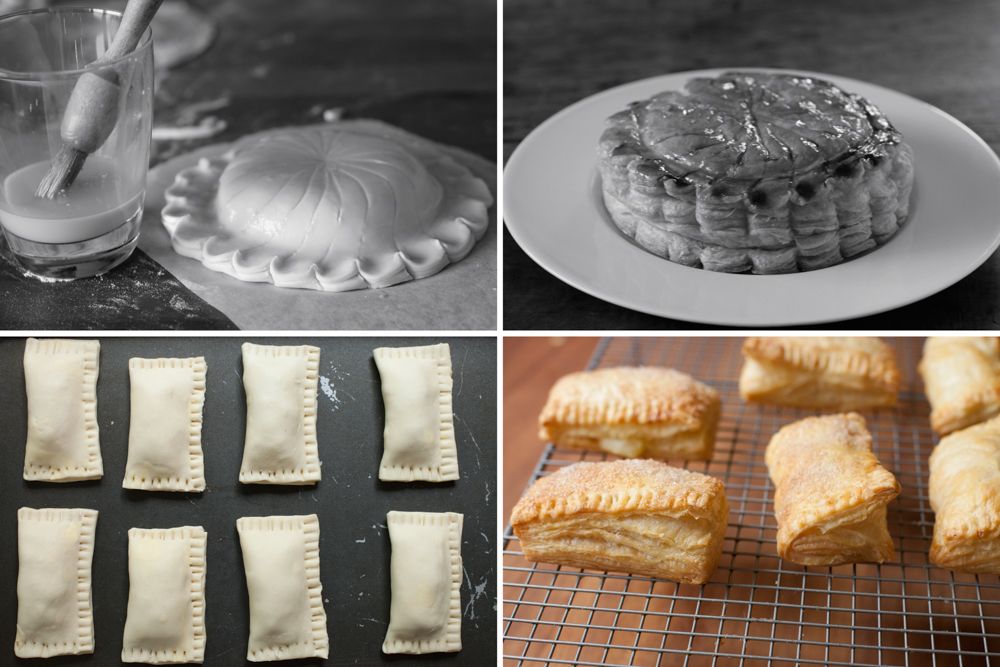


Rough puff is a term that covers a range of methods of making a puffy pastry that rises less than classic puff pastry. At one end you have flaky shortcrust, which barely rises. This method, at the other end, gives about 75% of the rise of classic (the pictures above show the rise I've got from this puff). I rarely bother to make classic now - I don't mind a rough edge to something that is meant to be homemade and I think this gives a great result for less work. Though I admit that it's still time consuming, rough puff doesn't take much active work - I reckon, aside from chilling time, it's about 20 minutes.

Puff pastry is a laminated dough, which means that you create lots of layers of incredibly thin pastry sandwiched with layers of fat. It's hard to tell when laminated pastry was first made, especially as pastry knowledge was generally assumed rather than written down in cookbooks. According to Karen Hess, the first recognisable recipe for puff pastry was recorded in The Good Housewife's Jewel, written by Thomas Dawson in 1586. Danish pastries and croissants are also made from a laminated dough, but they evolved to include yeast and other ingredients such as milk.

Classic puff has 729 layers that are about a hundredth of a millimeter thick once you've given it six turns (or, to be accurate, one inclusion and 5 turns). After one single turn of the rough puff you have 3 layers, then 9, then 27 - so if you do four turns you'll get 81, or five will give you 243.
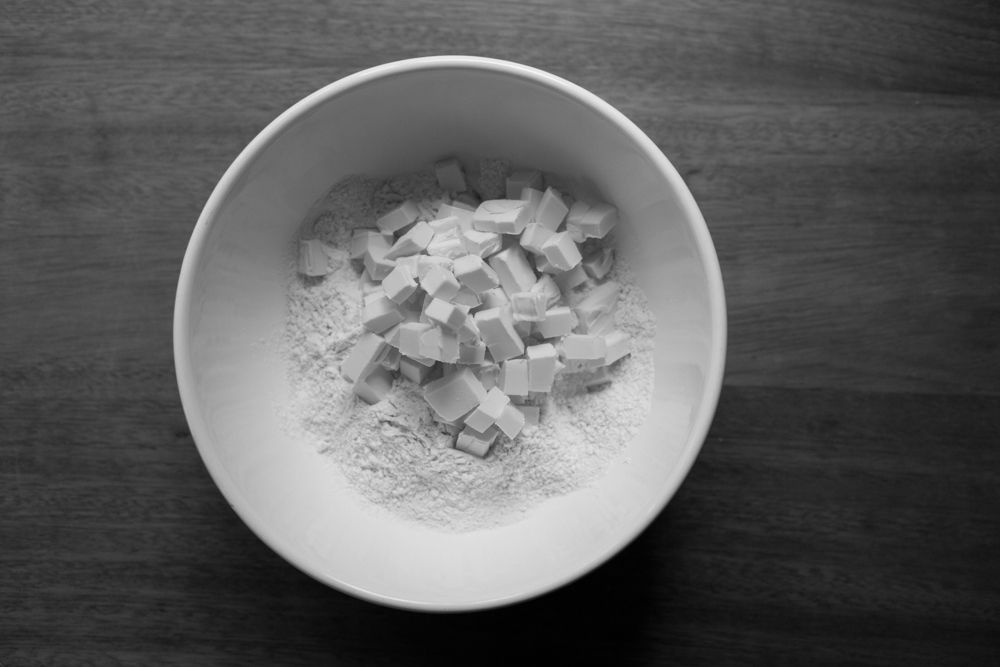


To start, sieve the flour and salt into a bowl. Chop the cold (but not totally rock solid) butter into smallish chunks and add to the bowl.

The ratio is usually the same weight of flour and butter, half the weight in water and 1 tsp of fine sea salt per 500g of flour (I originally found this ratio in Michel Roux's Pastry). I normally use 250g plain flour, 250g unsalted butter, 125ml ice cold water and 1/2 tsp fine sea salt. This makes about 630g of pastry. I usually use plain flour but some recipes call for strong or bread flour to aid the gluten development in the layers.
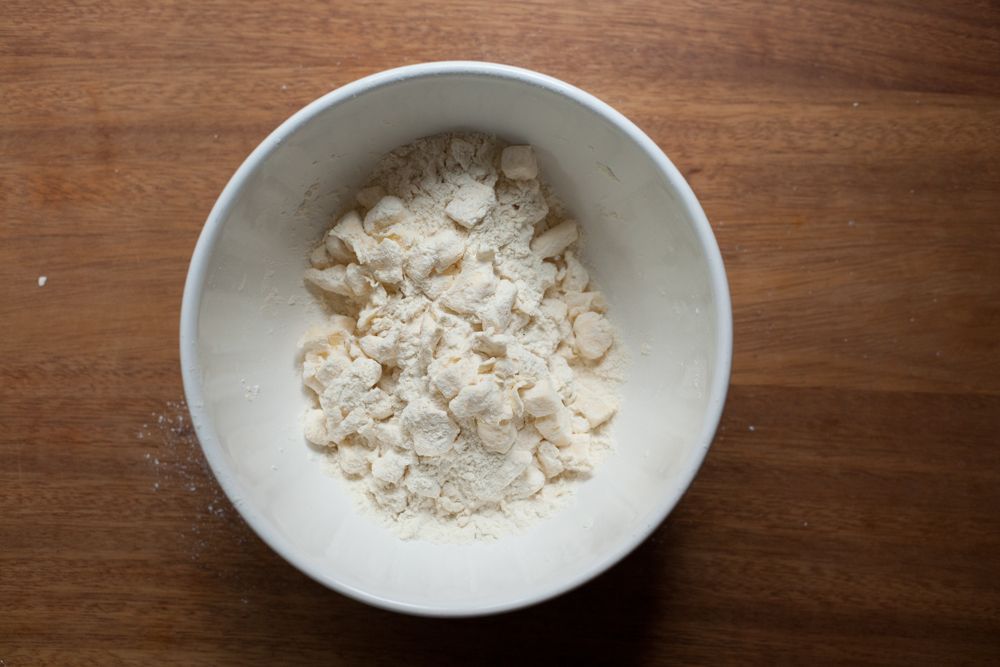


Combine the flour and salt in a bowl. Rub the butter into the flour with your hands using the same technique as regular pastry (see this foundation for a video and more), except that you want to leave lumps of butter. You do still need to rub about a third of the butter in fully, though, and you don't want the chunks to still be solid cubes (just squish them a bit). Keep going until you have something that resembles this:
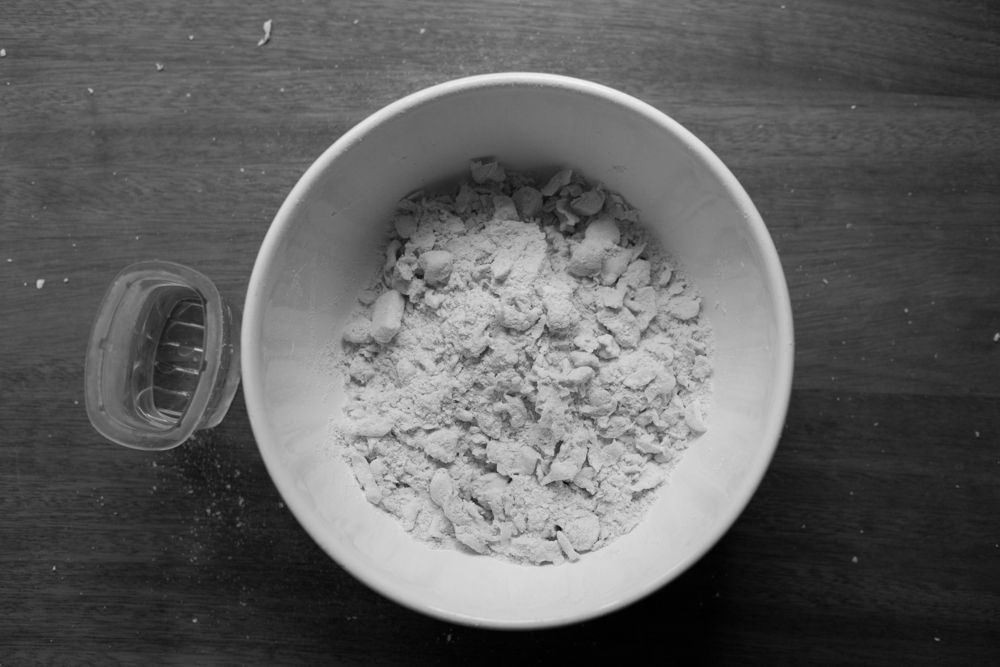


When it's ready, add the cold water and bring together into a dough, then pat into a square, wrap in cling film and chill for 30 minutes. The video below shows how I do this.

Just so you know if you've never played one, my videos don't have sound - I find it intrusive when I'm just trying to look at the process, be quiet or play my own music. They're essentially moving pictures. I do them in one take from one position and don't edit much (on that note, please excuse my head bobbing into frame in the one below). I hope that it shows the process as it really happens so you can a get a clear image of what to do. If you're reading this via email subscription, the videos don't show up for some reason - you'll need to click through to the web version.


After chilling, you can do the first turn (as in the video below). Lightly flour the surface then roll the dough out evenly, keeping it as rectangular as possible - gently pat and form the sides to help keep the shape. You want a rectangle of roughly 40 x 20 cm. Don't let the pastry stick to the surface - slide your fingers underneath to check and dust again if needed. If a bit of butter opens on the surface then dab a bit of flour on it.

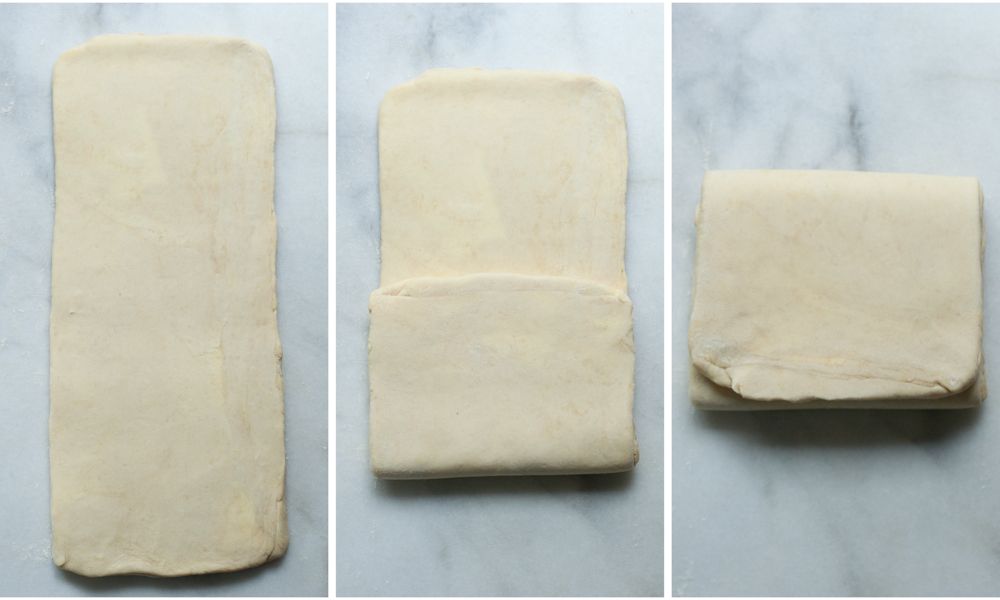
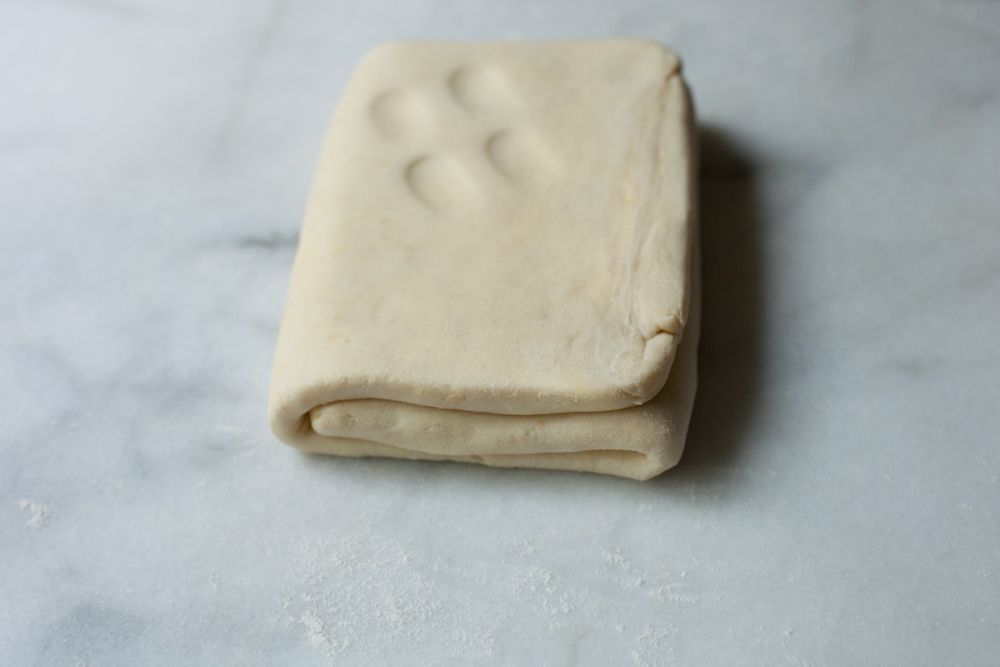
To do the turn itself, brush off any excess flour with your fingers or a soft pastry brush. Fold the bottom 1/3 of the pastry up, brush the flour off, then fold then top 1/3 down so you have a neat parcel (see the top photo in the post - it's a bit like folding a letter). The edges should line up. Use a finger to make an imprint on the dough to keep track of the number of turns. Wrap in cling film and leave to chill for 45 minutes.

I always make my turns like this - they're called single turns. There's also something called a book turn, where you fold both sides in, then bring the two double sides together, but I find it easier to focus on one type.


After the dough has chilled, do the second and third turns straight after one another (unless the dough feels warm, soft or sticky, in which case you should chill in between). Repeat the rolling out and folding process (though I usually roll to 35 x 15cm after the first turn, creating a block of 10 x 15cm) then do the same thing again. The video below shows a single turn. Always keep the spine of the block on the same side when you roll out - I have mine like a book, so the open side is on the right and my finger imprints are on the top left. The dough should start feeling silky and smooth.

Once the dough has rested for another 45 minutes, do a forth turn (which you can watch below). You can leave it at four but I often do another, as I find I get better results with five.

You need to rest the dough regularly to make it easier to work with. As you combine or roll out the dough the gluten strands are stressed as they're pulled and worked into a new shape. They adjust and relax as they chill, which means the dough is less elastic and therefore easier to stretch again as you roll it out. The butter also hardens, which helps the lamination.


Chill for at least an hour before you roll it out to use it. Don't roll the puff too thin - about 5mm seems to be the minimum. Always cut the pastry with a sharp knife and remember to stack any offcuts up flat so that the layers remain aligned. Don't egg/milk wash the sides of the pastry or let it drip down or it'll bind the layers together.

When you finally subject your laminated dough to heat, the fat in between the layers of dough melts first. Then the water in the dough begins to evaporate, creating steam, which expands in the gaps left by the melted fat. The fat stops the steam from escaping, so the dough layers push up and apart from the pressure of the steam. Finally the puffed dough structure becomes rigid, creating the finished texture, which will shatter and crackle as you bite into it.

This is the seventh post in my Foundations Series - I've decided to sprinkle a few in amongst my recipe posts this summer.


A few ideas for how to use your puff:

Galette des Rois - The reason I make puff every January. I think it's a bit of a shame I only make this once a year - you could always break tradition and make it now.

Pear Tart Tatin - I'd love to try this recipe again, I haven't made it in years.

Palmiers or Elephant Ears - I usually make these with any offcuts. I sprinkled a couple of pinches of freshly ground cardamon over a batch just about to go into the oven last week, which was lovely.


*



Finally, the Poires au Chocolat 2013 survey has now closed.

As promised, a few of my favourite stats:
- 762 readers completed the survey
- two-thirds had made a recipe
- of the 2/3, just under 60% had made three or more recipes.

Thursday, 16 May 2013

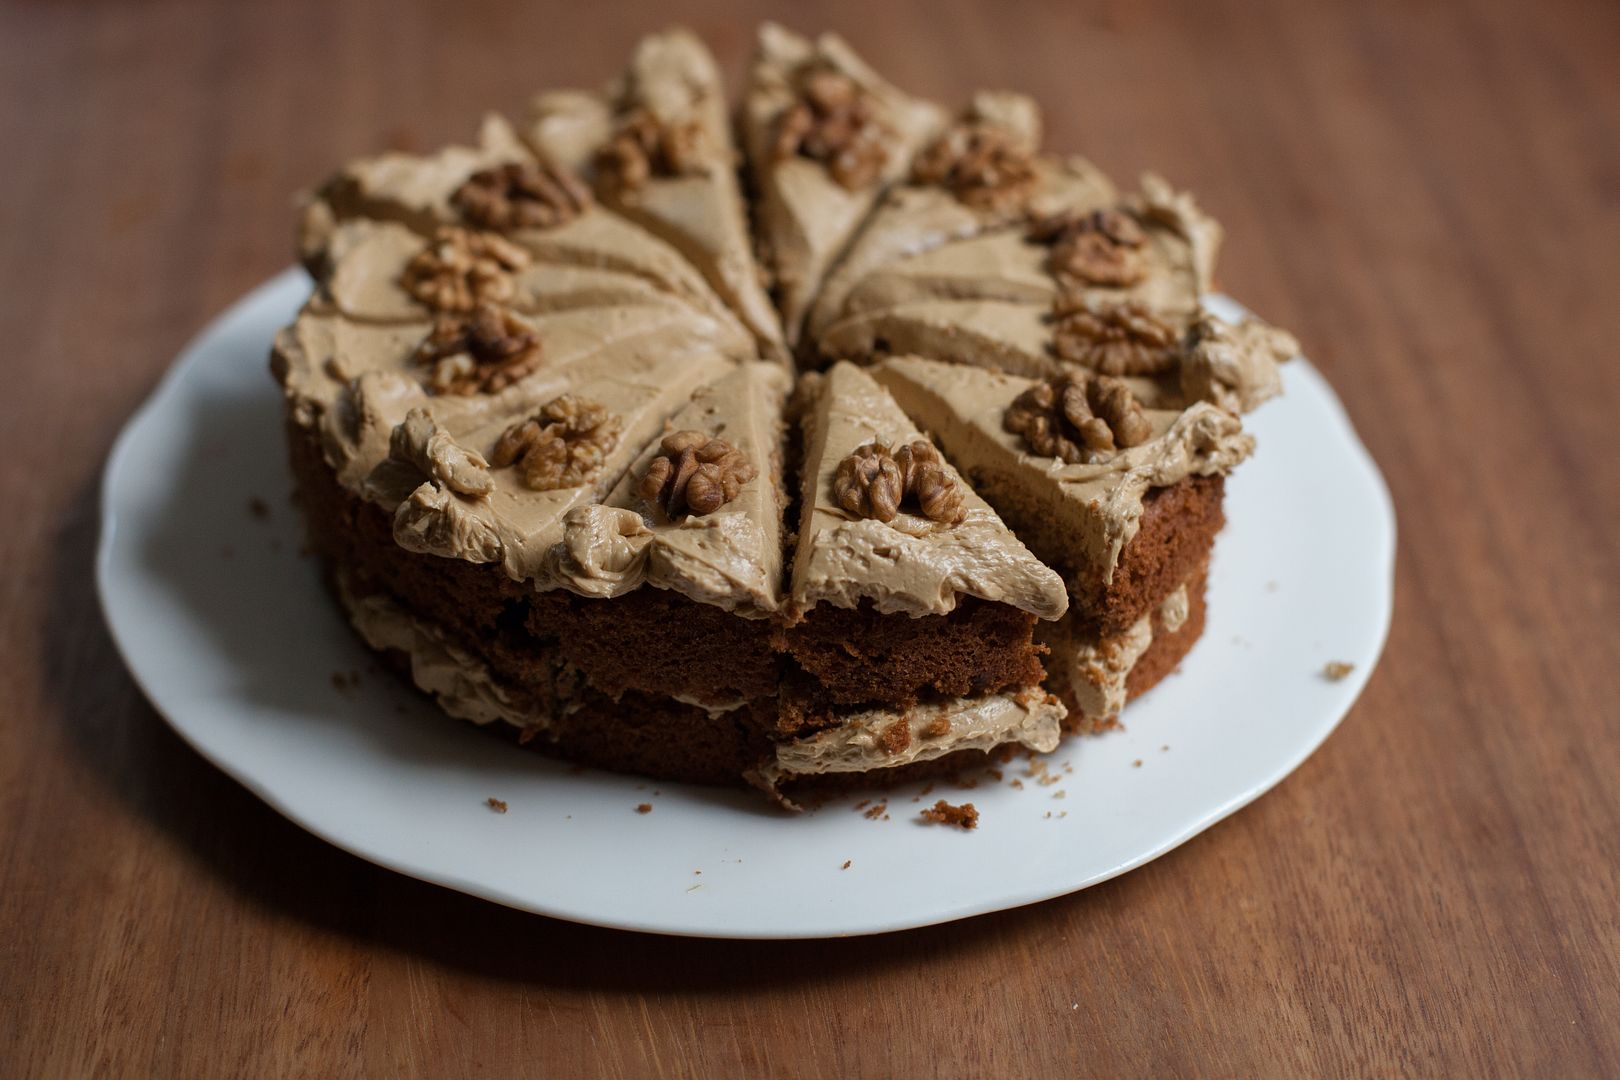
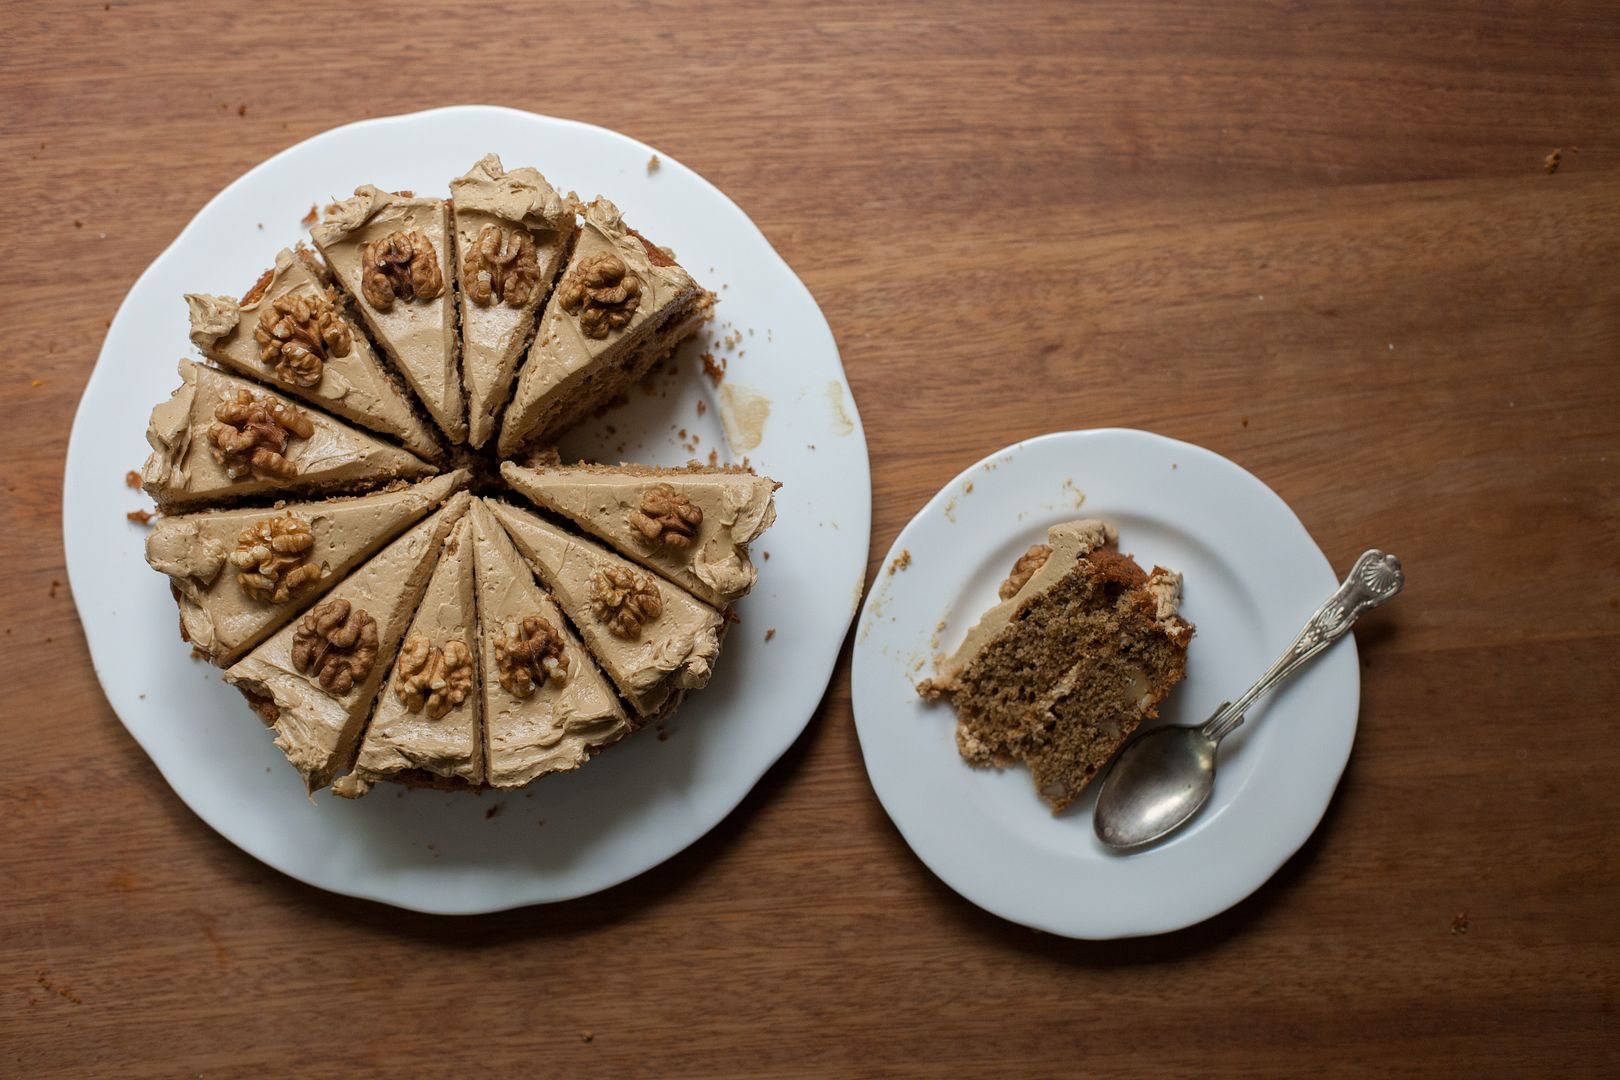
Coffee & Walnut Cake v.2


Four years ago, when I first posted about this cake, I had a tempestuous relationship with the icing.

Behind the scenes, the icing in that post caused a fit of frustrated weeping (which was very embarrassing, as my then-brand-new-now-ex boyfriend was staying with me at the time - and let's face it, I was probably trying to impress him). Luckily I left it mixing and a few minutes later, it had whipped itself back.

Mum and I had been making the cake for years - it was my granny's favourite - but because we didn't understand the reasons and techniques behind the recipe, the icing was always nerve-wracking to make.


Delia calls the icing 'mousseline' (which appears to be a catch-all term for various things enriched with butter or whipped cream) but I think it's more accurate to call it French buttercream. One of our first exam dishes at Cordon Bleu involved French buttercream - it's a lot like Italian meringue buttercream except it's based on egg yolks instead of whites. I didn't realise the icings were the same until I made the cake for the first time in a few years for mum's birthday in April. I also found that my old recipe was too brief and not very clear, so I thought this was a good opportunity to talk about French buttercream and rewrite it.

The first step is getting the syrup to the right temperature. I'd recommend testing with a thermometer because it's easier and the finger test takes time. Having said that, if you don't have a thermometer or want to try it out, it's quite fun. The test for thread stage is to spoon a bit of the syrup onto a plate, then wait for it to cool. Squidge some syrup between your thumb and first finger then pull them apart slowly until you have a gap of about a centimetre - a thread of syrup should stay linking the two.


One of the problems is that different recipes take the syrup to different temperatures. It doesn't help that the temperatures stated for the stages seem inconsistent too - for instance, we were taught that soft ball was 116-122C but McGee says it's 113-116C. Thread, similarly, is 105-110C or 102-113C. Though others go to soft ball, Delia recommends 103-5C for this - I've been taking it up to 110C and that has been working well, so I've settled for that.

The second step is to pour the syrup down the bowl into the whisking egg yolks. I found it quite hard to visualise at first and mum used to get into a tangle by pouring the syrup into the whisk and it spinning everywhere, so I decided to do a little video for you. Excuse the little slip of the pan near the end - I'd recommend using a smaller saucepan with a long handle as they're easier to control.


After that, you leave it to whisk until cool. It's really important that the mixture is room temperature before you start adding the butter or it'll melt and create a mess.

Once it has cooled, you add the butter bit by bit. To illustrate the speed to add it (and because I find watching the mixer going round mesmerising), here's a clip of the middle of the step. Also note that I often squish the cube I'm about to add to give it a last minute bit of warmth and pliability. The butter needs to be room temperature but not melting or greasy.


Once the butter is all in, give it few more moments to whip. Finally, you can add flavourings - in this case, coffee.

If it goes a bit curdled towards the end, this can usually be fixed by whipping it for longer. If not, try putting it in the fridge for 15 minutes then whipping again.

Though the icing is rich, I like it much more than normal buttercream. The bitterness of the coffee and touch of salt cuts through the limited sweetness. It's also very smooth and thick, which is particularly lovely against the crispy-edged cake and toasted walnuts.


When I was making the cake in the photos the other day, I realised I'd run out of unsalted butter when I needed to start warming it up for the icing. I had some salted in the fridge so I decided to try it. The icing finally tasted exactly like I remember it.

It reminded me that mum always used to use salted butter for her baking - partly because that was what was in the fridge - but also because it was apparently harder to buy unsalted when I was little. It made me wonder if something got lost in translation as unsalted became more popular, as many modern baking recipes use unsalted and don't add salt. Perhaps it's because people weren't used to having to add extra salt to sweet dishes as traditionally the butter was salted to preserve it. I guess it's also because of health concerns.

Generally the reason unsalted is preferred is so that you can control the amount of salt. I think a pinch of sea salt improves nearly all baking and desserts. It's useful to have the control as packets vary - my salted butter had 1.8% salt, which is therefore 2.7g in the 150g butter I used. It is quite a bit and while I personally think it tastes amazing in the icing, it would be too much in some other recipes.


Coffee and Walnut Cake
(adapted from Delia Smith's Book of Cakes)

For the cakes:
60g walnut halves + 12 for decoration
1 tbsp instant coffee* + 1 tbsp boiling water
110g unsalted butter, at room temperature
110g caster sugar
2 eggs
110g plain flour
1.5 tsp baking powder
pinch of fine sea salt

For the icing:
2 egg yolks
pinch of salt (or a little more, to taste, or use salted butter)
60g caster sugar
60g/ml water
150g unsalted butter, cubed, at room temperature
1 tbsp instant coffee* + 1 tbsp boiling water

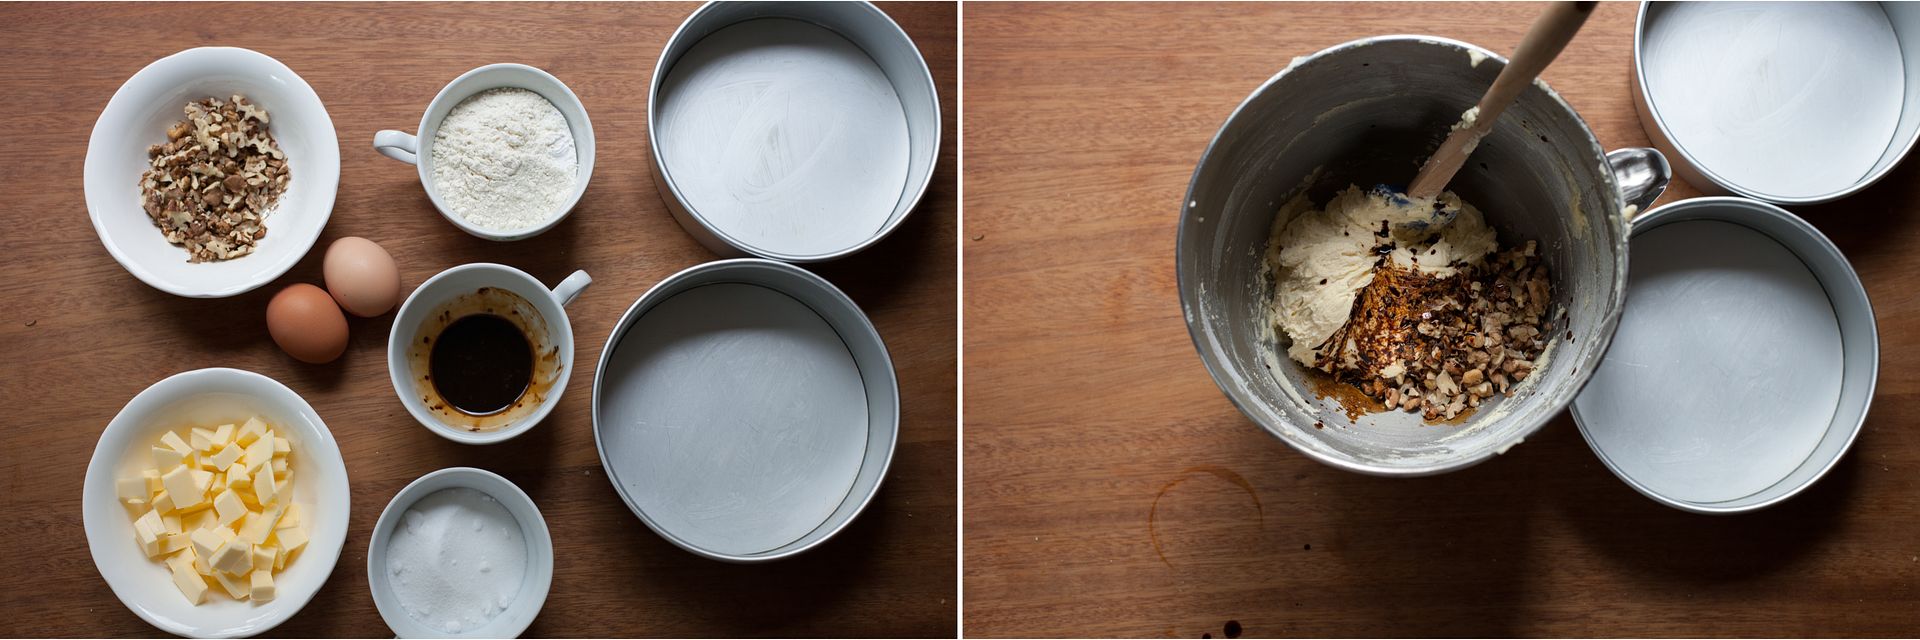
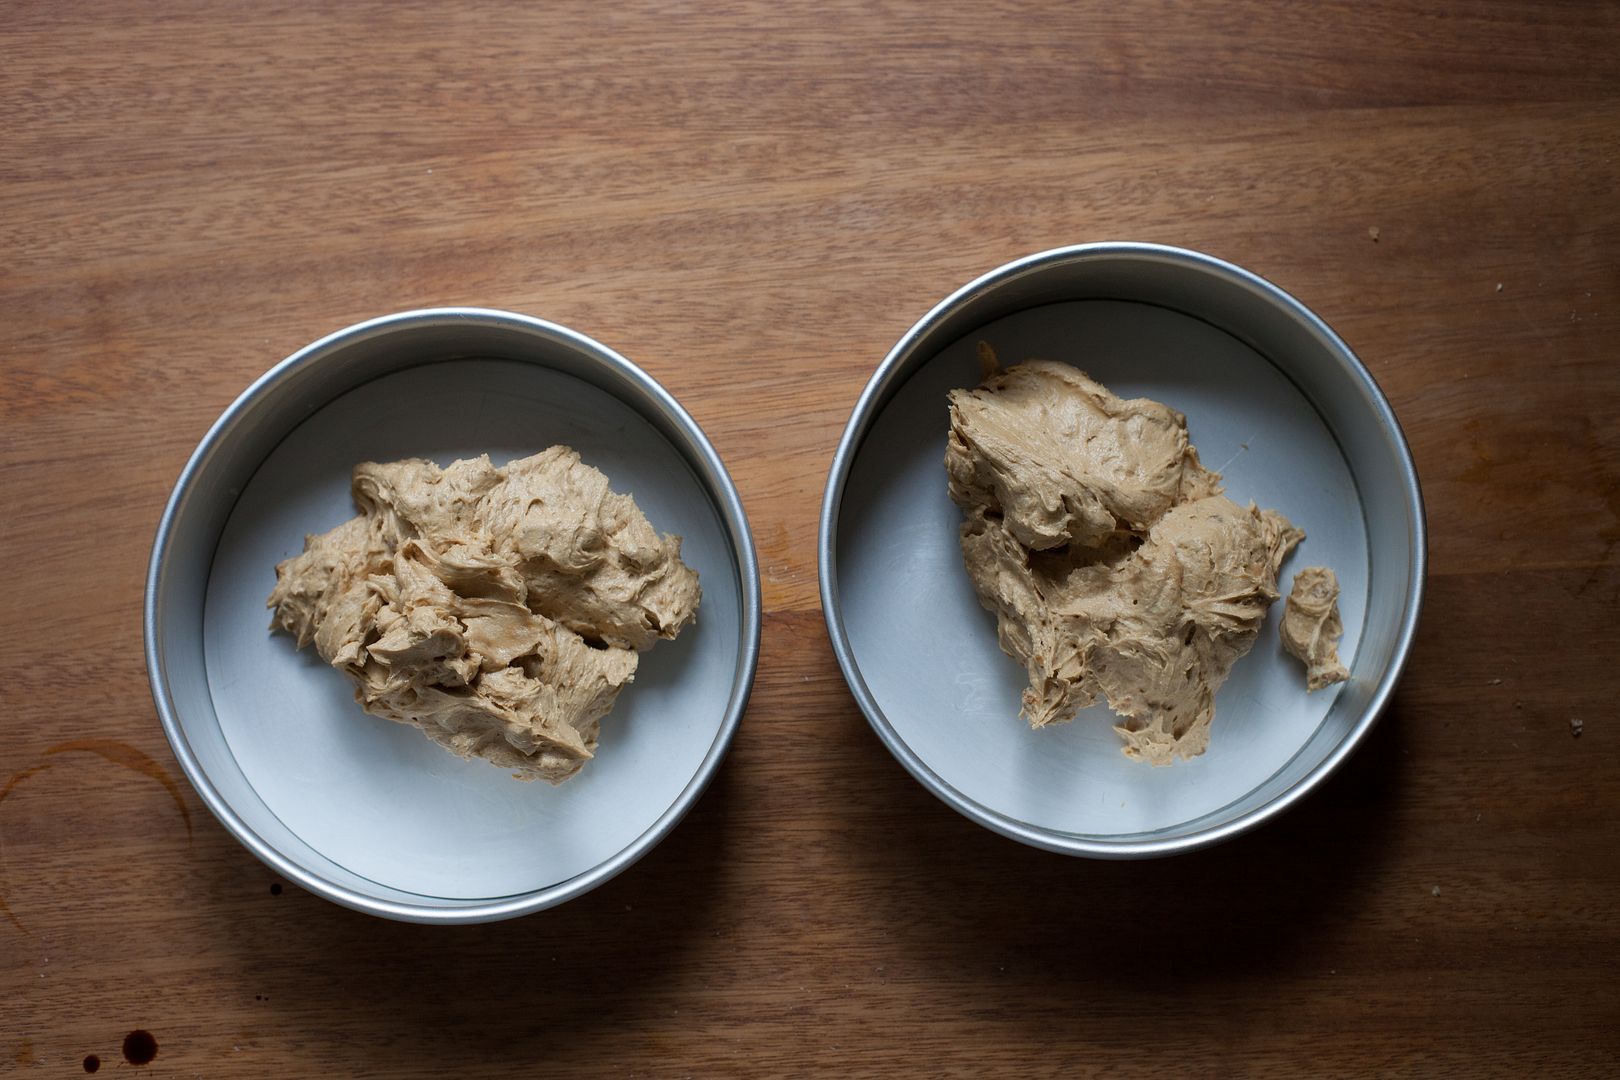
Preheat the oven to 170C/340F. Toast all of the walnuts for 5 minutes then remove the 12 halves for decoration and chop the rest roughly. Grease then line the bottom of two 7" round tins. Combine the coffee and water in a bowl or mug. Cream the butter and sugar together for several minutes until very pale and fluffy. Meanwhile, sift the flour, baking powder and salt together. Beat the eggs lightly together in a jug or bowl then add small amounts to the mixer, beating well in between each addition. When all the egg is incorporated, add the flour and mix on low until combined. Add the chopped walnuts and coffee and fold through. Divide between the tins and smooth out - it will feel like there isn't much mixture but don't worry. Bake for about 25 minutes until a deeper, rich brown and a toothpick can be removed cleanly from the middle. Leave to cool for 5 minutes then turn out of the tins and leave to cool on a rack.

For the buttercream, put the egg yolks and salt into the bowl of a stand mixer with the whisk attached and whisk briefly until broken up and a bit frothy, then turn off. Place the sugar and water into a small saucepan and place over medium heat with a sugar thermometer attached. Once the sugar has dissolved, turn up to medium-high, occasionally giving it a gentle swirl, until it reaches 110C/230F. This takes me about 5-6 minutes (the last 10 degrees are often the slowest). The moment the temperature hits, turn the yolks up to medium speed then steadily pour the hot syrup down the side of the bowl, resting the lip of the pan on the top of the bowl (see video above).

Turn the mixer up and leave to whip until you can't feel any heat in the mixture - this takes about 7 minutes (check if it is cool by touching the outside of the bowl, then if that is room temperature, testing the mix itself with a finger). If it is cool, start adding the butter, which should be soft and pliable but not greasy. Add the butter cube by cube, letting each piece disappear before you add the next. At stages it might start looking weird or curdled but just keep whipping and slowly adding the butter - this all takes about 7 more minutes. When you've added all the butter and have a thick, glossy buttercream, whip in half the coffee, followed by the other half.

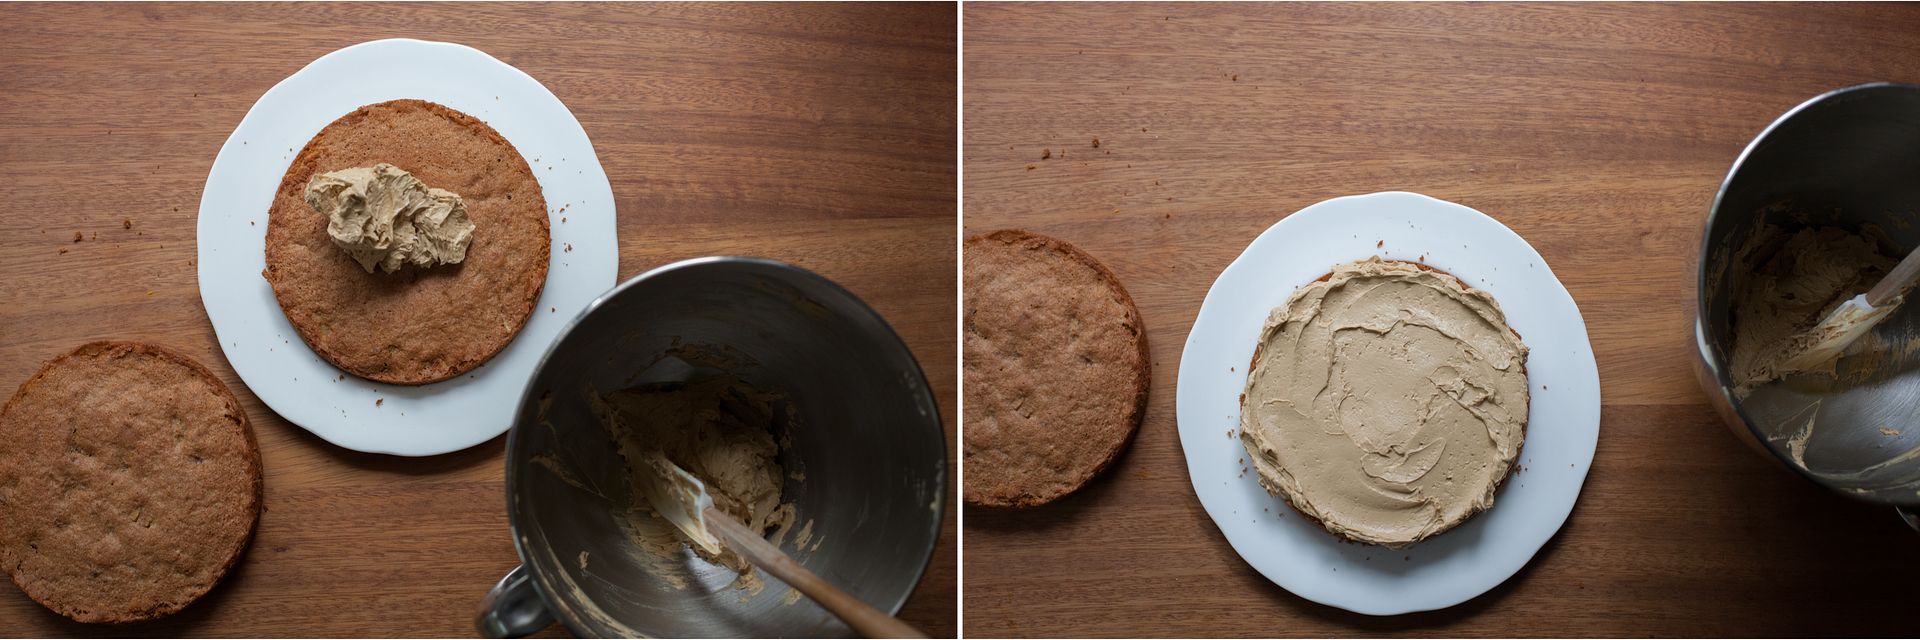
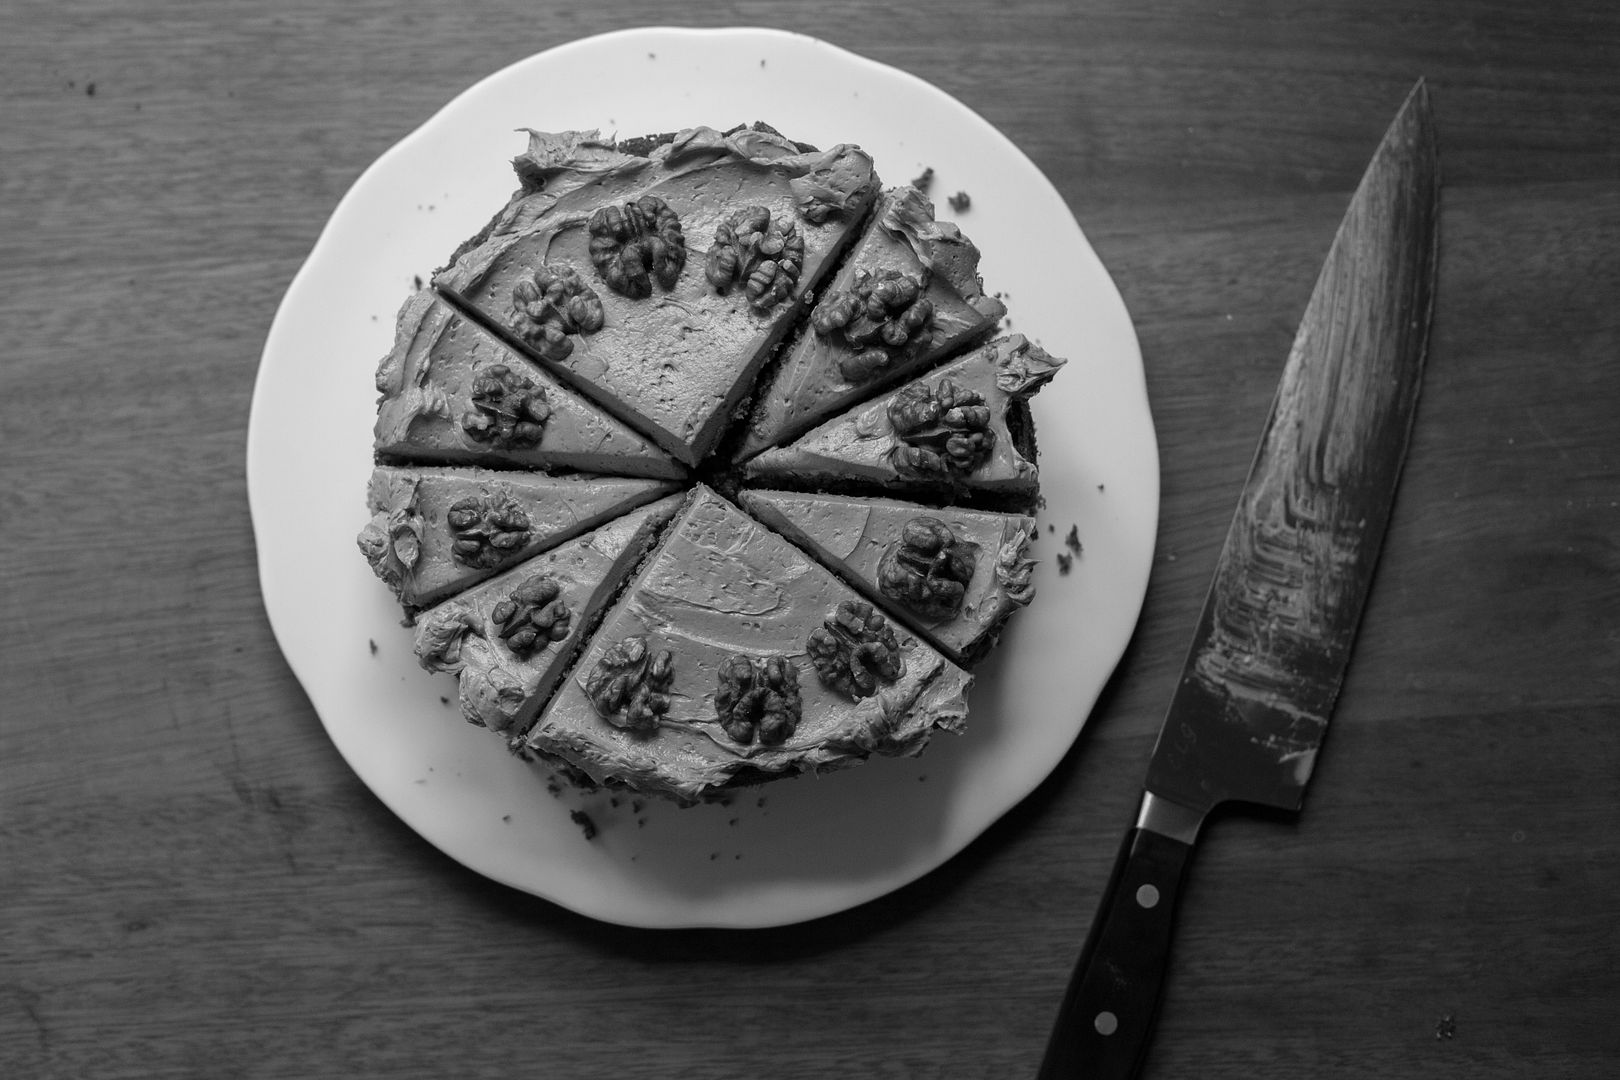
Place one of the cakes on a serving plate. Spread half of the buttercream over the cake then place the other cake on top. Spread the remaining buttercream over the top then decorate with the remaining walnut halves.

(Makes 12 small slices)

* This cake tastes weird to me with anything other than cheap instant coffee as that's what I grew up with. Feel free to try using very strong proper coffee, though I'm not quite sure how you'd get a thick concentrate like this.


ShareThis